Double-Cross. Elmer's #34 Cross Twin Engine

Home Model Engine Machinist Forum

Help Support Home Model Engine Machinist Forum:

This site may earn a commission from merchant affiliate links, including eBay, Amazon, and others.
Stan...how's things?

I just did a search for "centering a rotary table" and your thread came up first...awesome build!

Also, now I have to buy one of those angle blocks from Shars!

Keep plugging away!
 
Hey Chris
Thanks. I got that angle block not knowing if it would be useful. Turns out I've used it a whole lot.
How's the Bridgeport
 
I see that you were using a tapping head for all the holes in the plate, I don't have one but often just put the tap in the drill chuck and use the forward and reverse switch to make tapping easy, of course not with tiny taps.

Paul.
 
Paul
Agree. This is the small tapping head (max 1/4"). When I built Elmer's 3 cylinder radial, I used it to tap the many 2-56 holes in the cylinder block. Balax form tap. No broken taps.
For over 1/4" taps I just chuck the tap in the Bridgeport. Run the tap in. Hit reverse and the braking on the VFD stops the tap rotation in less than 1 rev. and out it comes. For power tapping I use either form taps or spiral point taps. I keep these separate from the hand taps.
 
Hey Chris
Thanks. I got that angle block not knowing if it would be useful. Turns out I've used it a whole lot.
How's the Bridgeport

The Bridgeport has been great...I've been fighting rust ever since I got it though. Every time I turn my heater on the machine starts "sweating" and before long rust. I hit it the areas with a scotch-brite pad and then apply white grease but it's getting old.

I'm be watching your Elmers build...good stuff!

My shop does the same when it warms everything sweats, I'm in the process of adding a furnace to help control the temp swings. What I've done in the mean time is keep a bottle of light spindle oil and a rag handy to wipe things down after use. I learned years ago it's not just sweat but acid from our hands that cause surface rust so I just try to wipe everything after I'm done.
 
Might be off the wall, but I read about a guy who covered his mill with an electric blanket on low when not in
use to stop the sweating. ???
 
I use wd 40 it is a water displacement oil will let the water go throw it and hold the water to the steel and will rust water won't go throw wd 40 it's what's it's made for. just my 2 cents;)
 
Double-Cross
Elmer’s #34 - Cross Twin Engine
Part 8


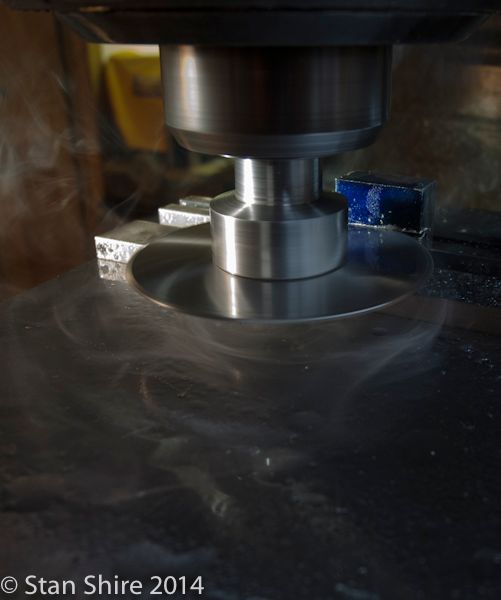
I’ve recovered from the Rocker Crank Arm Day festivities, so onto the crankshaft. This is a built up crankshaft. I needed three pieces of 12L14 and the small bits are a PITA in the horizontal bandsaw. I have a vise that clamps into the saw base, but these were too small.
The cutting fluid is like a smokescreen.


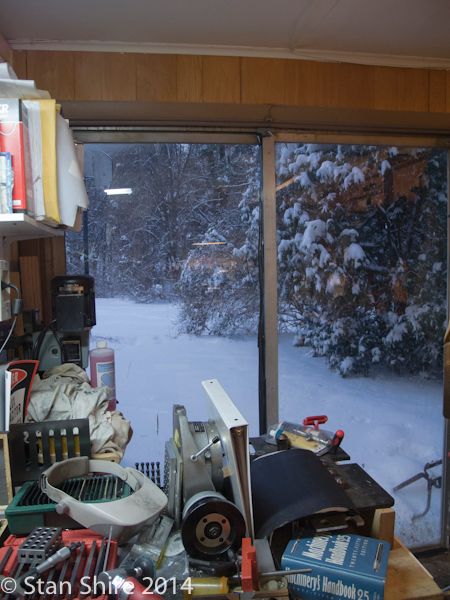
Winter wonderland outside of the shop. 72 degrees inside.


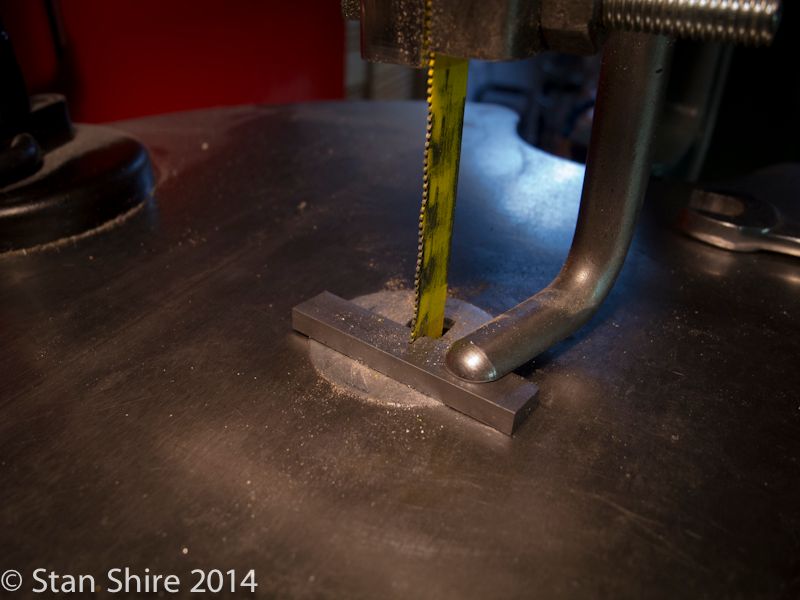
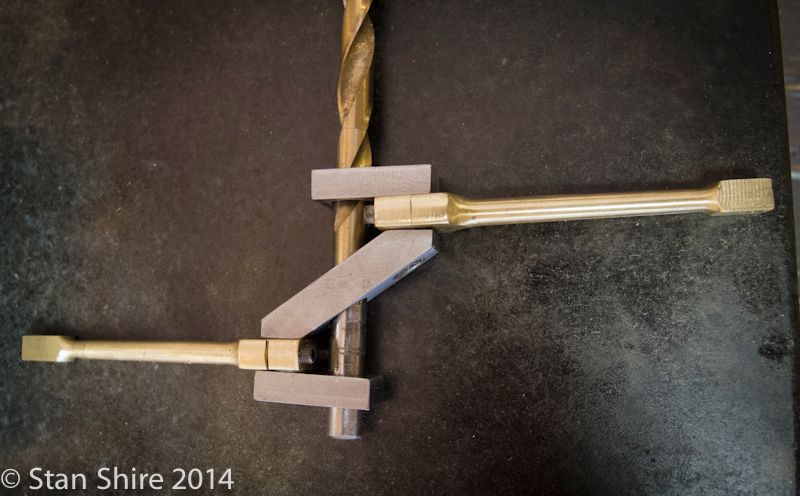
For my next experiment in cutting small bits, I clamped a standard hacksaw blade in Oliver. Worked very well.


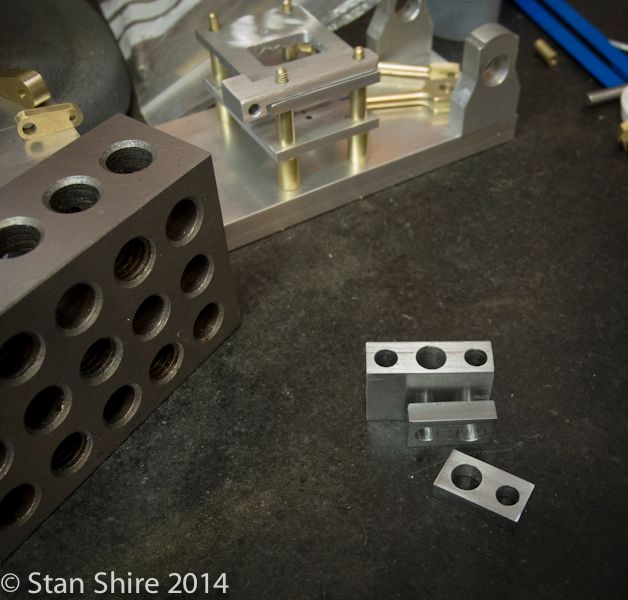
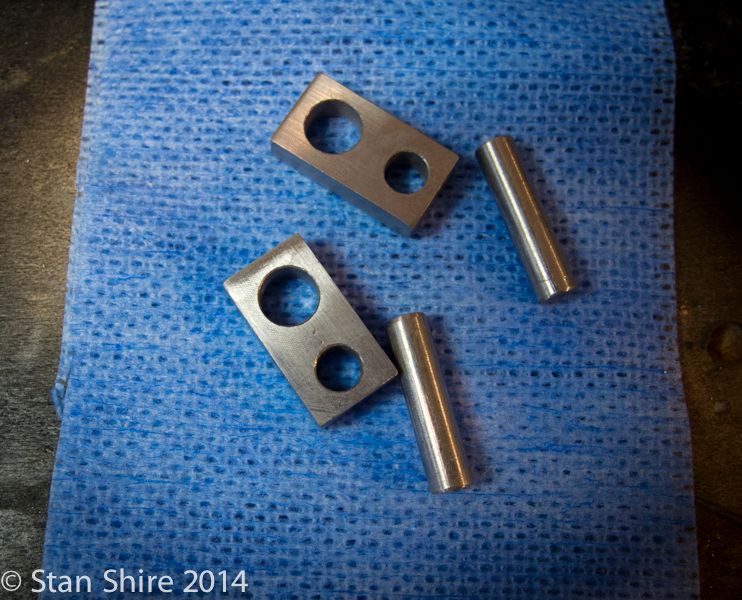
I ended up with these three pieces.


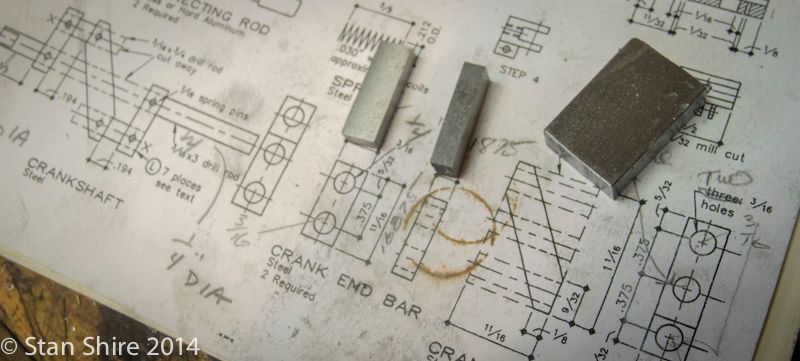
Early on, i decided to use the ball bearings that I had with a .25” ID. So two shaft sizes. The connecting rods are .1875”. Drilling and reaming for both sizes.


Three pieces for the crankshaft.


The angle for the crankshaft center part is marked out.


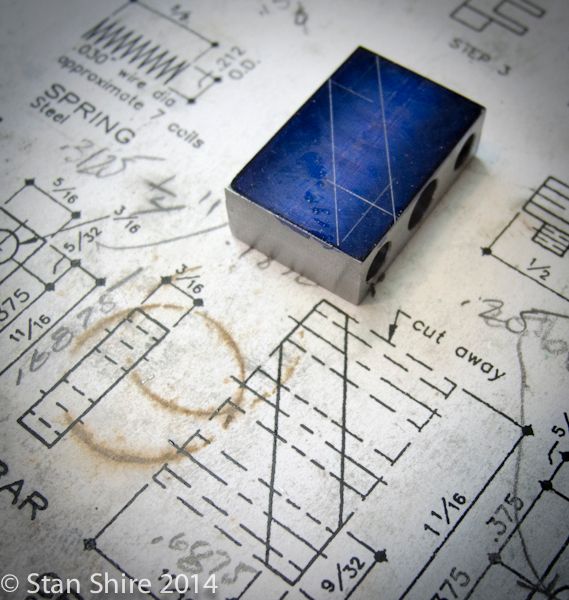
Then lined up against a parallel in the mill vise.
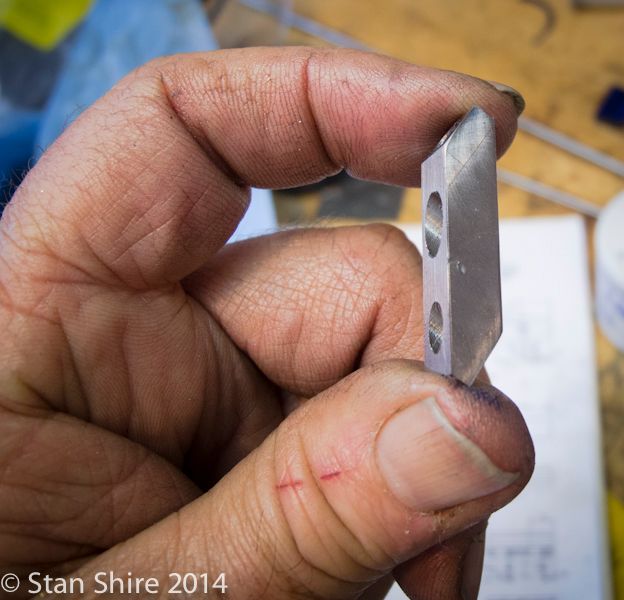


Milled to the line.


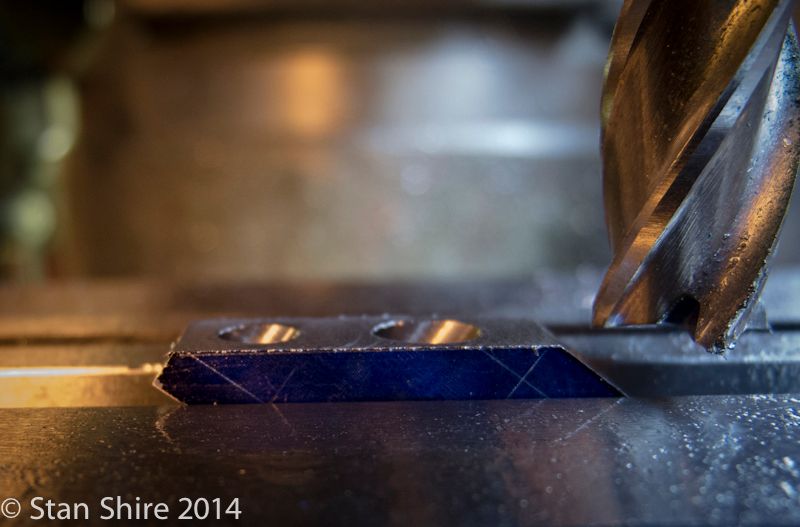
And it looks like this


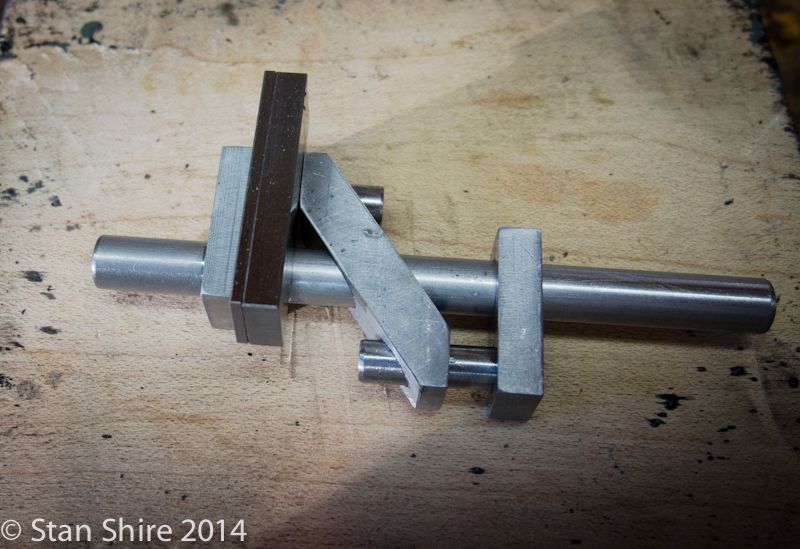
Very rough test assembly to make sure I hadn’t milled the angle wrong.


The crankshaft end pieces and the shafts.


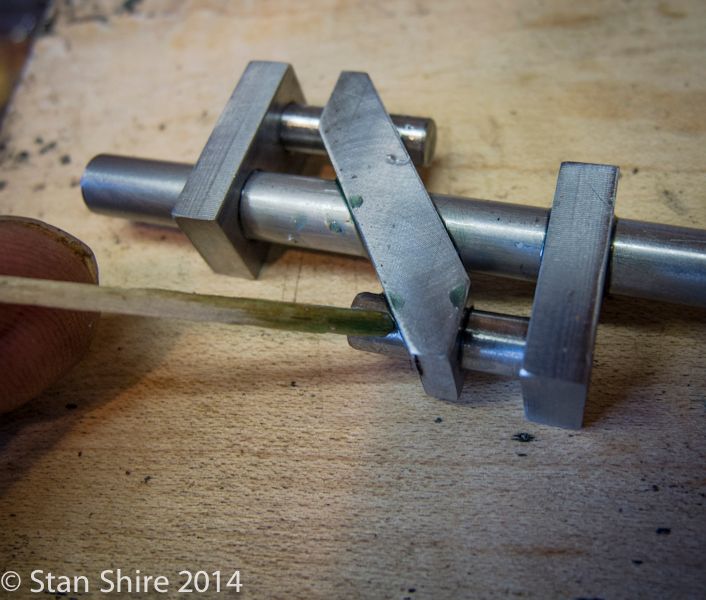
Elmer’s plan is to Loctite the whole thing together so that all stays in place for the roll pins to follow. The spacing for the connecting rods is .194”. Two gauge blocks wrung together to get the correct spacing.


A little extra Loctite 609 can’t hurt. Love those toothpicks.


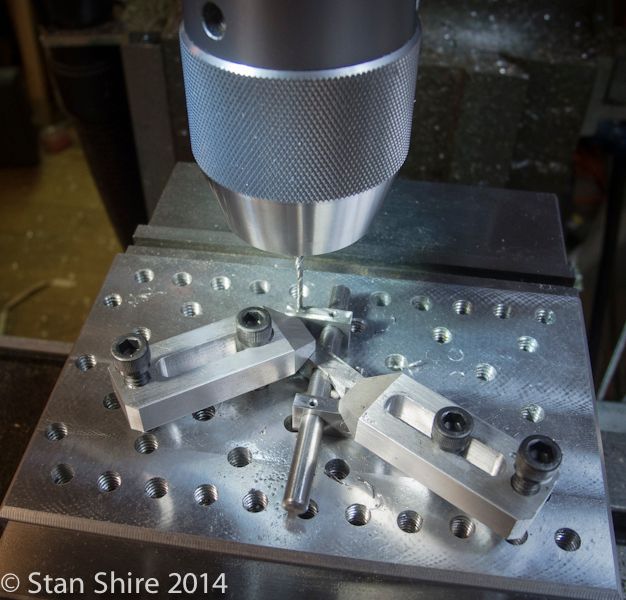
When the Loctite cured, the part was clamped to the new plate. I should have made this long ago.
1/16” drill bit for the roll pins.


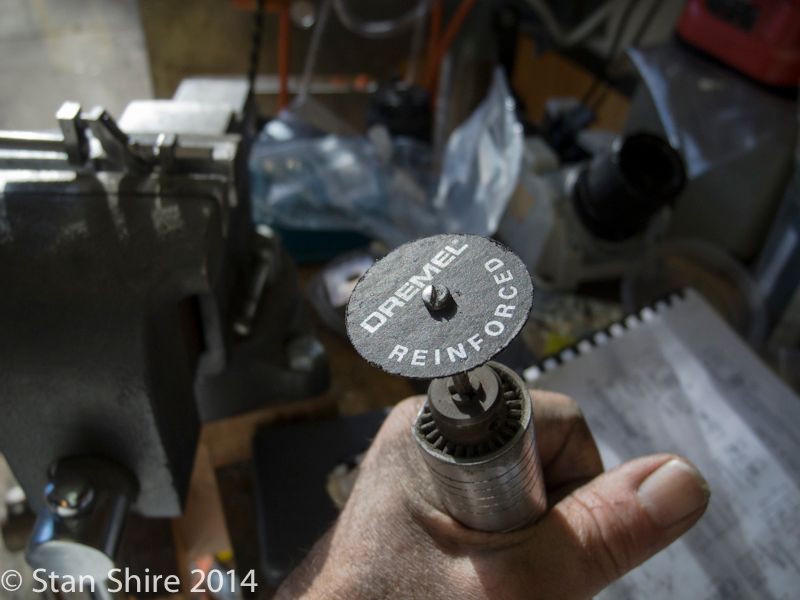
The first 3 pins were cut off with the fiberglass reinforced cutoff disks.


Then back to the plate for the other holes and roll pins.


The connecting shafts are next removed (again, the Dremel disk in the Foredom flex shaft.)


Then cleaned up at the mill.


Polishing to follow.


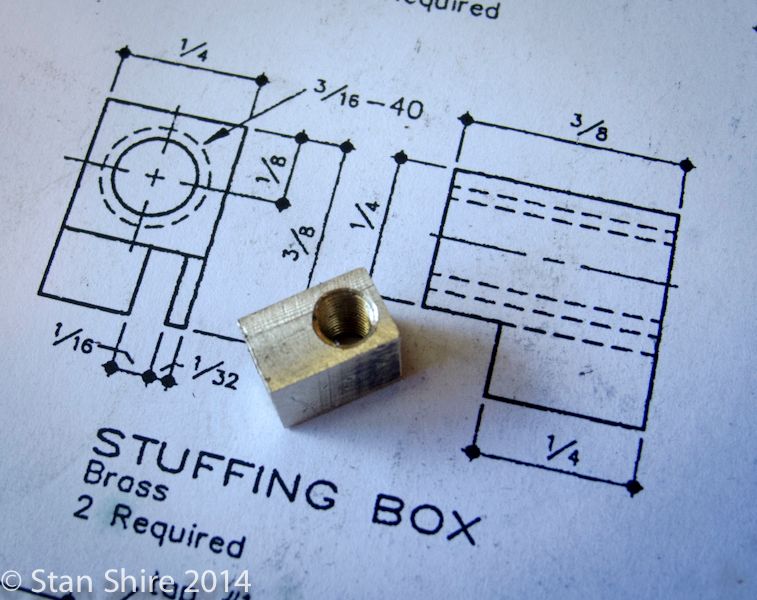
Onto the stuffing boxes. Drilled and tapped.


A .125”x.125” recess is milled.


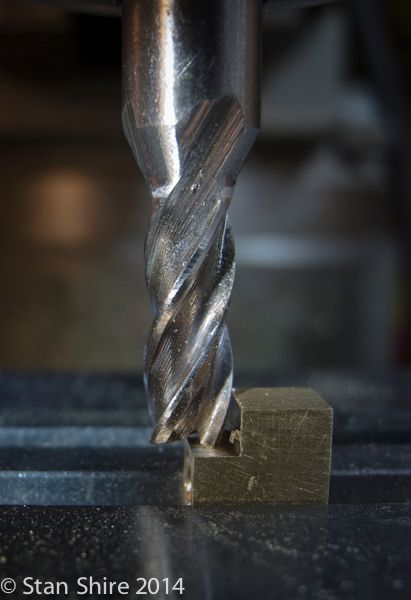
Don’t get excited. I didn’t break a 1/16” end mill. I got a few stubby end mills which, for shallow slots (this one has a .125 depth of cut) is much less likely to go “snap.”


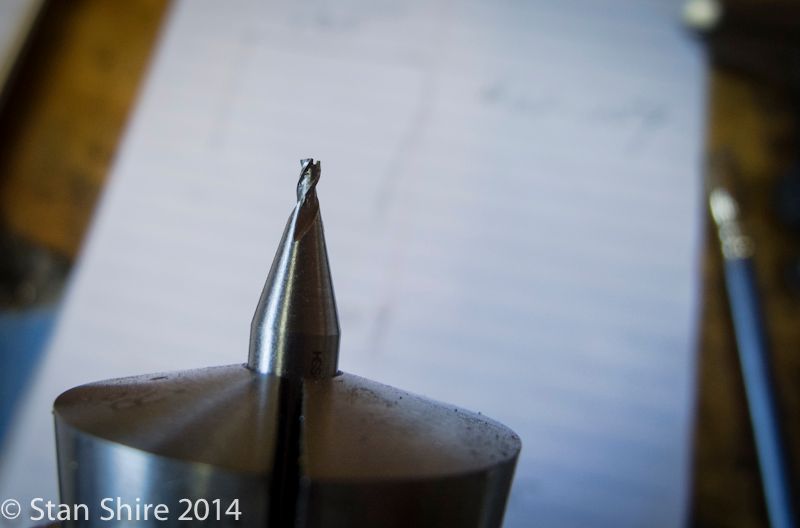
Full depth, very slow feed, speed cranked up. One pass. Done.


A matched pair of stuffing boxes.


Most likely the pistons, rods and tubes will be next.
Thanks for watching.
 
Nice work as usual Stan. I like the drilling plate you've shown in the figure where you're drilling for the roll pins. Why use roll pins instead of solid pins, I'm curious?

Cheers,
Phil
 
Thanks,Phil
I have 200 1/16" roll pins and no solid pins. Easy choice.
 
Love the crank Stan.
You make it look to easy.

Art
 
Thanks,Art. Much appreciated.
This is the 2nd built-up crank I've done. The first was IIRC on Elmer's open column twin. His was easier with the new fixture plate for drilling.
On the last build, the Liney RV-2, it was a turned crank. That was my first and it was not as difficult as I thought. I probably spent more time making the offset fixtures than I did turning the crank. Since I've only been doing this machining stuff for about 2-1/2 years, there are a lot of "firsts"
 
Last edited:
I probably spent more time making the offset fixtures

One of the reasons I often make a 2nd or even a 3rd copy of an engine. Once all the fixtures are made you can add other details to those builds or experiment doing new things without thinking you're in a rut
(at least, I can:D).

Cheers,
Phil
 
Phil
No more crazy than remaking a part until I'm happy with it. Sometimes more than twice. On the Liney RV-2 build, I was almost finished but the 4 cylinders were bothering me. The "cooling fins" weren't spaced precisely. If you looked carefully, each cylinder was slightly different. Turns out the Y axis DRO scale mount had loosened enough to screw with the readings. So, I now have a spare set of cylinders.
Good thing this isn't my real job. But, since I'm the boss, shop manager, QC dept, CEO, floor sweeper, etc., doesn't matter how many parts are scrap or rejected.
I keep a container for NO-GO parts to remind me to pay attention.
BTW, where are u in South Easterm PA? I grew up 30 miles south of PGH.

We all make mistakes as my Dad told the Foreman one morning I can't screw up If I don't do anything that's part of being human and learning from them. If you ever get the chance to go to a plant tour in Buffalo,NY GM Powertrain Plant you would be amazed at what a part looks like before we get done machining it the cranks look a big cast chuck of iron other that the basic shape they look like they could never be a crank but with in three operations they are just about done.

Todd
 
Todd
Your Dad was right on the money.
Now, how do I get a plant tour? That would be excellent. In the spring. I'll pass on Buffalo in the winter:D
 
Nice Job on the crank, Stan. I've never made a built up crankshaft,and your pictures and description make it look easy.
cheepo45
 
Back
Top