Metal_slicer
Well-Known Member
- Joined
- Aug 31, 2013
- Messages
- 101
- Reaction score
- 28
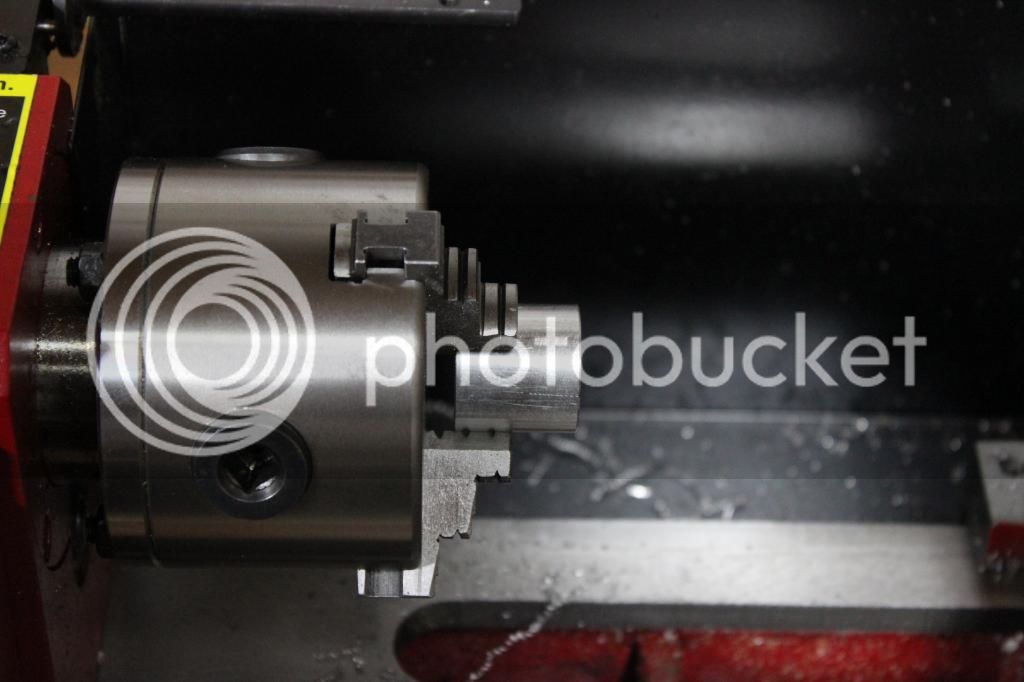
Here is the underside of the cylinder head. The chambers are cut 0.1" deep. The intake and exhaust ports are 0.25" O.D. with a 45Deg bevel. Valve stems are cut or I should say will be cut 1/8" The valves will be machined out of free machining T-303 stainless. I was thinking of making the entire head out of brass but I may try to use 6061-t6 instead.

 . I could send you the .igs file if you want to see it. Let me know if you are interested.