- Joined
- Aug 25, 2007
- Messages
- 3,890
- Reaction score
- 715
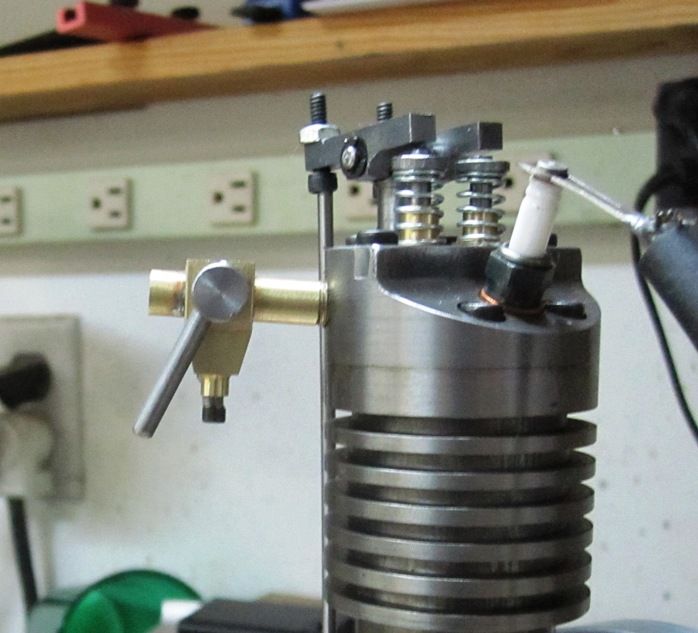
While I really liked the design of my previous carburetor, it has a few things I think can be improved upon.
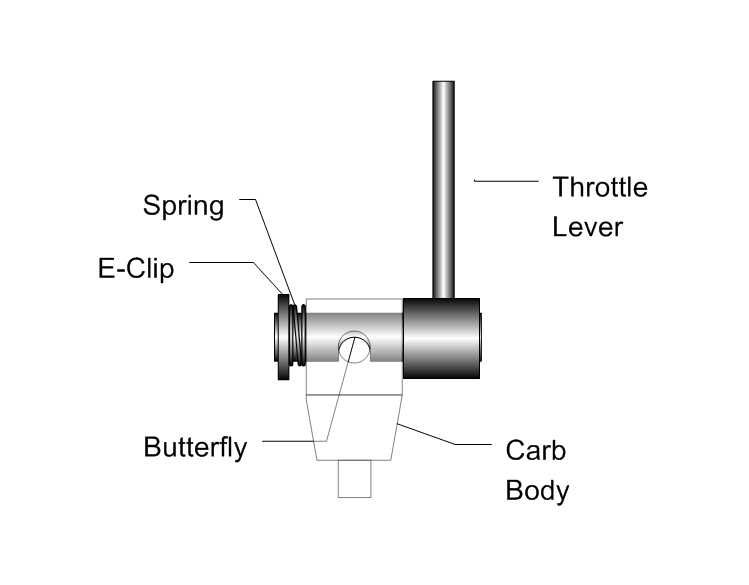
First, while the screw-in throttle was simple and elegant, it just doesn't fit well enough to consistently control the air and fuel. I soon discovered that even with the throttle screwed all the way in, the engine tended to keep running which means some air (and fuel) was getting by.
Second, the separate needle valve assembly was more complex than it needs to be. And, the sewing needle used for the mixer doesn't have the ideal shape... it should be conical, not elliptical.
Third, most model airplane carburetors I've seen have the needle valve coming in from the bottom of the carb, not the top. Maybe their design is just simpler or cheaper, or maybe they know something I don't.
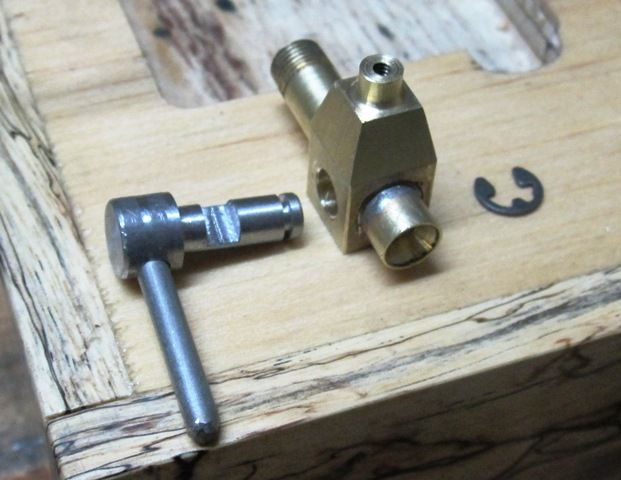
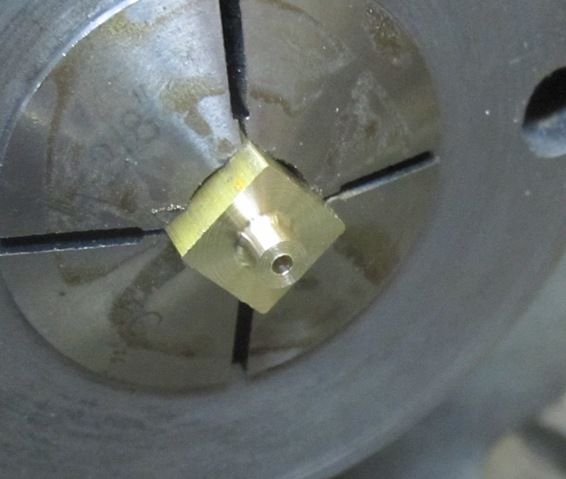
So, here we go with a new design that more closely approximates those of commercially available RC carburetors. I started with a piece of 3/8" square brass bar chucked in the lathe and cut a round boss on the end.
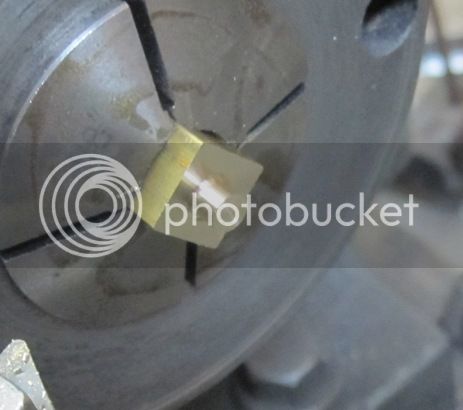
Next, I drilled a 1/16" hole about 1/2" deep through the center.
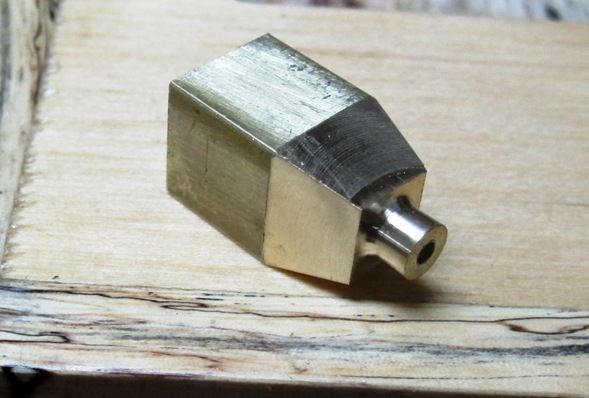
Then I tapered all 4 sides of what is to become the bottom of the carburetor. This is done partially for appearances and partially to make it easier to affix the fuel supply nipple.
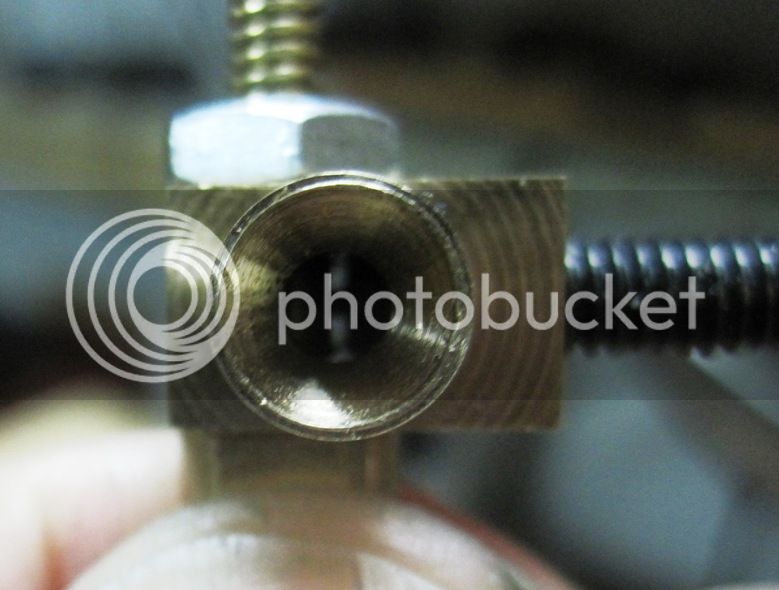
Next I drilled and tapped a 6-32 hole in one side. The fuel supply nipple will screw into this hole, which connects with the center hole drilled earlier.
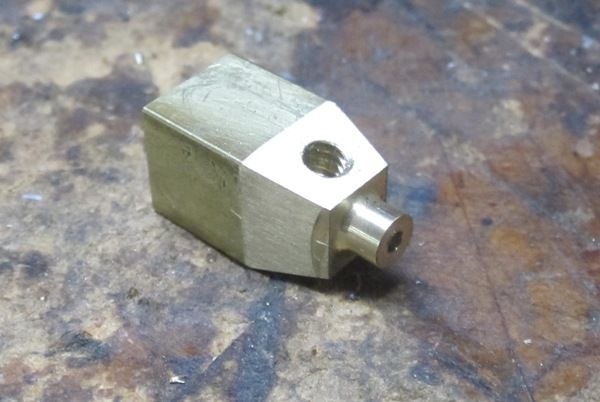
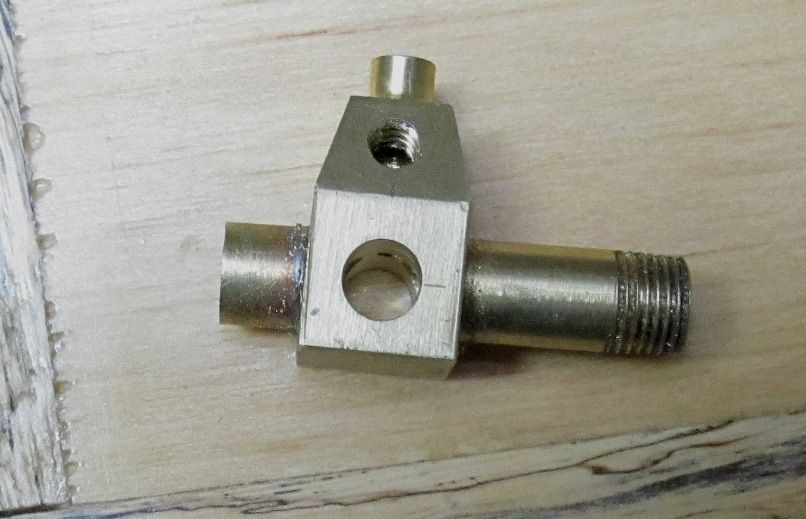
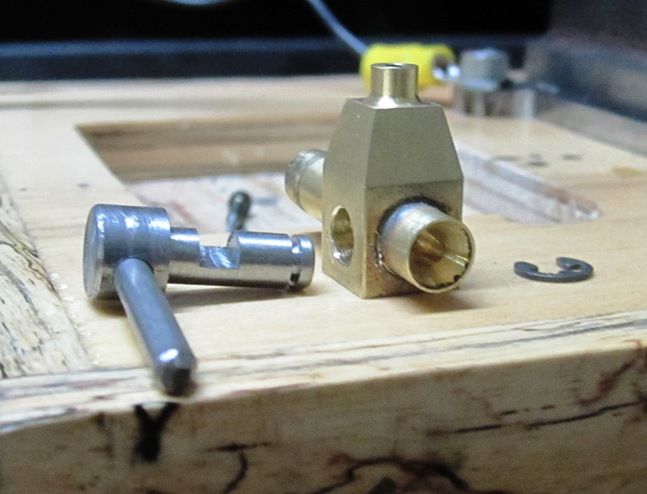
Then I cross drilled a 1/4" hole which will receive the venturi tube...
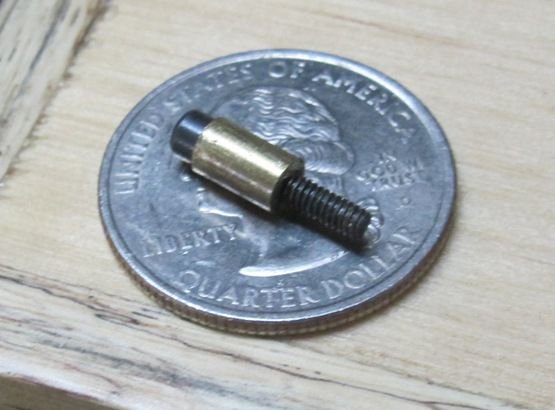
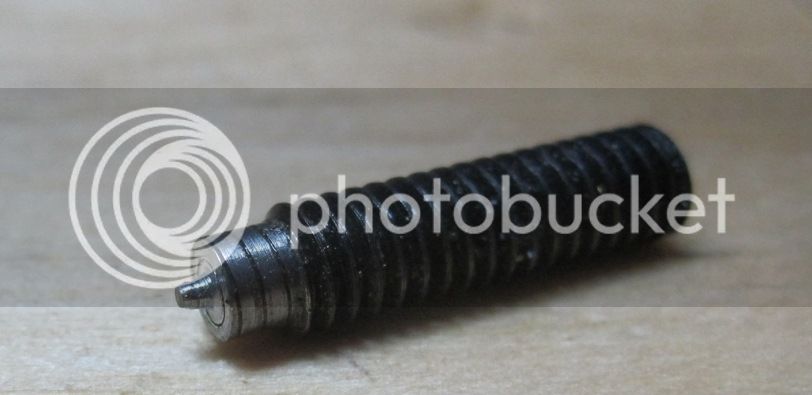
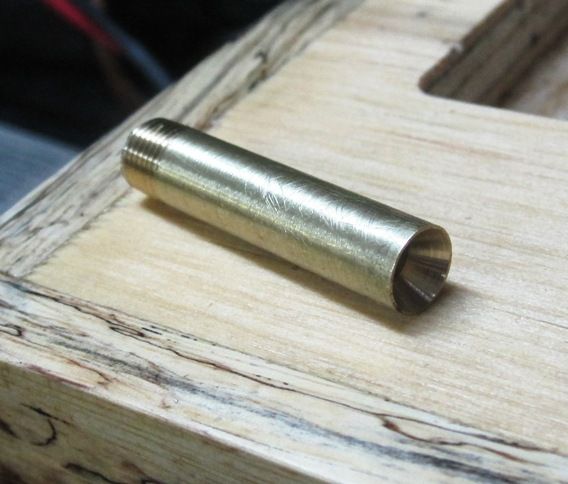
Here is the venturi tube. I started with 1/4" brass rod, drilled a 1/8" hole through the center, threaded one end with 1/4" model pipe taper threads, and used a countersink drill to open a taper for the air intake on the other end.
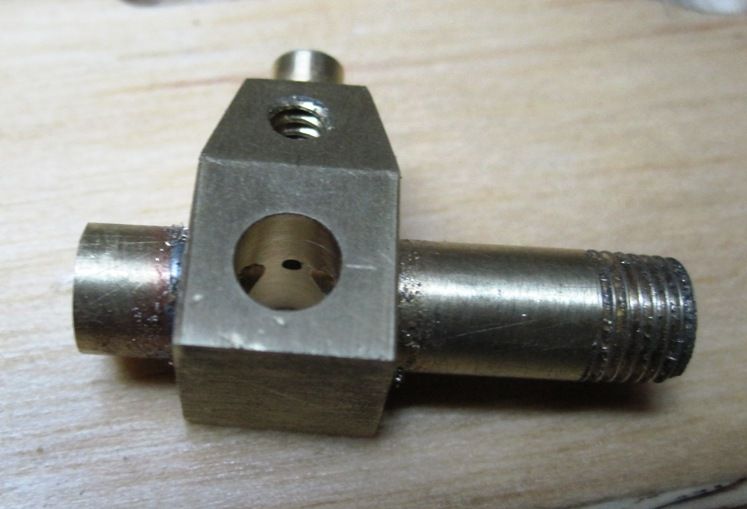
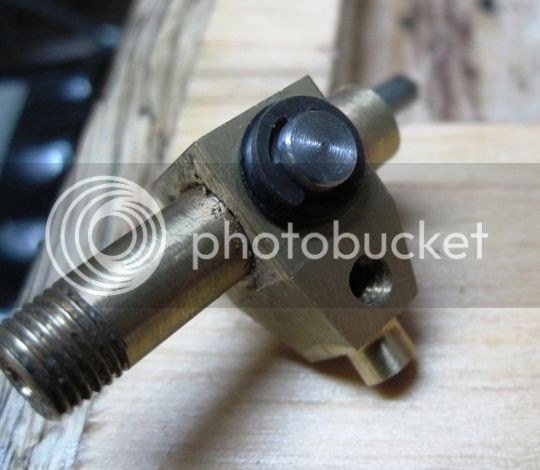
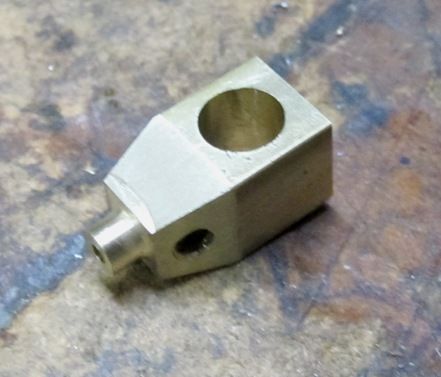
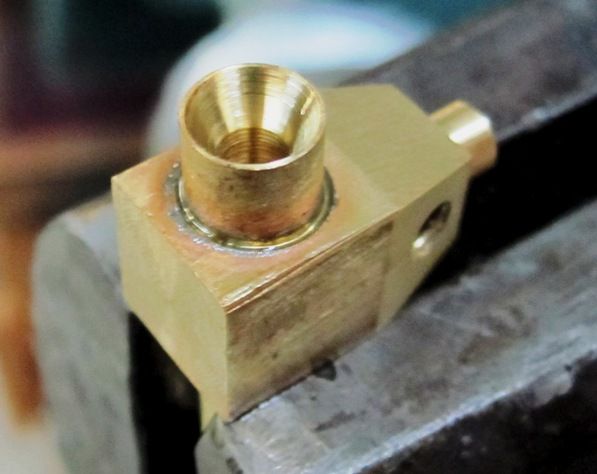
Then I soft soldered the venturi tube into the body. I cleaned both parts with denatured alcohol, slathered on some plumber's flux, fixed it in the vise, placed a ring of solder around the joint, then heated it from below with my Mapp Gas torch until the solder melted and flowed into the joint.
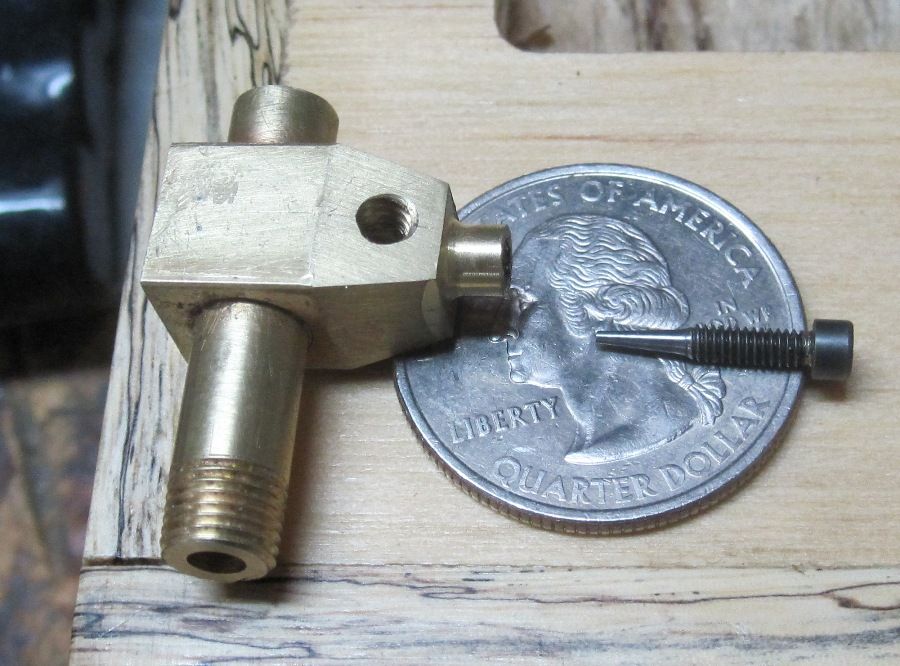
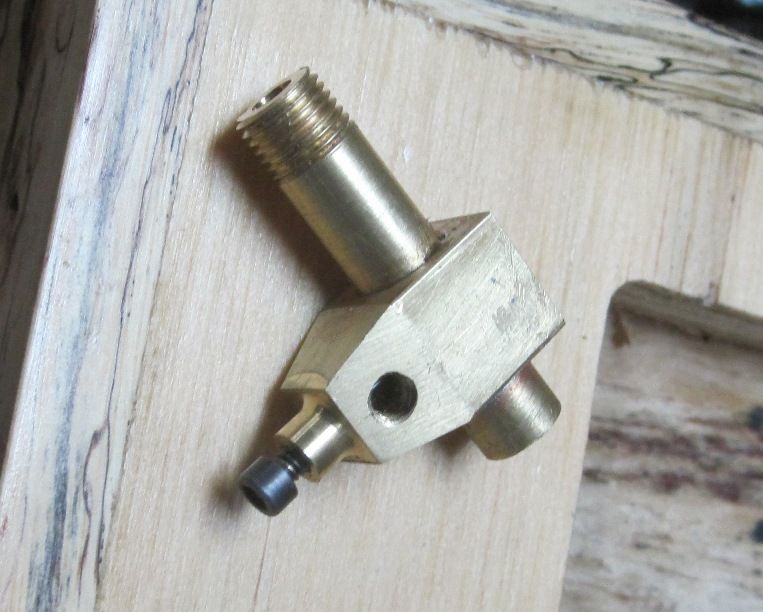
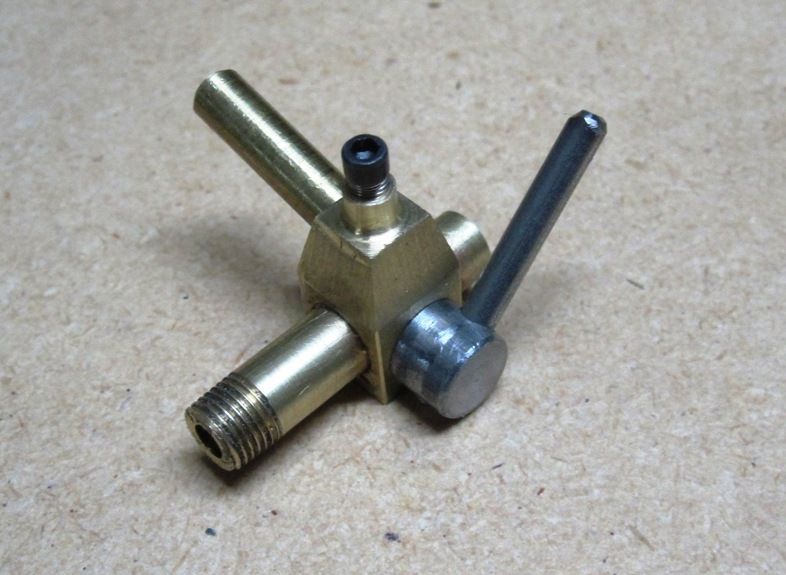
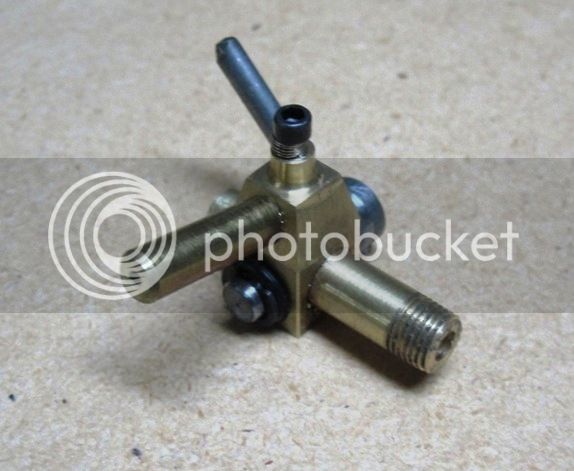
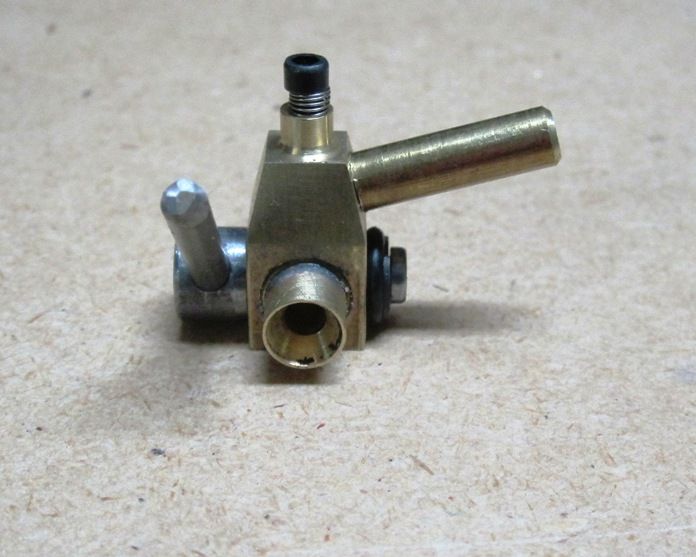
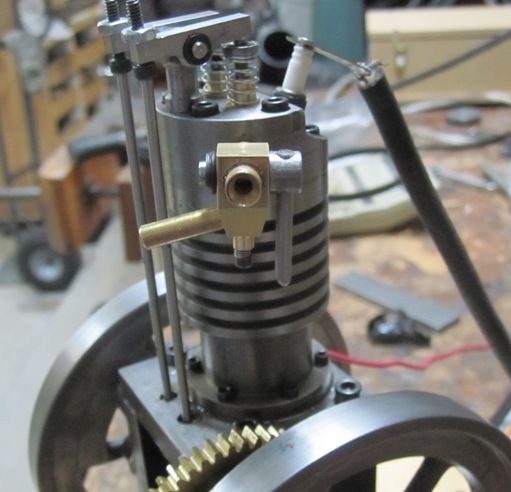
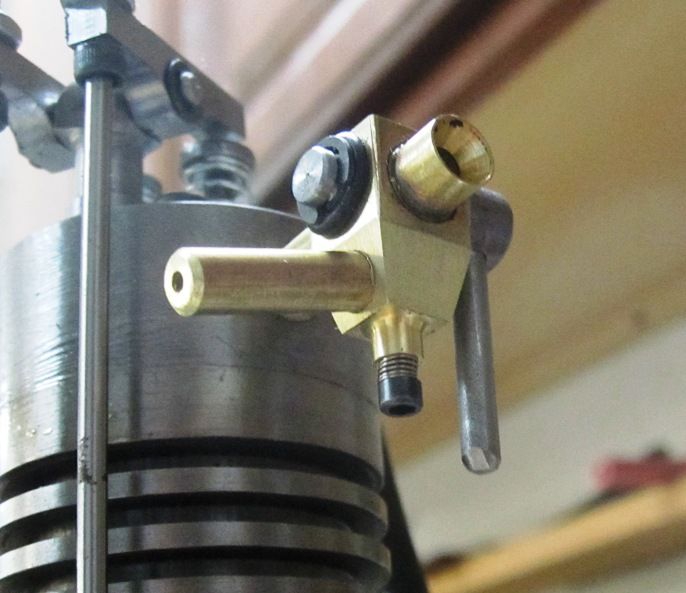
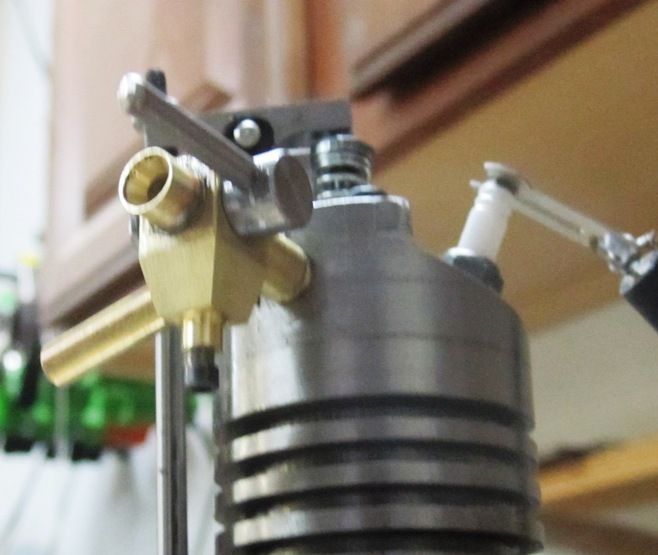
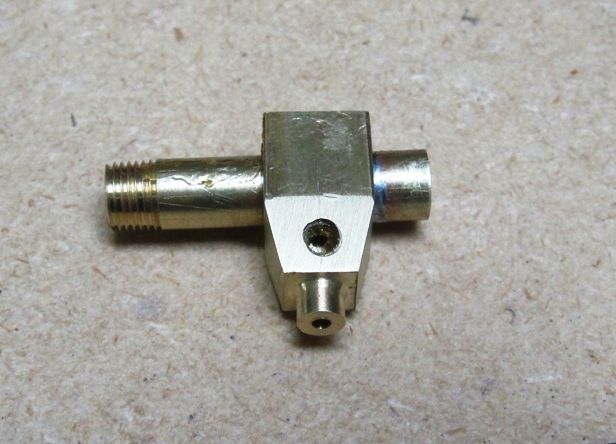
And, here is the built up carburetor body so far...
Chuck
First, while the screw-in throttle was simple and elegant, it just doesn't fit well enough to consistently control the air and fuel. I soon discovered that even with the throttle screwed all the way in, the engine tended to keep running which means some air (and fuel) was getting by.
Second, the separate needle valve assembly was more complex than it needs to be. And, the sewing needle used for the mixer doesn't have the ideal shape... it should be conical, not elliptical.
Third, most model airplane carburetors I've seen have the needle valve coming in from the bottom of the carb, not the top. Maybe their design is just simpler or cheaper, or maybe they know something I don't.
So, here we go with a new design that more closely approximates those of commercially available RC carburetors. I started with a piece of 3/8" square brass bar chucked in the lathe and cut a round boss on the end.
Next, I drilled a 1/16" hole about 1/2" deep through the center.
Then I tapered all 4 sides of what is to become the bottom of the carburetor. This is done partially for appearances and partially to make it easier to affix the fuel supply nipple.
Next I drilled and tapped a 6-32 hole in one side. The fuel supply nipple will screw into this hole, which connects with the center hole drilled earlier.
Then I cross drilled a 1/4" hole which will receive the venturi tube...
Here is the venturi tube. I started with 1/4" brass rod, drilled a 1/8" hole through the center, threaded one end with 1/4" model pipe taper threads, and used a countersink drill to open a taper for the air intake on the other end.
Then I soft soldered the venturi tube into the body. I cleaned both parts with denatured alcohol, slathered on some plumber's flux, fixed it in the vise, placed a ring of solder around the joint, then heated it from below with my Mapp Gas torch until the solder melted and flowed into the joint.
And, here is the built up carburetor body so far...
Chuck
")