Carburetor information

Home Model Engine Machinist Forum

Help Support Home Model Engine Machinist Forum:

This site may earn a commission from merchant affiliate links, including eBay, Amazon, and others.

gbritnell

Project of the Month Winner!!!
Project of the Month Winner
Joined
Jul 16, 2007
Messages
2,987
Reaction score
1,056
The topic of carburetion has come up on several threads, one on Steve's straight eight engine and another one that Chuck started.
This is going to be an open discussion on carb operation and design. Everyone who has built an IC engine has used a carb, whether of their own design, a copy of another or a store bought unit.
I have been fooling with them for quite awhile and have built several different types.
When I first built my 302 engine I made up a rather sophisticated carb, by that I mean it had a float, an idle circuit, a high speed circuit and a blade type throttle plate. The first problem was getting the float to seal. The float itself was made from .002 brass shim stock and soldered together. The problem was that the float didn't have enough displacement so it didn't apply much pressure on the needle valve. I eventually eliminated it and went to a gravity feed to the carb. It worked ok but not to my liking.
I attended the NAMES show at Wyandotte, Michigan the one year and Lee Root had his small Chevy motor operating. It had an oversized Stromberg type carb on it. I tried talking to Lee and asked him questions but he wasn't the most forthcoming person on his accomplishments. Awhile later SIC magazine published the drawings for Lee's carb. I thought, Oh boy, this is just what I need. I built the carb according to the drawings. This was more complicated than the original one I had built. Along with the float and separate fuel circuits it had an accelerator pump and choke. I got it finished and made an adapter plate for my 302. This carb required that the fuel be pressurized to get it from the fuel tank to the carb. Being new to this aspect of the hobby and not being able to gather much information about pumps I made a small piston pump, kind of like on an old Coleman stove. That part of it worked fine but I still had problems with the float sealing. Sometimes it would and sometimes not.
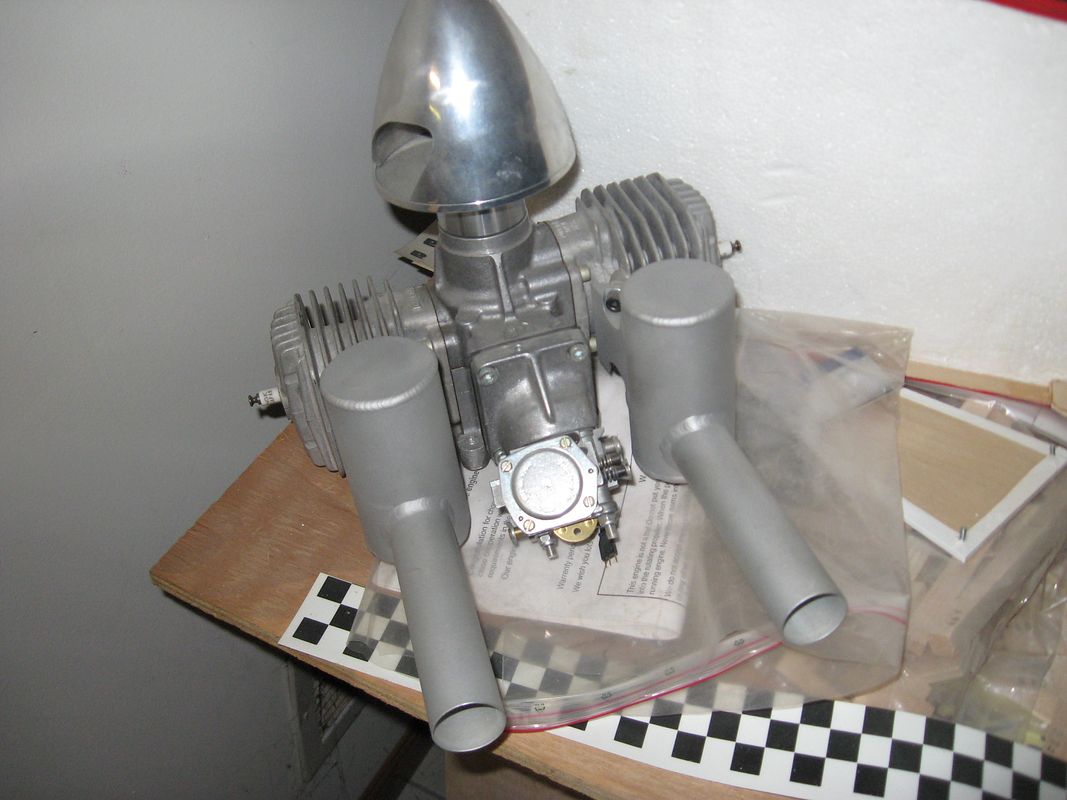
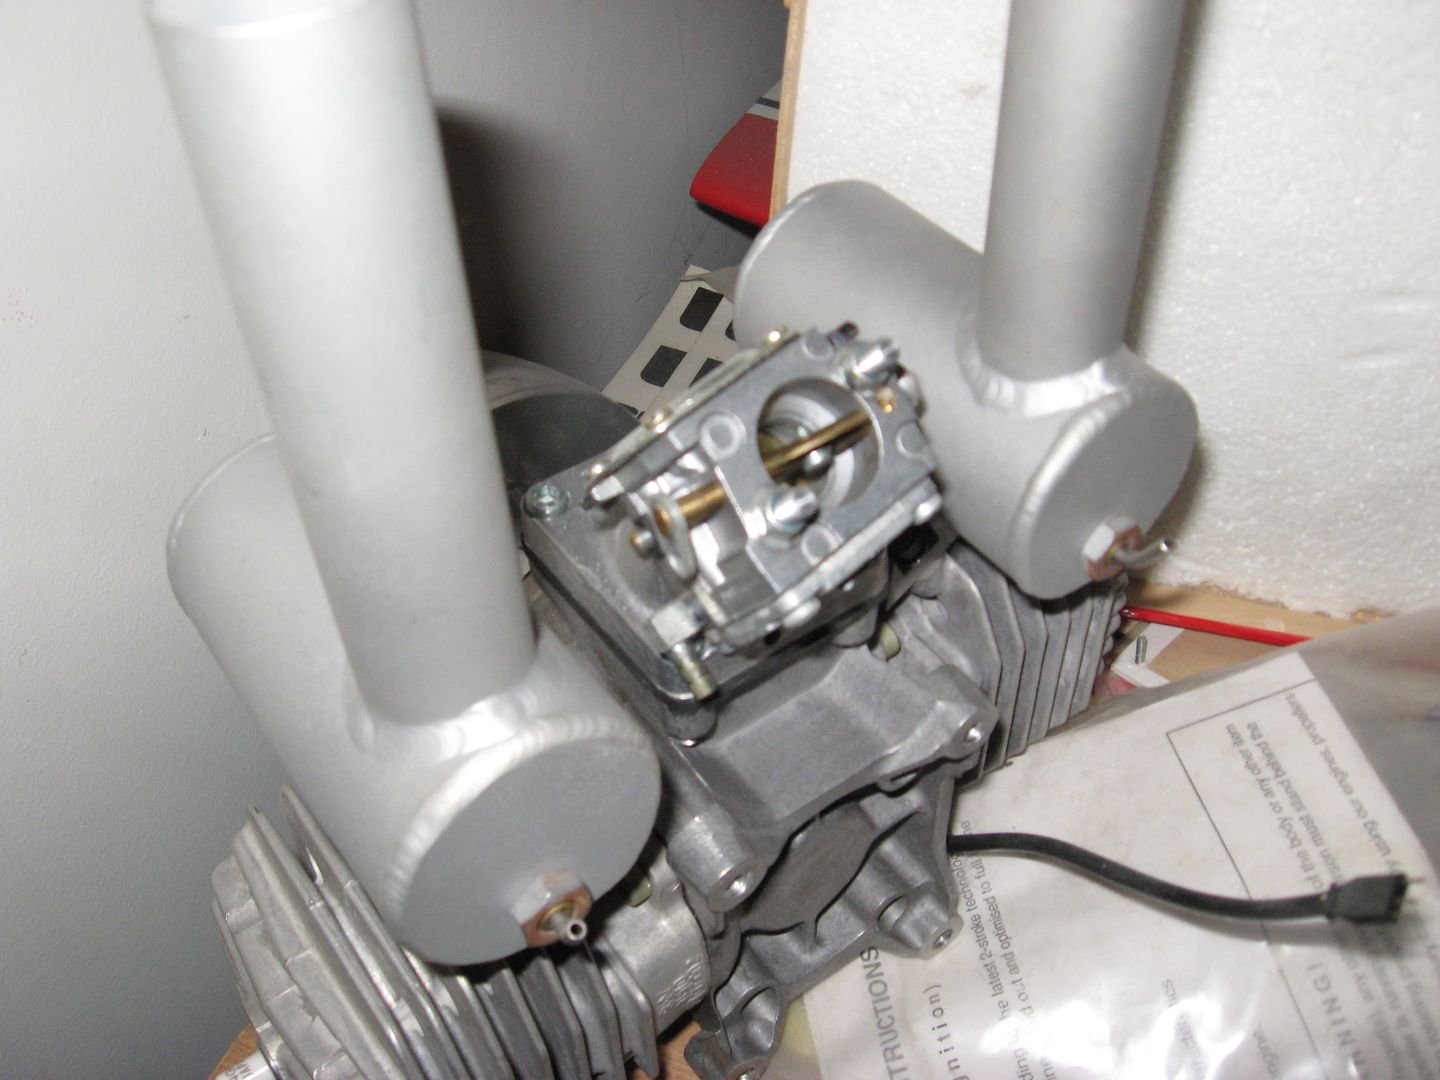
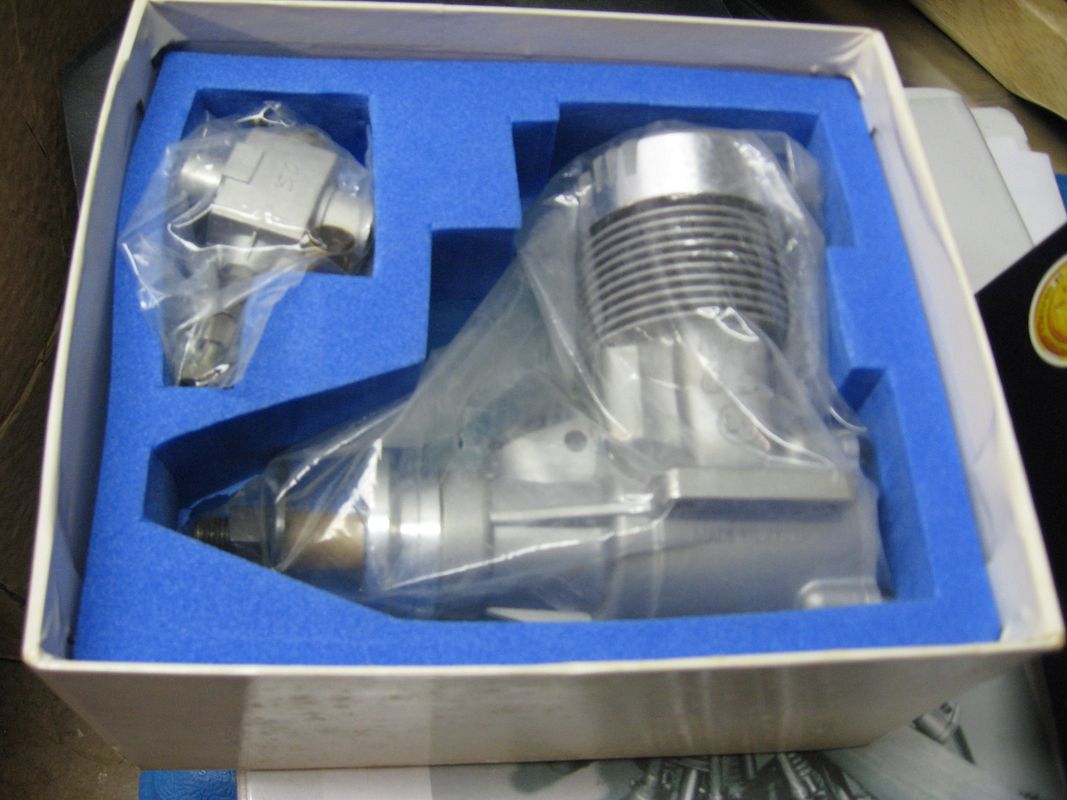
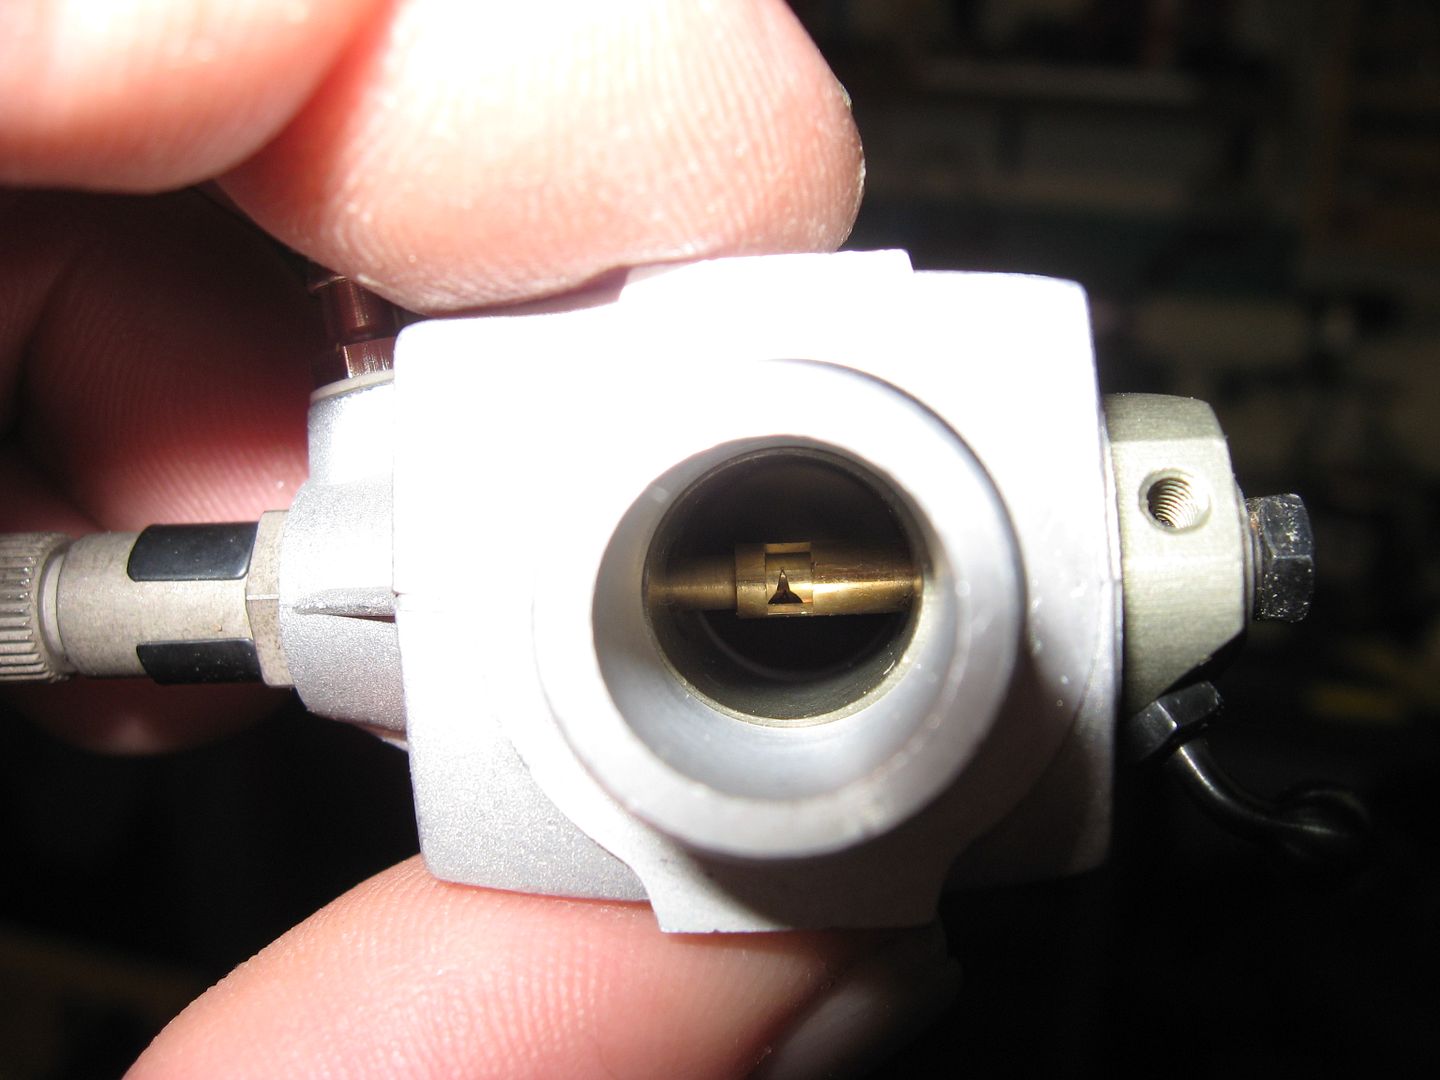
I got frustrated fooling with it so I moved on to other carb types. I am including several pictures of the Lee Root carb.
This evening I will continue with this discussion. My wife and I are going out for our first motorcycle ride of the season.
George


carb 1.jpg


carb 2.jpg


carb 3.jpg


carb 4.jpg
 
George, thx for starting this thread. Carburetion seems to be the bane of most model IC engine builders, and it certainly is mine. One thing that constantly puts me off is their seeming complexity. I'm willing to sacrifice some functionality for simplicity. All I really want to do is be able to control the speed of the engine and if it requires some manual tweaking of the mixture when I change speeds, that's OK, too.

I've looked at some drawings, notably from Jerry Howell, but also others, and, not being a draftsman or engineer, I can't make heads or tails of how to build one. So, I'm hoping this thead will evolve into something very worthwhile for all us carburetor challenged folk.

Chuck
 
I guess I should step back and start closer to the beginning. By that I mean I should probably give a little background on carburetion, both full sized and the model type that we're interested in.
My teenage years were the late 50's and into the 60's. All my buddies were into cars, whether stock or hot rodded. Through my friends and reading the car publications of the day I learned about carburetors, how they worked and how to adjust them.
The basics are simple, mix the right amount of fuel with the required amount of air and the engine will run properly/cleanly. If it's too rich performance will fall off and the plugs will become sooty and fail. If it's too lean missfiring will occur and heat will build up sometimes to the point of component failure, namely plugs, valves or pistons.
The automobile carburetor has four basic stages of operation, starting which requires a richer mixture, idle, acceleration and high speed running. All of these functions are governed by the air flow through the carb. Sometimes the mixture is close to 14.7:1 and sometimes it's not, but generally always favoring the rich side.
In the final days of the carburetor's life span they were developed about as far as they could go but were still basically polluters compared to fuel injection so they had to go.
The early manufactured carburetors had one adjustment on them, the idle air mixture screws. The rest of the control was by jets and orifices that through engineering was calculated for the best performance. Yes you could change the main jets but without proper measuring equipment it was a seat-of-the-pants affair.
Motorcycle carburetors have always had much more adjustment to them than automobile carbs. Yes there is still the idle air mixture screw but along with that you could change a needle and jet for mid range operation and the main jet for high rpm performance. Here again without proper measuring tools about the only way you could determine if you had things close was to take the bike out, run it, shut it off and check the spark plugs. Not the most scientific way of doing things but plenty of mechanics got by this way.
The most noticeable adjustment was the idle mixture screw. The procedure was to start the engine and let it warm up, adjust the idle stop screw so that the engine would idle as low a possible without stalling and then adjust the mixture screw. First you would turn it in until the engine started to stall (too lean) and then back it out until the engine would slow down (too rich). In the course of doing this as you would near the sweet spot you might have to readjust the stop screw to get the idle speed back down. Once you were close the normal procedure would be to turn the mixture screw about 1/8-1/4 turn to the rich side. This applies to any machine you're working on, car, motorcycle, lawnmower etc., although small engine equipment, lawnmowers, weed eater, snow blowers etc. no longer have adjustment screws on them. The manufacturer calculates what jet sizes the engine needs and builds the carb accordingly, all to meet pollution regulations.

Now on to model carburetors. The simplest type would be the fixed venturi type like the ones found on hit and miss engines and for that matter small model airplane engines like the old .049 Cox engines found in control line planes.
What is a venturi? The venturi is a reduction in diameter found in the middle of the carburetor body. As the air flows through the carb it's velocity increases in the venturi area and with that a greater vacuum signal is formed. This is where the fuel jet is located. Being as both of these engines are basically fixed speed engines the only thing required is to start them up and adjust the needle until the engine runs at it's best. If you have fooled with a hit&miss engine you will notice that if you adjust the governor screw to bring the rpm up sometimes a small adjustment is needed to get the engine running cleaner. That's because as more air flows through the carb the vacuum signal changes and the fuel must be metered to match that flow.
Now we'll talk about the variable venturi carb. The early types used a rotating barrel within the body of the carb. If you look at drawings for any of the small IC engine carbs they all used this style, even the model airplane carbs. The principle is the same, the barrel has a smaller diameter hole than the inlet and outlet thus creating a venturi. The problem now is that as the barrel is rotated to allow more or less air through the carb to change the speed of the engine the fuel must be metered to match the airflow. The easiest way to do this is to add what is called an air bleed to the carb.
When you start an engine with this type of carb the first thing that you do is open the carb fully and adjust the needle until the maximum rpm is reached. You can hear the engine speed up or slow down as this adjustment is made. As I mentioned earlier once this point is determined the proper thing to do is adjust the needle a little to the rich side just to prevent burning up the engine because of a lean condition. Now as you close the throttle down to idle the engine will become very rich. Why, because you're pulling less air but the needle adjustment hasn't changed. To compensate for this the air bleed is adjusted. The air bleed is nothing more than a hole that goes directly from the outside of the carb into the side of the bore. It has an adjusting screw that opens or closes this hole to lean out the rich condition of the carb. As you adjust this screw you should hear the engine change speed. As the rpm goes up you are leaning the mixture out and getting the engine closer to the proper air/fuel ratio. Now you adjust the stop screw which controls the closed position of the barrel until you can get the engine down as low as it will go without stalling. If you find that the engine doesn't respond to the air bleed adjustment it means that the air bleed hole isn't large enough.
Another thing to keep in mind when using a model airplane type carb is that they are designed to use alcohol fuel which has a different air/fuel ratio than gasoline.
George


Here are a couple of pictures of an air bleed type carb. In the first picture you are looking through the venturi of the carb. At the bottom of the bore you can see the jet protruding. At the top center is the actuating arm. The screw at the top right is the throttle stop screw and the screw at the top left is the air bleed adjusting screw.
The second photo shows the airbleed hole in the side of the carb. I'm sure there is a proper size and placement of this hole but whenever I make a carb of this type I just copy what I have in front of me and make adjustments for the displacement of my engine. Here again this is not a sophisticated model airplane type carb. It's basic function is to idle clean and run clean at high speed. There's not much control over the mid range mixture but then model airplanes don't run at half throttle much.
George

carb 5.jpg


carb 6.jpg
 
Good stuff G!

I made the carb on the Peewee to the shores plans. The air bleed hole was increased a few drill sizes. The motor seemed to respond and it leaned out a bit at idle. I again drilled the air bleed bigger but after a few more sizes, It stopped responding to the hole getting bigger and it still runs rich at idle.

I have the plans for the Jerry Howell V4 carb he calls the "2 jet" carb. Do you know about this carb or any other carb design that would work well on an engine the size of the peewee. I don't see the point in building another one like the minimix.
 
Hi George,
Most of the carbs I have on my airplane engines have the "butterfly" barrel on a helix. It's supposed to give smoother transition and better mid range. As the helix moves in and out the needle valve seat follows along. I'm just going on memory, it's been 5 yrs since playing with them. I'll double check when I get home.

I was even thinking of some venturi size to displacement measurements. Maybe we can interpolate the size for a particulate engine size. I have .10, .60, 1.08 glow 2cyc and 1.20 4cyc glow 4.2ci gas and 85cc gas twin. Multi cyl just need enough carb for one cyl since one cyl will be on intake at a time. My 9 cyl radial calls for a .60ci OS carb. even though it's full disp is ~150cc.

Tony

 
Model airplane carbs have come a long way. These pictures are of an OS carb that has done away with the airbleed. What we have here is a carb that incorporates an idle adjustment, a mid range adjustment and a high speed adjustment.
The first picture shows the venturi with the metering tube inside of it. The way that it works is it has one tube inside of another. The inner tube has a tapered slot running along the wall of the tube. As the outer tube rotates with the throttle barrel it uncovers more or less of the taper thus controlling the mid range of the engine. The idle has it's own screw adjustment and the high speed is still with the needle valve. The manufacturer gives you approximate presets for the carb but ultimately it is similar to the simple one, adjust for high speed first because the needle controls the fuel flow. Next you do the idle but instead of an air bleed you are moving the postion of the outer tube relative to the inner one which has the tapered slot. On this type of carb you are adjusting the fuel mixture throughout the entire operating range. The last picture shows the mid range and idle adjusting screws.
I bought this carb with the idea of using it on my 302 and I sized it accordingly. The only problem was that, as I stated earlier, it's made for controlling methanol and that's not the same a gasoline so even though I calculated for a smaller displacement the fuel ratios are way to high.
At this point someone might ask, "why not just use alcohol/methanol?" Gentlemen, I don't need any more complications than I already have. When I get this whole carb thing sorted out maybe I'll try some other type of fuel.
George

carb a.jpg


carb b.jpg


carb c.jpg
 
Last but not least is the latest iteration of the model airplane carb. It's a take-off of the cylindrical slide type motorcycle carb. The slide moves up and down at right angles to the bore. Mounted to it is a tapered needle which comes out of a needle jet. The idle is controlled by how deeply the needle is adjusted into the needle jet. The mid-range is controlled by the taper of the needle. The farther it comes out of the jet the more the fuel flows. And finally when it's wide open the needle controls the amount of fuel.
Personally I'm not into RC type activities, Lord knows I spend enough on my end of the hobby, so as far as the merits of each of these carbs you would have to talk to someone that fools with them more than myself. I have been on the RC universe website and read what others have written and as with anything I read some good and some bad for each type of carb.
George

carb d.jpg


carb e.jpg
 
While composing these treatise Steve jumped in with a question about the Jerry Howell carb. Steve, funny you should ask. I was just about to get to that segment. When I said I had built and fooled with many carbs I wasn't kidding.
First a little more carb fundamentals background. On an automobile carb as with any carb you have a venturi. We have already covered this but on an auto carb it comes into play twice. Once is the necked down area in the middle of the carb where the high speed nozzle is located. It's more complicated than that but let's just leave it there.
The next area is at the throttle plate. The throttle plate is the circular device that when rotated opens and closes allowing more or less air into the engine. When it's wide open the main venturi pulls the fuel from the float chamber due to a high vacuum signal but when it's closed, or almost closed, it creates it's own venturi, or high vacuum area. Remember as the air flow goes through a restricted area the velocity increases. With the throttle plate at the idle position there is a small passageway in the wall right next to the throttle plate. This is the idle port. The high vacuum pulls fuel from that port and the amount of fuel is controlled by the idle mixture screw. As the throttle plate starts to open the vacuum signal changes position and if you ever had occasion to look inside an automobile carb you will see a series of holes running up the wall. Each one allows fuel to flow as the throttle is opened until the point that the main venturi takes over.
One of the main reasons that modelers don't make this type of carb is because in full sized practice the throttle plate is screwed to the throttle shaft so if you have say a carb with a .280 bore you can imagine how small the screw would be to fix the plate to the shaft. I'm not saying it can't be done, I have one, but it's a pain.
Now come Jerry Howell. He makes a little carb that uses a throttle plate but made a different way than it's full sized brothers. He takes a piece of round stock for the throttle shaft and machines the middle of it into a plate, each side having a tapered edge for better air flow. Now instead of drilling tiny internal ports in the body of the carb he drills the shaft and then drills another hole at right angles which exits at the thin edge of the throttle plate. When the plate is at idle position the hole is presented to a high vacuum area and fuel is pulled through it. As the plate opens and the vacuum signal decreases he has another tube which acts like a venturi. It also has a cross drilled hole which supplies fuel. Each circuit has it's own adjusting screw. I built one of his carbs and was trying it out on my Holt. I was having other issues at the time but didn't know exactly what so when I sorted out the other problems I never went back to his carb. The engine did run on it but I didn't give it a fair chance. Here are a couple of pictures of that carb.
George

carb 7.jpg


carb 8.jpg
 
Remember what I said when I started this topic. I would like it to be an open issue about carburetion. Hopefully others who have had good luck with a certain design or type of fuel metering system will wade in and add to the information.
Here is some information I have gathered about using a Walbro or similar type carb on our engines. Having noticed that some people were using them I started to make some contacts and find out what was required for their use.
Having rebuilt many of these little devils over the years I knew what was inside them but never did know exactly how they worked. I found some very good information online and have saved it on my computer. I sent Steve the PDF file only because it was too large to post here.
First off, they are in fact pumper type carbs. The pumping action comes from the pulses created by the crankcase pressure in a 2 cycle engine. What I thought was the pumper part was the diaphragm connected to the small needle valve under the chrome cover on the bottom. This isn't the case. This part is the flow control valve and is operated by the engine vacuum. When there is air flow (vacuum) it acts on the diaphragm an opens the needle to allow fuel to flow. On the top of the carb is another cover which has a plastic or neoprene gasket with little valves cut into it. This is actually the 'pumper' part.
Now in talking with Ken Hurst (west coast, supercharged engines) he said that the crankcase pulses aren't necessary, just use a low pressure electric fuel pump. It will flow gas through the little flapper valves and won't flood the engine because the main passage won't be open to the needle valves until there is a vacuum signal from the engine running or turning over. I'm about two days away from finding out. I'm just finishing my gas tank and then I'll let you know.
Paul Knapp (Rimfire spark plugs) has a challenger V-8 engine that he uses a Walbro carb on. He made a small air pump to send pulse signals to the carb.
Ron Colonna also uses one but he pressurizes his tank with a small plunger before firing up his engine.
On a final note, while attending the NAMES show in Wyandotte many years back Lee Root had an inline 4 cylinder engine that ran great. While looking at it I discovered it had a small fuel injector. It was a throttle body type carb like the early automotive types. Lee had built this injector and while the engine was running you could look in the carb and see it pulsing fuel. It was fantastic. The only problem was as I stated earlier, Lee wasn't given to handing out information so a lot of his knowledge and expertise went to the grave with him. I vowed that I would pass along any information and knowledge that I had learned through the years to others in this hobby. Why on earth would I keep it a secret?
George D. Britnell
 
George,the slide carb you show is actually nothing new.
I had one on my OS21VF rc racing car engine 30 odd years ago,the carb if i remember right,was made by Picco.The main advantage of this type of carb is the speed of opening,which is important in a race engine.I should also mention that we used .40 sized carbs on .21 size engines.of course,technology has moved on,but I believe this type of carb is still used in rc gas cars today.
I think it's use in home built engines would be fairly limited,because they tend to run a little rich at low speeds.
That said,I'm far from an expert on the subject.
 
There really is no difference in how mixture is metered between the two needle rotary carb and the two needle slide carb. Mid range mixture is controlled by the taper on the needle, but also by the low speed needle setting. They tune OK for gasoline, but end up rich in the mid range. The slide type carb are usually found on RC car engines. These are generally set up for 15-30% nitromethane glow fuel so using such a carb with gasoline will result in a very rich mid range. Airplanes carb seem to work OK, but needles become very sensitive on gasoline. Three needle airplane carbs are few and only found on helicopter engines these days and are also set up for 20-30% nitro. There are some three needle slide carbs for cars.

George, OS in the past has used the flat plate throttle machined in round bar, and YS uses this design currently.
 
gbritnell said:
Motorcycle carburetors have always had much more adjustment to them than automobile carbs. Yes there is still the idle air mixture screw but along with that you could change a needle and jet for mid range operation and the main jet for high rpm performance. Here again without proper measuring tools about the only way you could determine if you had things close was to take the bike out, run it, shut it off and check the spark plugs. Not the most scientific way of doing things but plenty of mechanics got by this way.

Yep. Did plenty of the trial and error / seat of the pants tuning way back when. Had a couple of Ossa dirt bikes with IRZ carbs. The slide had two needles that had multiple grooves with clips and two jets. So you could adjust the height of each needle to the slide and change the jets for either. Used to take the bike out to a dry lake bed to tune it so I could run for extended times at any throttle setting, then shut it off quickly and pull the plug. Crude but when it was finally right the engine was awesome and had great response across a wide RPM range, didn't load up / foul, and started every time.

Thanks for the posts George. Lots of good info. I am still a bit intimidated at the thought of building a carb but am enjoying all the theory and background about them.
 
George,
Thar's an old fasinon carb. Get with the times ;D

Tony
 
Thanks George for the model engine carb primer. This is timely for me as I got a new Traxxis carb on the Webster just last week but didn't have the proper procedure for set up. In just grabbing knobs and twisting screws I started with closed throttle and fuel mix screw to get a smooth idle but the engine would starve and stall around 25% throttle opening. I Googled "R/C forums" Tuesday and got a handle as you say to set mixture first at open throttle. The Webster doesn't seem to care for more than 30% open so I'll set up for max rpm at that point for mixture and use the needle under the throttle arm to limit fuel feed for a great idle. Dave.
 
Longboy said:
Thanks George for the model engine carb primer. This is timely for me as I got a new Traxxis carb on the Webster just last week but didn't have the proper procedure for set up. In just grabbing knobs and twisting screws I started with closed throttle and fuel mix screw to get a smooth idle but the engine would starve and stall around 25% throttle opening. I Googled "R/C forums" Tuesday and got a handle as you say to set mixture first at open throttle. The Webster doesn't seem to care for more than 30% open so I'll set up for max rpm at that point for mixture and use the needle under the throttle arm to limit fuel feed for a great idle. Dave.

Which model did you get and how big is the bore?

Thx...
Chuck
 
That's a Traxxis TRX Pro .15 carb from Ebay Chuck. Probaly about a 8-10MM bore.
 
George

I am wanting to build the Webster. Don't care about speed control very much. It won't run very much, just for my own entertainment. Would like it to tune up and start easy. So which carb would be a good choice for a first build (and not lots of experience)?
 
stevehuckss396 said:
Well, what do you got?

Well Mister Hucks

IMG_1138.jpg


IMG_1139.jpg


IMG_1140.jpg


IMG_1141.jpg


IMG_1134.jpg


IMG_1135.jpg


IMG_1137.jpg


IMG_1143.jpg


IMG_1127.jpg


Do you want to see more?

I've been in the model airplane hobby for 50 years. I'm a licensed aircraft mechanic and aero engineer and have every pilot license there is

SO WHAT DO YOU HAVE?
Sorry George, don't mean to mess with your thread but me and Mister Hucks seem to have a problem

Tony
 

Latest posts

Back
Top