- Joined
- Dec 2, 2008
- Messages
- 971
- Reaction score
- 9
I think I am committed or should be. This may be more than I can handle, but I am going to go for it. I have photographed, measured, modeled, cogitated and procrastinated as l long as I can. I think I have identified the more difficult parts and I feel confident that with a little bit of help, I can get through this.
I have not purchased any plans or books that detail building this kind of model, with the exception of a copy of the original manufacturers brochure, not from any purity of purpose, but just because I get the greatest satisfaction from solving problems rather than repeating someone elses solution. That does not mean that suggestions and observations are not welcome. They absolutely are! I just wanted to start with a blank slate. Well not really, I've done a lot of drawings and plans but there will be obstacles ahead that I can't see from here. so please comment If you see me headed down the wrong path.
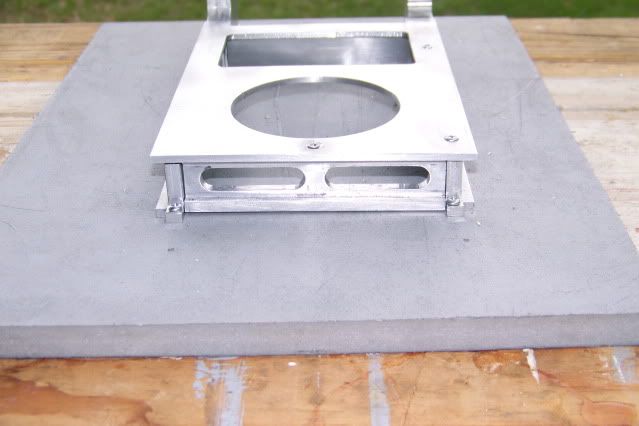
Today I built the first part. I want to build this thing from the bottom up so I started with the base. From what little I have seen of other donkey models, the seem to use formed channel to fabricate the base. I don't know if that is right or wrong, but the example I have to go by seems to use castings for the base elements. The components of the base are either welded or bolted together. The first clue is that the side and back rails include lugs that extend beyond the edge of the lower flange that were used to bolt the unit to the deck or skid. These lugs do not appear to be welded. Also, on the top of the front cross beam, the manufacturer's name "American Hoist & Derrick Co., St. Paul, Minn." appear in well formed raised letters. That's a casting.
I'm not going to start casting. This will be all bar stock or plate but it does make a difference. If the base were channel, you would just drill or burn a hole for mounting bolts. Most available aluminum channel or angle extrusions are to thin to suit this. A trip to the junk yard yielded a 12" length of heavy 6" extruded channel. The back and flanges are 3/16" thick and the flanges are 1.5" wide.
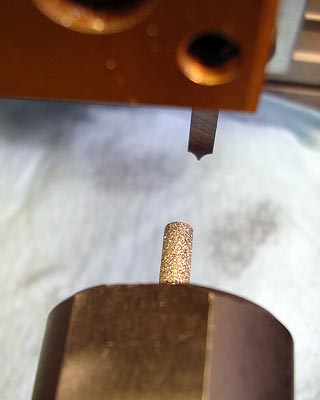
A slitting saw would make this into the material I needed. Slitting saws are expensive so I used an inexpensive alternate. Harbor Freight sells a little (very little) cut-off saw for about $30 that uses a 1.5" dia HSS blade that is very thin. The blades sell 3 for $9.95. Sorry, forgot to measure and the shop's closed, so very thin. Very fine teeth and hollow ground. With a little care, it produces surprising results, Here is a picture of it ripping slices from the channel, making angles.
The thin blade is flexible, so if it is crowded, it will tend to warp and run of line and bind. I make the first pass just to the depth of the teeth, feeding into the cut. I increase the depth of cut on the return pass. (climb cutting), but the grove left from the first pass is full of WD40 so the cut is smooth as fast as I can crank. The next forward pass is to full depth and feed is only a little slower with an occasional spray of WD40. The finish cut is as smooth as you could want.
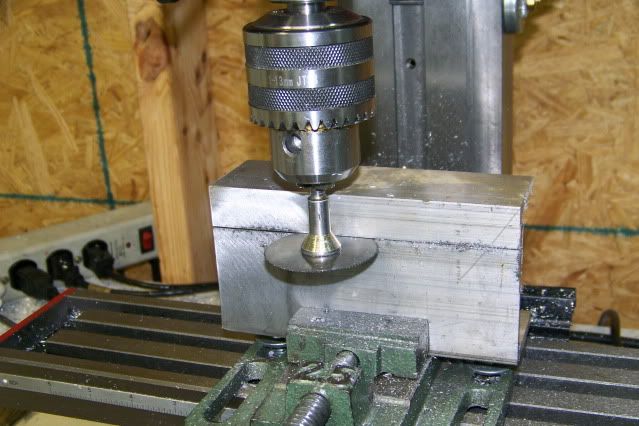
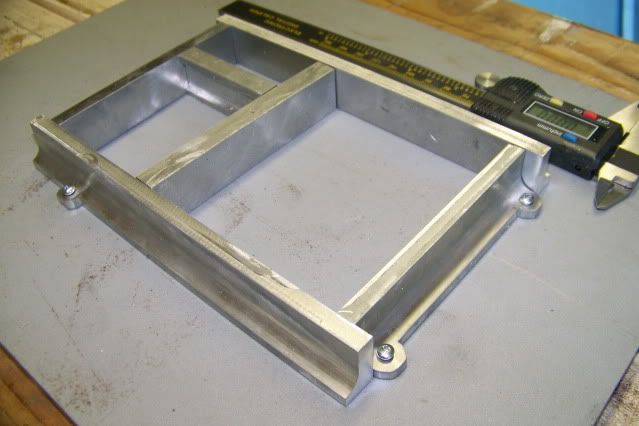
Once the pieces are a little more manageable, ordinary milling techniques yield the finished parts. I show them here screwed down to a piece of high density polyethelene (HDPE) using the above mentioned lugs. Here is the base:
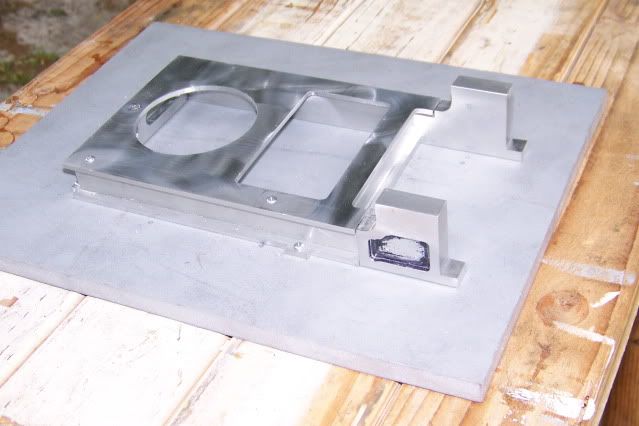
Here is another shot with the boiler (paint can) and hoist gears (not yet), just for scale.
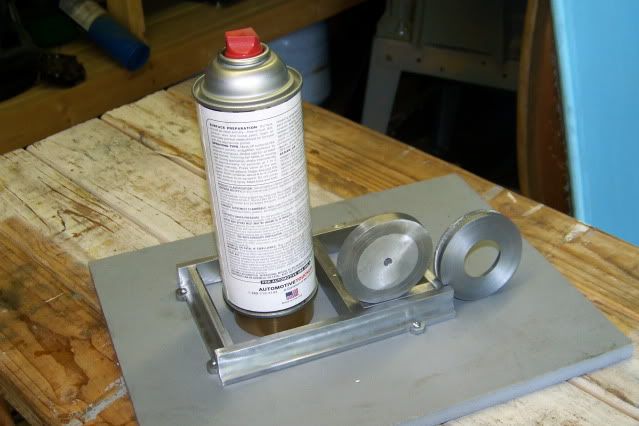
By the way, I have decided to use 1/10th scale. The finished model will be just over 9" long and 5" wide including the front hoist drum that mounts on a bolt on frame extension. At this point, I plan to build the model to run on air, with a simulated boiler for appearance. Whether or not I build a working boiler at a later date is undecided.
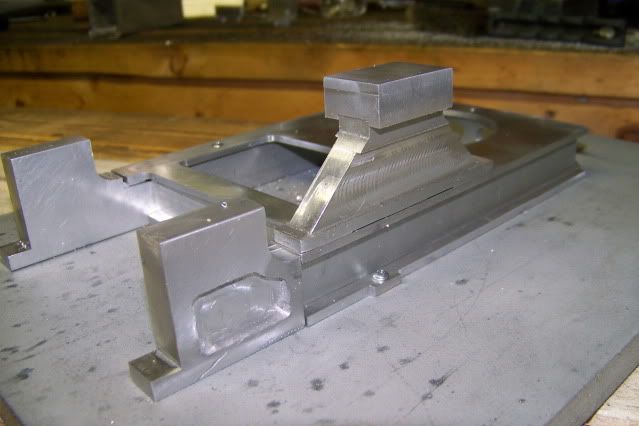
Start the clock, it's under way. Next will be to add the deck plate.
Jerry