body work for a newb

Home Model Engine Machinist Forum

Help Support Home Model Engine Machinist Forum:

This site may earn a commission from merchant affiliate links, including eBay, Amazon, and others.

Speedy

Senior Member
Joined
May 3, 2008
Messages
481
Reaction score
17
so here is attempt #2.
attempt #1 resulted in a epic fail. but I learned and todays attempt went much smoother.

woke up early stopped off at mr.metal. no small 18guage offcuts to give me so they handed me a large piece for free (enough to start patching the jeep after my practice)

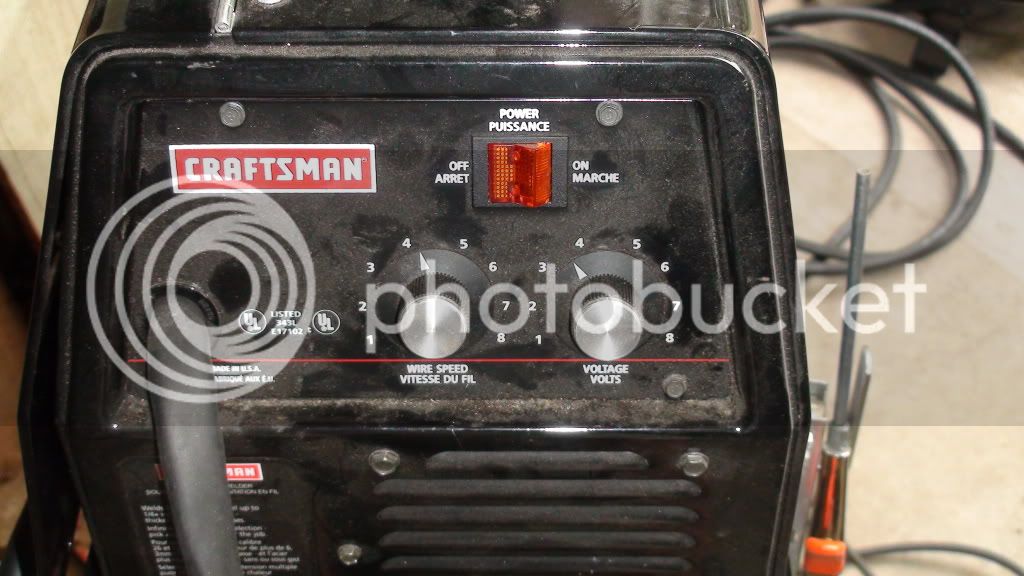
with a nice flat sheet I took out the sawzall (wish I had something better) and cut out a test piece, got out the welder and found its sweet spot.

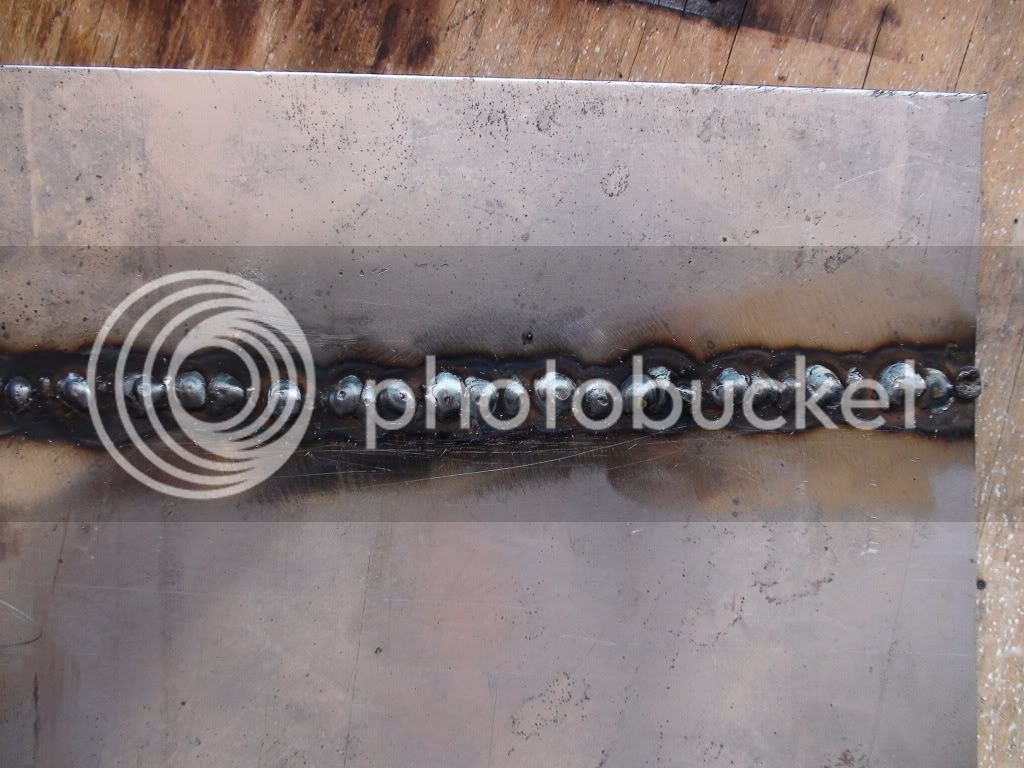
I know everyone is saying low wire speed and low voltage, but I went with what my welding book suggested (3-4 volts) as bench mark and worked from that.

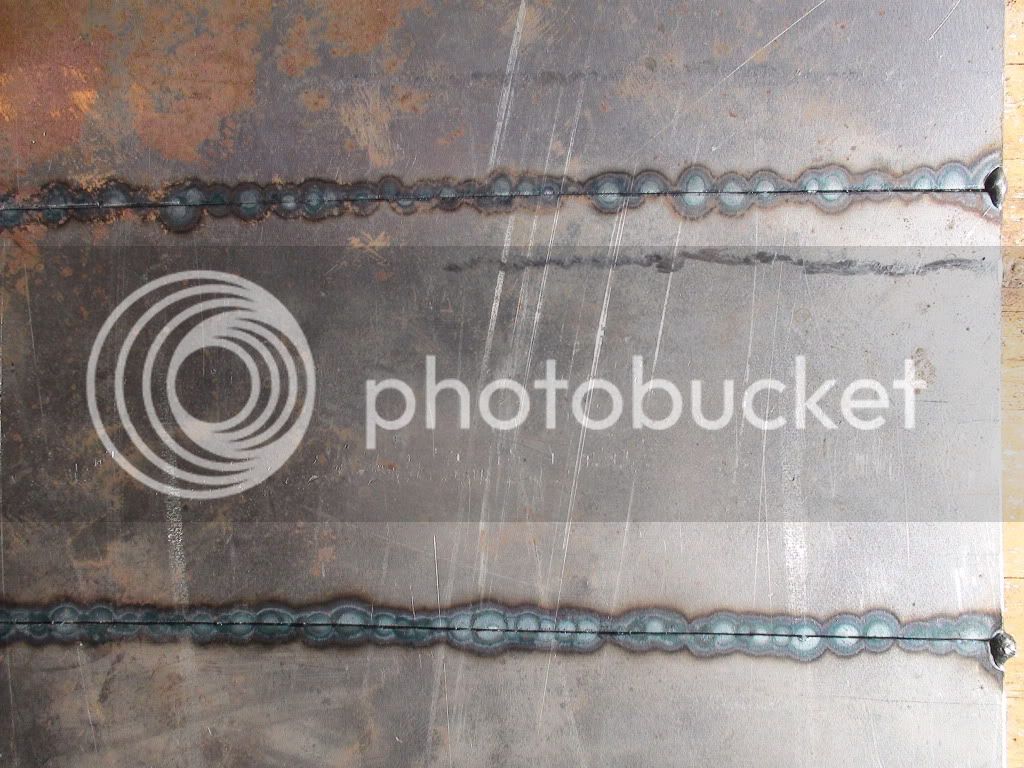
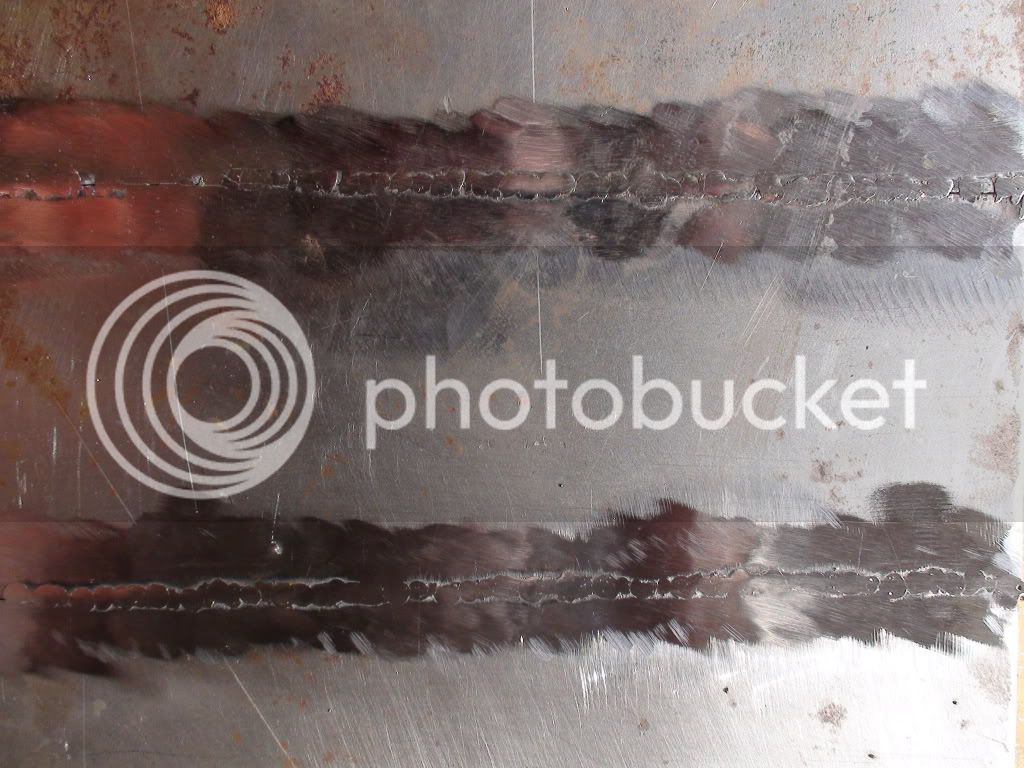
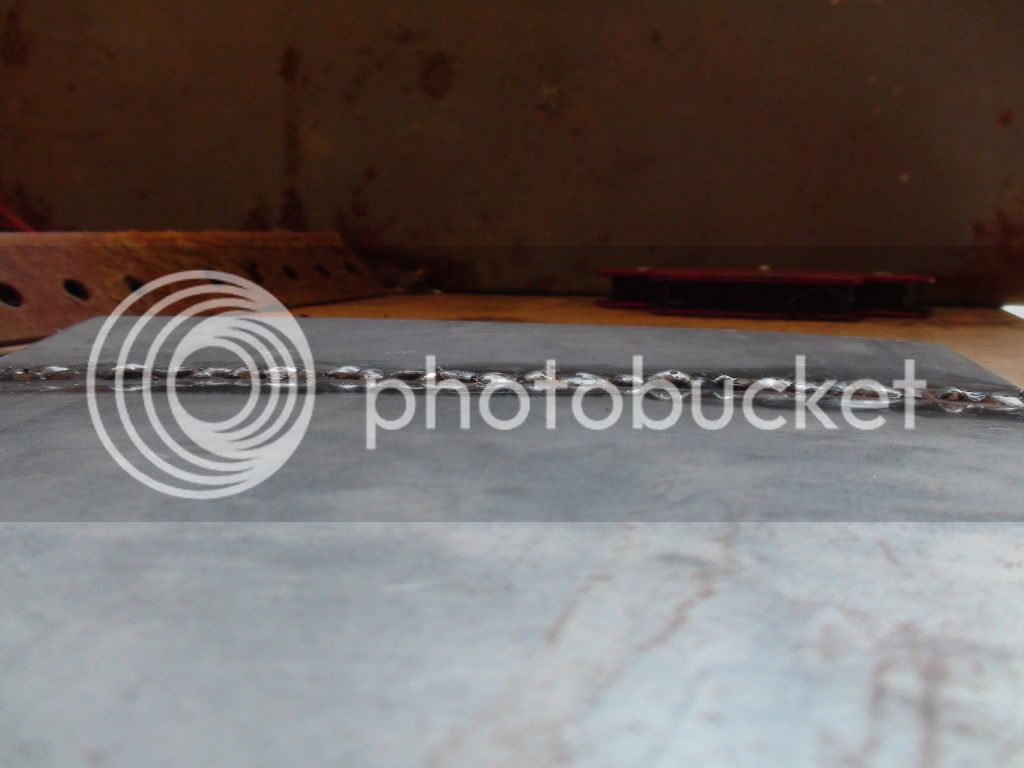
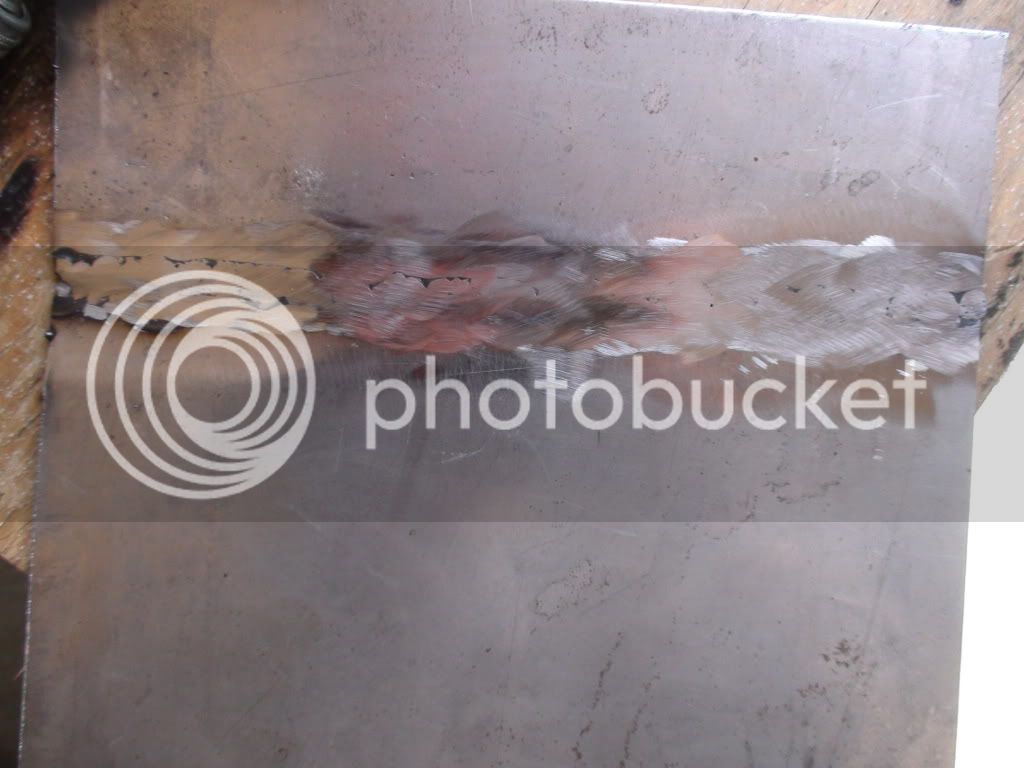
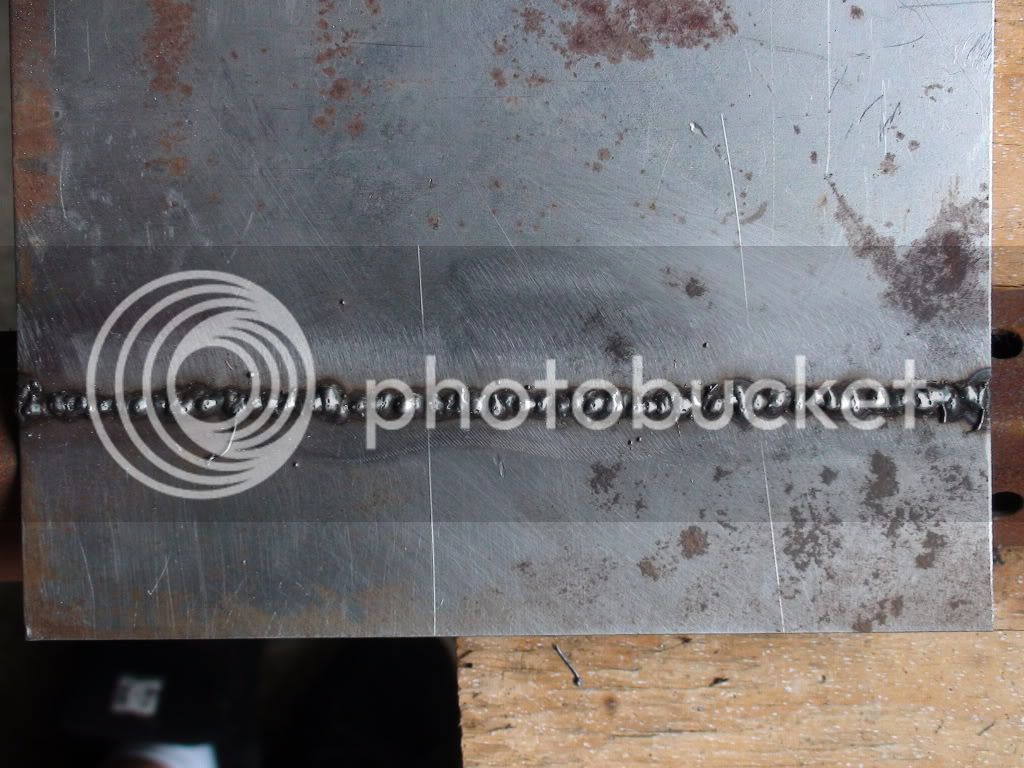
here are some pictures.

DSC00249.jpg


DSC00246-1.jpg


DSC00247-1.jpg


DSC00248-1.jpg


DSC00250.jpg


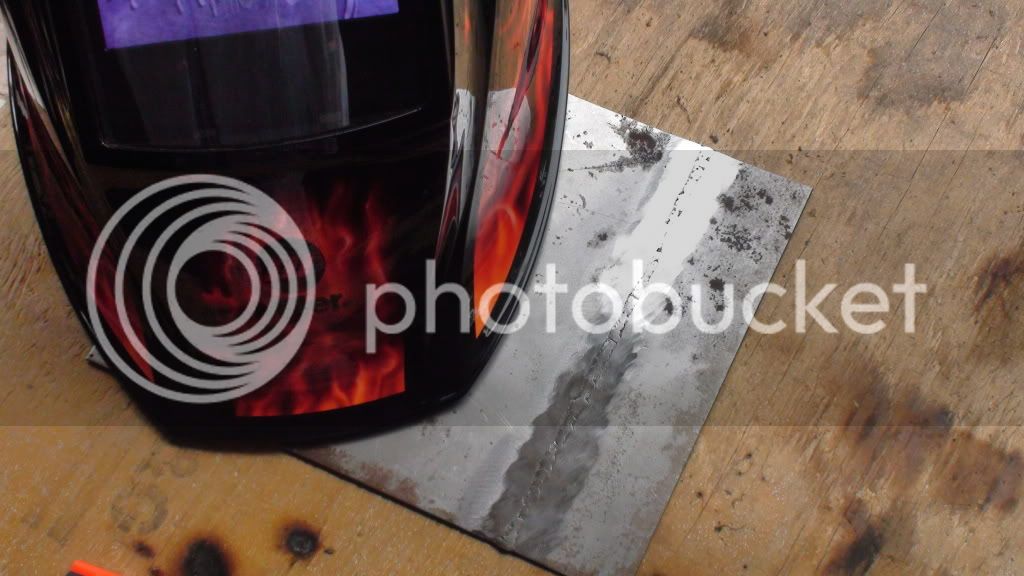
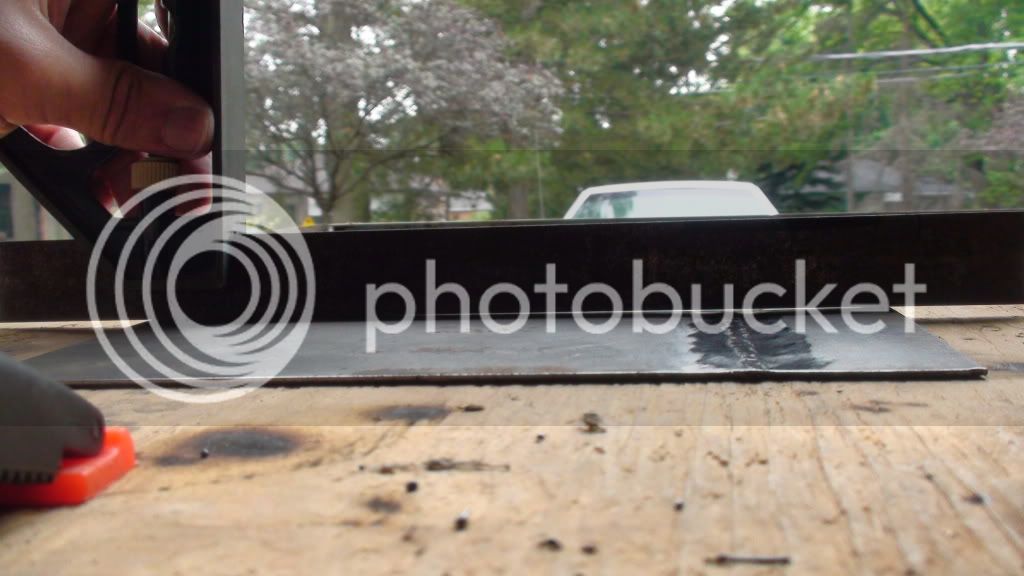
shielding gas was used, compressor to cool down the welds with a blast of air, grinder with grinder wheel, 40 and 80 grit flappers to work it smooth.

I would always start my welds on the big piece of metal and move it to the smaller piece being attached. should I try just following the cut?
 
Speedy, it looks like you stopped and started a bunch of times, and it's like a whole lot of tack welds
strung together. I know you're learning here, so, I don't mean anything bad by that.

For such thin material, the penetration is very low, which could be okay for body work. Dunno, as I've never done that. Have burned thousands of pounds of rod and wire though. I think you need to turn up the current a little, and try to make a continuous weld. Or, at least, a number of short continuous welds.

Put a number of tack welds along the joint to keep the straight edges together. Put approx the same amount of tacks on the back side of the piece. Then see if you can run a bead for about an inch. When you have the heat right, it will nearly come through the other side.

It will help you to learn if you get some thicker material to practice. Something like 10 ga or 1/8" thick, and turn your machine up a bit to practice making a puddle. Watch for bucking of the torch end. That means the wire speed is too fast for the amount of current. Conversely, if the wire burns off, then shoots out, and burns off again, over and over, your wire speed is too slow.

Dean
 
Dean is the welding expert here. My limited experience with a small wire feed welder was chopping the top on a VW bug several years ago. I had the best success as Dean suggested, tack then short beads about 1" and also jumping around the joint to let the previous bead cool and to minimize distortion. I still ended up with plenty of bondo but the welds held up for a long time. The car was passed down to my #2 son and it was all down hill from there! :big:

Steve C.
 
I was told that tack welding (stitch welding) was the way to go to minimize distortion to body panels.
originally I wanted to do a continuous but short weld but was told the chances of distortion are greater.

I will give it a shot tho on another test piece 8), would you suggest pointing it at the seam and following it?

would it be exactly like this?
[ame]http://www.youtube.com/watch?v=BsDxqb2p5OM[/ame]
 
butt weld on thin sheet metal can be a pain with a mig. What shielding gas are you using? I would recommend C25 (Ar/Co2 mix) for what you are doing. If you can use a lap weld you can buy a pneumatic sheet metal crimper that punches holes to do a nice lap weld. You can buy one at Harbor Freight pretty cheap.

Try getting proficient at making uniform tack/stitch welds. Try to leave the shielding gas around the weld as it does the initial cool down (ie. don't tack and pull away quick).

If you want some good guidance and help with welding go visit the Hobart forum. Last time I was over there the guys were real helpful.

Nice start! Keep working at it!


I'm with Dean. Put a few small tacks on both sides first to help minimize warpage. Then lay about an inch or so of continuous weld in several places.
Your pic shows the welds did not penetrate the steel so you will need to tweak the settings on a practice piece. You can grind a cross section of the practice piece to get a clear view of penetration if not sure.

This is where my Miller with Autoset comes in handy. Set the metal gauge and it does the adjusting for ya.

-Trout
 
Speedy said:
I was told that tack welding (stitch welding) was the way to go to minimize distortion

Speedy, tack welding and stitch welding are different things. A tack is just a pea sized thing to keep
things in place. You have a whole bunch of tack welds on your piece strung together. That's okay
for starting out. It takes a little time and technique building to get it figured out.

Stitching is making a bunch of short welds at different locations, usually so heat won't pull the joint apart,
or in your case, so heat doesn't turn your piece into a banana. Sometimes stitching is done because
that's all that is needed for a certain structural element. In any case, each stitch is a full weld, not a
tack, and that little weld, whether it's 1/4" long or 2" long, is a strong penetrating fusion.
The tacks you're making at this point don't go through your 18 ga sheet. So, what you need to
practice at is keeping the tack going until you have a weld. That takes more time on each individual
little stitch, and you need more heat there.

The guy in the video knows how to weld bodywork, and that was not my gig. I did make lots of stuff
out of sheet, though, using a mig welder. The way he shows looks just right, to me. Notice that he is
pushing the wire with the torch. That's the way for sheet metal. Also note that he starts the weld and
stays at the starting point for a sec while the base metal gets hot, then pushes it a short distance. He
stops the torch just long enough to keep from burning through, then gets right back on it, letting it heat
for a sec, then pushing the puddle a little farther away from the torch nozzle. Each time, he's making
a nice little puddle, and a short weld.

So, work on making your tacks real welds. Let the puddle build shortly and push it forward. Stop, then,
as soon as you see the 'red' start to go out (looking through your dark lens), hit it again, puddle, advance, stop, and so on.

For that thin stuff, tack it all over, about 1.5" apart. Then start your stitch welds. Do one the way
described above, until you have about 3/8", then move a couple of inches away, and repeat. Eventually
you will get all your stitches stitched up, and have a complete weld to start grinding on.

Again, please don't take what I wrote as a criticism. I'm trying to explain something that is a real
hands-on thing.
Do turn up your welder some, and do get some thicker metal so you can keep the torch on long
enough to get to see what a puddle looks like. You might go ahead and turn it up until you start
burning through, then work backwards from that. Also, practice at it without trying to join anything.
Just make a bunch of puddles on a flat piece. If your wire starts making a popping noise, slow down
your torch travel a little.

Dean
 
hi Dean.
I am very appreciative of your response as that is exactly what I wanted.
need to learn some way and the internet makes it possible to speed up that process :)

you actually answered questions I didnt know how to ask!
I am going to give it another test on a cut piece. I hope today.
 
it seems the advice already given in this topic is absolutely spot on appart from one thing i have learned from frightening experiences along the way watch out for underseal products on the vehicle weather theyre factory products or something put on after the car was new they can burn fast and furious i used to have my brother on fire watch under the car when welding for this purpouse we used to just dab the burning stuff with a wet rag to smother the flames out if your quick it wont warp the metal or weaken the welds itll just cool the tar based underseal enough to bring it below its flashpoint
also protect any fuel / brake lines with a small piece of fireproof sheeting from any good builders merchants or a bit of damp plasterboard if your stuck its better to shield or remove anciliary lines than to try and put a burning fuel line out
and forgive me in my ignorance as to what you may know already about automotive welding but please dont do what i did with my mates car please take the battery off the car before welding on it i didnt once and it fried the engine management system blew all the bulbs and melted the fusebox a verry expensive mistake indeed
above all once youve got going its all good fun and cuts thwe cost of mot prepairation right down and its a great feeling watching your car pass its annual inspection knowing its your work thats done it
it also makes a nice sideline business with haveing no overhead costs like a garage you can undercut most quotes and get a fair ammount of pennies for it if ya knows what i mean
have fun be safe
reguards john
 
i did the body on my chevy 8 X 8 hole in each side of the bed tack it here tack it there key is dont get it hot warm ok but never hot mine came out really good almost did not have to use filler very very little and u got to watch grinding to it will get the piece very hot. u dont want to get it hot so tack wait tack wait and cooling it down fast will warp the panel tooo
 
I continued the same procedure today.
but I am going to try lots of different things so I just wanted to post an update.
I did get better then previously posted.

bottom is newest from today, up is from my last attempt
DSC00252.jpg


DSC00251.jpg


DSC00254.jpg
 
a fast video someone wanted too see
[ame]http://www.youtube.com/watch?v=4Tw8oBdqm7s[/ame]
 
speedy I am curios why you are stitch welding rather than just dragging along. it depends on the position but a flat weld with mig or wire feed you do not need a zizzag or j pattern. Vertical welds are a bit different.
Tin
 
speedy it looks like your doing OK make sure when you spot you move at least an inch away on every spot weld then go back and start over again, take your time and keep the panel cool also do not grind until you are finished welding. i put a quarter panel on a 68 camero last year for a lady by using a MiG and a butt weld. you should watch powerblock TV on spike. on musclecar they show a lot of how to for the use of a MiG for body welding. you can watch full episodes on http://www.powerblocktv.com/site3/.

View attachment IMG_0746[1]

View attachment IMG_0746[1]_thumb
 
TinF
I was told by the majority of people I talk to that you do not want to lay a bead because it will put to much heat into the metal.
just what I have been told. im a newb so I cant say much to what is right

GOO
thank you I will also watch some episodes.
your pic is upside down :big: but it looks like you did a good job :bow:

so I did another attempt. this time I tried rotating the torch and took down my wire speed some.

DSC00255.jpg


DSC00256.jpg


DSC00257.jpg


DSC00258.jpg


only thing, it warps way to easy. I am thinking when I work on my jeep I will do some anchoring welds like that then turn it down some where I can control it easier.

im sure it would hold.
 

Latest posts

Back
Top