Bill - 1906 Four Cycle Gas Engine Build

Home Model Engine Machinist Forum

Help Support Home Model Engine Machinist Forum:

This site may earn a commission from merchant affiliate links, including eBay, Amazon, and others.

Sparticusrye

Active Member
Joined
Mar 28, 2011
Messages
43
Reaction score
4
Now that I've started to get some free time and after watching everyone else build engines. I've finally started on my first IC engine, the Bill 1906 by Jerry Howell. I purchased the plans about a month ago after I got my lathe. Went out and purchased enough materials to build two (Always nice to have some extra material just in case). And have finally recieved the last of my order of measuring tools so that I could get started.

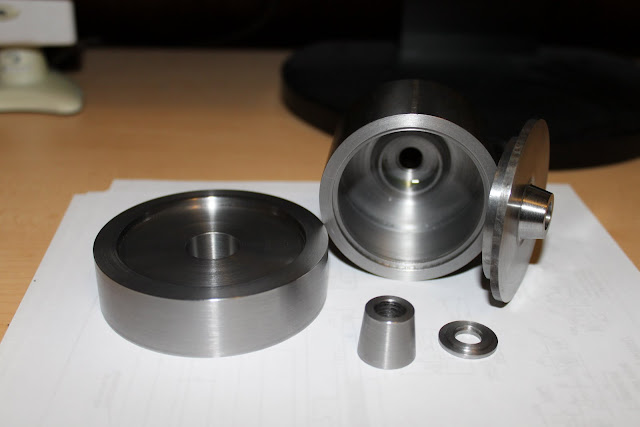
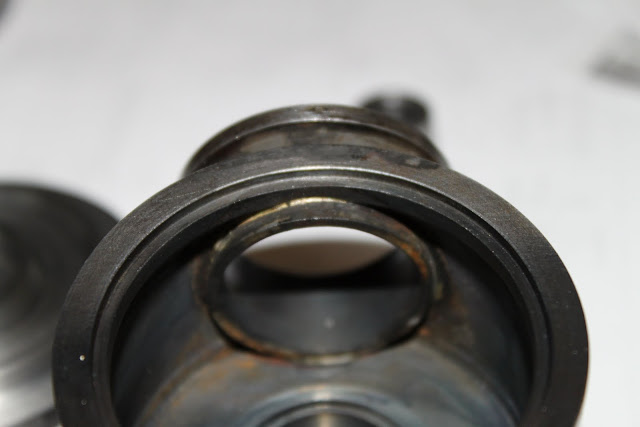
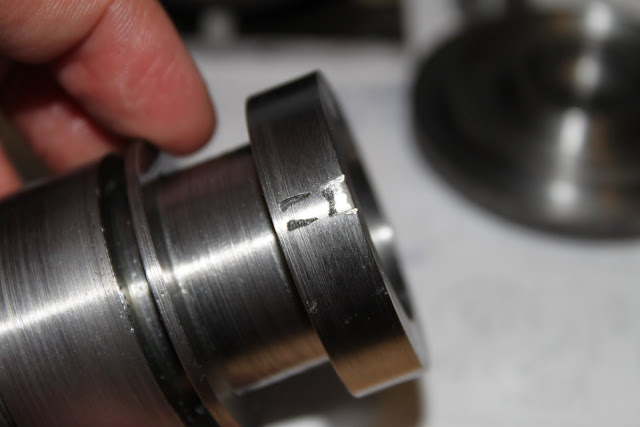
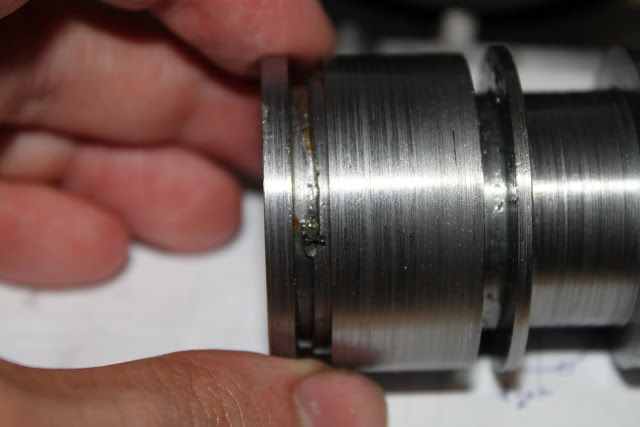
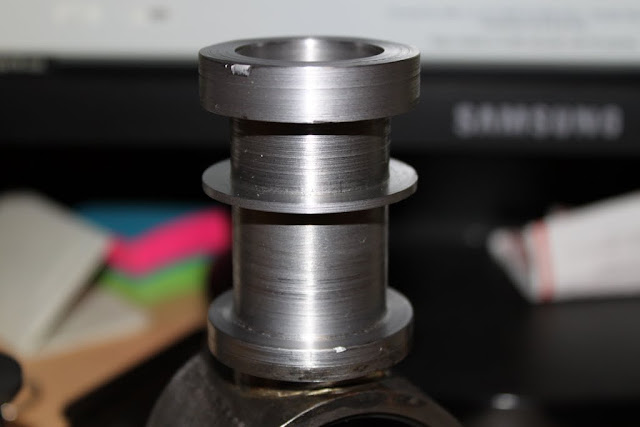
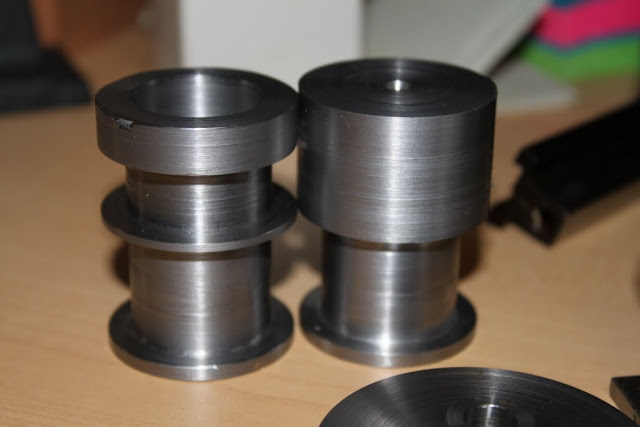
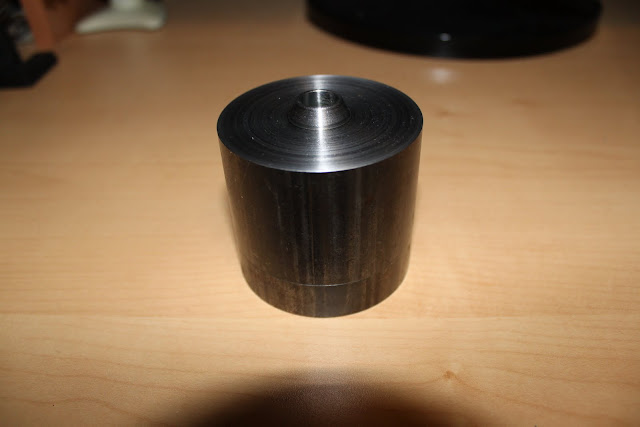
So I tossed a chunk of 2.5" CR steel in the chuck and started on the initial stages of the crankcase and cover. I would have completed the cover except the temperature outside dropped to zero celsius and I couldn't feel my fingers. So I figured that was a good sign to head into the house and warm up. My shop is in my shed which is not insulated or heated at the moment. I did get a few hours worth of machining done though so I was happy. Some of the internal boring for the crankcase were a challenge for me since I haven't touched a lathe in almost a year. But after a few taps on the stop button and some chin scratching I figured it out and got a satisfactory result. I might make a second crankcase in the future as I am not completely happy with the bearing hole.

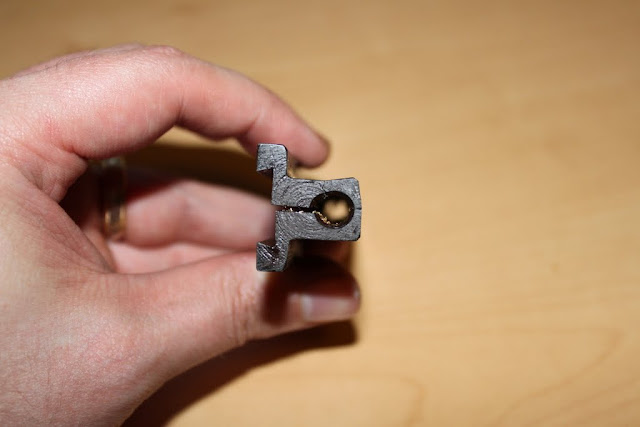
So here are couple shots of my start.
IMG_1413.JPG


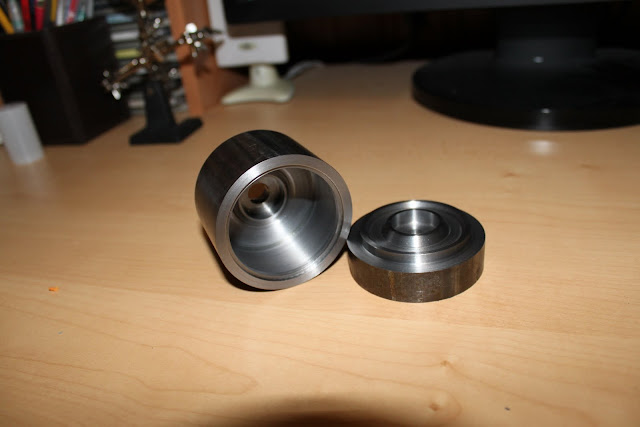
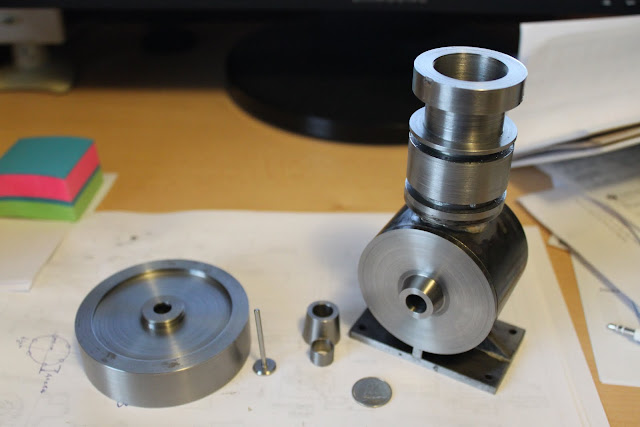
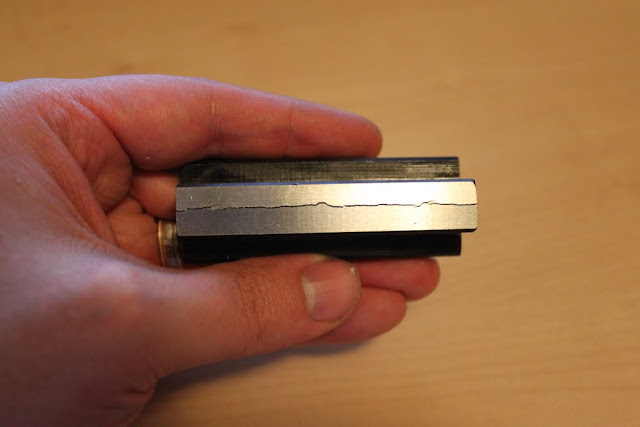
And with them together.
IMG_1416.JPG


Hopefully get some more time and better temperatures tomorrow so I can complete the cover.

James
 
This ought to be a fun build to watch progress. I've always admired the "Bill" engine but have yet to purchase the drawings. Your off to a fine beginning James, keep going, it will get warm soon enough and you will be spending every waking hour in your shop (what? doesn't everyone?) :big:

BC1
Jim
 
Made a little more progress. I was able to complete the flywheel, flywheel collet, washer to hold the flywheel, and complete the crankcase cover. I did a spacer for the crankshaft to position the flywheel but after completing it realized it was supposed to be bronze so I'll be redoing that pieces tomorrow. Had some decent weather so I've been trying to get more time at my lathe.

IMG_1489.JPG


James
 
It took me some time but I was finally able to get the base brazed together and will hopefully be able to start making some more progress over the comming weeks. I will be machining a curve into the base to match the crankcase, down as far as the cross piece, then brazing that together. Then I can start on the cylinder/piston/crankshaft/etc.

IMG_1916.JPG


Not too bad considering I don't own a milling machine and did all this work with a file, hacksaw, dremel, and torch.
 
Old school method. You'll be that much more proud of the finished engine.
 
Looks like a good start, it should warm up soon outside. The good thing about not having a mill is that your arms stay in good shape!


IronHorse
 
I was away with work for 5 weeks and then 3 weeks of vacation with my familly. I've finally had sometime after getting home to make some progress and a small step backwards.

IMG_2977.JPG


IMG_2975.JPG


The first thing I did once I got back to the shop was make the flange that the cylinder bolts to on the crankcase and braze it in place. Only issue here is that the drawing doesn't really say how high the flange should be. So a little figuring and some hair pulling and I settled on measuring the drawing as it was to scale and getting as close as I could from there. I may end up adjusting the length of the connecting rod later on to compensate if I made a mistake here. Also, once in place the flange extends too far into the crankcase and I will eventually have to chuck the whole thing in the 4 jaw to remove the excess. Haven't put in any bolt holes yet either, no mill so waiting for sometime on a machine at work that I can do it over lunches. (When no one else needs a mill for official work so that I can leave it setup for a day incase I don't get it done in one lunch).

Today I started some work on the cylinder as well. Was doing very well getting all dimensions within 0.0005". I was very pleased with it until my parting tool caught up in one of the last shoulders I needed to cut. I got frustrated and turned everything off. It pulled the work part way out of the chuck and damaged the top shoulder where the cylinder head will eventually be. There is a sleeve that gets brazed over this so its not the end of the world. I'll rechuck the part this weekend and hopefully not have any further issues. After that last shoulder is fixed then I will remove the last of the material in between the two rings.

IMG_2974.JPG


IMG_2972.JPG


After that is done I'll get to work on the Head and hopefully get some milling time to drill all the bolt holes, intake and exhaust.

I hope I can get a lot more time in the shop over then next few days to get some more work done.
 
Welcome James!

It would appear your off to a great start! sorry about the parting tool ....gets us all don't it.

Looking good and keep it coming!

Dave
 
Well I'm back, I was deployed for a few weeks but have returned home. I also found sometime over the last couple days to spend sometime in the shop.

I decided to make another attempt at the cylinder. That darn parting tool caught up again only this time the setup in the chuck was strong enough to protect the work at the cost of the tool. I'm going to have to find a better style of blade holder.

IMG_3422.JPG

IMG_3424.JPG


I rethought my setup and decided to go a different way. I figured the part was beyond saving at this point and started again. But after starting I realized that if I rechucked the old piece the same way I had the new part in that I would be able to save it. So out with the new, in with the old and voila...

IMG_3427.JPG

IMG_3431.JPG


So, I'm feeling much better about this part now. It is sligtly undersize to remove most of the chuck marks. I'll just have to make the outer part of the water jacket a bit thicker to fit and match the drawings.

I also got a few of the smaller parts done, second valve, a water inlet tube and the piston is started. Need to elongate the base hole and cross drill it for the wrist pin and oil holes. I'll have to do that at work as I don't have an indexing head at home, I'll do all the bolt holes at the same time.

IMG_3429.JPG

IMG_3428.JPG


I've got the cast iron bar in the chuck right now waiting for my return to the shop to finish making the cylinder liner. Hope to get more time during this week to get the cylinder head started as well.

Thanks for watching.
James
 
Just enough to tease me, How did it turn out? I have the plans and can't wait to start it.
 
I also have the plans, looks like an interesting yet simple enough engine for starters.

Are there any other build threads for this engine on here, I have not found much?

Grigg
 

Latest posts

Back
Top