A simple gas cap

Home Model Engine Machinist Forum

Help Support Home Model Engine Machinist Forum:

This site may earn a commission from merchant affiliate links, including eBay, Amazon, and others.

Brian Rupnow

Design Engineer
Project of the Month Winner
Joined
May 23, 2008
Messages
15,011
Reaction score
8,307
Location
Barrie, Ontario, Canada
When I first started to build i.c. engines, one of the issues that immediately came up was "What do I use for a gas tank, and how do I make a gas cap for the tank." I am not a fan of "pickle jars", as they break too easily, and there is always a great danger of a fire in the shop if this happens. I had a six foot length of brass thin-wall tubing from a recycled floor lamp, which seemed to be perfectly sized for a gas tank, and the beauty of it being brass was that I could solder to it. I tried a few different methods of machining a gas cap and filler neck, but since my largest tap was 3/8", it left me with a very small opening in the filler neck. The trouble with small filler neck openings is that you can never see how much fuel you are putting into the tank until the tank overflows, which again is a considerable fire hazard. Then one day, while browsing through pipe fittings at the local hardware store, I had a brain wave!!! If I used a standard threaded 1/2" pipe nipple, (which is 0.840" outside diameter x almost 5/8" i.d.) I could solder the nipple into the tank shell and use a purchased brass or bronze screw on cap with NPT threads. I found that the wall thickness on the short threaded pipe nipple has enough wall thickness to turn the threads off half of it to simplify soldering it into the tank shell. This picture shows one of these tanks with the pipe nipple soldered into it as a filler neck.
 
Last edited:
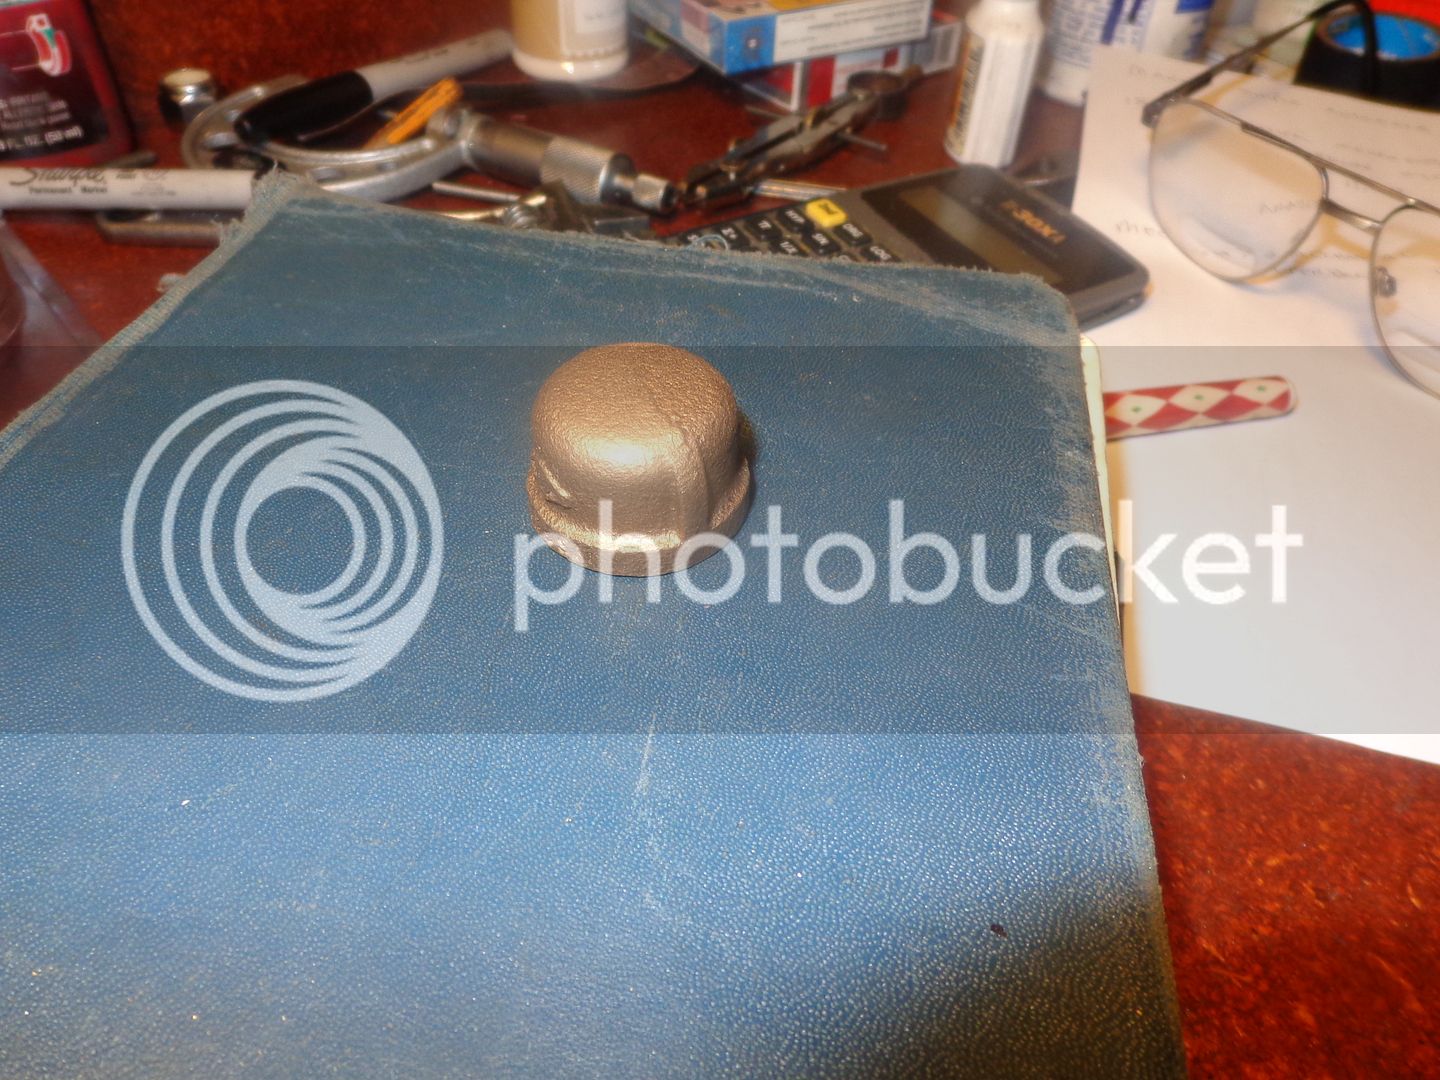
This picture shows an "as purchased" bronze pipe cap, which costs about $5.40 at the hardware store. It is an ugly little cast beast, but it screws onto the pipe nipple perfectly with no fuss.

 
Last edited:
Brilliant idea. Storing that one for later.
 
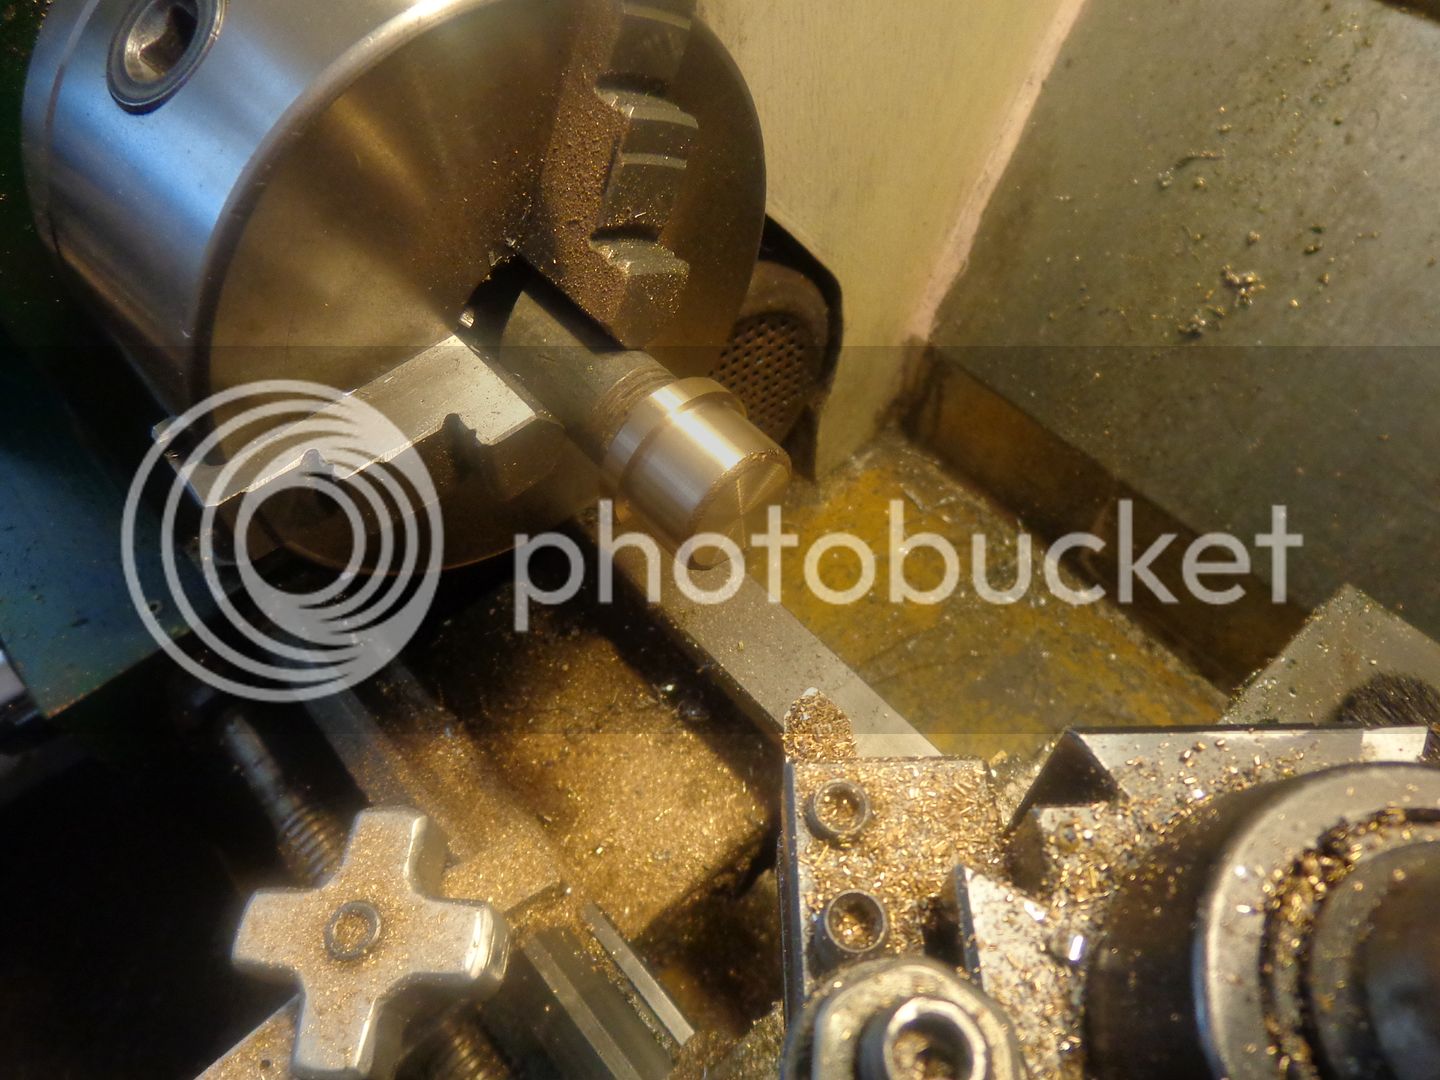
To turn a rather ugly little casting into a stylish gas cap, requires that you have a short (about 3") piece of 1/2" pipe with a thread on one end to set up in your lathe. Screw the cap tightly onto it, and turn the large o.d. down until you have machined away all of the cast surface of the large diameter (but no more).
 
Last edited:
Next, turn down the main body until you have machined away all of the cast surface, and face the end of the casting. There will still be a ring of cast surface visible because of the radius at the top of the cap, but don't worry about that for now.
 
Last edited:
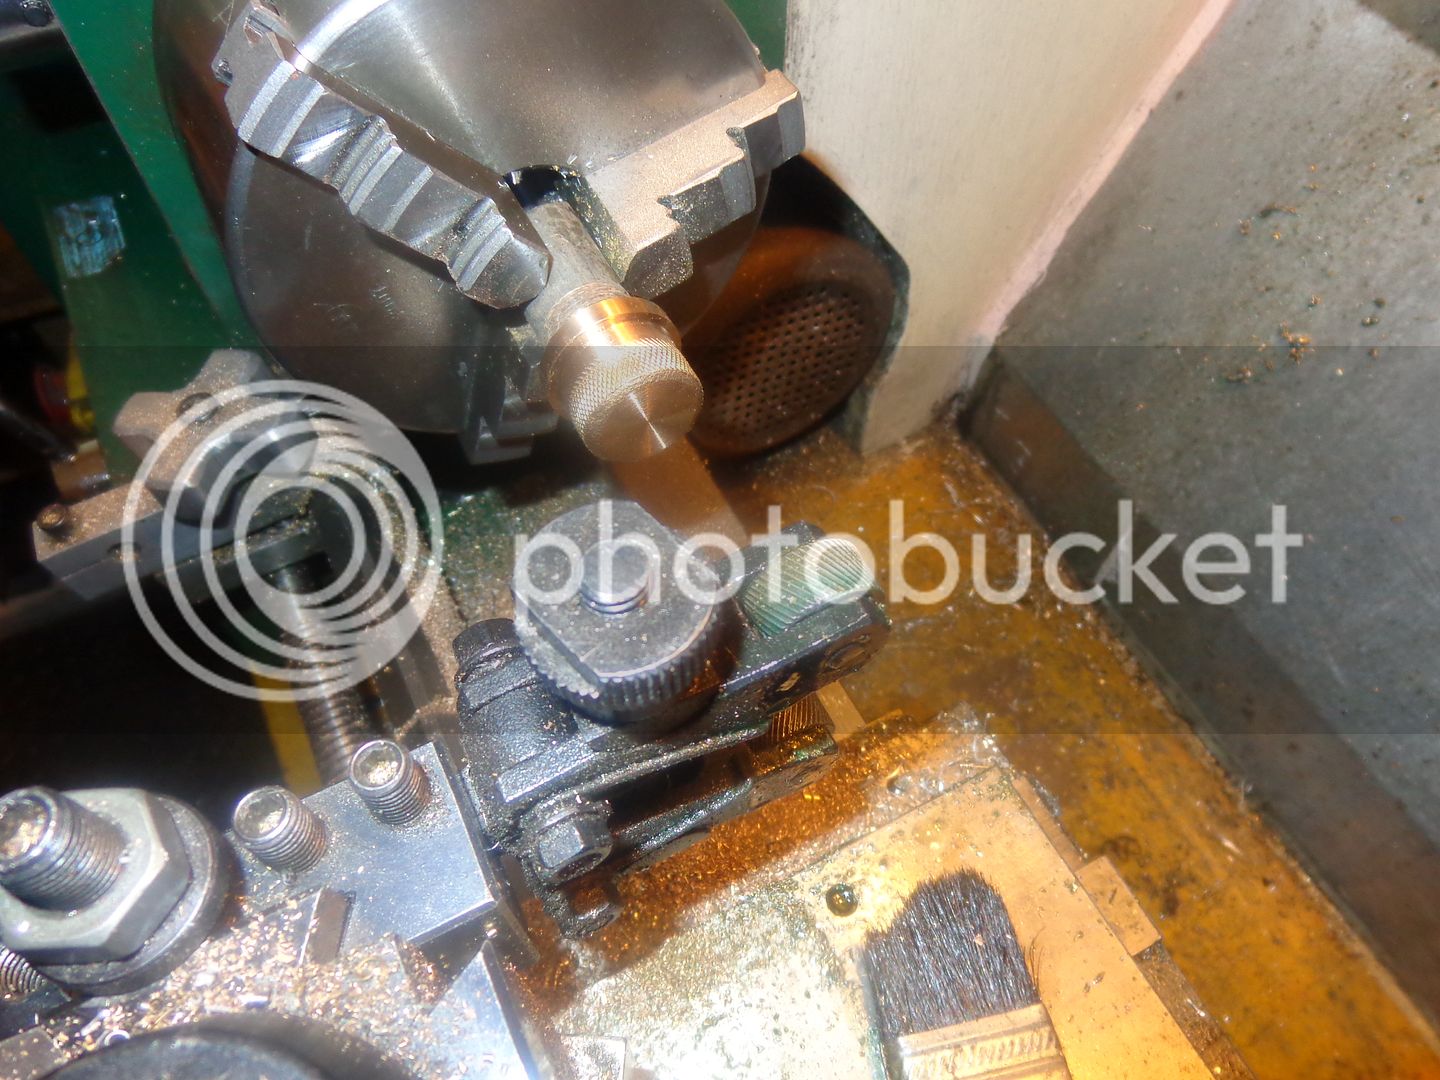
Now we knurl the outside diameter. My scissor type knurlers won't let me knurl up tight to the large diameter, but that's okay, it lets me knurl enough. That knurl is very important, because the vibration of a running engine will tighten that cap into place so tight that you won't be able to unscrew it without that knurling to give you a good grip.
 
Last edited:
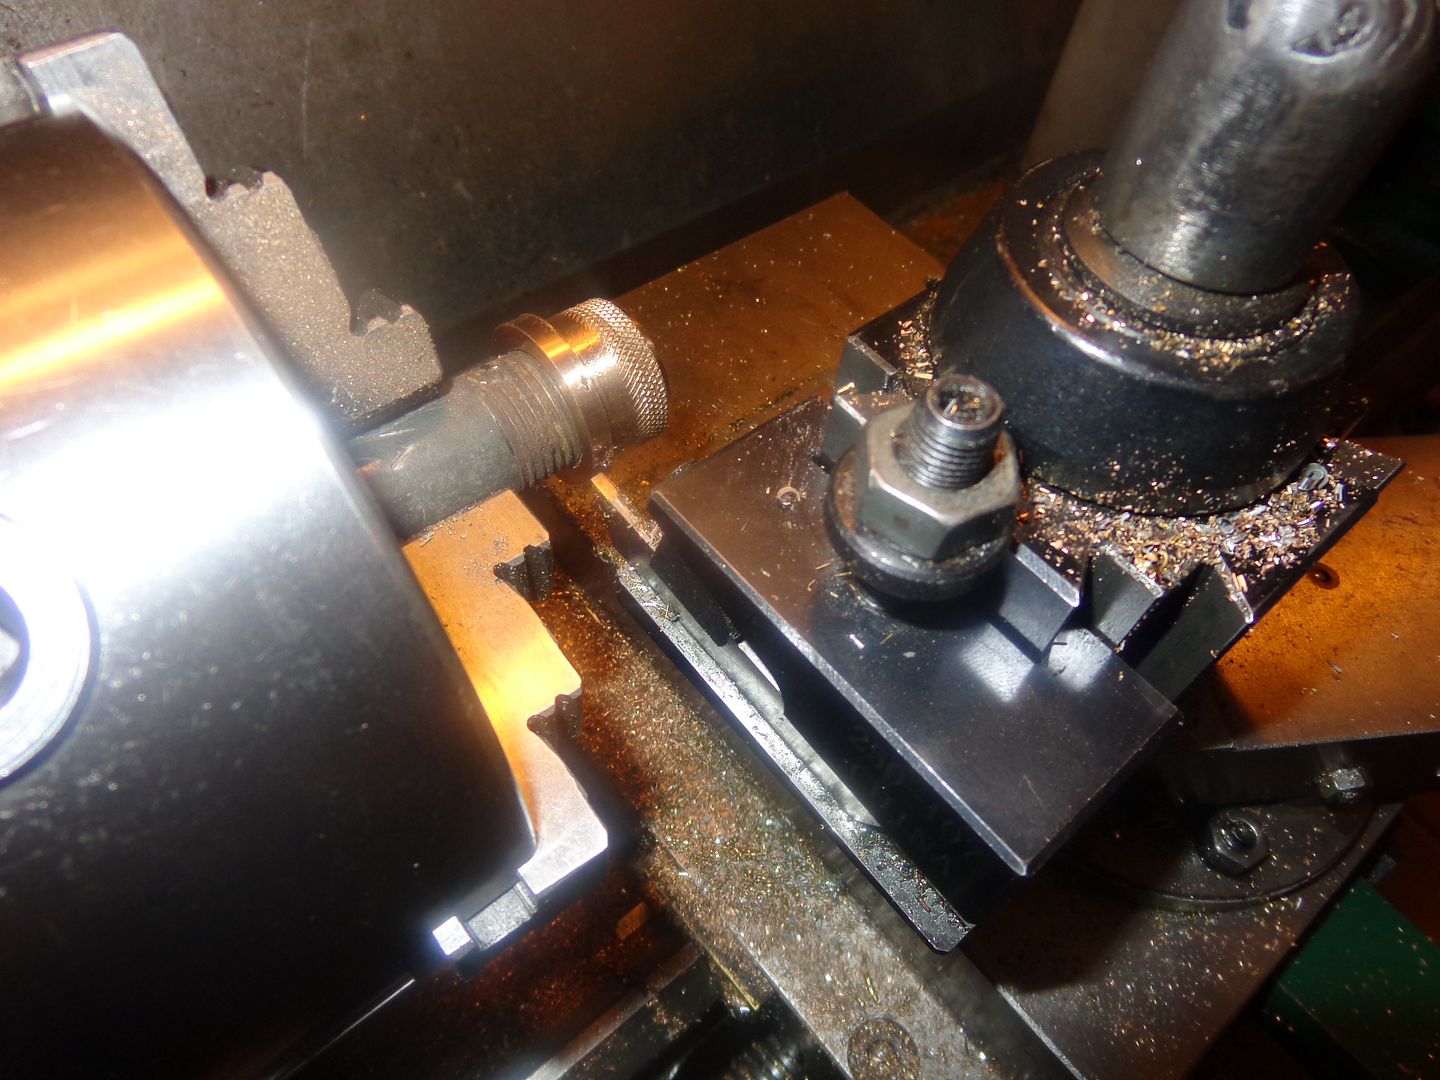
Now remember--it is a rather nasty casting. The remaining face which is closet to the chuck jaws needs to have a clean up cut taken on it. For that, we use a cut off tool and do a plunge cut on the side closest to the chuck jaws, There is enough of a chamfer on the inside of the pipe cap that you won't have to run the cut off tool into the pipe itself.
 
Last edited:
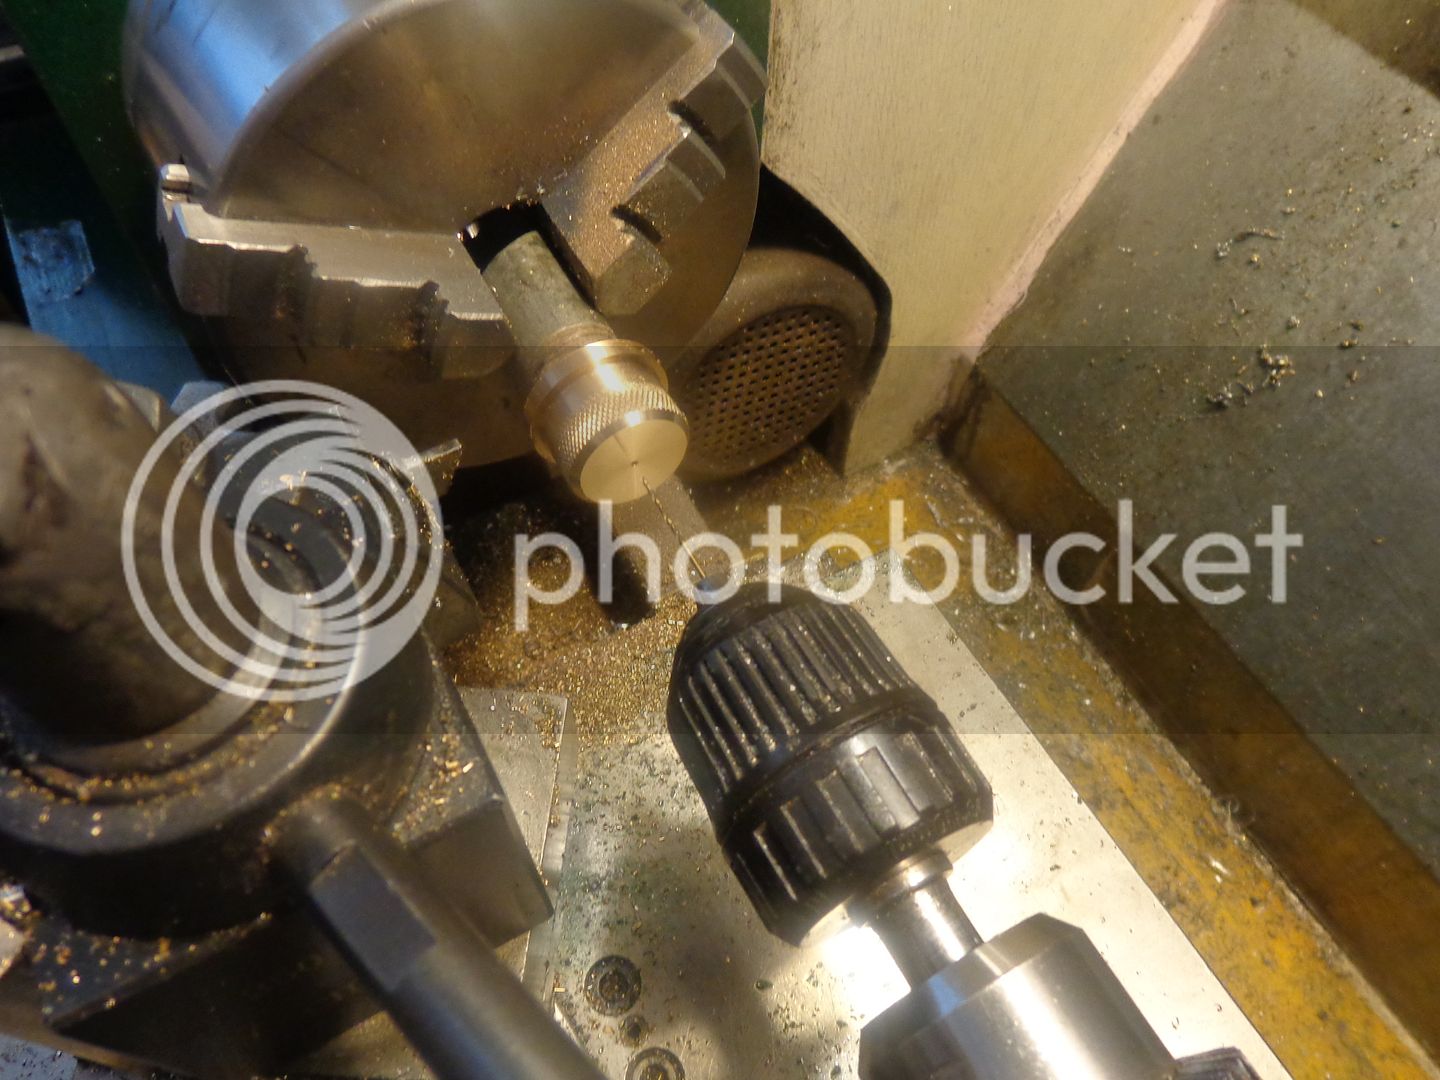
Now there is one very important machining step left. Remember what I said about engine vibration tightening that cap up. Since it is an NPT thread, it will tighten itself to the point where your engine will quit, because it will be trying to suck fuel against vacuum created in the tank. I learned this after many head scratching sessions when running engines with the cap "unscrewed a bit" to prevent vacuum lock in the tank would quit for no apparent reason. I drill a 0.040" vent hole in the center of the cap. That is small enough that fuel won't slosh out under normal conditions, but the tank will always be vented to atmosphere no matter if the cap is screwed on tight or not.
 
Last edited:
And here we have it with the newly machined cap in place. We have turned a "sow's ear into a silk purse" with only an hours playing time in the shop.---And---We have a nice large filler neck so that we can actually monitor the amount of fuel we are putting into the tank.
 
Last edited:
Back
Top