3cc Diesel - My first ICE

Home Model Engine Machinist Forum

Help Support Home Model Engine Machinist Forum:

This site may earn a commission from merchant affiliate links, including eBay, Amazon, and others.
Phil and George,

Thanks guys for the kind words and thanks for the timing info etc. :bow:

Best Regards
Bob
 
CC,

Thanks. :bow: :bow: For me the documenting and photographing have been part of the fun. The feed back and help received from this has been tremendous, more than worth the small effort on my part.

Richard asked what's next. I really am torn between a hit and miss engine or a boiler for the mill engine.

What's disturbing me a little is; I lean more towards the hit and miss because it's more in my comfort zone whereas a boiler is not in my comfort zone.

I suppose I should show a little intestinal fortitude and build a boiler, after all with the price of copper what it is what's a few mistakes ::) ::)

Best Regards
Bob :)
 
Hi Guys,

Another week starts and today saw a stand made to hold the engine.

Some Aluminium for the stand

IMG_0074.jpg


Milling the uprights.

IMG_0075.jpg


And the base.

IMG_0076.jpg


Marking out the base

IMG_0077.jpg


The base drilled and counter bored for the cap screws.

IMG_0078.jpg


Drilling the uprights.

IMG_0079.jpg


The engine in the stand.

IMG_0080.jpg


Tomorrow is stripping and cleaning and gasketing etc.
 
Hi Bob
As with many others here i thank you for your serialising this amazing creation, Superb work. :bow: :bow: :bow:
I may just be being stupid but how are you going to fill the fuel tank ? also presumably there is a vent of some sort to allow air in as fuel is used up ? I'm sure i must have missed something in the story, perhaps you could point me in the right direction.

Fantastic work, Really looking forwards to the video.

Kind regards and much admiration.

Malcolm
 
Hi Malcolm,

Thank you for your kind words
pic41.gif
pic41.gif


The fuel tank unscrews from the tank lid, which in turn is screwed to the bottom of the carby. So, you remove the tank part, fill it and screw it back in place. The tank lid has a 1/16" breather hole drilled in the top.

I hope that's cleared it up for you.

Thanks again
wow.gif


Best Regards
Bob
 
Hi Bob,

What can I say...... superb piece of work...... have 25 brownie points and a weeks holiday with pay.

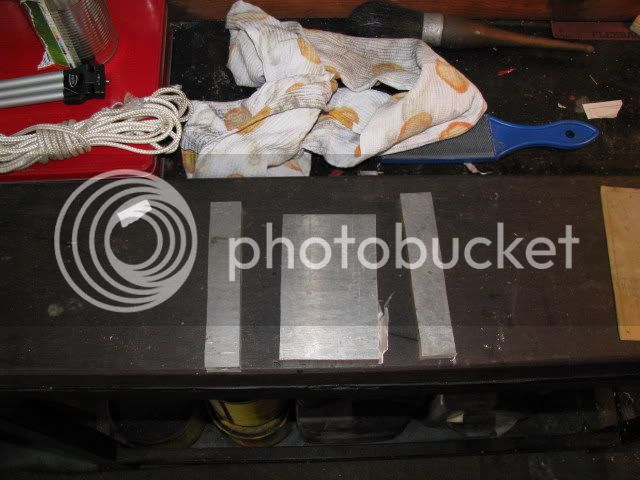
A very good gasket material is BROWN parcel wrapping paper...... oiled with Castor oil when assembling.

For your fuel tank, you may need to make a sealing ring.... this can be from cork (thin) or better still, NEOPRENE sheet rubber.
Be sure it is NEOPRENE though...... SILICONE or VITON will swell and distort due to chemical reaction with ETHER and, to a lesser degree, PARAFIN (kerosene). NEOPRENE is inert from this attack.
The same goes for any fuel tubing you may need.

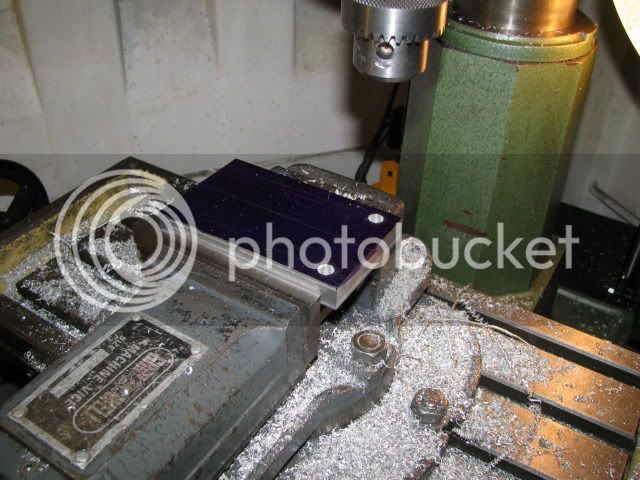
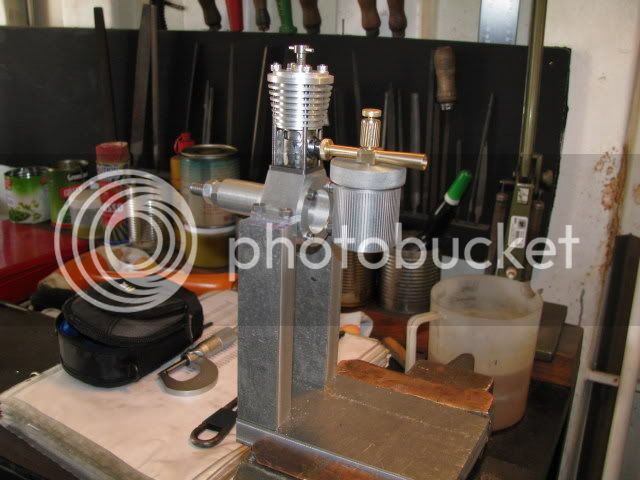
I was also wondering how you were going to fill the fuel tank, since I could not detect any breather/filler hole in the top plate (photo's), however, you have cleared that up in your last post.
Personally I would increase the size of the breather hole to 1/8" dia and fill via that, rather than having to keep removing the tank and trying to replace it with a partial fuel load..... guaranteed to spill me thinks.
But that's just me.  ;D ;D ;D ;D

One final point....... I notice the propeller fixing appears to be using two hexagon nuts...... presumable the rear one is firmed up fully to the crankcase end of the thread on the crankshaft..... if not, and the prop is held just between the two nuts (with a washer either side), then there is a very great risk of it coming loose whilst running.
It would be more normal for there to be a fixed prop drive plate behind the propeller, usually fitted to a short tapered section on the shaft, or a flat (D shape) to prevent rotation, presumably there was nothing shown/detailed for this on your original plans?

Good luck on your hunt for sourcing your fuel ingredients, they are very difficult to get (especially ETHER) here in the UK.... but ready mixed fuel is not to hard to get.

My very best regards.

SandyC  ;D ;D


Bob,

It looks like you are about to make some noise there! No doubt you have built a good 'un. Outstanding work!! :bow: :bow:

In much anticipation of hearing some engine like sounds!!
W/E
 
Well I think its crap! :big:

Excellent thread and good honest reporting. Its the way we learn. Many thanks for the journey... :bow: :bow:


SandyC said:
One final point....... I notice the propeller fixing appears to be using two hexagon nuts...... presumable the rear one is firmed up fully to the crankcase end of the thread on the crankshaft..... if not, and the prop is held just between the two nuts (with a washer either side), then there is a very great risk of it coming loose whilst running.
It would be more normal for there to be a fixed prop drive plate behind the propeller, usually fitted to a short tapered section on the shaft, or a flat (D shape) to prevent rotation, presumably there was nothing shown/detailed for this on your original plans?

Sandy,

Thanks for your kind words, yes there was nothing on the original plans other than a flywheel and starting pulley combination. At this point the prop is to give it load and a hand start capability, and yes the back nut is against the thrust collar on the crankcase to control end play in the crankshaft.

W/E

The time is fast approaching when the proof of the pudding is in the eating.

Metal Mickey said:
Well I think its crap! :big:

Mike,

It's all your fault, it was you who pointed me in this direction from your website ::) ::)

Best Regards to the 3 of you.
Bob

 
Bob, I see you are coming down the home stretch :bow: :bow:You are about 1-2 weeks ahead of me. I have nearly all the parts machined. I'm just now planning out my engine base. I'm doing mine with plywood first to test out my assumptions about how much clearance to put between all the components that slide onto my crankshaft. I just ordered my aluminum baseplate.

It's been great fun watching your engine come together. It really looks great. 8) 8)

Cheers,
Phil

PS. Your choice of emoticons has always livened up the posts; keep those coming on your next project
 
Thanks Phil,

And I'm glad you like the emoticons. Half the fun of posting is trying to find the right one
funmeter2.gif


Best Regards
Bob :)
 
Bob

I've not posted any comments on this build to date, but I HAVE been following it with great interest.... and I have to add my two-cents worth: Great Job! :bow:

I've not yet tried one of these engines, but when I do, this thread will be an excellent resource. Thanks in advance, and please do document your next build to the same depth so I can steal more ideas.....

Cheers, Joe
 
joe d,

Thanks for your 2 cents worth and I am very glad you have found some of this useful.
blinking1.gif


Best Regards
Bob
 
Well it's the end of another week and I suppose a lack of progress report is needed
Hm.gif


Things went very well with our building selections for the new home and that took up most of my time
LolLolLolLol.gif


On the engine front, I have obtained all the bits required to finish, including the fuel components and propeller
yippie.gif


Next week should see a dismantling, gasketing, cleaning and final assembly.

If that all goes according to Hoyle. We should be ready for a see if it will run late in the week.
say_eek.gif


Thanks to GailinNM for his help and advise in fuel mixing and the required ingredients. The fuel tank holds all of 20ml. So I'm real glad I bought an eye dropper
wow.gif


The photoklutz forgot his camera so you'll just have to look at the finished propeller pnuts next week.
mgeye-popping.gif


Best Regards
Bob
 
Good going Bob 8). I'm anxious to see your first run :bow:

Cheers,
Phil
 
Phil,

Thanks as ever for your support - I hope you haven't lost my seat on Tweak Mountain
icon_uhh.gif


Best Regards
Bob
 
It is looking very good Bob. I think that you have covered all the details well. As long as the piston is twice as tight and the contrapiston is three times as tight as you think they should be then it will be a be a great runner.

Have you decided on a next project to follow this one?

Gail in NM,USA

 
Thanks Gail,

Everything is as described by all you guys who have been around these engines and its just suck it and see time.

Best Regards
Bob
 
Maryak said:
Mike,

It's all your fault, it was you who pointed me in this direction from your website ::) ::)

Best Regards to the 3 of you.
Bob

You are too kind......so someone is reading it then! Can't wait for the video!
 
Hi All,

Again not much progress but the good news is that right now I am very hopeful we will mix some fuel and give ICB her first test tomorrow
icon_nosayhearsee.gif


Gee that Castor oil is thick stuff had to really push to get the crankshaft back in the crankcase and had a high initial compression on reassembly.

Just to show I wasn't kidding, a photo of the pnuts and propeller, a 9"x4"

IMG_0090.jpg


Best Regards
Bob
 
Back
Top