3cc Diesel - My first ICE

Home Model Engine Machinist Forum

Help Support Home Model Engine Machinist Forum:

This site may earn a commission from merchant affiliate links, including eBay, Amazon, and others.
Bob one heck of a job on all of this. I am just now getting back to the site after being off for the summer. Took me awhile to read this entire thread but well work the time. Great job and looking forward to seeing more of your progress. Thanks for the effort you are puttin forth to picture document your progress. I know it can be a time consuming process in it self.
 
Bob, superb work there, my friend!! I think you have a nice runnner there! :bow:
 
Keep the updates coming Bob.
I'm looking very much forward to seeing this animal come to life.

Rick
 
CC, Bob, W/E, Rick and last but not least Chip,

To all of you a heart felt thanks for the support and encouragement.
thanks.gif
thanks.gif
have had a great deal of pleasure documenting my exploits with this engine. (Not to mention a new camera ::))

Our visit to the plumber went off pretty well and we came out still owning our shirts :big:

Best Regards
Bob
 
It's Him Again,
cat.gif


Managed to finish the fuel tank top before the plumbing selections
Hm.gif


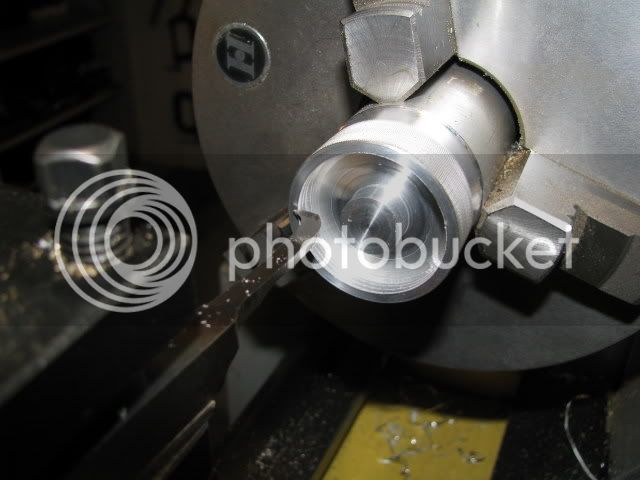
Internal thread in the top - done by hand turning the lathe.

IMG_0060.jpg


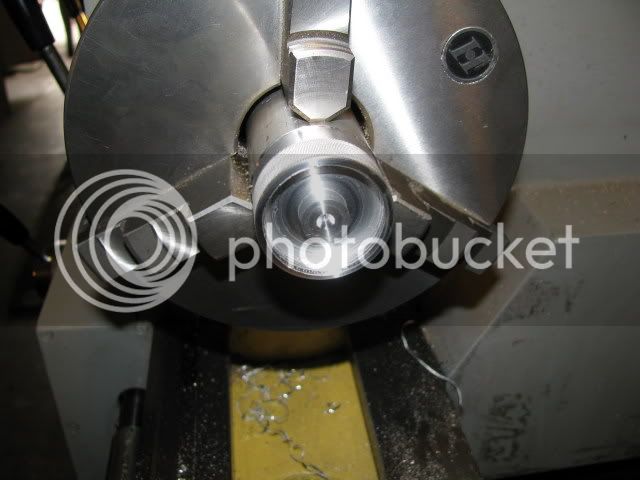
The finished thread. Looks a bit rough, but brasso and elbow grease should fix it.
say_eek.gif


IMG_0062.jpg


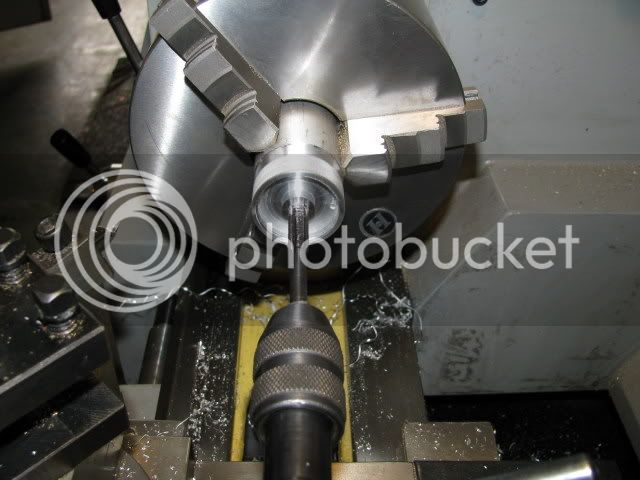
Tapping the boss thread.

IMG_0063.jpg


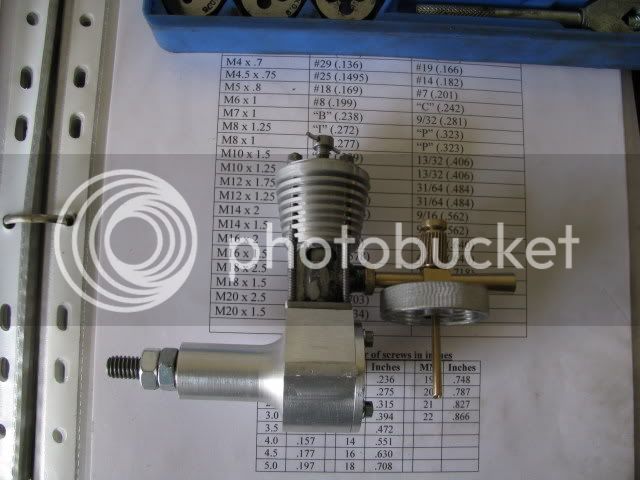
The whole thing so far.

IMG_0064.jpg


All that remains is the fuel bowl which I hope will be soon.
happyhappy.gif
 
Sorry I'm late to your party, Bob. Really enjoying it!

Regards
Richard

P.S. I'm ex-Adelaide; now Perth.
 
Wow, Bob!! You've really accomplished a lot in the past couple days!
It's really looking great.
It won't be long now :bow:

Kevin
 
T70MkIII said:
Sorry I'm late to your party, Bob. Really enjoying it!

Richard, thanks for your support and your not late.
a_smil16.gif


Kevin,

Thanks for your continued input. ;D

Best Regards to all,
Bob
 
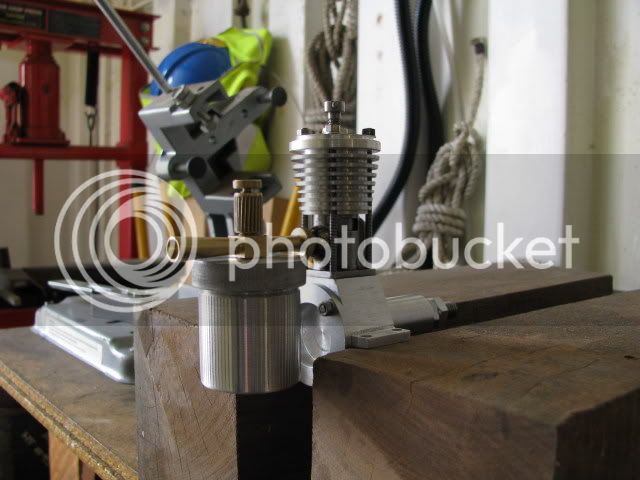
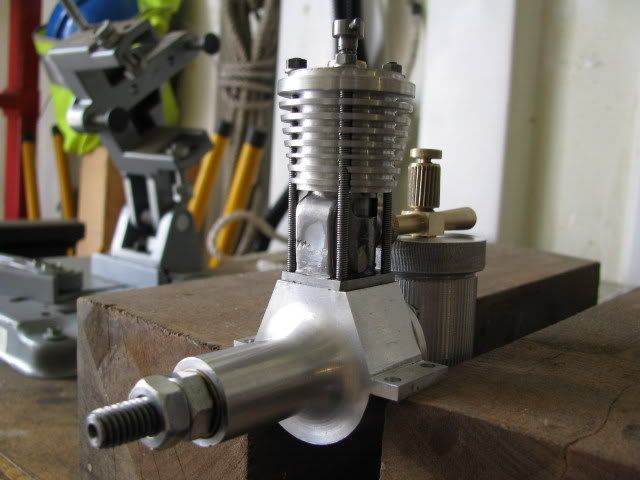
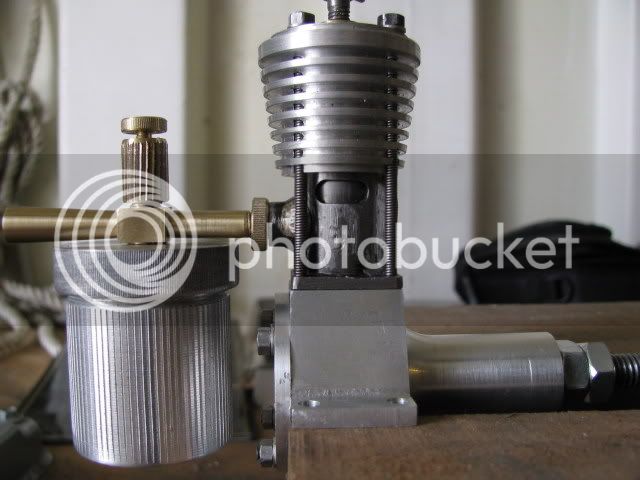
THE ENGINE IS COMPLETE
shocking.gif
shocking.gif


Notice I didn't say finished.
wow.gif


What's left ???

Make a stand.
Dismantle a little bling here and there, (never done this before :( :().
Gasket Gue and paper gaskets.
Clean and re-assemble.
Buy a 9"x4" propeller.
Obtain the fuel ingredients. (Buy as a last resort ::)).

Before I get too carried away here's what went down today, (which included an awful lot of thanksgiving ;) ;))

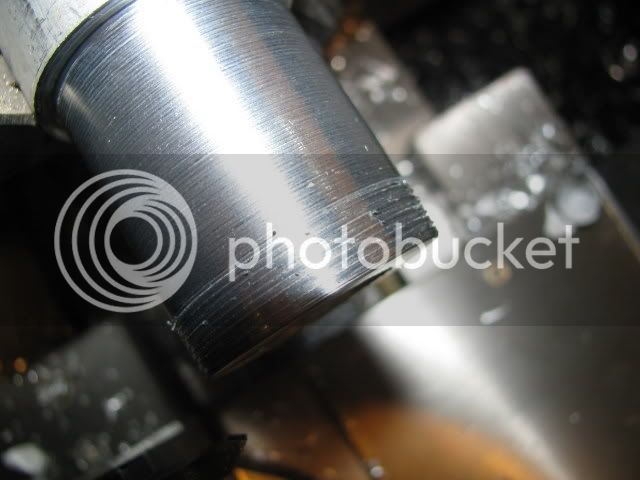
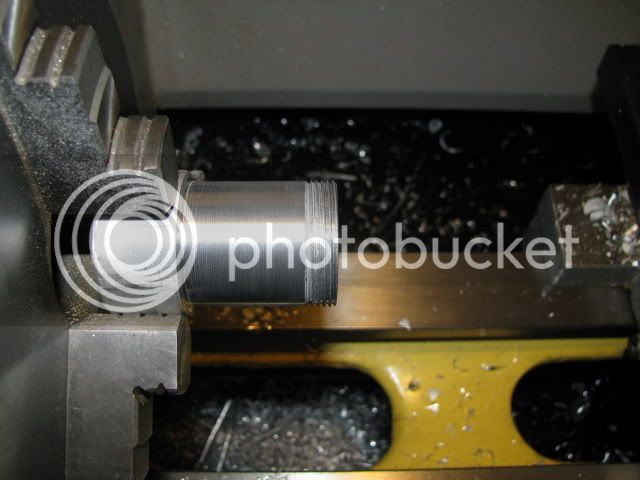
Cutting the external thread on the tank.

IMG_0065.jpg


The finished thread.

IMG_0066.jpg


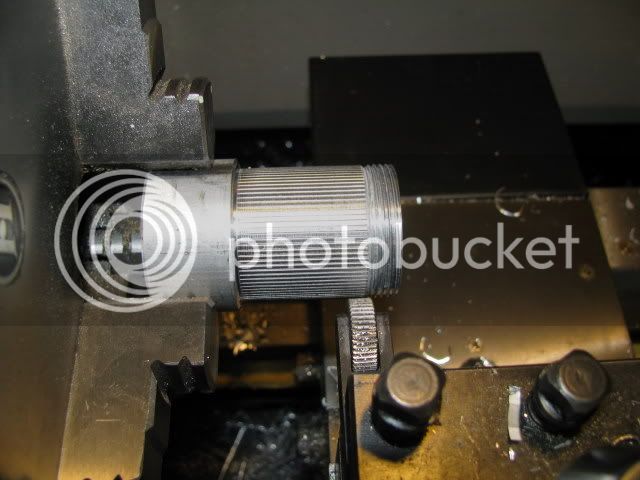
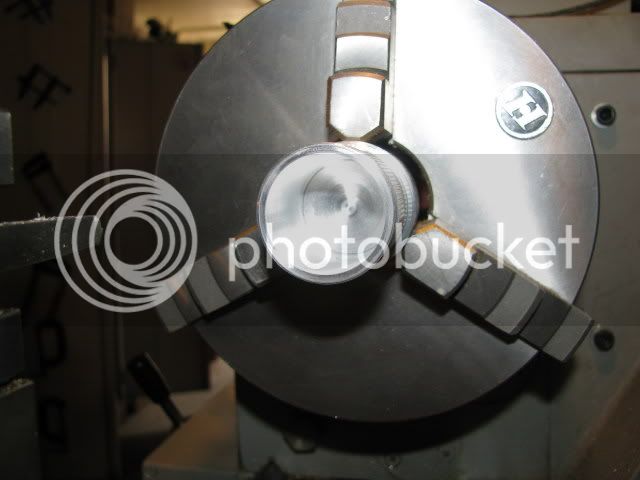
Knurling the tank body.

IMG_0067.jpg


The top fitted to the tank - see I said brasso was useful.

IMG_0068.jpg


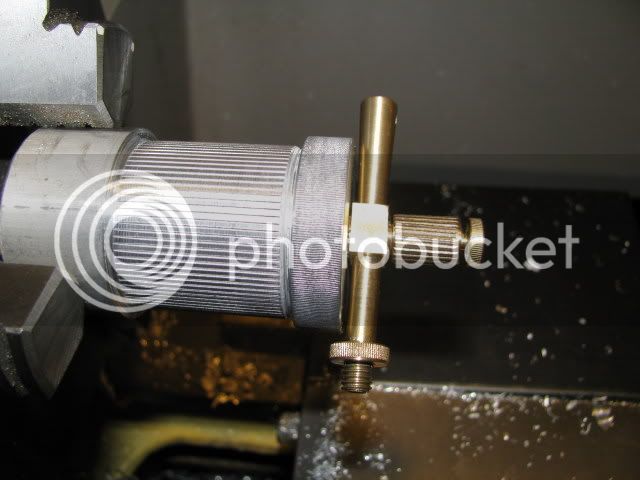
The tank bored out.

IMG_0069.jpg


Three views of the complete assembly - for the draftspersons (Paula see how your influence is spreading
icon_wink2.gif
) - it was done in awkward angle projection. ::)

IMG_0070.jpg


IMG_0071.jpg


IMG_0072.jpg


Have a great weekend.

Best Regards
Bob

 
Bob,

It looks great! Outstanding accomplishment, and excellent work! Congradulations on your achievement!

Here's to success!!
 
Bob,
Way to go!! Congratulations on completing such a fine engine :bow:

I suspect the first time that little engine barks we'll be able to hear the shouts of joy all the way over in this hemisphere!


Cheers,
Kevin
 
Beautiful machine!!!!

My suggestions for the gaskets: just use a lucky card from an old playing deck. Go to an office supply store and get a circle cutter. There's a good Japanese brand that I use. It's basically a compass with an x-acto blade at the writing end. It's really easy to cut gaskets for the backplate and head this way. (Make sure to soak the gaskets in castor oil before assembling.)

I like your "darning" needle valve!!!

Good luck on getting a "first pop."

George
 
W/E, Kevin and George,

Thanks Guys
thanks.gif
thanks.gif
thanks.gif
.

I am very sure there is a part of each person who has contributed to this topic somewhere in "ICB" and it's thanks to all of you that she's come this far.

Thanks for the tip about using a playing card for the gaskets. I am concerned that it could be a little thick between the crankcase and the cylinder, altering the timing and port positions, can you comment please.

Best Regards
Bob
 
Awesome achievement, Bob. Can't wait to see/hear how she runs!

What are you going to build next?
 
Richard,

Thanks for your support. :bow:

When it comes to video cameras and daughters, I think you have Brian and me mixed up. I don't know if my daughter even has a video camera.
biggrin.gif


Not to worry, when the time comes I'll set up the Canon on a tripod and see if I can make a video.
Flahssssss.gif


Best Regards
Bob
 
Very nice work Bob. It's been great fun following your build and along with others I'm waiting to hear her go!

Cheers,
Phil
 
Bob,

Good point about the card thickness. I found my playing cards to be about 11 thou thick. It's a good idea to have a variety of gaskets so that you can experiment with different port timings. I also made 3 conrods that were different with about a 10 thou range in distance between crank pin and wrist pin holes. This provided an easy way to compensate for some accumulated error.

You may want to rig a timing jig with a protractor just to make sure your port timings are as desired. Just bolt the protractor in place of a prop and rig up a block scriber so that you can indicate the markings off the side of the protractor. Then, flash a penlight into your cylinder while rotating the protractor (and the crankshaft) and note when the piston covers and uncovers the intake, transfer and exhaust ports. This will give you an idea of how close you are.

Best wishes!

George
 
ksouers said:
I suspect the first time that little engine barks we'll be able to hear the shouts of joy all the way over in this hemisphere!

I'm expecting to be woken up by the screams of delight ::) ............ Bob ........... what more can I say ............. 20 21 pages of pure unadulterated good fun and top class work ......... :bow: I know it's been said before but ........... we all really appreciate the time you've taken to document and photograph each stage, it really is invaluable to us "less experienced" dude's 8)

Good luck with the first run ...................as well as a propeller how about an airboat ......... might as well have fun in style ;)

CC
 
Back
Top