3 Cylinder Swash Plate Engne

Home Model Engine Machinist Forum

Help Support Home Model Engine Machinist Forum:

This site may earn a commission from merchant affiliate links, including eBay, Amazon, and others.

Captain Jerry

Project of the Month Winner!!!
Project of the Month Winner
Joined
Dec 2, 2008
Messages
971
Reaction score
8
Hi Y'all

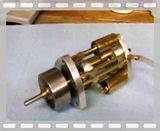
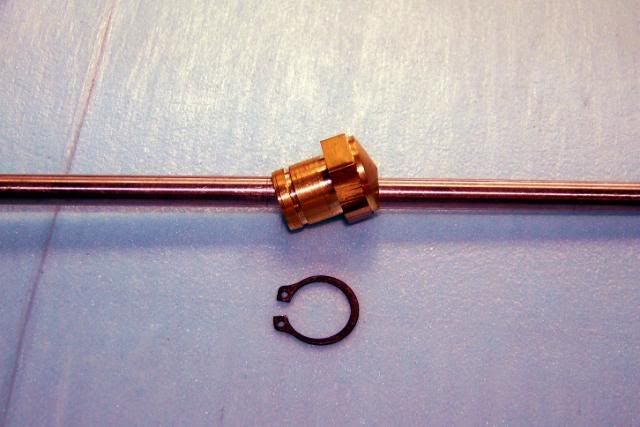
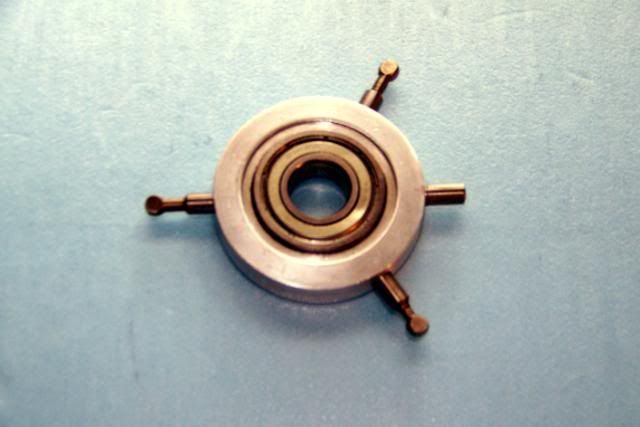
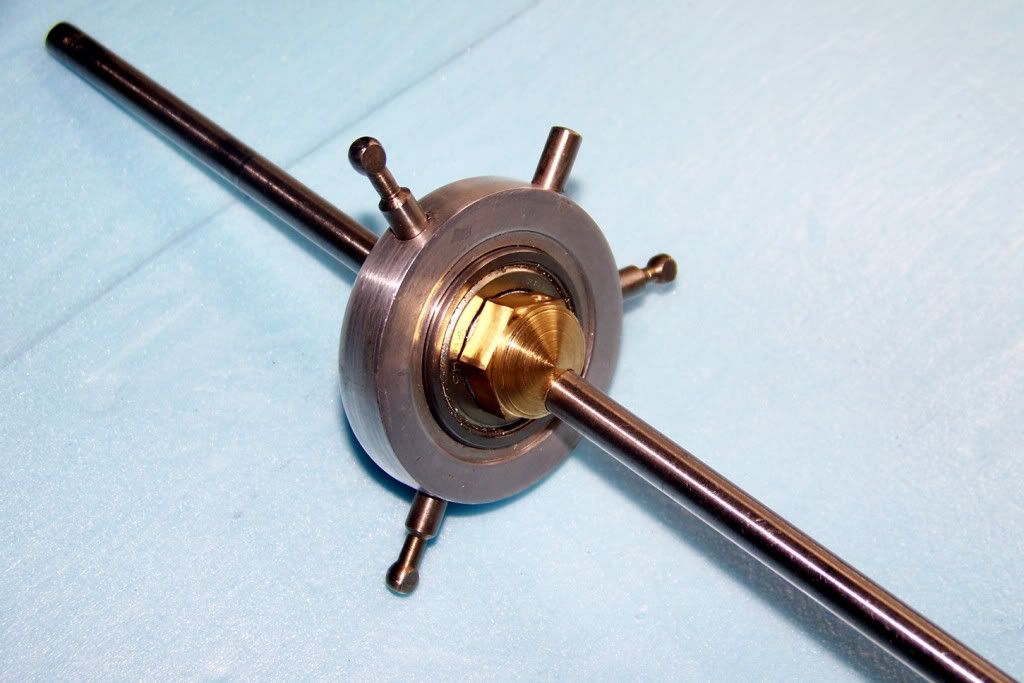
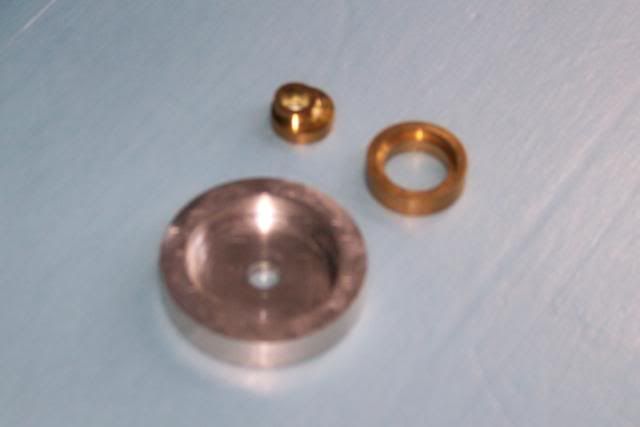
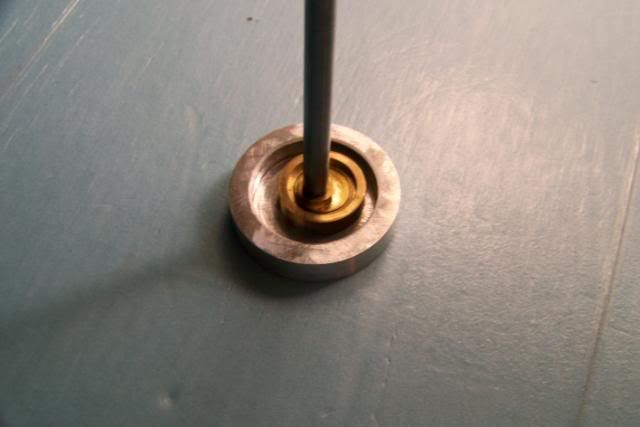
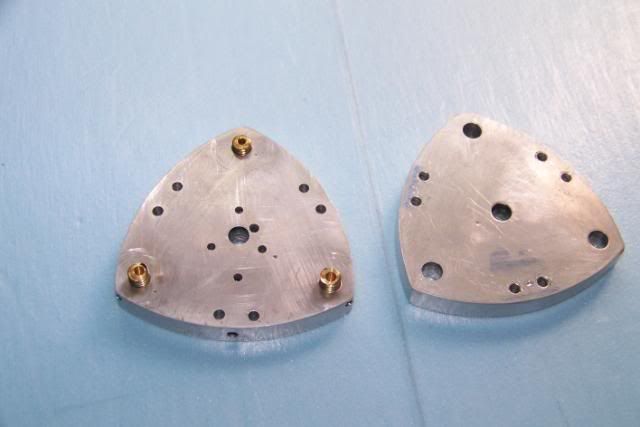
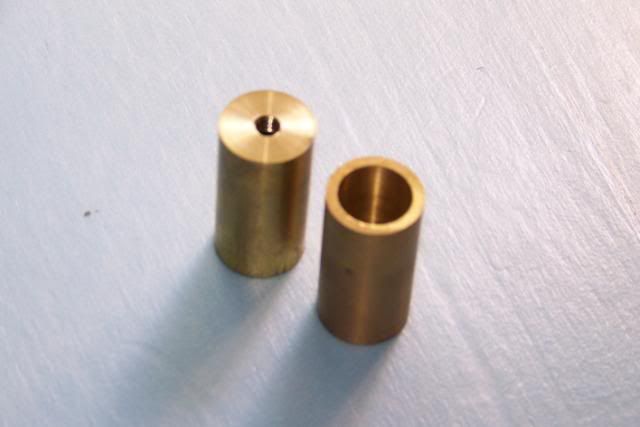
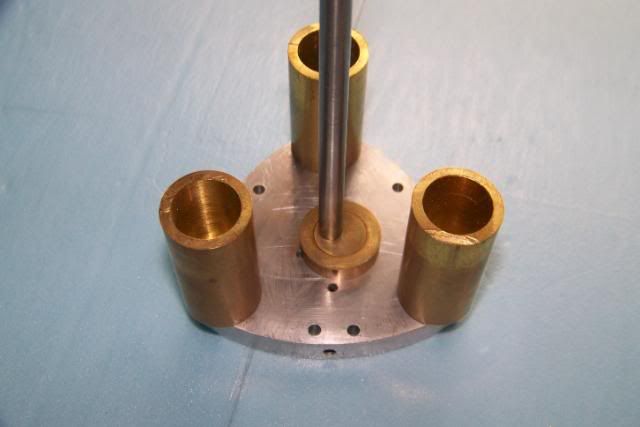
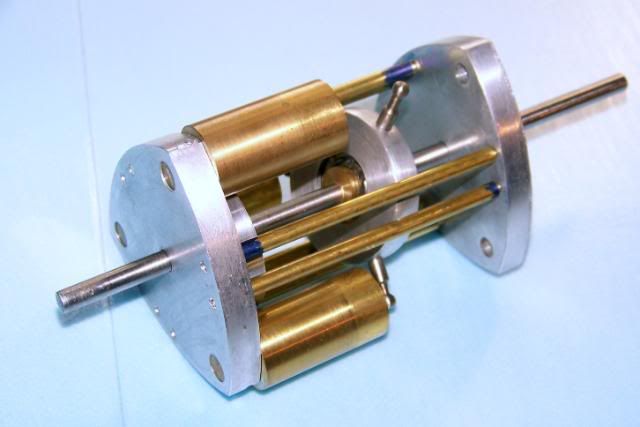
This is going to be my next engine build. It bears a resemblance to the Weeble engine but rather than using a wobble plate to translate axial motion to rotary motion, it uses a Swash Plate mechanism. The swash plate is commercial 1/2" bore ball bearing mounted at an angle to the output shaft. The piston rods (arms) are seated on the outer race and the inner race is mounted on a brass core that is set at a 20 degree angle to the output shaft. The rotary slide valve owes it's design concept to the valve in Elmer's 3 cylinder radial but has been redesigned to allow a double ended shaft. It also eliminates the extremely small diameter drive pin in favor of a normal size eccentric.

It is also slightly larger than the Weeble, with a 5/8" bore and a 29/32" stroke for a 3.1 cu.in
displacement.

Please excuse the bad math. The displacement should be .834 cu.in. (I used diameter instead of radius in the above figure).

Here it is as an Alibre Model in motion.

http://screencast.com/t/h5nnVb1K


Jerry


Triple Cyl plate and ecc.jpg
 
I am finally getting into the shop to make some parts. The most important part in this engine is the angled bearing seat that gives the wobble plate its nutating motion. I am using a bearing with a .5" bore that is .31 thick. This will let me set a 40 deg. angle.

The bearing seat was turned from 11/16" brass hex bar. A 1/2" diameter was turned for a length of 3/8" on the end of the bar. The bearing will be held in place with an external snap ring so the snap ring grove was turned and the snap ring installed. I then extended the 1/2" diameter for a distance of .30" from the inner face of the snap ring. From here it was fit and face until the bearing was firmly held in place by the snap ring.

The part was then reversed in the chuck an faced off with a 70 degree point. The part then was placed in a custom fixture to drill the angled hole for the shaft. If I had a good tilting vise, I would have used it but I don't. The fixture held the part at the correct angle and made it easy to center the part under the bit. With the part tilted 20 degrees and the 70 degree angled face, the drill bit entered at 90 degrees so skidding was eliminated. A hole was drilled and tapped for a grub screw and that was it.

Not really. After a day and a half of frustration, mishaps and head slaps, this is how it turned out.

threecylinders027.jpg


threecylinders024.jpg


I'm not going to bore you with all the minute details of this build, just the highlights. The bearing inner race mounts on the angled seat and an aluminum ring with three equally spaced piston rods and the control arm is pressed onto the outer race.

threecylinders029.jpg


More to follow.

Jerry


A few more parts this morning. These are the rotary valve parts. There is nothing unique in the machining except maybe the eccentric which was created by setting one jaw of the scroll chuck one turn late in the chuck. This has been shown elsewhere on this forum by BOGS and others.

threecylinders012.jpg


threecylinders017.jpg


I was having difficulty with my local internet connection and images would not upload. The previous post has been edited to include the pics

Jerry
 
A few more parts. The end plate on the left is the head end. It includes the cylinder mounting holes, the valve ports and the air distribution channels. The three small holes around the center that line up with each of the cylinder mounting holes distribute air to the cylinder heads and return exhaust. The single hole at the six o'clock is air in and connects to the air port on the outside edge. The single hole at about 2 o'clock is the exhaust and connects to a similar port on the outer edge. The six holes in pairs at the outer edges are for standoffs between the two plates.

threecylinders009.jpg


The cylinders have a 5/8 bore. The started out as brass pipe and it might be considered cheating not starting out from solid bar but since I buy brass scrap by the pound why buy all those chips in the center? The head end is closed with a 1/4" thick disk that is soldered in place.

threecylinders008.jpg


Cylinders in place, and valve parts on shaft.

threecylinders018.jpg


Valve cover in place. In the above picture you can see that the air intake port is opent to the #3 cylinder and using clockwise rotation the cylinder port is just beginning to close.

threecylinders020.jpg


Moving on to pistons next.


Jerry
 
The pistons are made. As wear occurs, they will need an adjusting screw across the the slot to maintain fit. That will take a very small screw (2-56) which I don't have on hand so I'll add later.

threecylinders021-1.jpg


This thread dose not seem to have much interest so I'm going to shorten up the process. All the critical parts are made. I still intend to add ball bearings to the end plates and o'ring seals in various places but this is a new design and I want to see it assembled before making these additions. Here are the parts.

threecylinders005.jpg


Here it is assembled.

threecylinders003.jpg


Now on to the testing.

Jerry
 
I think you're wrong about the level of interest in this build Jerry.

I for one, have never seen a "swash plate" anything before, so understandably, I have nothing to add to this post. But I do want to understand it when you are done building. Please, continue to explain as you go along.

Please! :)

Much respect,
Kermit
 
Nice work Jerry,

Please do continue the progress pics, I've been occupied outside the shed and have just caught up on reading your thread.

Looking forward to seeing it running.

Cheers,
Phil
 
Same here, Jerry:

Don't have any knowledge of swash-plate technology, so I'm following to learn. Please keep posting...

Cheers, Joe
 
Jerry---You are doing fantastic work, and we are all watching and learning!! I'm not getting a lot of APPARENT interest in my pump series either, but people are looking at the posts, you can tell by the "thread counter". I find that some threads get a lot of opinions and comments made on them, while others don't seem to get a lot of interest---but---people are interested---they're just not commenting. Keep up the great work.---Brian.
 
Yeah...what Brian said. The counter counters your comment :).
And I too have been watching this build with interest.
Please keep it going.
 
Jerry
I too am watching your progress with great interest. The Swash Plate engine is one I'm hoping to tackle in the future, so you're plowing ground that some of us might be digging in, down the road. Having done a couple of build logs, don't let the lack of questions or critique convince you there is a lack of interest. In most cases you are the only one who really knows where you are going, so most of us don't know what to ask let alone how to assist.

These guys are as supportive as any you'll ever encounter, so keep posting and we'll do our part by reading and cheering you along.

Steve
 
Jerry,

When you as far from convention as you are with your designs you are pretty much on your own. I like many others enjoy your posts but what to say that is constructive and relevant.............. I'm lost. Please keep on keeping on and we will keep on trying to follow where no man has gone before.

Best Regards
Bob
 
Jerry

I too am watching the progress and enjoying and learning as you go. I may be silent on the sidelines but I would like if you carried on with the posts and the build. I know this is going to be an impressive engine when finished. :bow:

Cheers :)

Don

 
Hi Y'all

Thanks for the kind responses. I hope I didn't sound like too much of a primadonna but the other day my wife commented that I sometimes suffer from the delusion that she is listening to me. It got me thinking!!

The posts will continue but I had to take a day off from the project to bury a horse.

Best to all
Jerry

 
You didn't sound at all like a primadonna...but I know what you mean. Sometimes you wonder if people are interested. But it's a great forum...great people.

Sorry about the horse. Family? (And that's not supposed to be funny. I lost my dog last year...it was hard.)
 
About the horse, it was difficult for all of us but mostly for my grand daughter. It was the jumper that carried her through many events and championships on the local and national level and helped her win an equestrian scholarship at the Univ of Tenn. Katie had only been at school for 3 weeks in her first year. Bez was 23 yrs old and had been retired for a couple of years.

Katie has gone back to school and things are settling down around here.

Jerry
 
Jerry I too have been silently watching in the background with interst. Keep up the posting...and thanks for taking the time to do it...
 
Same with me too, Jerry. I've been watching and learning in awe.

Kenny
 
Hi Y'all

The engine runs. There is much to do to get it to run well. I just couldn't wait to put the air to it. I was mostly concerned about the valve. On paper ( or CAD screen ) it looked good but until it was actually built and tested, I wasn't sure how well it would work. I am probably premature releasing this video since the engine is in extremely rough condition. There are no seals or packing around the shaft, air leaks everywhere. There are no gaskets on the cylinder heads and the valve cover. There are no bearings anywhere, just bare steel shaft turning in reamed 1/4" aluminum holes. There are many parts that will need to be re-made, either because of re-design or machining errors. There is no proper support or base to hold everything in alignment. The valve timing has not been tweaked. Just eyeballed at about 90 deg.

All that having been said, here it is.


My video skill are a little rough too.

Jerry
 
Captain Jerry :bow: :bow: :bow:

For an engine that isn't finished and is missing all those parts and pieces I'd say it runs pretty darn good. Now with a bit of your TLC and patience fine tuning it, you will have a real gem on your hands. Keep up the good work.

Cheers :)

Don


Latest posts

Back
Top