
You are using an out of date browser. It may not display this or other websites correctly.
You should upgrade or use an alternative browser.
You should upgrade or use an alternative browser.
Whittle Aero V8 WIP
- Thread starter cobra428
- Start date


Help Support Home Model Engine Machinist Forum:
This site may earn a commission from merchant affiliate
links, including eBay, Amazon, and others.
")
- Joined
- Jul 16, 2007
- Messages
- 2,986
- Reaction score
- 1,055
Tony, first off I'm glad you solved your problem. The next thing is I refer to your post #278. Setup is the most important aspect of machining. Sometimes setup takes more time than the actual cut but as you have found out there is no substitute. The work around, drilling and reaming first, is OK if the part is small enough to do that but it would be nice to figure out why it was happening in the first place so that it could be avoided on something larger. A new sharp drill with equally shaped flutes should drill quite an accurate hole. It's usually when the drill has been resharpened that it wants to push sideways while going through the material. Anyway, the rest they say should be a piece of cake.
gbritnell
gbritnell
Thanks All,
Glad I'm through that. Lessons to be learned.....don't rush.... double check your set up. The old saying.... measure twice cut once! The worst part is I know all those things but sometime don't listen to the voice of reason in my head saying check it again!
Tony
Glad I'm through that. Lessons to be learned.....don't rush.... double check your set up. The old saying.... measure twice cut once! The worst part is I know all those things but sometime don't listen to the voice of reason in my head saying check it again!
Tony
Tonight's Fun
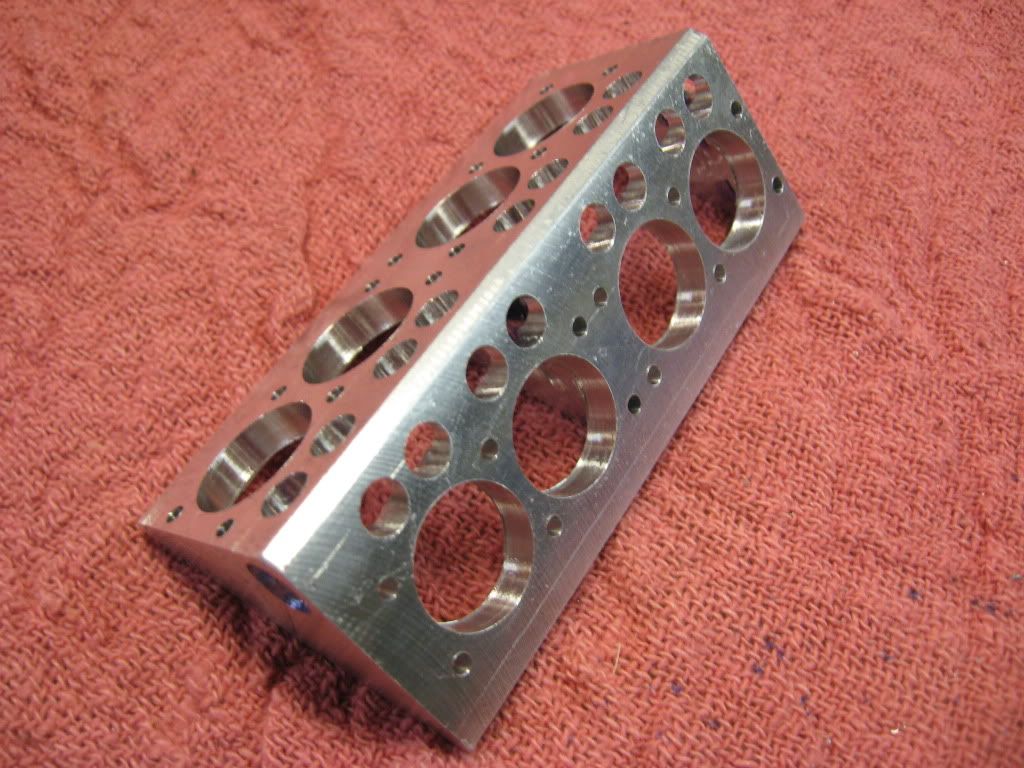
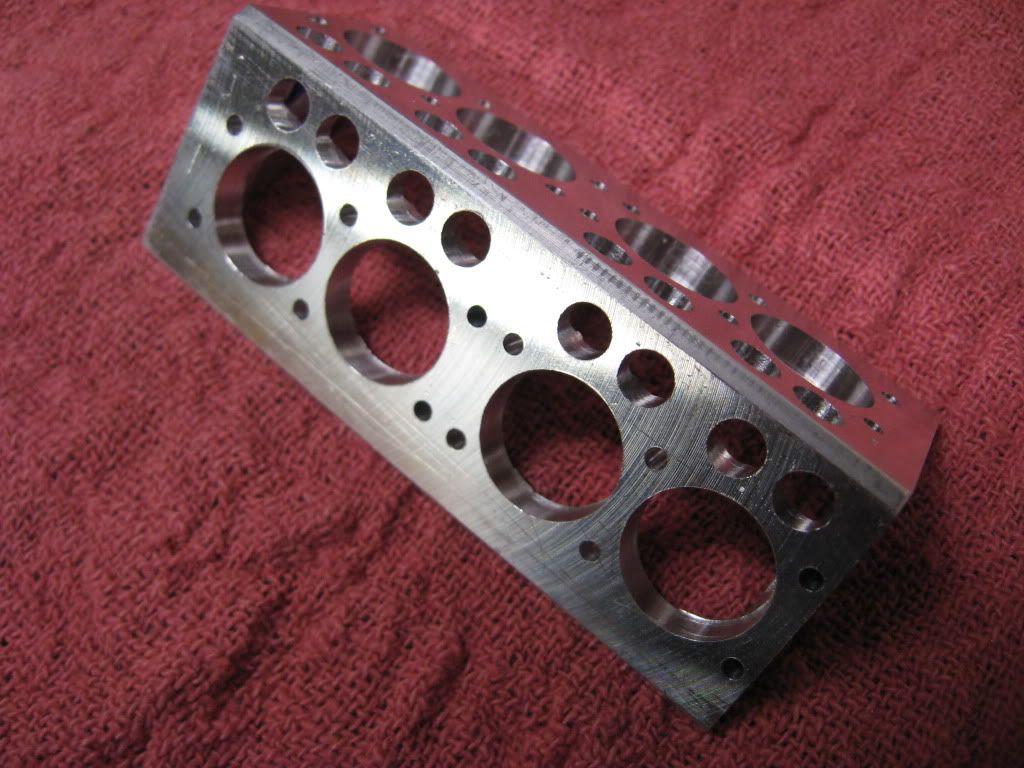
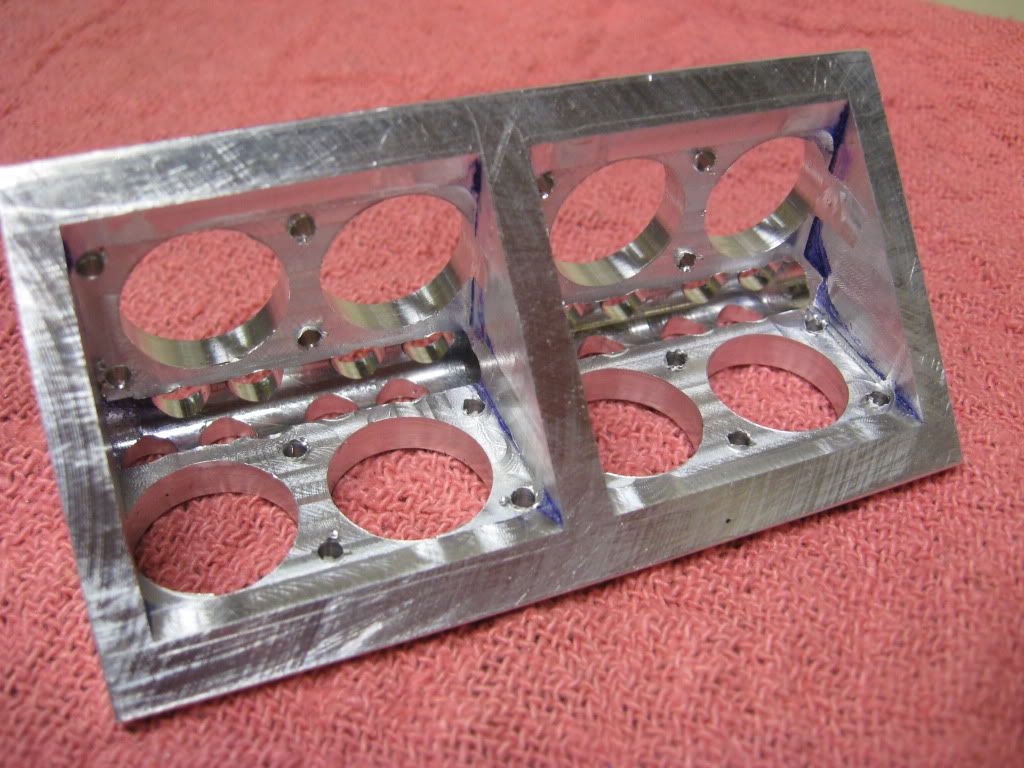
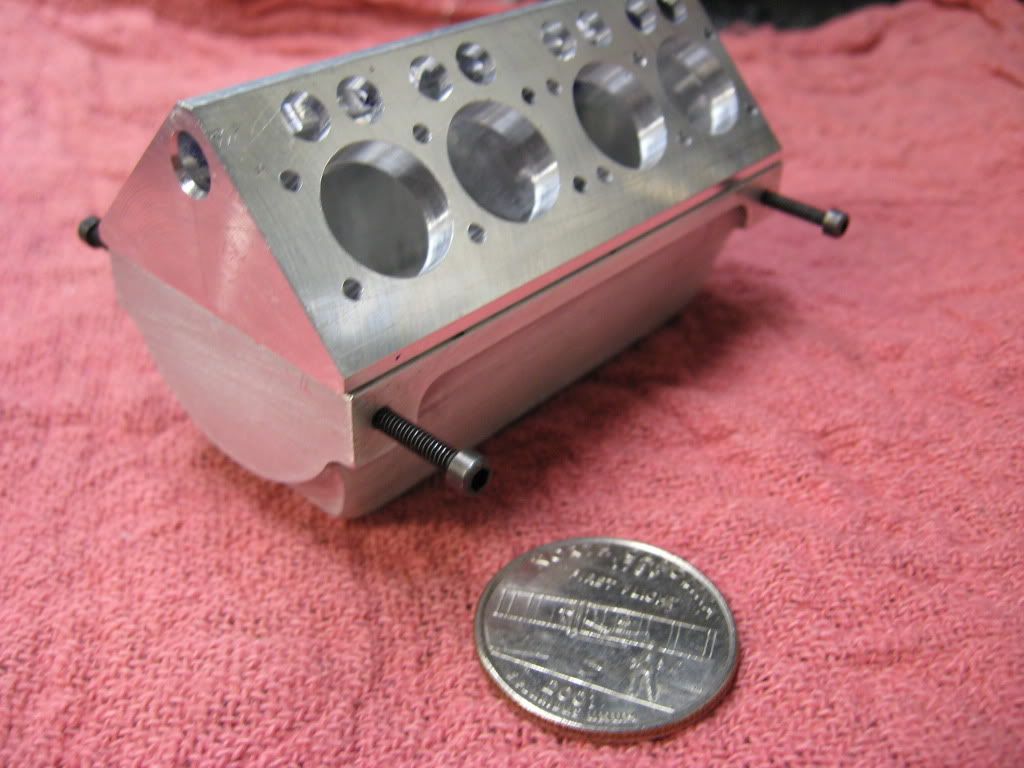
Almost done, Drill holes for crank support and oil gallery drill and tap mating holes for the lower tap head screw holes
Then the big one....bore front and rear of both upper and lower with a .833 hole. I'm thinking that one for the lathe in a 4 jaw
Tony
Almost done, Drill holes for crank support and oil gallery drill and tap mating holes for the lower tap head screw holes
Then the big one....bore front and rear of both upper and lower with a .833 hole. I'm thinking that one for the lathe in a 4 jaw
Tony
Powder keg
Well-Known Member
- Joined
- Oct 10, 2007
- Messages
- 1,091
- Reaction score
- 3
Looking good. I don't think I realised that it was that small? I should go back through refresh my memory some ;D
- Joined
- Jun 4, 2008
- Messages
- 3,285
- Reaction score
- 630
Holey moley! ;D :bow: