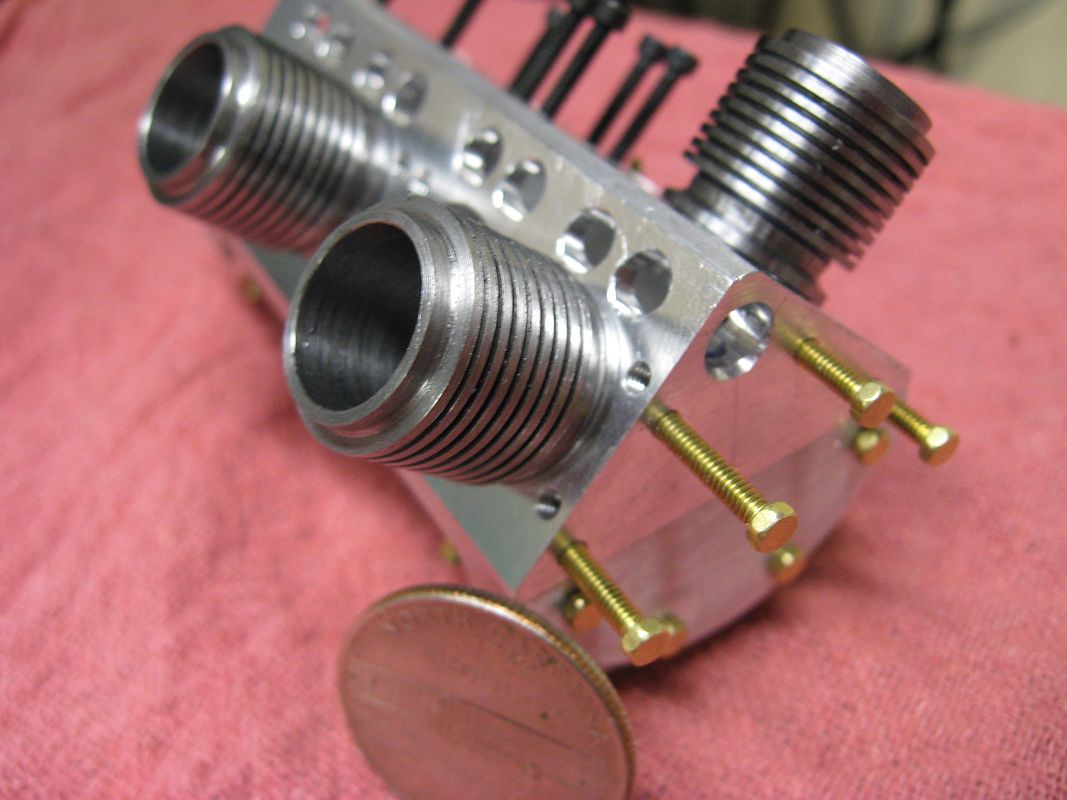
Whittle Aero V8 WIP

Home Model Engine Machinist Forum

Help Support Home Model Engine Machinist Forum:

This site may earn a commission from merchant affiliate links, including eBay, Amazon, and others.
Great looking build! Look forward to seeing progress/pictures everyday!

I read earlier there was a question on the runing rotation of the engine. The 1995 N.A.M.E.S video shows what looks to be the original Whittle engine being started and running. There is a normal rotation prop mounted with a small pulley in front of the crankshaft that he wraps a thread around and pulls the engine over CCW looking at the front of the engine. Stoping the video clearly shows the engine turning CCW looking at the propeller end of the crank. Hope this may help.

Gary

 
t.l.a.r. eng,
Thanks, I looked at the Yahoo site for this engine and they are all talking about mirroring the cam to make it run CCW from the front. I don't know who's right or wrong. The pic I have from the mag article shows a CCW prop. The guy on the U tube vid RJW had chimed in here and vanished said to use a pusher prop for CW rotation. I'm going to build per plans and just see what happens. I don't care CCW or CW just as long as it runs!

Tony

PS can you post the location of the vid you saw?
 
Tony,
The cylinders sound like a good plan. What material are you planning on making them out of? On the off chance that I may do something further on the V8 in the not to distant future I added some 41L40 for the cylinders to have in stock. I played with some 41HT42, but the narrow fins scared me on it. One of the reasons getting the material in is so I can play with my tool post grinder some more. Incidentally I will make the cylinders at 0.656 diameter instead of EW's 0.66 nominal so they will fit a standard 5C collet on my lathe. That would make grinding them easier. I don't know if I would heat treat them or not. Would have to see how much of a pain grinding them on both ID and OD after heat treatment would be.

I looked at the head drawing. I had not looked at it for a few years. The plug almost certainly will need to be cut down. If not, it would need to move up about 1/32 inch, and it's center line is already above the top of the combustion chamber by 0.065 inch. I think that would bury it too much. Where it is on the drawing protects is from the incoming fuel/air mixture quite a bit, so I don't think that moving it over to the center line of the cylinder would gain anything except make the machining a little bit easier for the tapped plug hole.

I used to go to NAMES for many years, but declining vision has made travel very difficult for me. I would like to go again, but doubt that I ever will be able to.

Gail in NM
 
The video reference is a VHS video tape produced by Robert M. Bailey and was labeled N.A.M.E.S. 1995
Not sure if available any more, my copy was ordered from Bailey Craftsman Supply back in 95-96.

Keep up the excellent build!

Gary
 
Tony,
EW recommended EN16T for the cylinders. Since it is on the Hemingway stock list that is probably what they supplied. It is quite similar to 4130 or 4140. The 41L40 is just a more free cutting flavor of 4140 so should be OK. It will be here before the Lobo is finished so I can play with it some when ever I feel like it.
Gail in NM

 
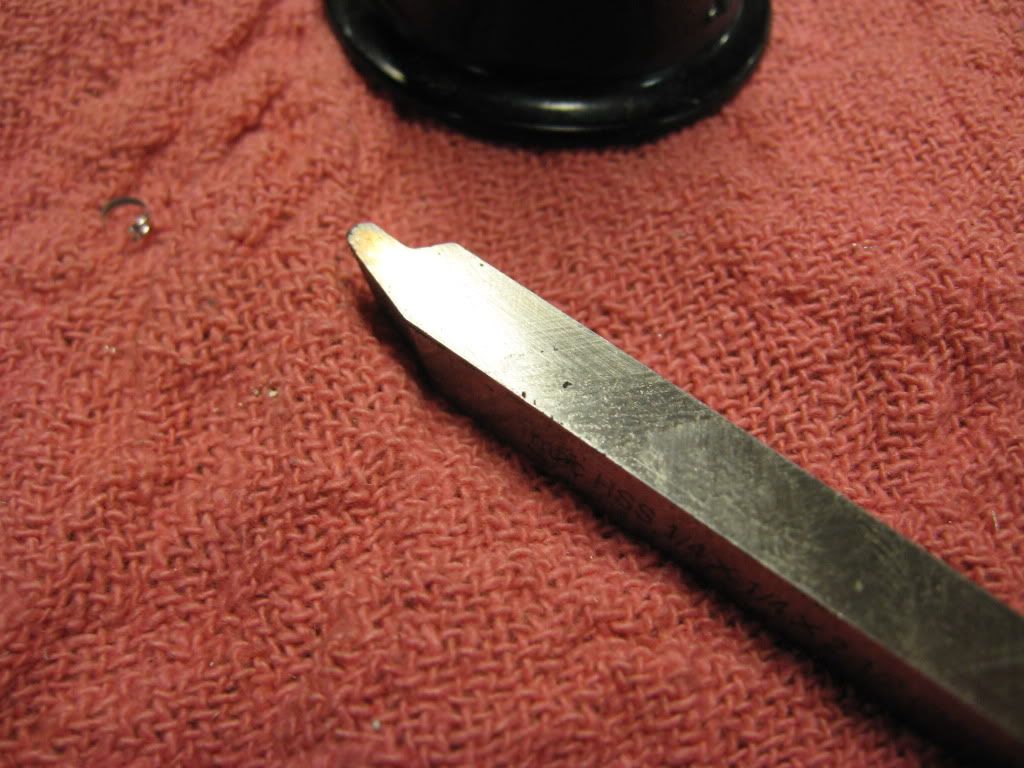
Got in a little work tonight. Ground some bits for the fin .025 thick and an around the corner radius cutter for the flange at the bottom of the cyl. At this rate it's a cyl a night.

Fin tool had to grind it down more. That was to big
IMG_0853.jpg


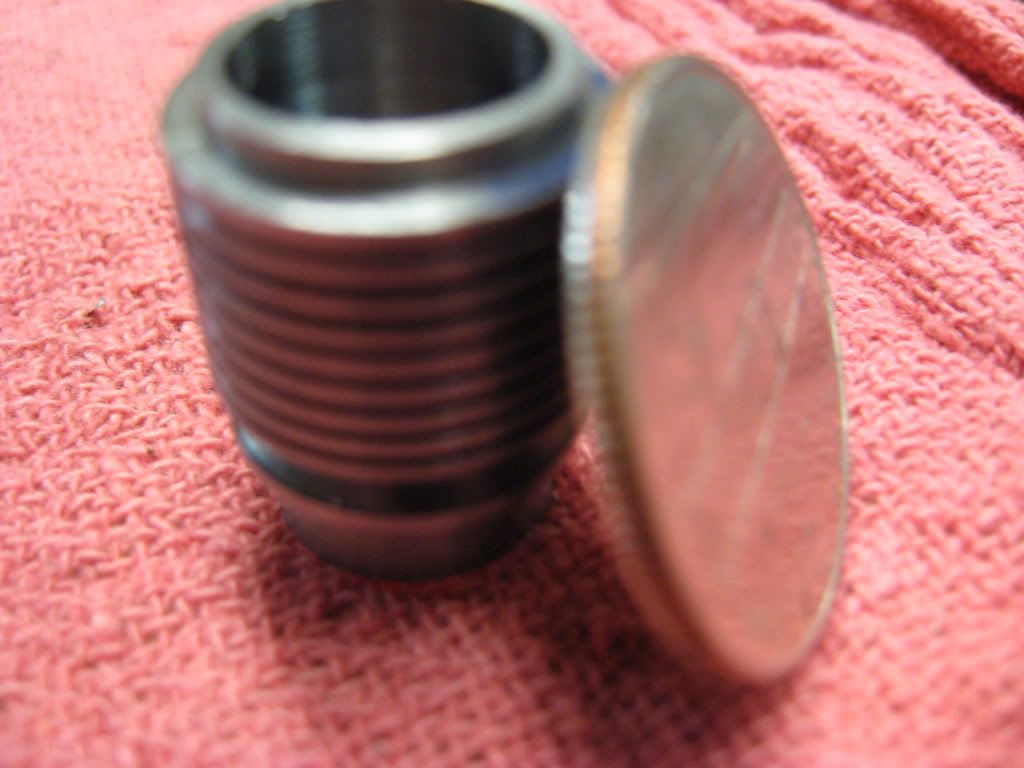
Around the corner radius cutter
IMG_0865.jpg


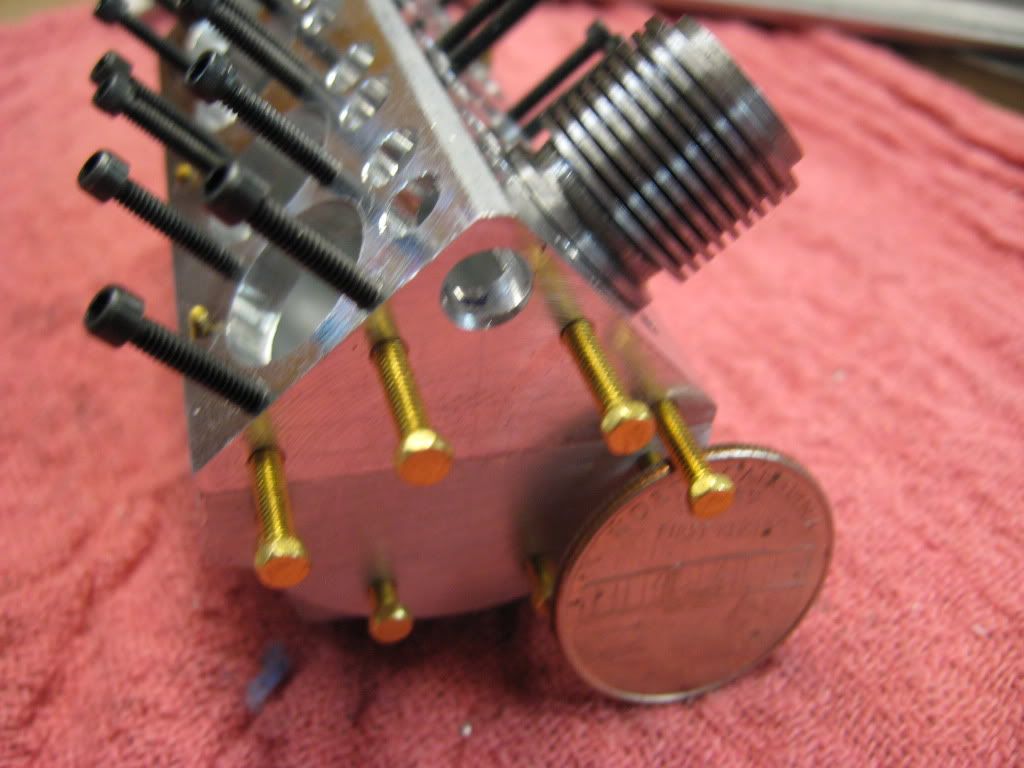
And walla
IMG_0870.jpg


IMG_0871.jpg


Time to go and rest the weary fingers

Tony
 
That's neat,Tony.
Very good tool grinding. I will have to work on mine.
Gail in NM
 
Thanks Gail,
The fin cutter I was sure I'd break it. Slow and easy, lots of oil. The EN16T wasn't to bad to cut. I changed my index to a fresh one and it cut like butter.

Tony
 
Looking very good, Tony.
So, we should expect a whole set by.. 'round the 28th of the month, right?
; )

Dean
 
Hey Dean,
Thanks! I don't know about the 28th but I'll do my best :big:

Tony
 
:bow: It's really starting to look enginey with a cylinder on it. Looking forward to the other 7 jugs.
 
Thanks Vernon,
I plan to spend this weekend in the shop....so maybe.....Mon. I'll have the full set!

Tony
 
I know it's been commented on...but I can't get over how small it is.

The cylinder looks great. Very interesting project.
 
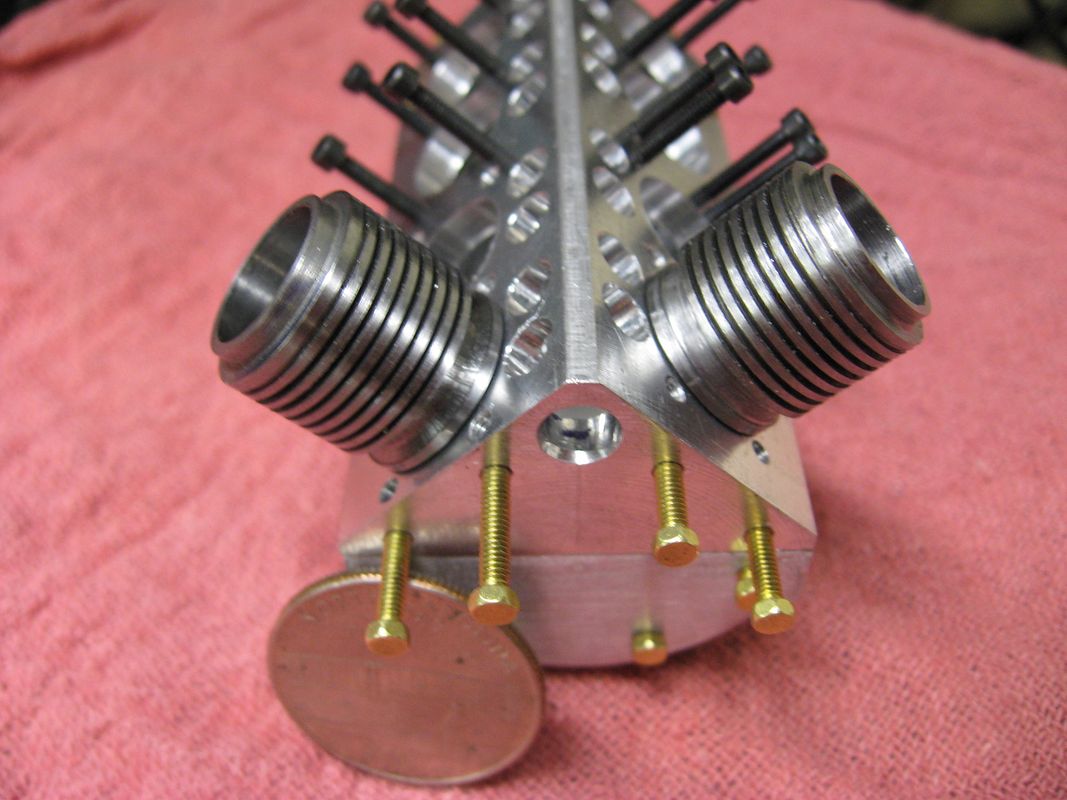
Well nothing done over the weekend (honey do list). Tonight It took me 2 hours to do another. All the tools ground and at the ready! Just needed a touch up with a stone. I'm going to see if I can get another in before beddy by time!

IMG_0872.jpg


Tony
 
What a COOL Engine Tony. :eek:

Keep the pictures coming please. Really enjoying this build.

Jeff
 
You asked for it Slick
I got another cyl (jug, as we call em) done. This time just an hour or a little less. I stopped "babying" the fin tool! Cobalt cuts very well.
Had to stop for a peanutbutter and jelly sandwich and a cup of coffee. So 1-1/2 hours :big:

IMG_0891.jpg


Tony

 
PB&J. Now, that's real machinist food, Tony. And M&M's, of course.

I know the remaining jugs are all similar, but still excited to see them all lined up.

Did you have EN16T steel, or did you use one of the 41xx types? I haven't used EN16, and am just curious as to where you got it.

Dean
 
Hi Dean,
I bought the kit from Hemingway's. I figured by the time I ordered 6' of this and 3' of that I could build about 6 engines. So I opted for the kit. Hemingway's is across the pond in the UK. The Brit's have the EN16T stuff, I was going to use 4140 HR Annealed. If I make a Boo-Boo I have some of that around.

http://www.hemingwaykits.com/acatalog/The_V8_Aero_Engine___Eric_Whittle.html

Tony
 

Latest posts

Back
Top