- Joined
- Nov 12, 2009
- Messages
- 1,427
- Reaction score
- 221
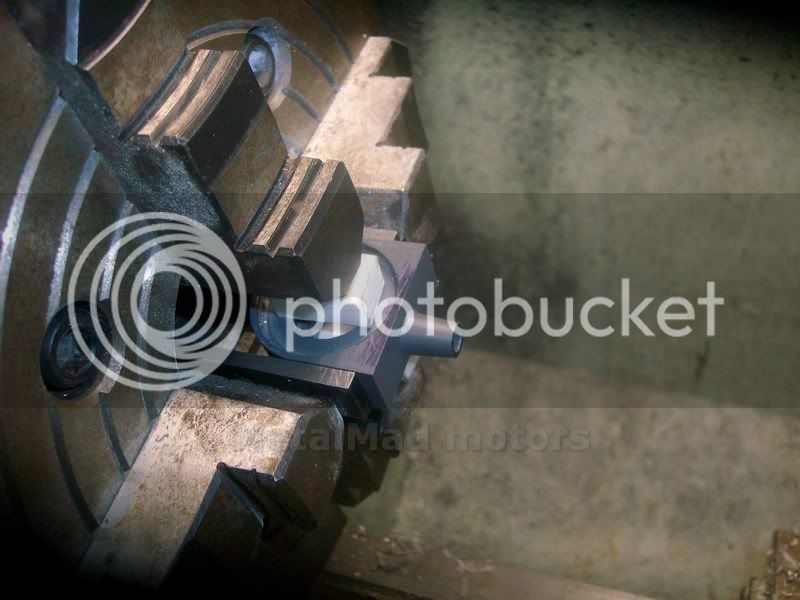
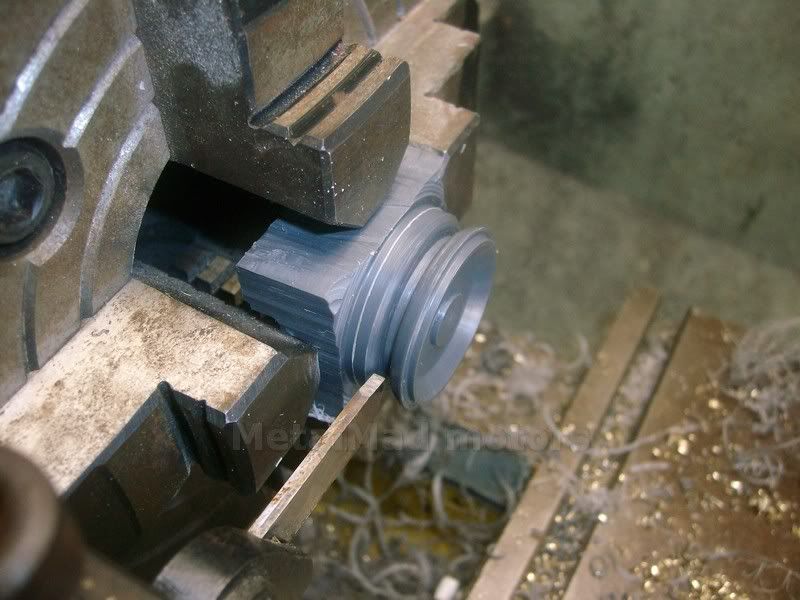
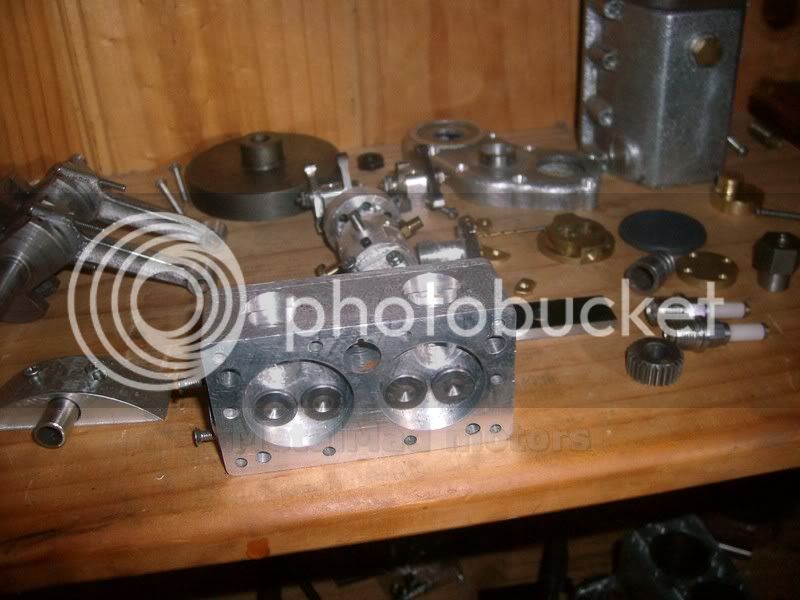
Got into the shed for a couple of hours today and contined on with the distributor, in the second pic I put the rotor button in for effect.
Its a nice snug fit which makes me wonder if I should give a bit more clearance for all those 10,000 rpm runs :big:
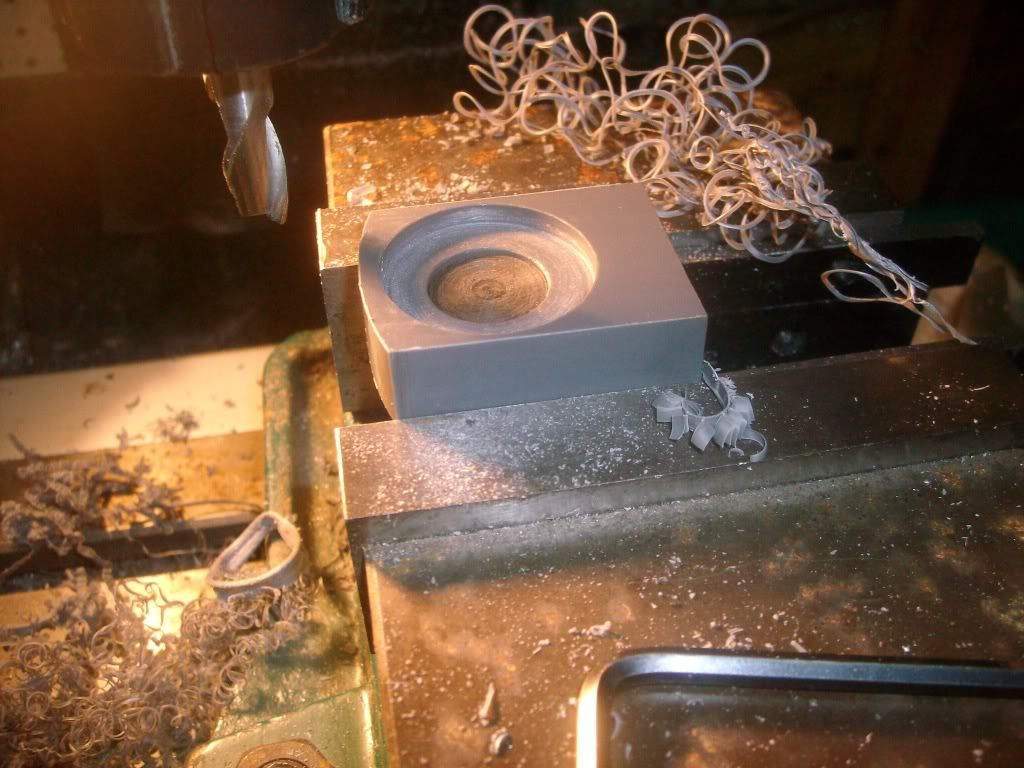
I'm tossing up making the Cap clear perspex for a interesting effect as I'm worried about wasting the rest of the plastic which will come in handy for my next engine.
Im going to give this vise a good clean and oil this arvo as the humidity has been a shocker of late.
Pete
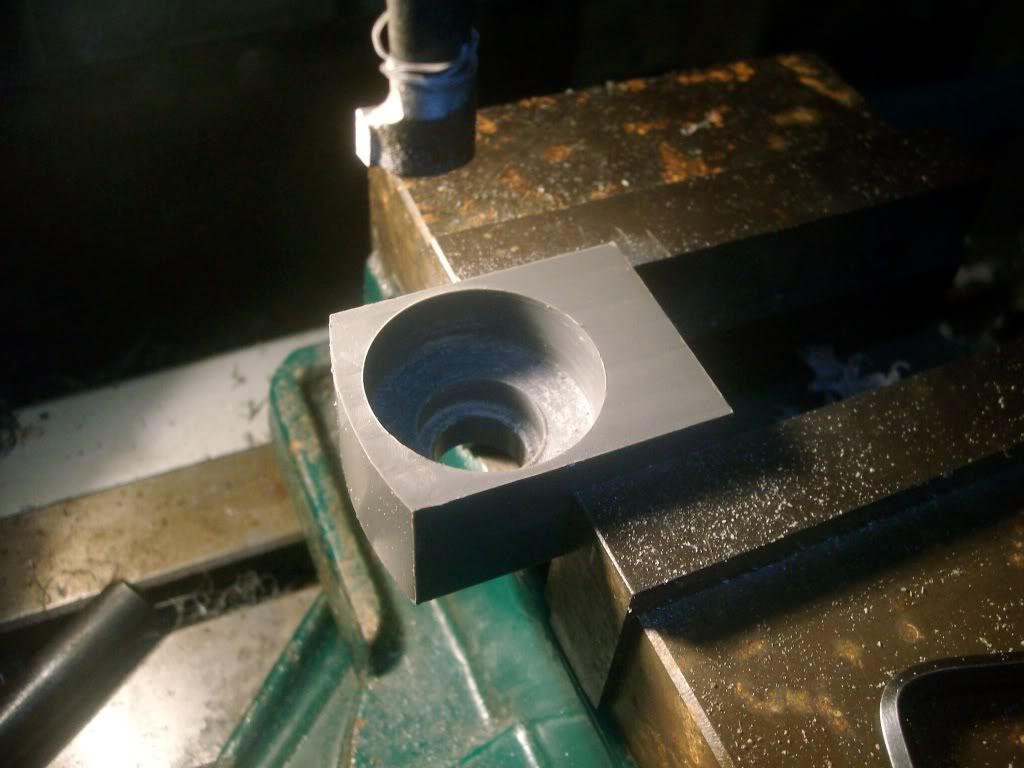
Its a nice snug fit which makes me wonder if I should give a bit more clearance for all those 10,000 rpm runs :big:
I'm tossing up making the Cap clear perspex for a interesting effect as I'm worried about wasting the rest of the plastic which will come in handy for my next engine.
Im going to give this vise a good clean and oil this arvo as the humidity has been a shocker of late.
Pete

")