Tiny Inline 4 by designed by Burleigh Machine

Home Model Engine Machinist Forum

Help Support Home Model Engine Machinist Forum:

This site may earn a commission from merchant affiliate links, including eBay, Amazon, and others.
You make it lool so easy. That is a real skill. I am following with pleasure.

Jim
 
Thanks for all of the nice comments,

For some reason I had an itch to start on the base for this engine. I wanted something with some weight so its not going to want to leave the table while its running. I thought about a nice piece of thick polished marble or polished granite, but I had no idea where to start looking for such an item. I could have went to a custom countertop place but, who knows how much that would have cost to have them custom cut a piece to size and polish all the edges.
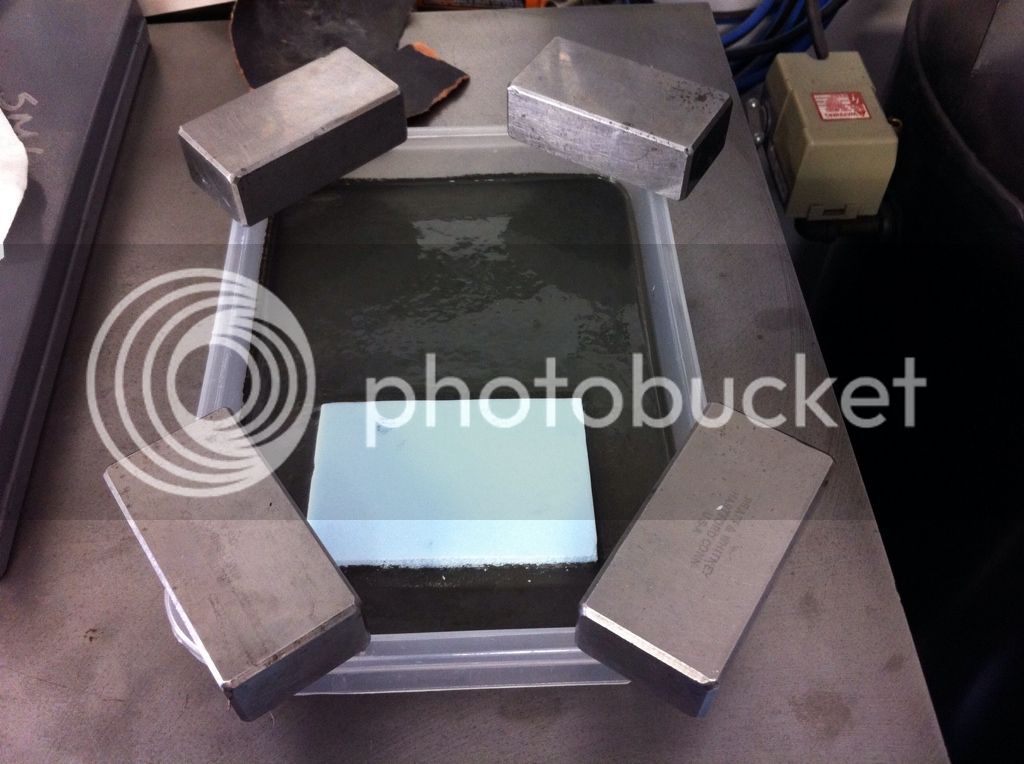
So, I decided to try and make a concrete one myself. I started with an old piece of Tupperware and a stepping stone concrete mix from Michael's hobby and craft store.

This is how it went, I tried to dye the concrete but, it really didn't change the color of the mix. The foam block is to make a pocket for the electronics.... Once the concrete cured, I just melted the foam away with some MEK solvent.
664A3255-9153-40C6-AE22-E5F7A8F1E8B8-549-000000DF416A6EEB.jpg

4EA10D72-3903-4DC7-962A-888C20C9421E-549-000000DF458B2074.jpg

116F7CFD-0C3D-41D4-9600-4077142F8195-549-000000DF483D11A2.jpg


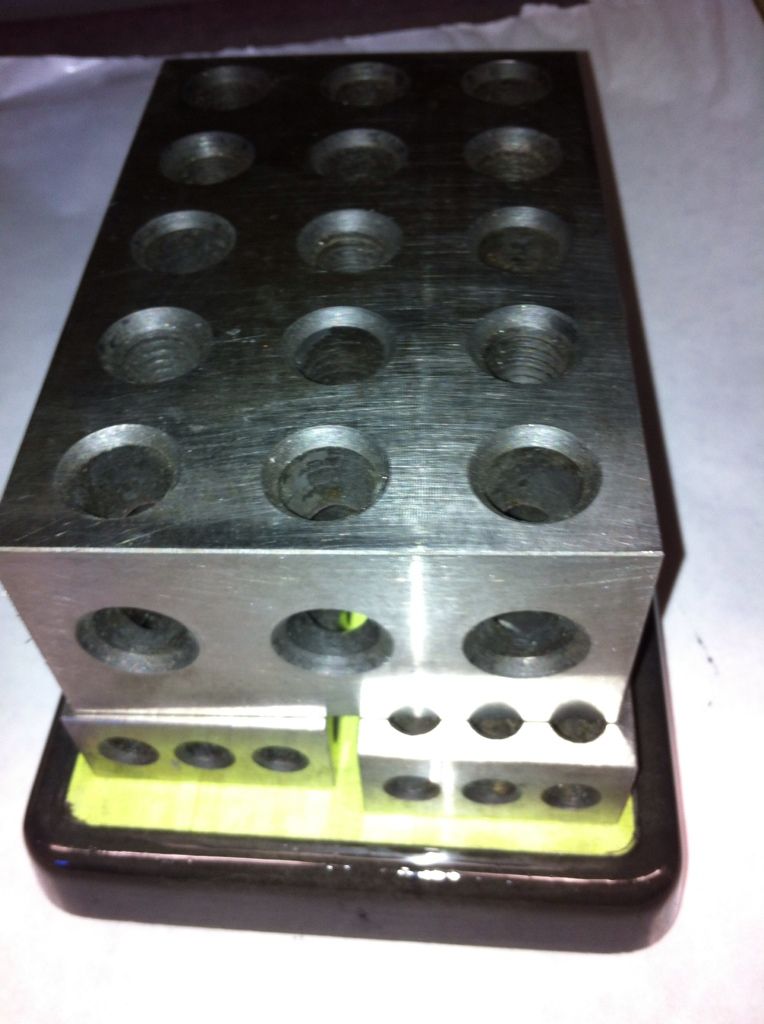
The edges were treat with a blacken epoxy and should hold up well to any fuel spills.

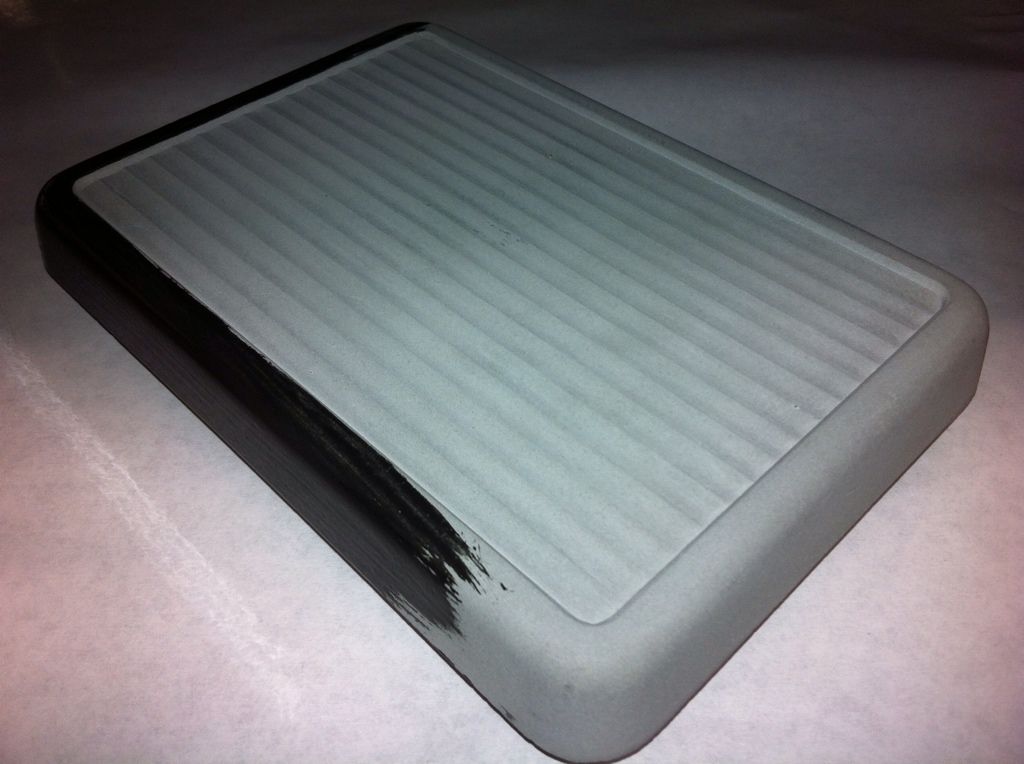
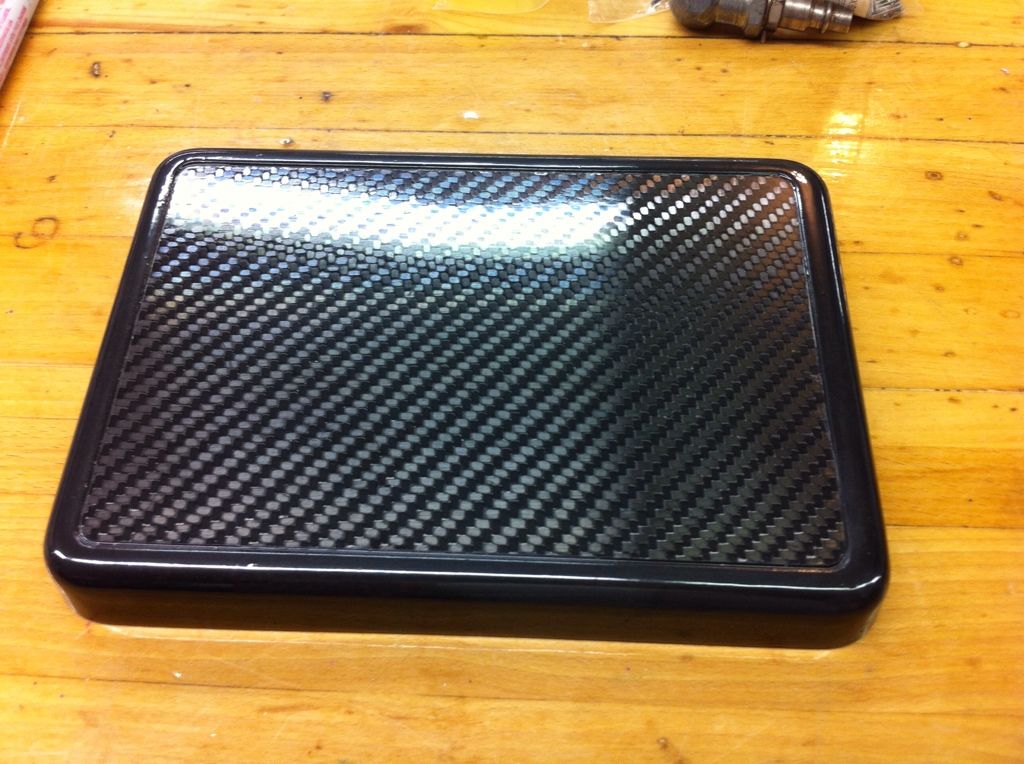
Inlayed a piece of carbon fiber,
13DE06ED-F9C3-4019-951F-09322B7C9358-549-000000DF4B12F8C5.jpg


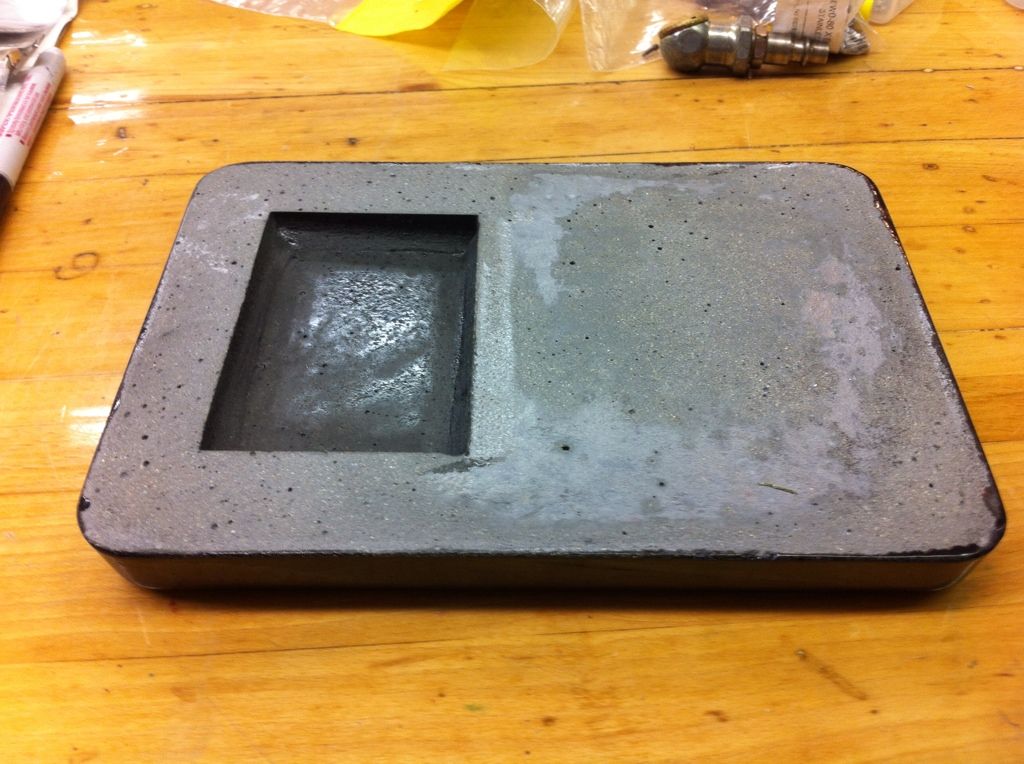
Pocket for the electronics... I hope it's big enough
3188D2C4-62B8-425C-8D0B-C1E9B8481F70-549-000000DF50BF44D8.jpg

675DF6E0-15EB-4587-8E00-4BD04F45D12E-549-000000DF4DA22CB7.jpg


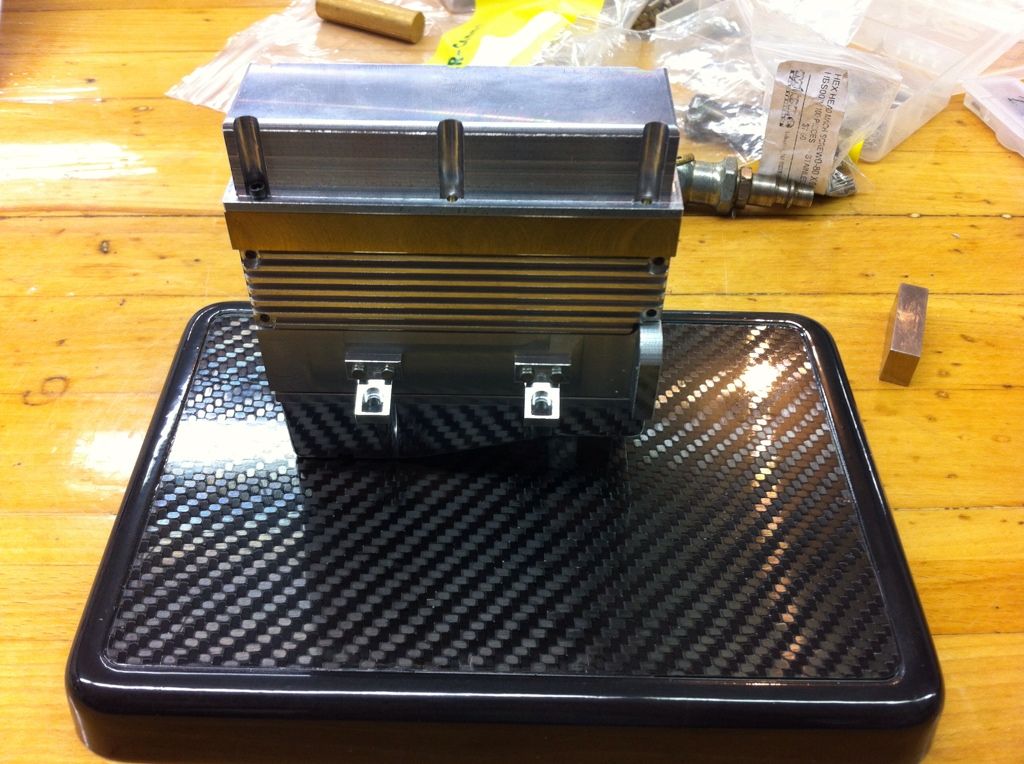
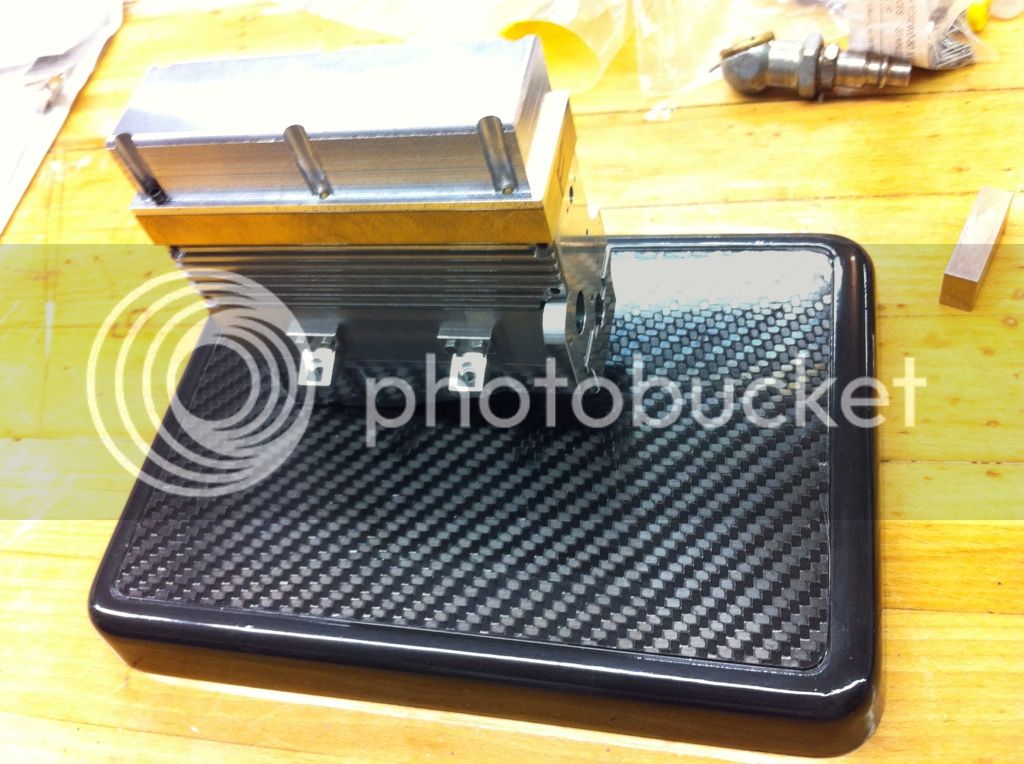
Finished Base, it's not perfect, but I think it's decent enough to do the job. I think I will offset the engine to make room for the fuel tank. What do you guys think?
DF84A7DF-D982-4DEF-948C-50028C7F91EE-549-000000DF563BAA0A.jpg

5DD7A331-F6AB-43C5-B0AD-6AA577E6F80A-549-000000DF53778ED1.jpg
 
Last edited:
That base looks amazing! Very inventive and the carbon fiber makes it look very high tech

Lee
 
Thanks for the nice comments on the base!

Started turning the cam shaft.

AC04634F-B8AF-48A8-B371-70BA6A7A07D3-2663-0000039AE0C50DF5.jpg
 
Hi SMG!
I really liked your building. It is very nice finishing. Congratulations.
I`m also building the same engine here in Brazil. We are almost at the same stage. I`m now finishing the Head, it missing the exaust and intake runners as well as the valve seats.
If you want to take a look on my thread it is Building the tiny inline 4 in Brazil.

http://www.homemodelenginemachinist.com/f31/building-tiny-inline-4-brazil-17438/

Next I`m thinking to start on the cam and crank shaft.

We may exchange some experience on how to machine some parts.

Edi
 
Time to catch up on some of my progress.
BDD9D398-76AD-46B1-BBD4-AEC11F4E5C1F_zpswugnwbvw.jpg

2505D781-F92F-4E00-8C91-8C88F6C66C99_zpsagm9anwn.jpg
 
Wow beautiful looking rad, do you have any pictures of it going together?
 
Wow that rad is fantastic
I'm not looking forward to making the rad for my v 4 any tips and pics ?
Les.
 
Sorry guys, No pictures of it going together. Thanks for this nice comments. Here's how the fins were made.
D3C4569D-27D0-47E9-BE38-8EB0DA9DF115_zpsnozsijtp.jpg

D29C97CD-F132-41D6-8668-267A6DB28A2A_zpsslwp6bqk.jpg
 
The gear cover was made on the rotary table and then tumbled in my rock tumbler to remove all the ruff edges.
ca96b52f-3e97-47d9-9627-f7efa763fcad_zps72c838ba.jpg

B5DD3E96-85F6-4F48-8E95-B7780646849D_zpsqszkbmtt.jpg

813CF6DC-4C70-444E-B85C-693BCC92DDC7_zps8tva761d.jpg
 
Thanks for the post on your radiator construction method. Looks great. Since this is aluminum, did you use an epoxy of some kind to fasten and seal the parts together?

Also, what media are you using in your rock tumbler. It does a nice job smoothing up your parts.

Regards,


Chuck
 
Here's some pictures of the distributor cap in progress.
ImageUploadedByModel Engines1388019746.169798.jpg
ImageUploadedByModel Engines1388019773.737553.jpg
ImageUploadedByModel Engines1388019800.337811.jpg
ImageUploadedByModel Engines1388019824.472744.jpg
ImageUploadedByModel Engines1388019845.089299.jpg
 
Here you go Steve, there's really nothing to it. Drill a 3/16" hole and mill the sides, it worked like a charm.
ImageUploadedByModel Engines1388362630.721434.jpg
 

Latest posts

Back
Top