Alex said:
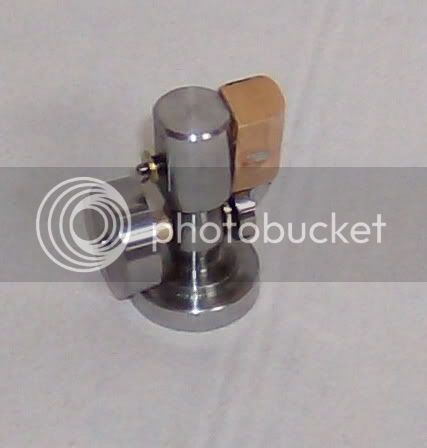
Nice engine Shred. Is it all brass?
Kenny, what do you think about soldering the crank pieces together? Another solution might be JB Weld. I've used it on one of my steamer locos with great sucess.
Thanks. It's almost all brass, except for the pins and crank disk which is currently an interesting shade of purple-gray from a soldering attempt. I started out making a 12L14 steel column, but trashed it due to impatience (see above) and had a short length of .700" brass rod lying about, so that became the new column.
The pin that holds the spring on also isn't brass-- it's an IC socket pin from a circuit board that had an interesting look to it and was a convenient size.
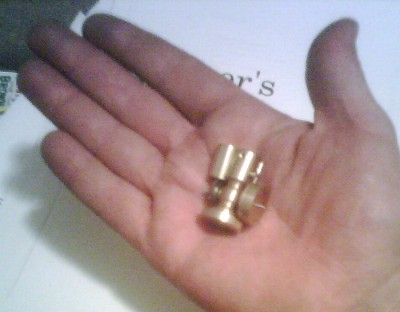
2nd Kenny's comments on the crank-- the offset hole I drilled with an undersized 1/16" drill (I didn't know that at the time), and it press-fit nicely, but the center hole, with what turned out not to be the same drill bit, came out as a loose fit and all manner of locktite, superglue and solder didn't help it stay put how I wanted it without making a mess, so I ended up peening the end of the shaft a little oval with a small hammer and that's holding up.
I came close to making a whole new crank disk-- it's not that much work and I made that one too thick to begin with, requiring some extra cutting elsewhere to make the piston rod align properly.
If I were to do it again, I'd consider the one-piece construction, but my lathe skills might not be all there for that level of work. Failing that, I'd go straight to the undersize drill and press-fit-- I prefer adhesives that can be removed in a pinch in general, but they didn't work well enough on this part.


")