PM Feb 1973 "Tiny Steam Engine" Anyone?

Home Model Engine Machinist Forum

Help Support Home Model Engine Machinist Forum:

This site may earn a commission from merchant affiliate links, including eBay, Amazon, and others.

Greebe

Member
Joined
Jan 29, 2010
Messages
11
Reaction score
0
I found a box of Popular Mechanics magazines from the 50's up to the late 70's in the attic of my mother house when she bought it in 1993.

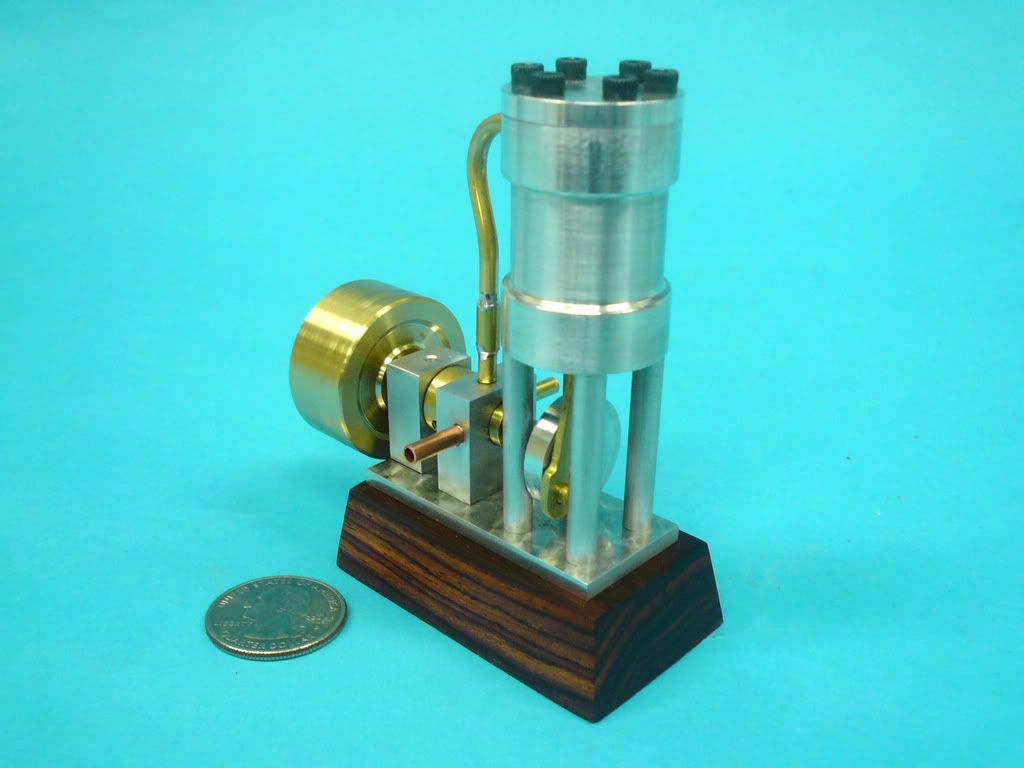
As a mechanically inclined 13 year old, I was thrilled with my find. The one issue that I found that really caught my attention was the Feb 1973 issue. This issue had an article about building a steam engine entitled, "Tiny Steam engine for the beginning machinist" by John Burroughs.

This article is what I attribute to the spark that inspired me to move down the machinist trade. In a way I feel I owe my career decision to John Burroughs for inspiring me with his article. I can remember as a 13 year old thinking that, "One day I would have my own lathe!" Now I am the owner of a tool and die shop.

Recently I printed this article out and tacked it on one of the shop walls. I still haven't made that steam engine but I want to as it was the spark that got me headed down the machinist road.

Has anyone built one of these? If so I would be very interested in seeing it.

Thanks
Greebe

Oh and here is the article for those who are interested.

TSE1.jpg

TSE2.jpg


I have 2 or 3 of these engines. I got my first as a material kit from Edelstaal many moons ago. They run real good. You have to be pretty close when cutting slots in the rotary valve. ironman

MVC-003S.JPG
 
I like this. Now to start a "to do" list.

Thanks for the plans.
 
Thanks for the responses. I figure it is time for me to make one of these engines.

Tin-- Thanks for the link to the plans. That is a much better descriptive than the PM article.

Ironman-- Your engine looks very nice. I think I will just order the stock that I don't have and build from scratch.

Mike-- I saw the kit from Little Machine Shop but they wanted $60 for it. I could get the materials for under $15. It would be nice to have everything in a Kit form but I have most of the materials around the shop.

Zee-- I went through all 29 pages of that post. Looks like your engine turned out nice after a few trail and errors. Have you got all the kinks worked out?

Thanks again guys,
Greebe

 
The one in the picture has six head bolts as to plans but on the other ones I just put 4 head bolts. ironman
 
Greebe said:
Zee-- I went through all 29 pages of that post. Looks like your engine turned out nice after a few trail and errors. Have you got all the kinks worked out?

Uh...no. I'd have to redo the cylinder and probably the piston. But it ran. The big accomplishment wasn't the engine running but the learning...and the relationships that have been built with other members of this forum.

I look forward to seeing your build process. Take lots of pics. It's going to be great.
 
Greebe,

Here's mine. It was my first engine and a real thrill when it ran.

P1010415_edited-1.jpg


The one design issue I had with it was the pipe leading from the valve to the top of the cylinder. It's almost impossible to thread the thin wall tubing and not have it break while trying to mount the cylinder and valve. I ended up using a splice and soldering it in place as the last operation (you can see it in the photo). Let me know if I can help.

Dennis
 
Dennis--

Very nice looking engine. Is it all aluminum and brass except for the drive shaft? I like the looks of it. I don't know if I understand the rotary valve. The drawing makes it look like it the two slits are not connected. How does the intake and exhaust get to and from the cylinder. Does the tube from the valve housing to the cylinder overlap both slits in the rotary valve? I can see that the intake and exhaust are offset so that they only line up with one slit.

Thanks
Greebe
 
Greebe the last page of the plans gives a detailed explanation of how the valve works. the left side shows the intake port opration and the right column show the exhaust valve .
Not sure what the confusion is.
All steam engines the valve opens just past tdc of the cylinder stroke alows pressure to push on the cylinder closess near the bottom of the stoke opens the exhaust port then closes just before tdc and then repeats. Yes there are things like lap and lag and ways to tweak the timing to improve efficiency and smooth out operation but the above are the basics.

Tin
 
Tin-- I got it now. I hadn't looked all the way through the plans yet. ::)

Thanks
Greebe
 
Greebe,
Yes, I used aluminum and brass. Seems to work fine. Also, you've got the right idea on the valve. I recall that took me awhile to get my head around, too. I was missing the point that the slits only cover half of the inlet and outlet diameter. Looking forward to seeing your engine.
Dennis
 
greebe:
We all overlook the obvious from time to time. :)
The old PM mags were great they actually encouraged hands on making things. They are all archived on Google books BTW.
The other thing PM was good for was the printed infomercial. The articles often featured products of there advertisers. IMHO this was a good symbiotic relationship. The advertiser would provide a machine or kit to the magazine or author . The author got to use the product hands on and would document the experience. Some times simple things like setting up an atlas shaper or using an atlas shaper. The public would learn something . PM would sell magazines and the vendors advertiser would sell there wares.
We as model engineering hobyist still can benefit by digging up old articles of interest on using our old south bend and atlas lathes and atlas shapers and of course building steam engines.
Tin
 
More on the rotary valve. I see there are two grooves offset, but you can't tell in the drawing how far around each groove goes. Are they 180 degrees each? Do they overlap at all? Can anyone post a clearer drawing?

Thanks
Chris
 
Yes they go 180 each. the narative of the insructions give a little more detail.
Tin
 
Ahh OK so 180 each, but they are 90 degrees to each other.
 
looking at the diagram the intake leads the exhaust by 90 degrees.
Tin
 
Back
Top