- Joined
- Mar 3, 2008
- Messages
- 243
- Reaction score
- 20
I bought a Dynamo kit this summer at the Cookstown Steam Show. It was a fairly basic build without much drama ( did not break any tools or castings).
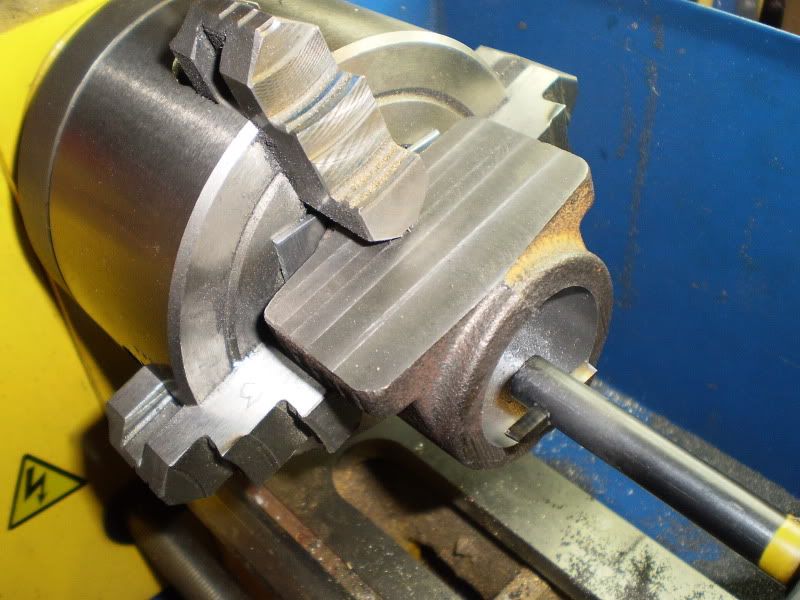
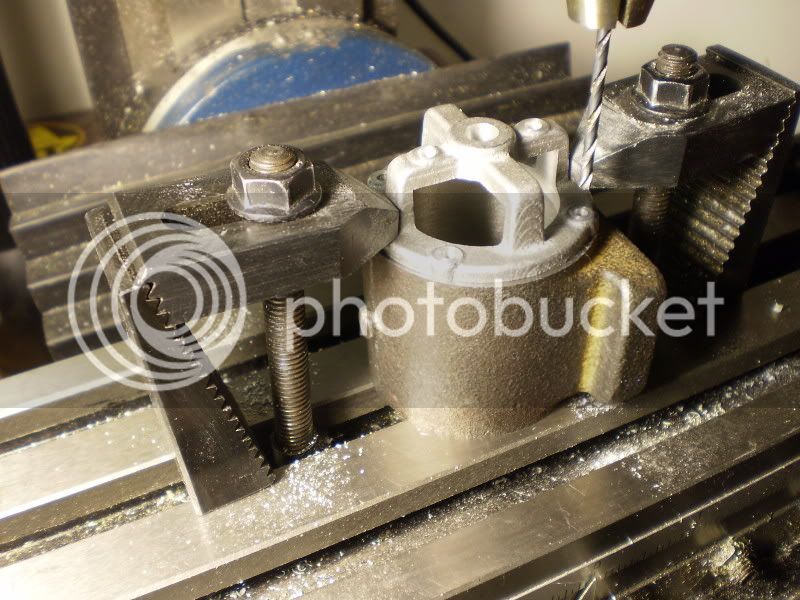
I posted this picture a while ago in responce to a fellow modeler on holding the casting on the mill. Looks a bit complicated, but I could not get it to fit right in my small vice.

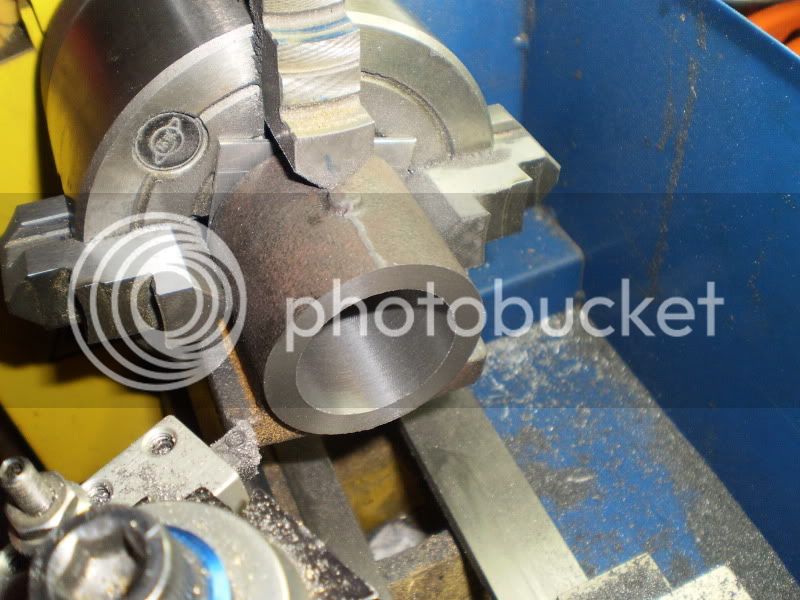
Next is to bore the cylinder out. I picked up this boring bar at BusyBee and ground my own cutter. What an improvement over the cheap carbide tipped ones I had used before. I have a sacrificial piece of aluminum so I don't hit the chuck.
A little bit off the sides.
Drilling the end plates. I found it hard to locate the center of a cast boss. They are not perfectly round and the sides taper, so I did it by eye.
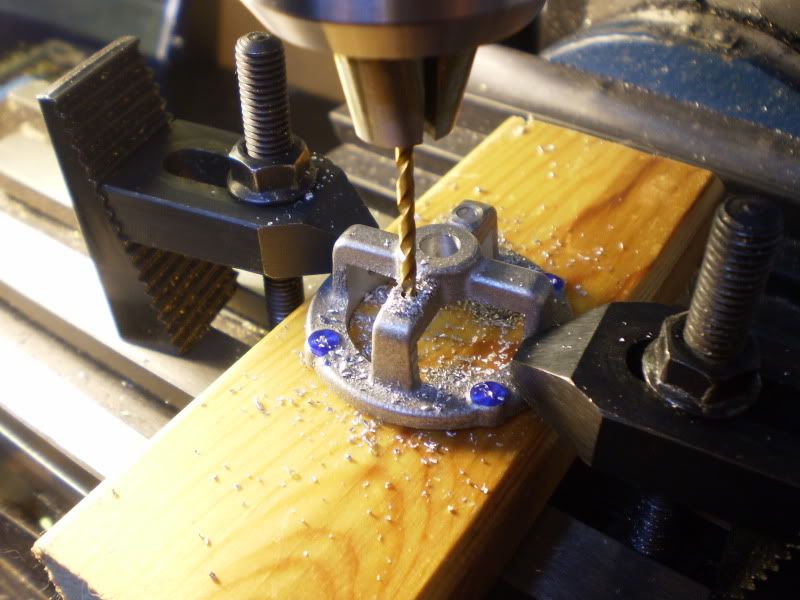
Here I am drilling the holes for the end plates. I prefer to drill thru both pieces to make sure they align at assembly time.
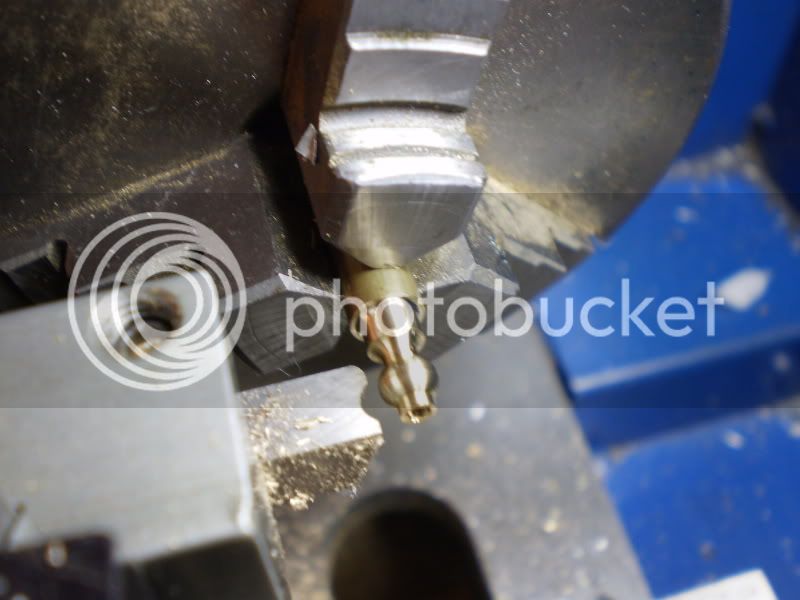
I made a form tool for this operation and it made it easy to make this small part.
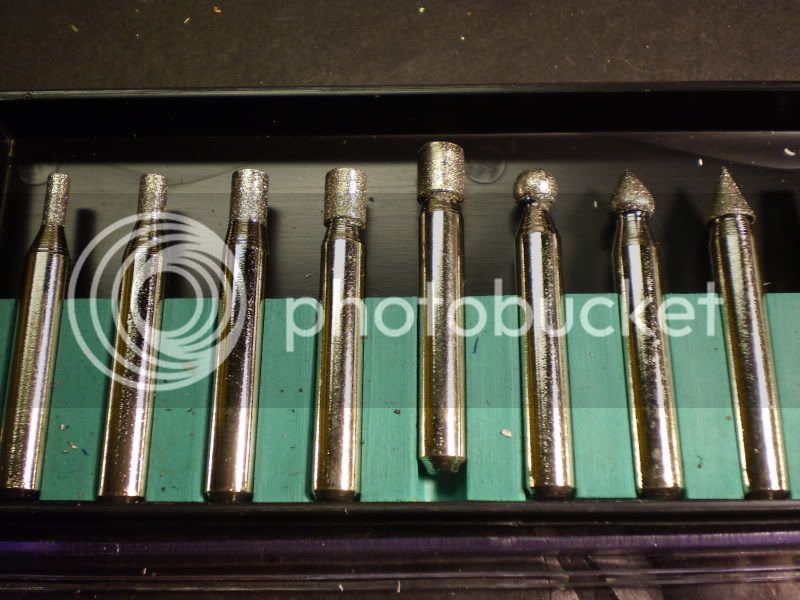
I roughed the basic shape on the grinder then I use some cheap ($4 this set) diamond bits to grind down the final shape.
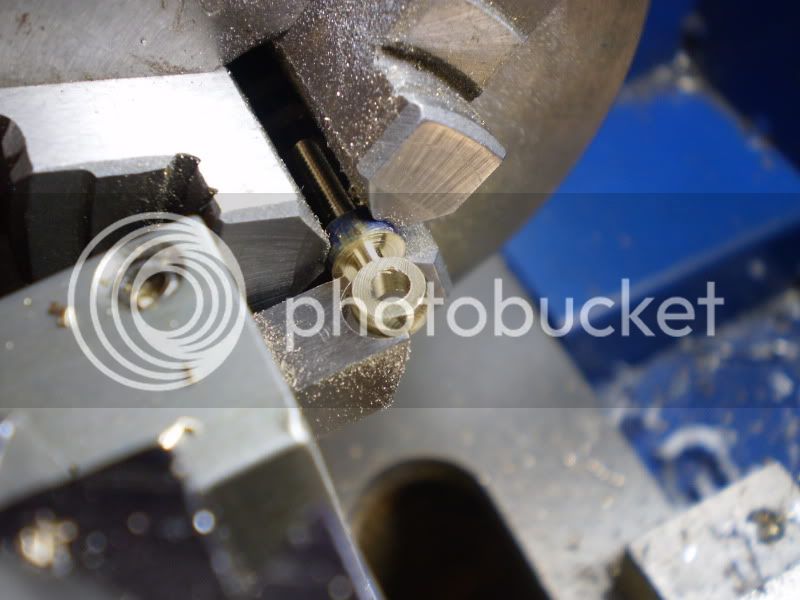
Here is another form tool I made. One day I will have to make a ball turner attachment!
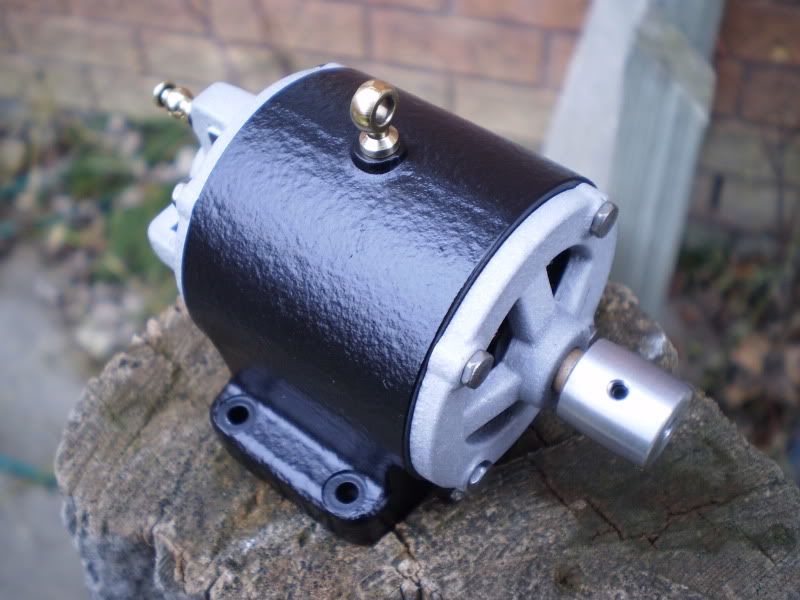
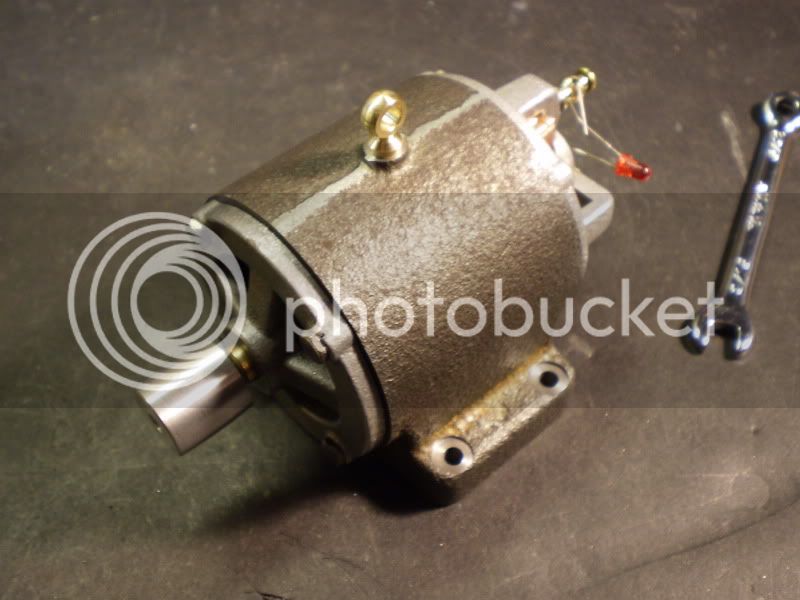
Testing the fit of all the parts. I replaced the screws with some nice stainless bolts.
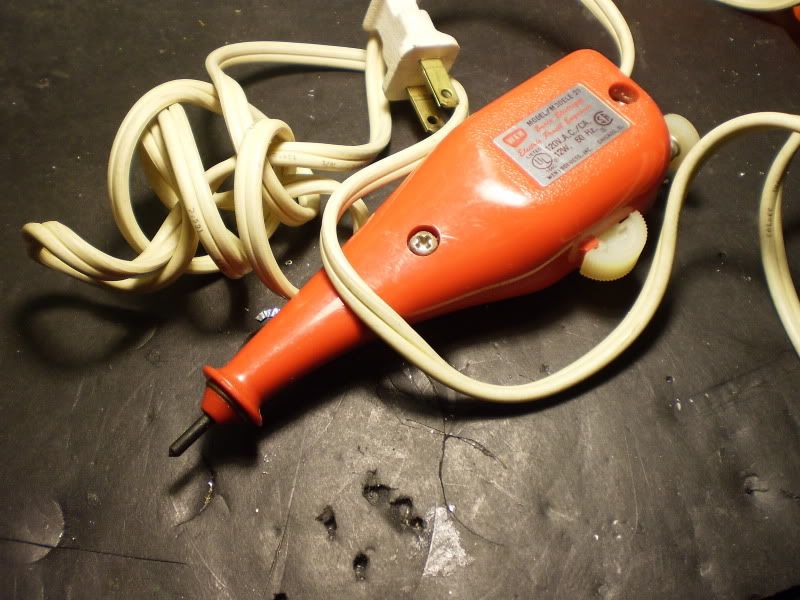
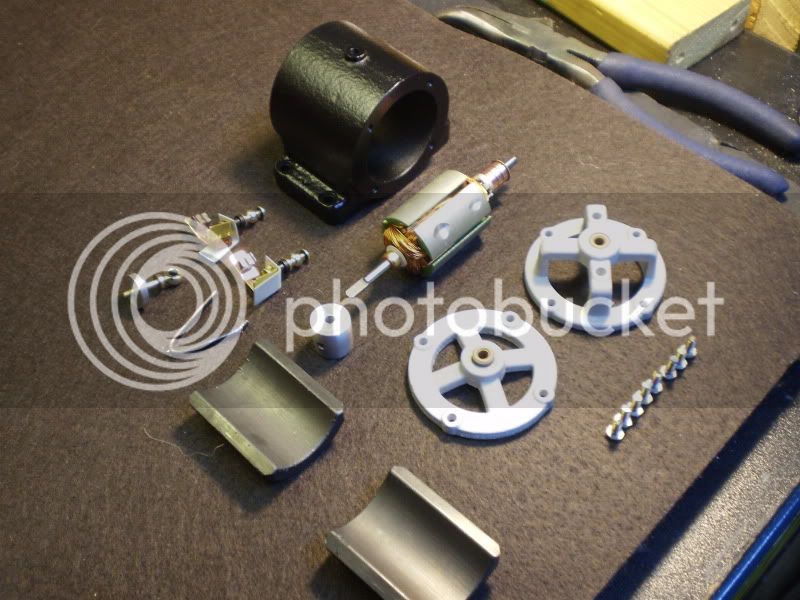
All the parts waiting for assembly. I like to leave the painted parts on the heating/airconditioning vent for a week before I do the final assembly. Just to make sure the paint is really hard. I used one of those vibrating engraving tools to "erase" the parting line on the main body.
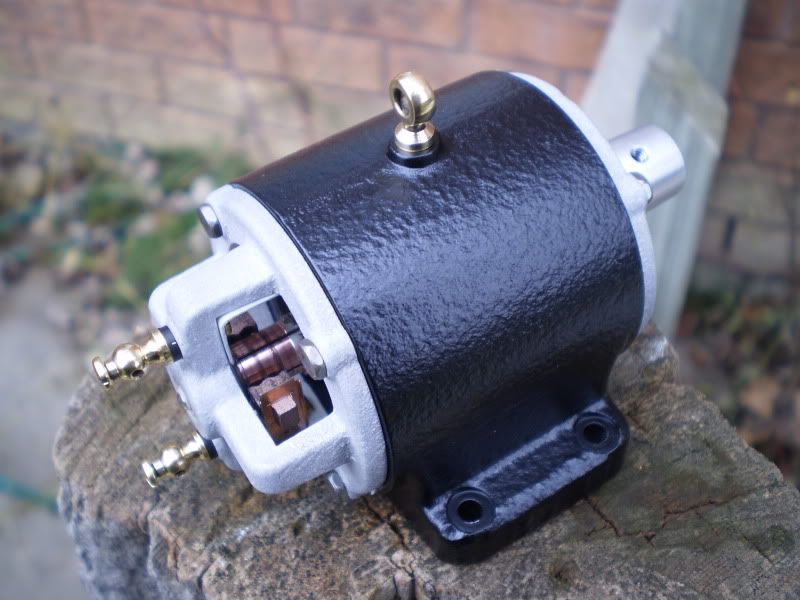
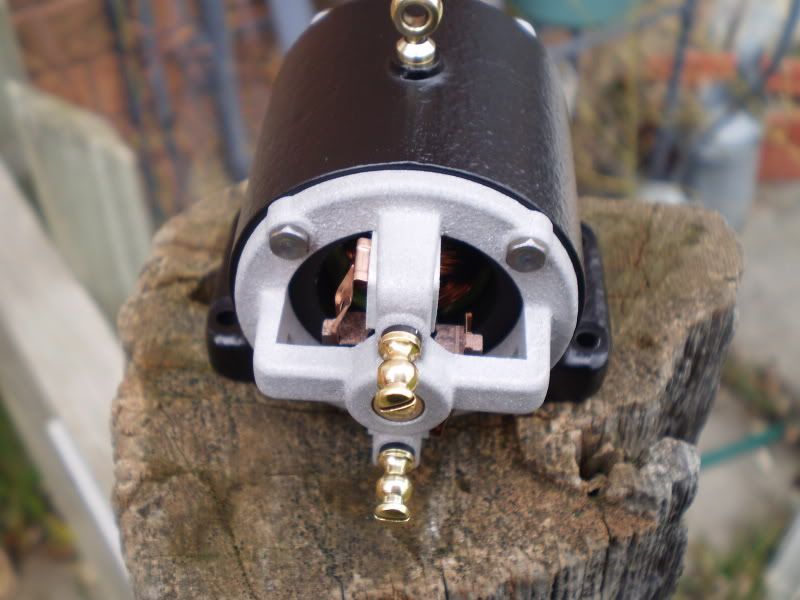
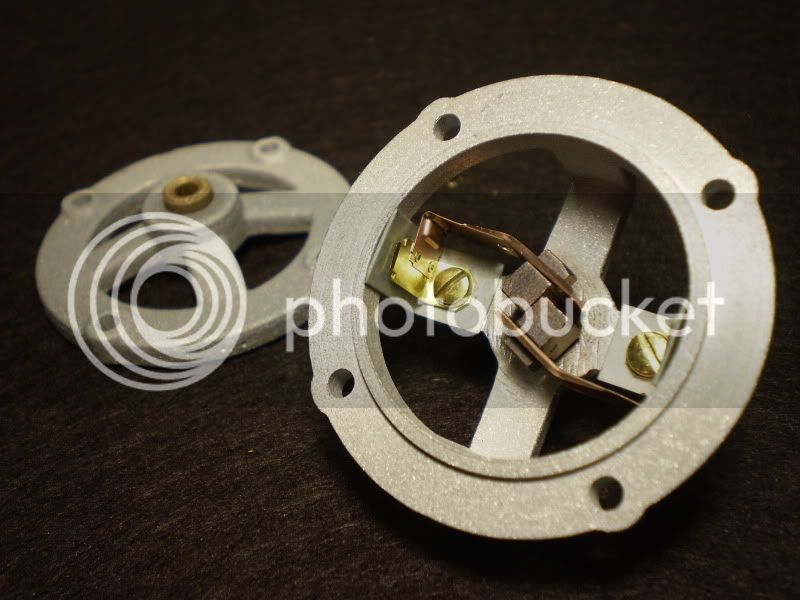
The end plates with the pre-made brushs installed.
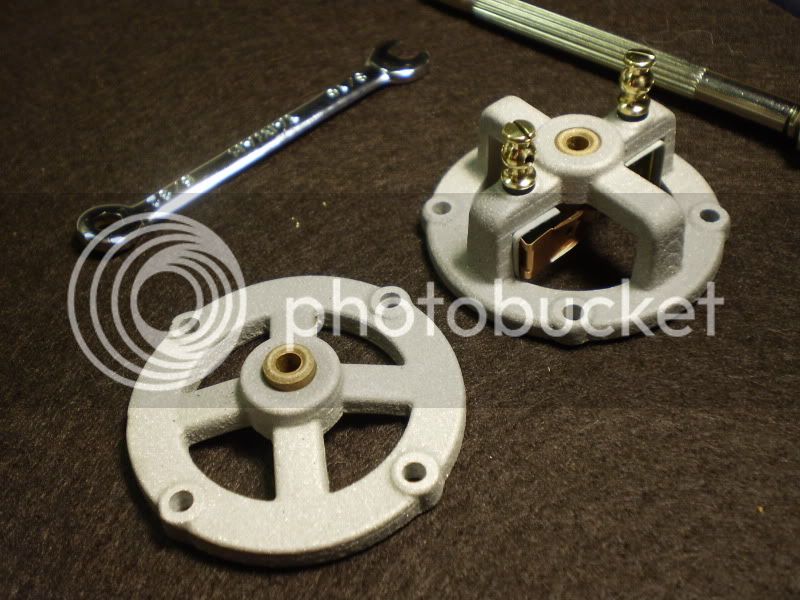
And another view showing the binding posts.
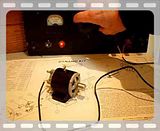
This coming weekend I will do the final assembly and post some more pics and video.
IronHorse
I posted this picture a while ago in responce to a fellow modeler on holding the casting on the mill. Looks a bit complicated, but I could not get it to fit right in my small vice.
Next is to bore the cylinder out. I picked up this boring bar at BusyBee and ground my own cutter. What an improvement over the cheap carbide tipped ones I had used before. I have a sacrificial piece of aluminum so I don't hit the chuck.
A little bit off the sides.
Drilling the end plates. I found it hard to locate the center of a cast boss. They are not perfectly round and the sides taper, so I did it by eye.
Here I am drilling the holes for the end plates. I prefer to drill thru both pieces to make sure they align at assembly time.
I made a form tool for this operation and it made it easy to make this small part.
I roughed the basic shape on the grinder then I use some cheap ($4 this set) diamond bits to grind down the final shape.
Here is another form tool I made. One day I will have to make a ball turner attachment!
Testing the fit of all the parts. I replaced the screws with some nice stainless bolts.
All the parts waiting for assembly. I like to leave the painted parts on the heating/airconditioning vent for a week before I do the final assembly. Just to make sure the paint is really hard. I used one of those vibrating engraving tools to "erase" the parting line on the main body.
The end plates with the pre-made brushs installed.
And another view showing the binding posts.
This coming weekend I will do the final assembly and post some more pics and video.
IronHorse