My Sidewinder Buggy project

Home Model Engine Machinist Forum

Help Support Home Model Engine Machinist Forum:

This site may earn a commission from merchant affiliate links, including eBay, Amazon, and others.
MERRY CHRISTMAS!

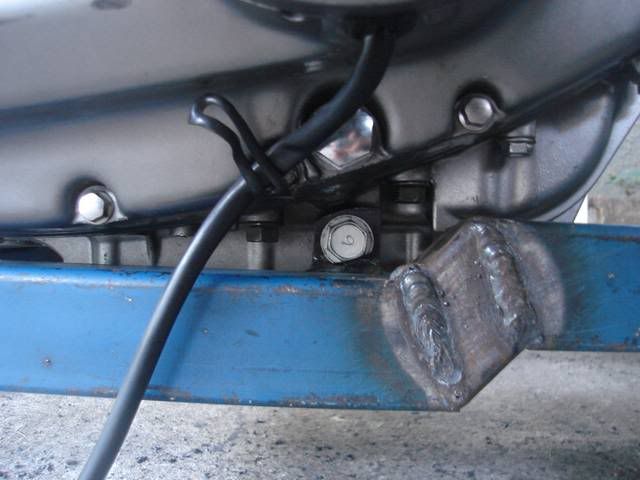
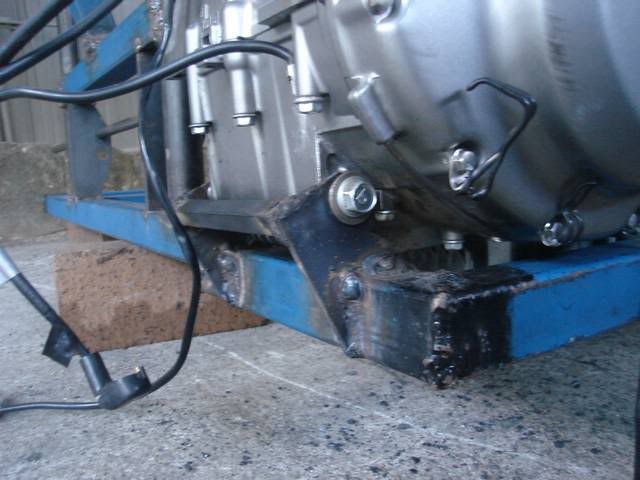
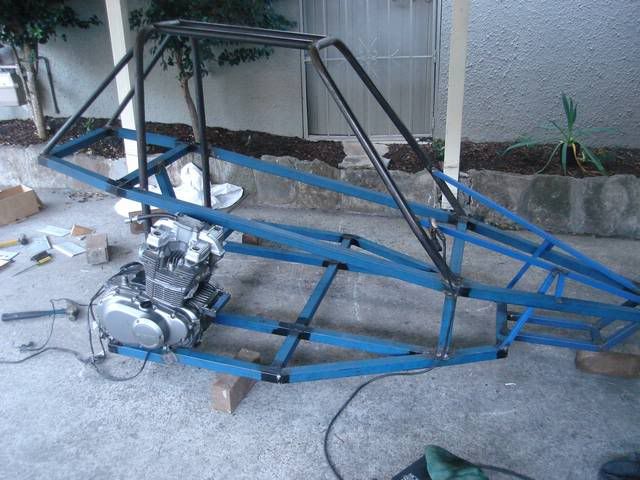
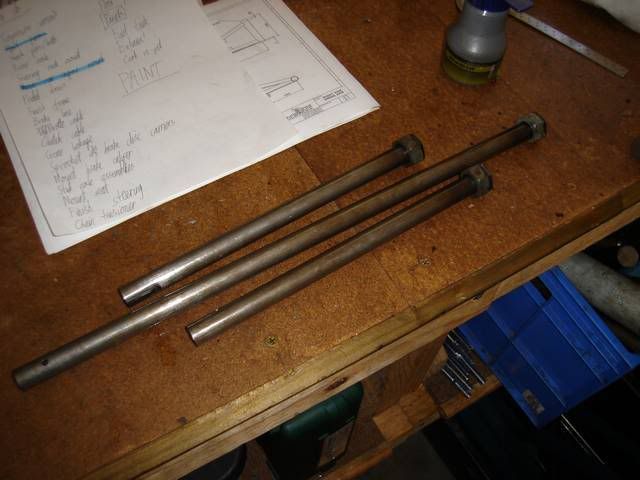
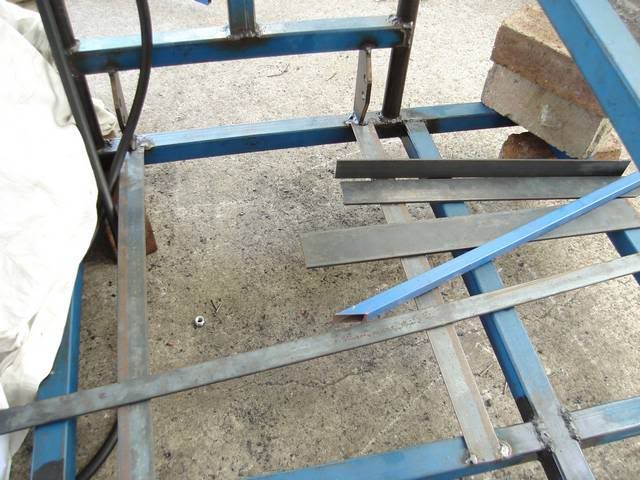
Well, I have a small update. I have done 2.5 of the 4 engine mounts. I need to get some bolts to do the front and rear mounts because they need to be removable so that I can get the engine in and out.

2512084.jpg


2512085.jpg


2512083.jpg


2512082.jpg


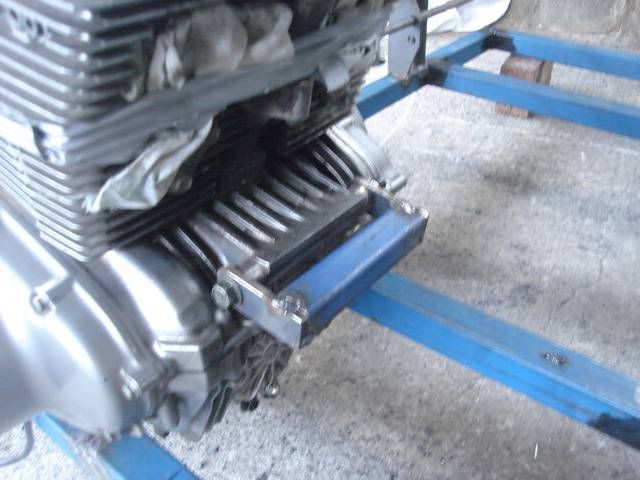
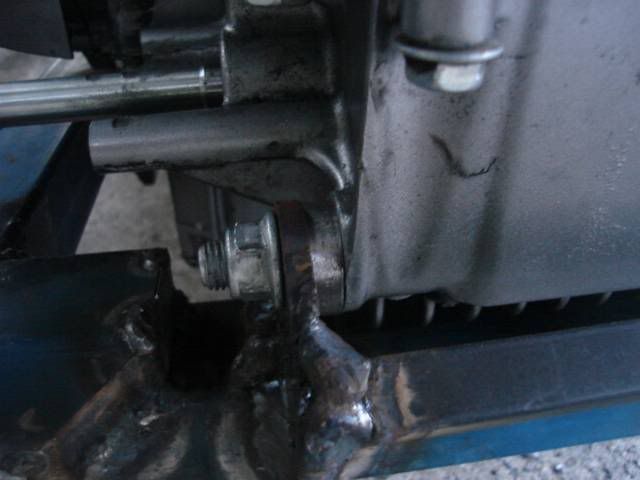
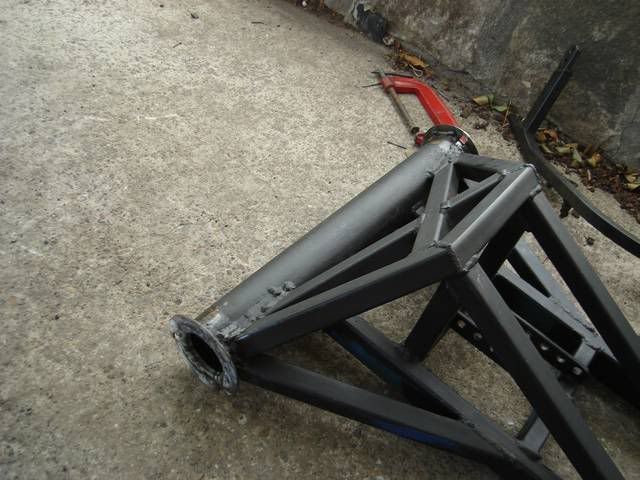
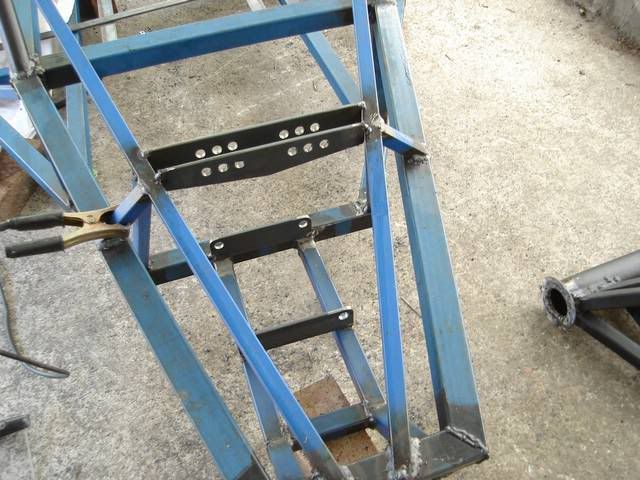
All mounts have these machined washers (made on the lathe) so that if it needs to be moved slightly I can machine a slightly thicker/thinner washer to move the engine.

2512086.jpg


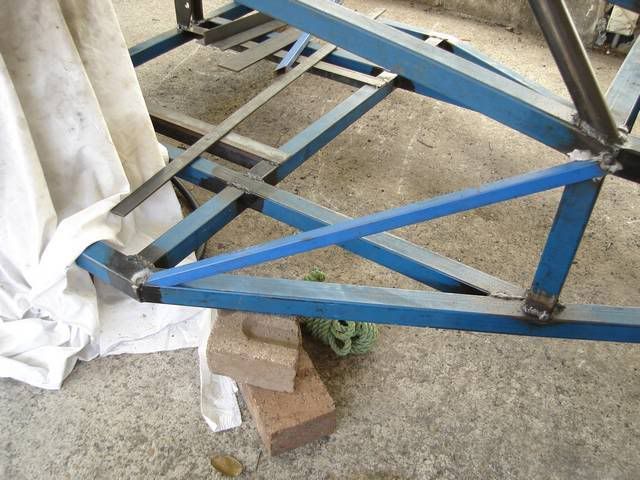
Here is a picture of the frame as it is now

2512087.jpg


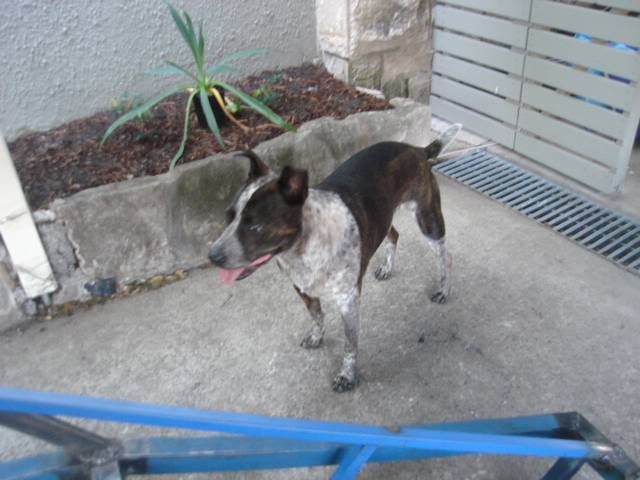
And Rocky likes to think he has helped a bit ;D

2512081.jpg
 
Thought I'd post an update for anyone still interested in this project.

Finished modifying the steering rack. Instead of tacking a bush on one end, I decided to machine a press fit bushing on the lathe to press into the rack. I might have to bore it out a bit more, but at the moment it works perfectly.

2110911.jpg


Rear bearing plates arrived from Edge, so now the rear swingarm is 100% complete except paint

211092.jpg


520 50 tooth sprocket from a motorcycle shop in Brookvale was $40 new. The guy went through all the 520 50 tooth sprockets to find me the cheapest, AND then he gave me a discount! I think it looks pretty good. The place was called APW motorcycles.

2110910.jpg


Picked up a seat on ebay. A friend and I bought the pair for $140, and I got the more faded one because I need the reclining lever on the left. It won't fit on the right because of the engine.

211095.jpg


Mounted the oil cooler at the back of the buggy. If I was to do it again I would save some money by using rigid steel pipes, rather than the expensive oil cooler pipes.

211096.jpg


211097.jpg


Removed the rear brake assembly from the bike

211099.jpg


Made the suspension pivot pins. The rear one is a bit longer than stock because I made the pivot wider.
Instead of threading the end of the pins I decided to use cotter/split pins through the end of the bars. I think this is a good alternative to buying an expensive die to thread the end of the bars. I also bored out the nuts to weld them on the pins, rather than threading them on.

211098.jpg


Seat rails without the holes drilled in them

211094.jpg


One of the wing supports done. It was easier to cut the correct angles than I expected

211093.jpg


Also, I fitted the front suspension mounts. I had to tack and grind off the top suspension mount like 10 times to get it in the right spot and square to everything. Magnets helped hold it in place but made the arc (during welding) go a little bit strange

211091.jpg


I hope to have the buggy done by the 1st of feb. It will be close, but I think I can make it, especially if my friend comes over to help.

Andrew
 
Jones said:
Instead of threading the end of the pins I decided to use cotter/split pins through the end of the bars. I think this is a good alternative to buying an expensive die to thread the end of the bars.

Hi Andrew

Cool project! If I understand what I'm quoting above, you're only going to use a pin to retain the suspension pin at one end? I would NOT do this. If the pin is sheared through because of lateral forces, or just worn away by rotating against another piece of metal over time, you could be in for a catastrophe. I would ensure I build these critical parts exactly to edge spec (or greater with any mods).

Are you going to add some more triangulation to the frame? I haven't seen the original design, but it looks like it could twist a bit. Maybe that is an advantage in a buggy?

I hope I didn't sound too negative, because I think you are doing a great job. I just want you to be safe.
 
Thanks Richard,
All feedback is welcome!
The designer of Edge buggies has also told me that I should thread the suspension pins, mostly so that I can preload the bushings a bit, but you also make a good point. The pin doesn't experience any lateral forces due to the way it is designed but you're right about it wearing away.
The frame is pretty much complete to the Edge design, and they all seem to work really well without any (or very minimal) chassis twist. However, because I have extended the frame by 180mm to give me more leg room I might put 1 extra bar in the middle of the frame. My main concern at the moment is keeping weight down because less weight means faster acceleration!

Thanks again,
Andrew
 
Sounds good, Andrew.

Looking forward to more pics as the build progresses.
 
Hey everyone, just thought I'd give a little update to those who were following this project. I've pretty much completed the buggy. I've taken it apart and painted the frame. All that's left to do is to paint the suspension parts, reassemble, and then a couple of odd jobs like wiring...

Here's a pic of the buggy before I took it apart:

9809.jpg


Yes, it's EXTREMELY loud ;D
 
That is sweet, a friend of mine gave me a 25hp Kholer v twin engine the other day, that is exactly what I was going to do with it.
I was going for a mono rear with the engine mounted there so the chain wouldnt get as much stress.
I have a miniature chopper I have been working on for a while, I am going to finish it before I start in the buggy.
very nice build
-B-
ps I see you upgraded to a mig welder
 
I was going for a mono rear with the engine mounted there so the chain wouldnt get as much stress.

The engine sprocket is inline with the swingarm pivot so there is no stress in the chain (in theory). It seems to work quite well.

Heehee, that's not a MIG welder, its an AC/DC TIG welder. My new toy!
 
nice, have you tried anything non ferrous, aluminum is hard to weld (for me it is)
I only have a DC Tig, an AC is in the works.
I checked out the website and am thinking of getting the piranha plans instead of designing one.
thanks for the motivation and the website.
-B-
 
Your welcome B :)

I have tried welding aluminium... at first it didn't go very well but I watched a short DVD on the process which taught me a lot (12mm arc length. I was using around 5mm and it wasn't working well). I'm still pretty rubbish at it. It's great fun though, much more precise than arc welding. It's sort of what I imagined welding would be like before I started, it's great.

The Piranha really looks like an awesome buggy. If you go onto the Edge forums there is a double front A-arm mod which looks pretty good. I'm pretty happy that I went for the sidewinder, but if I was planning on racing it and/or had a bigger budget then I would have definitely gone for the Piranha.
 

Latest posts

Back
Top