Morrison and Marvin Vise from Castings

Home Model Engine Machinist Forum

Help Support Home Model Engine Machinist Forum:

This site may earn a commission from merchant affiliate links, including eBay, Amazon, and others.

Lamachina58

Well-Known Member
Joined
Nov 13, 2010
Messages
74
Reaction score
0
The Morrison and Marvin vise.

I am finally getting around to building the small vise from castings. The vise caught my eye immediately since I have had a small Wilton for over 35 years. I will include some of my set ups and photos as I go along. I started a few weeks ago.

old_button.png


MM_Vise01.jpg

These images are from the website.

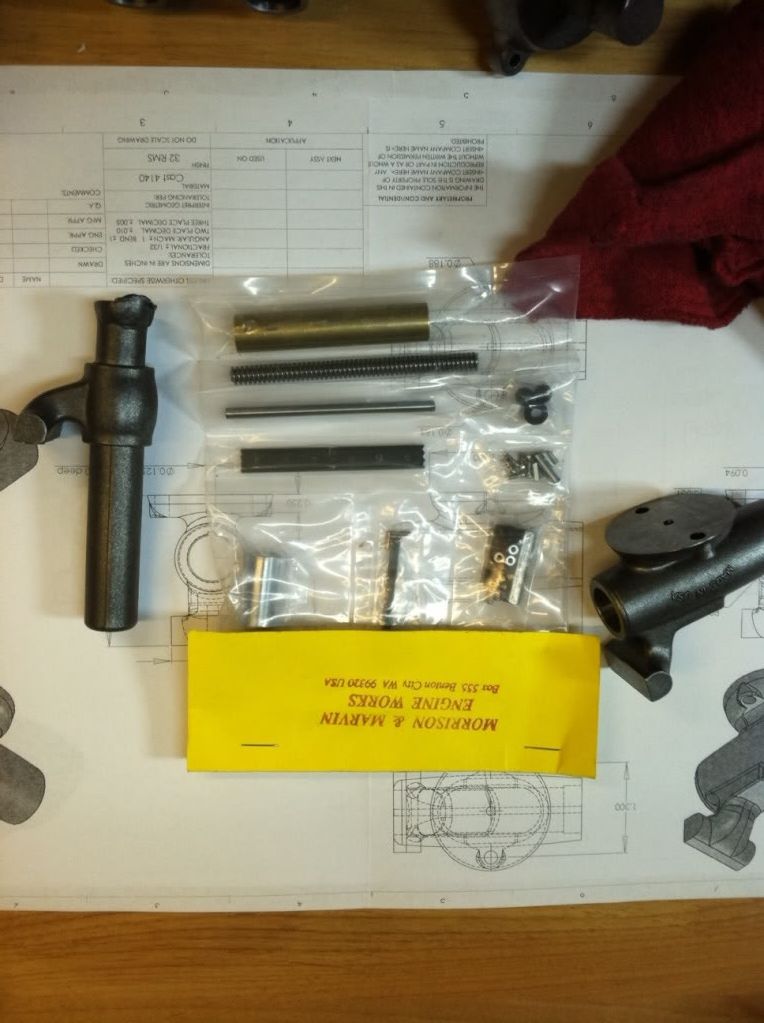
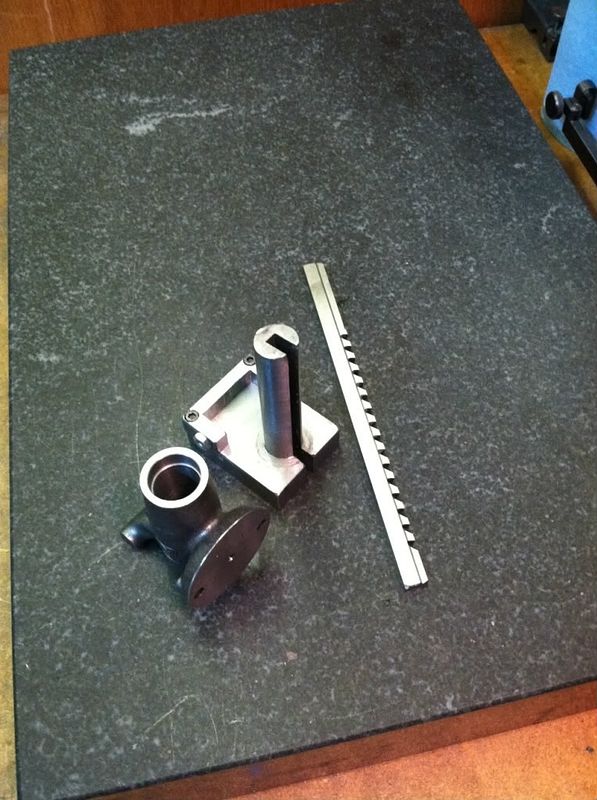
I began by laying out all the parts and pieces. The castings themselves are beautiful and the first helpful hint I got was was from a friend who built one that each casting is well thought out as to NOT waste 4140! That being said, I would have ruined the project immediately by ignoring the included instructions by diving right in. By following the sequence a chucking lug becomes a part of the vise as you proceed. Pattern makers must have a different mind because I tend to approach projects as if everything is bar stock!

All of the materials needed come neatly packed and of course I immediately opened and lost a tiny package of 1-72 screws. Neat as I try to be...well they will show ups stuck to the tread of a shoe or something!

photo10.jpg


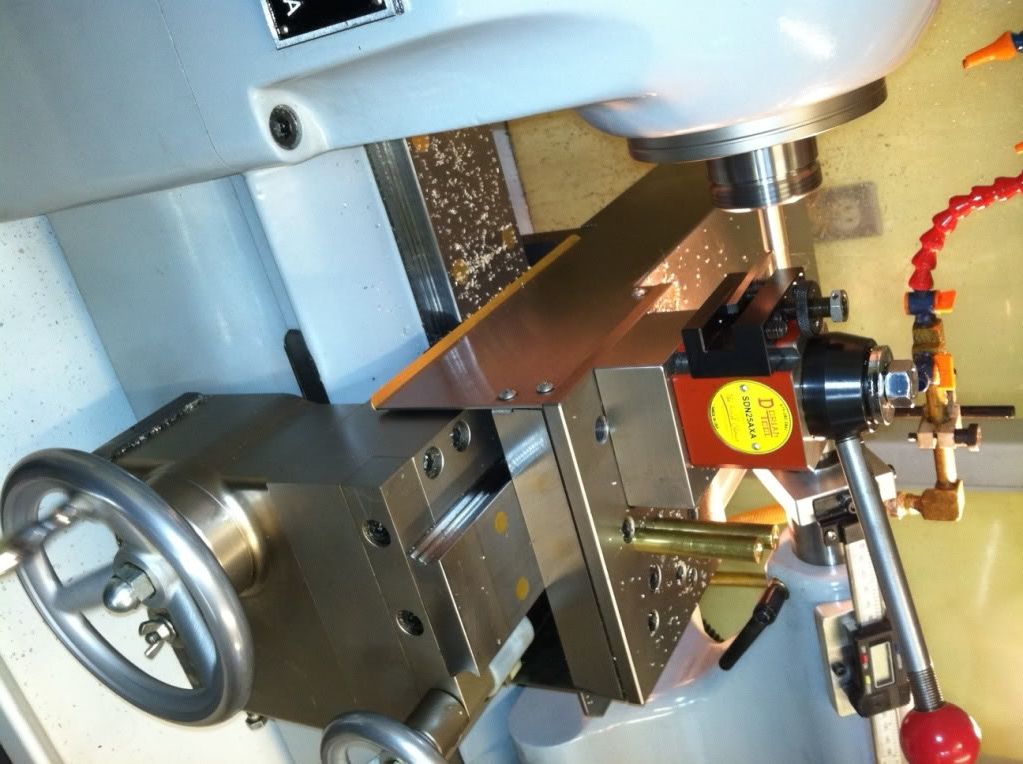
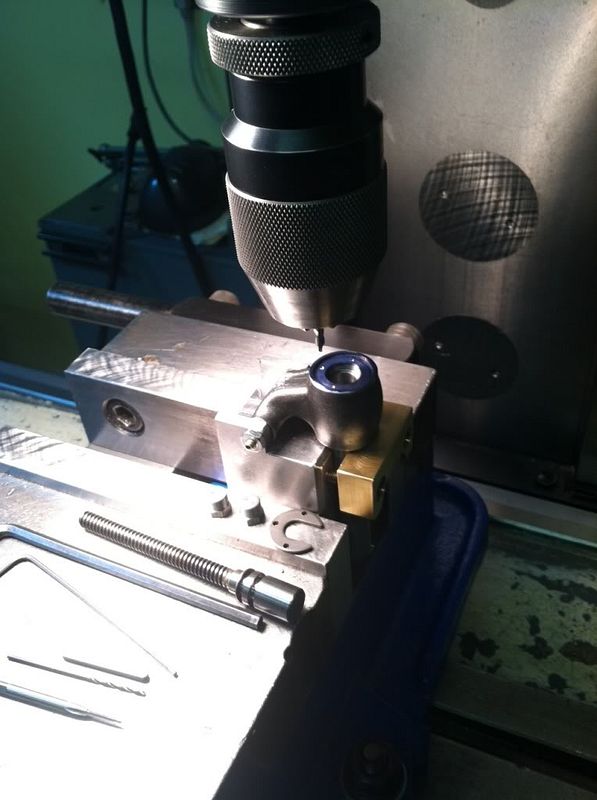
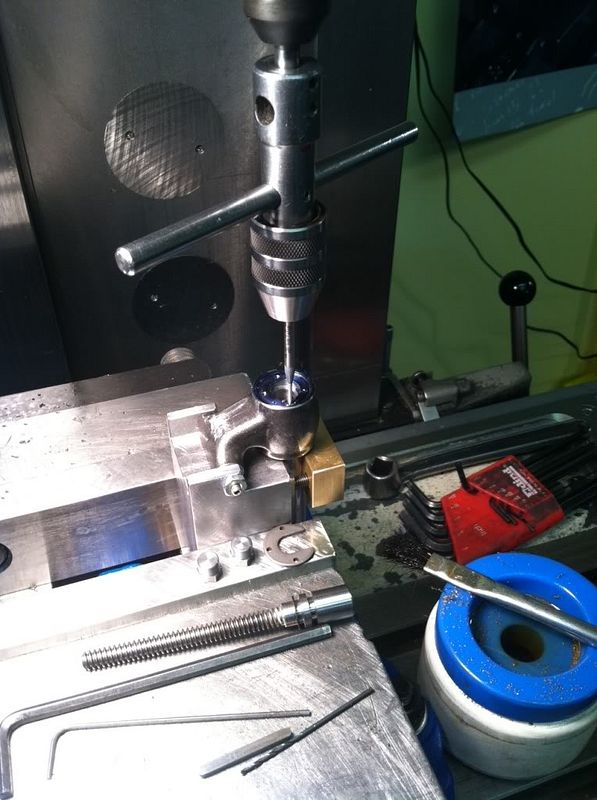
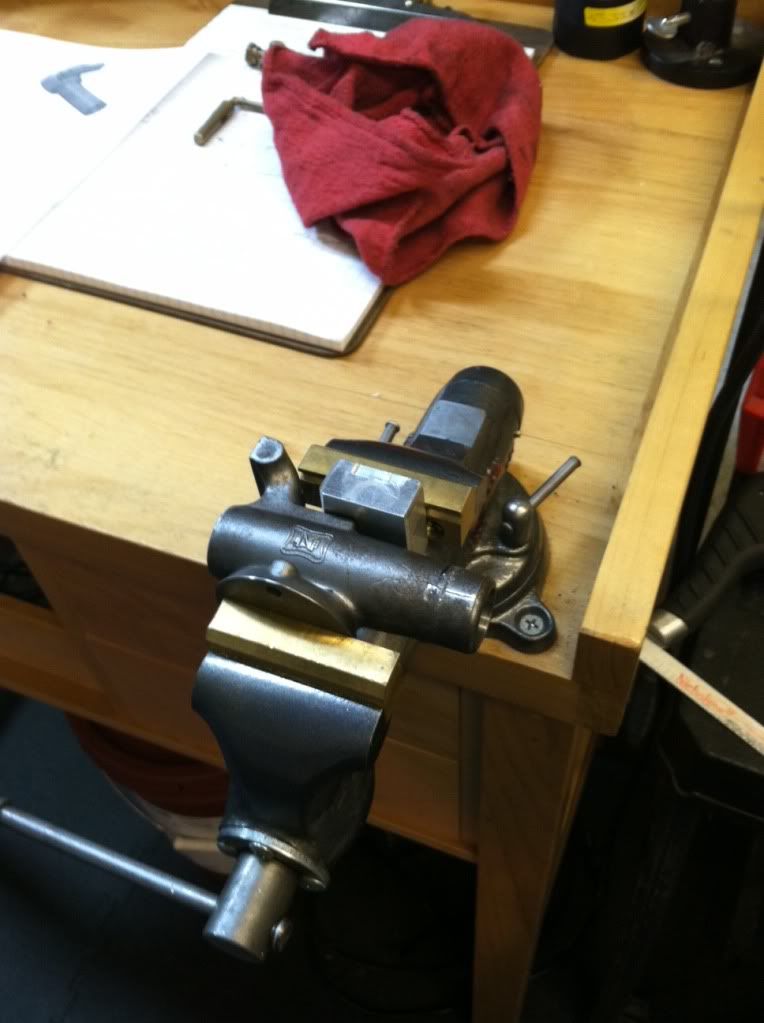
I started with the Vise Body, drilling, boring and reaming it out.
photo5.jpg


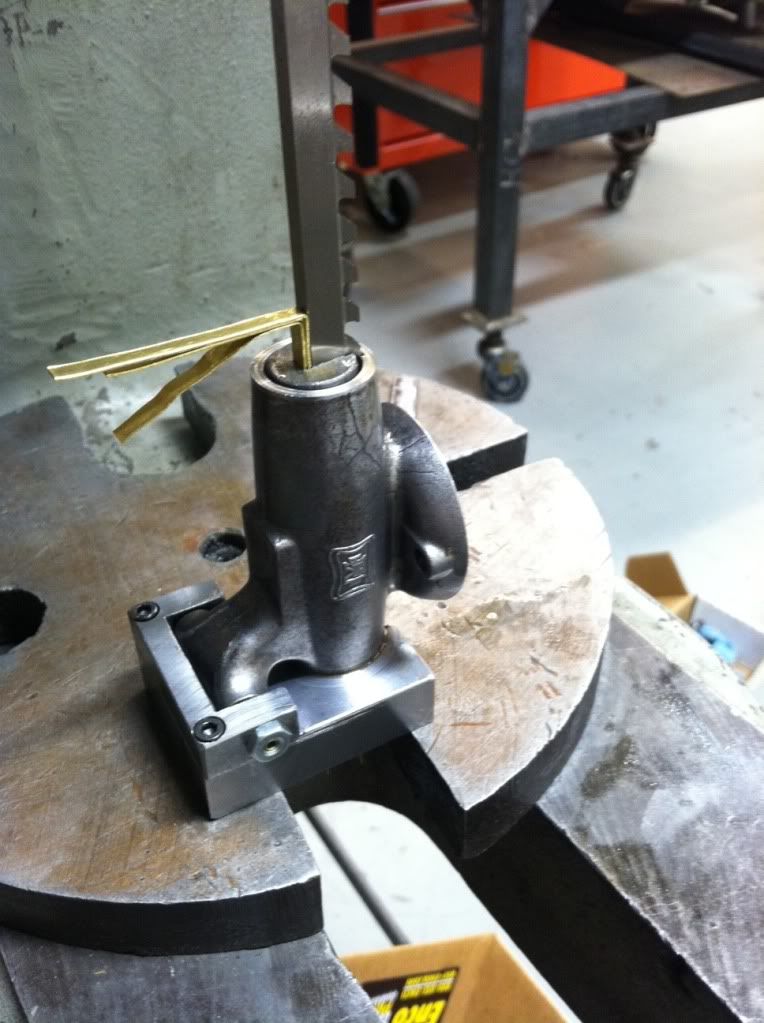
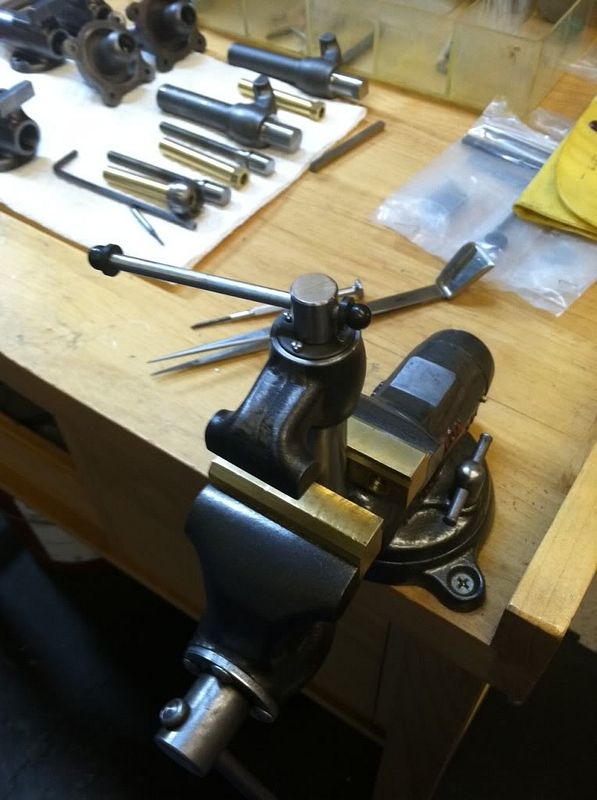
Here it is getting a hug from it's big brother
photo3.jpg


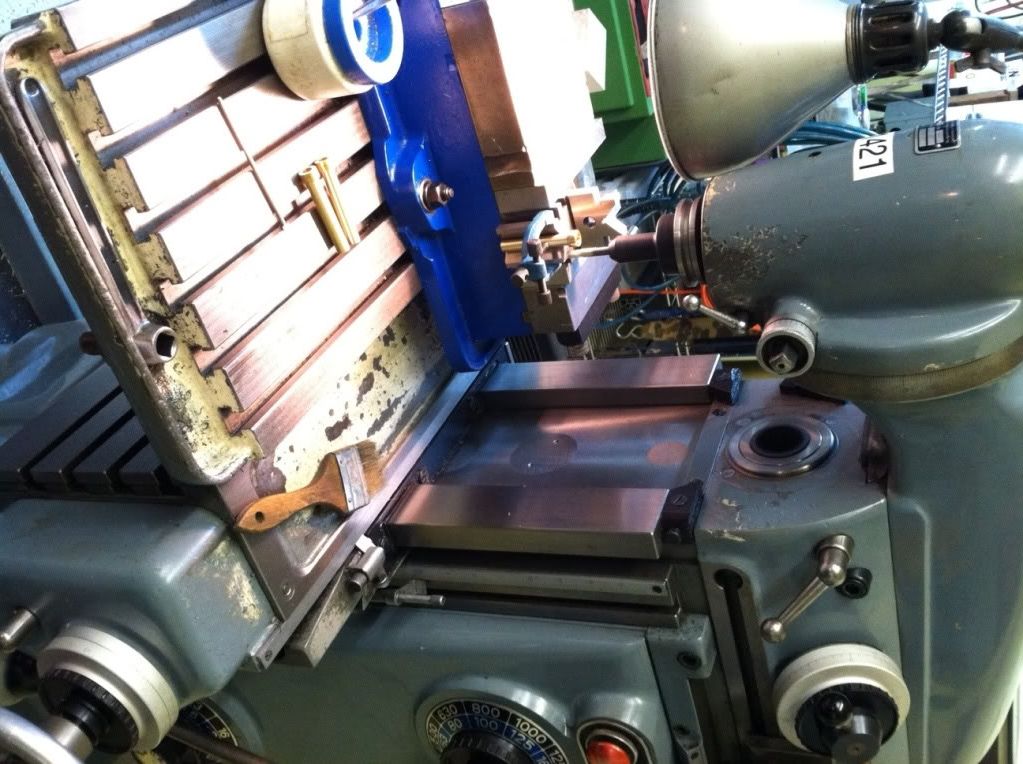
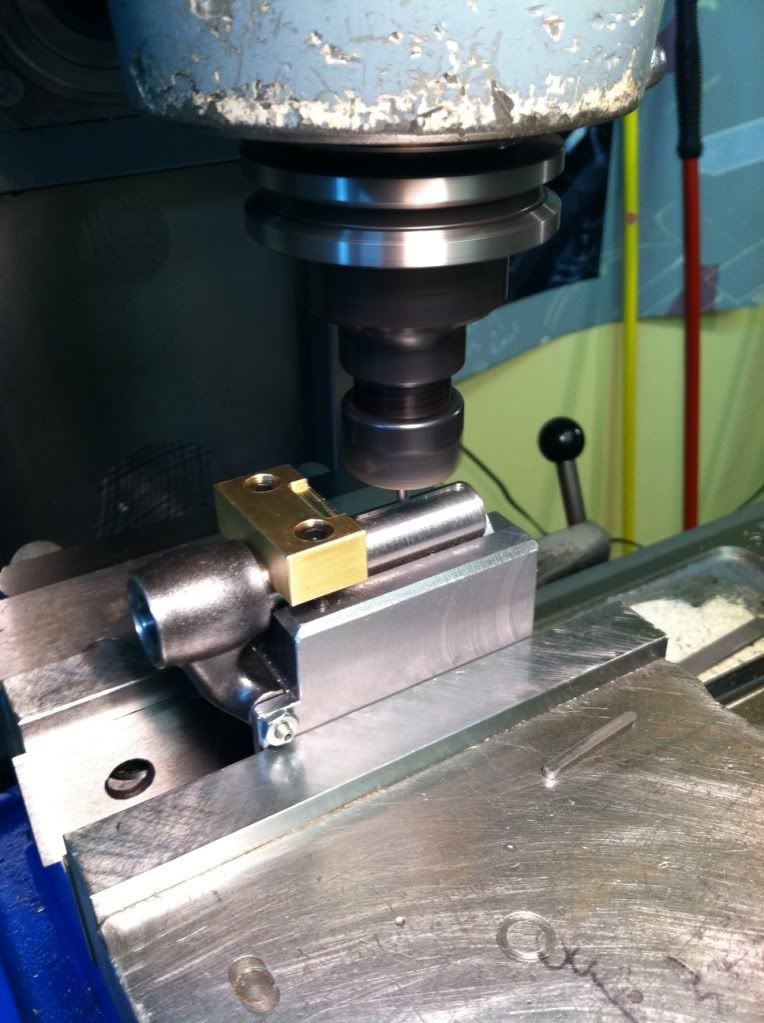
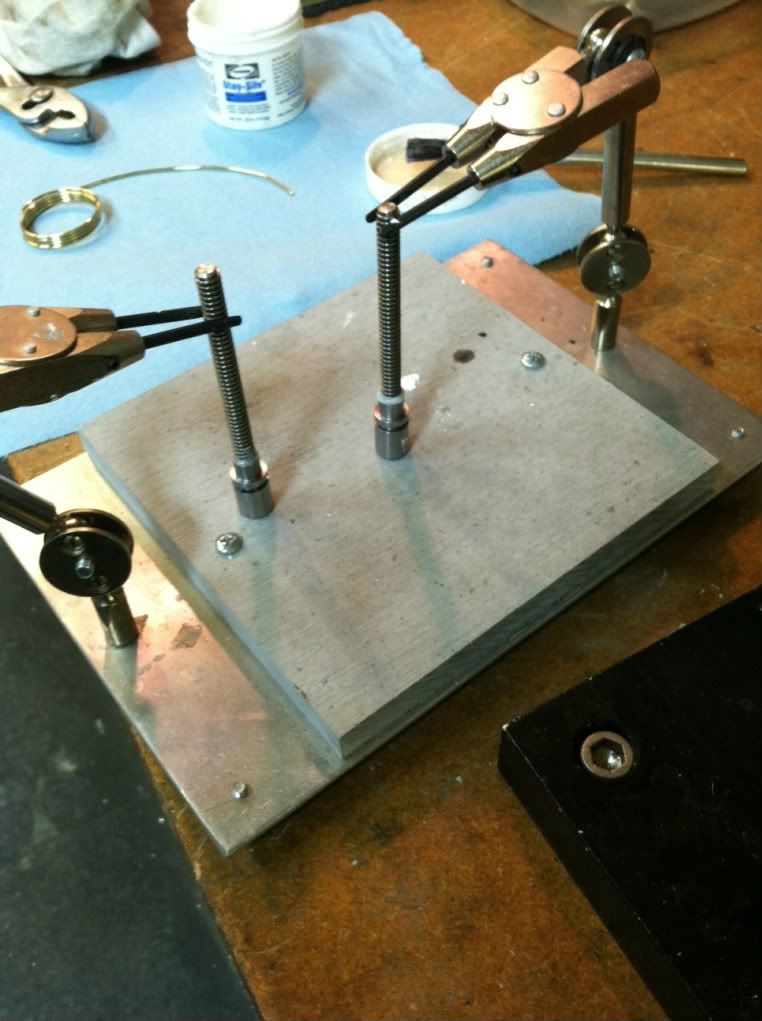
A little careful milling on the bottom
photo8.jpg


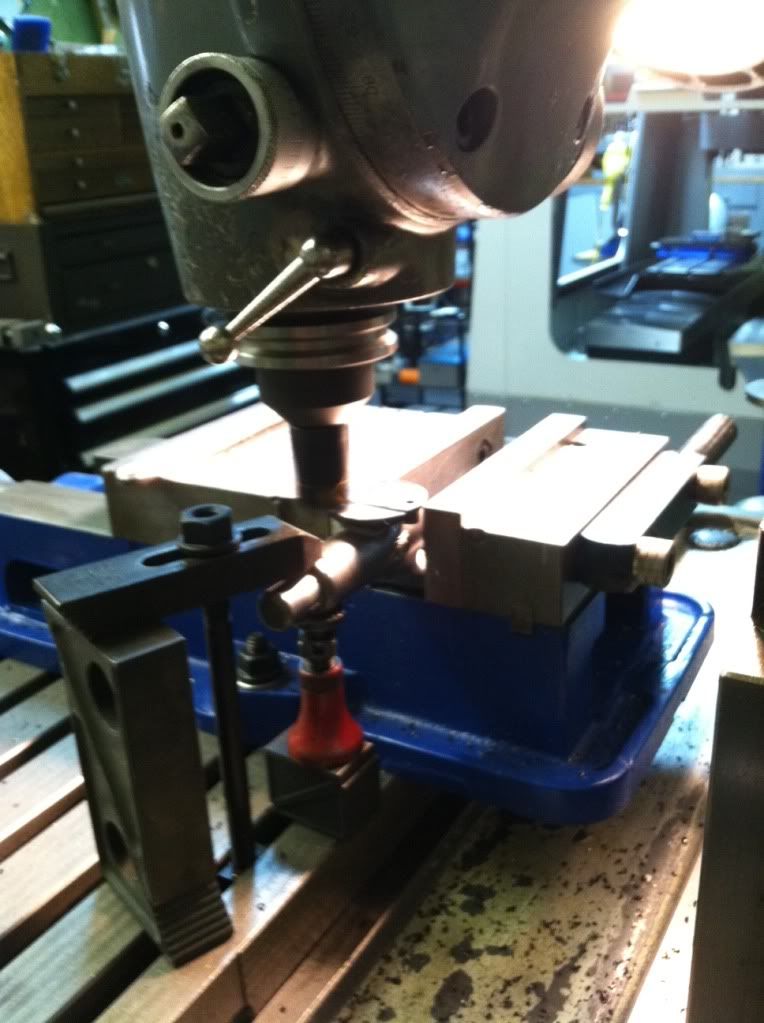
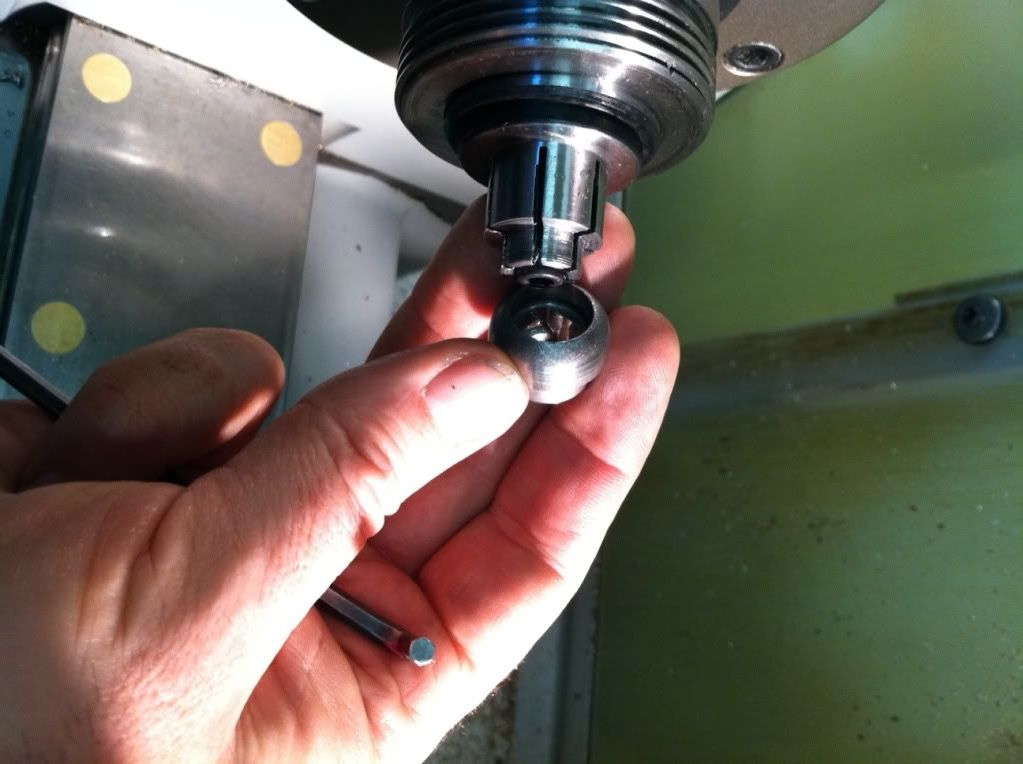
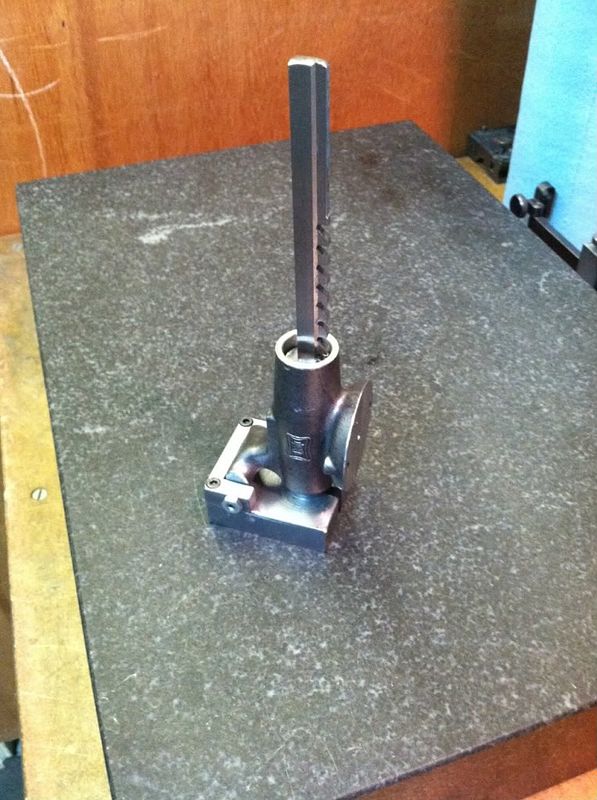
Counter bore the end on a mandrel
photo4.jpg


photo6.jpg


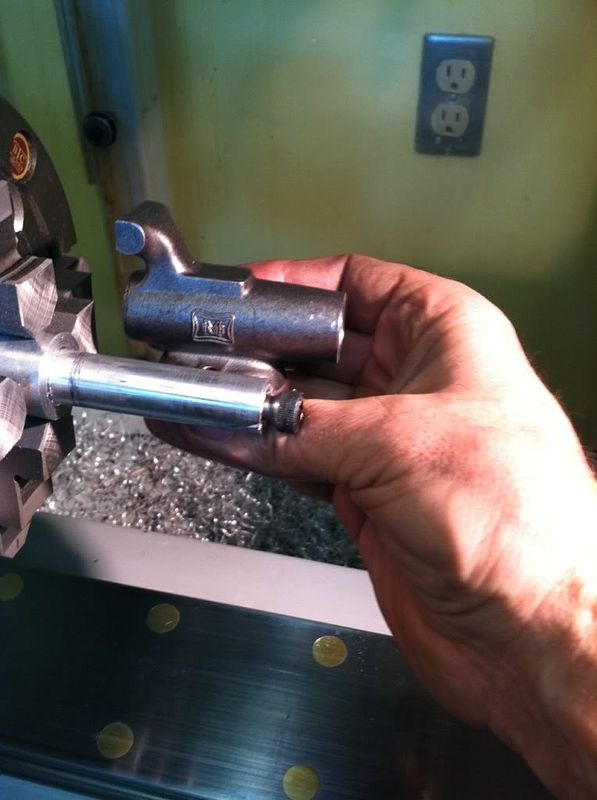
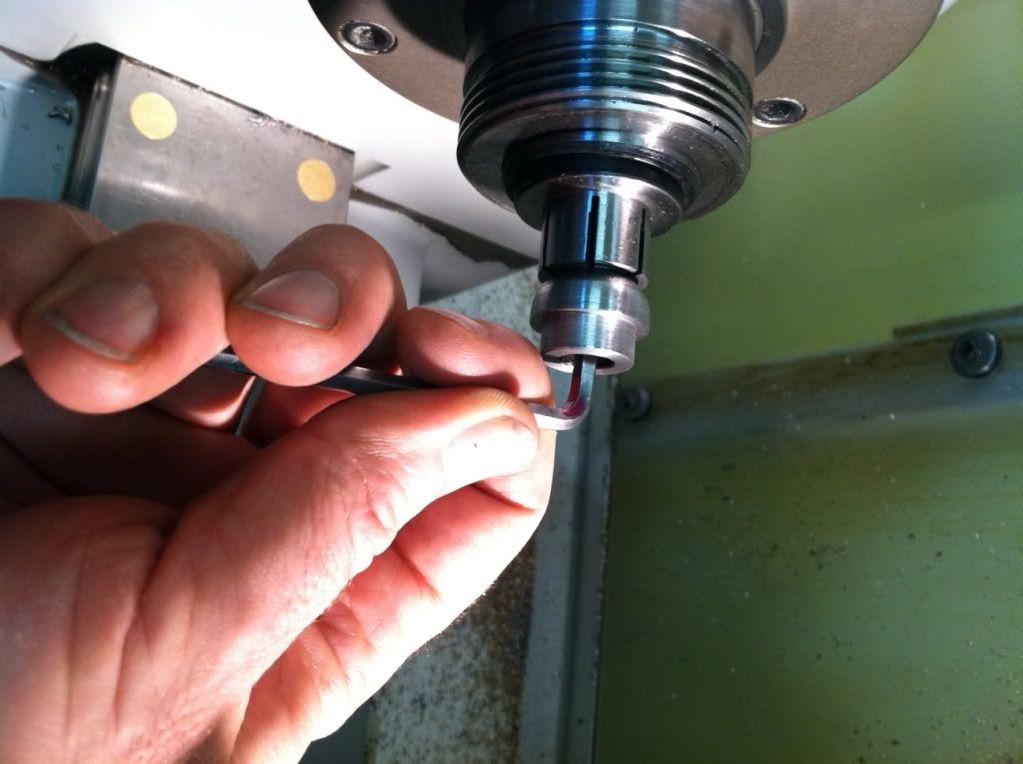
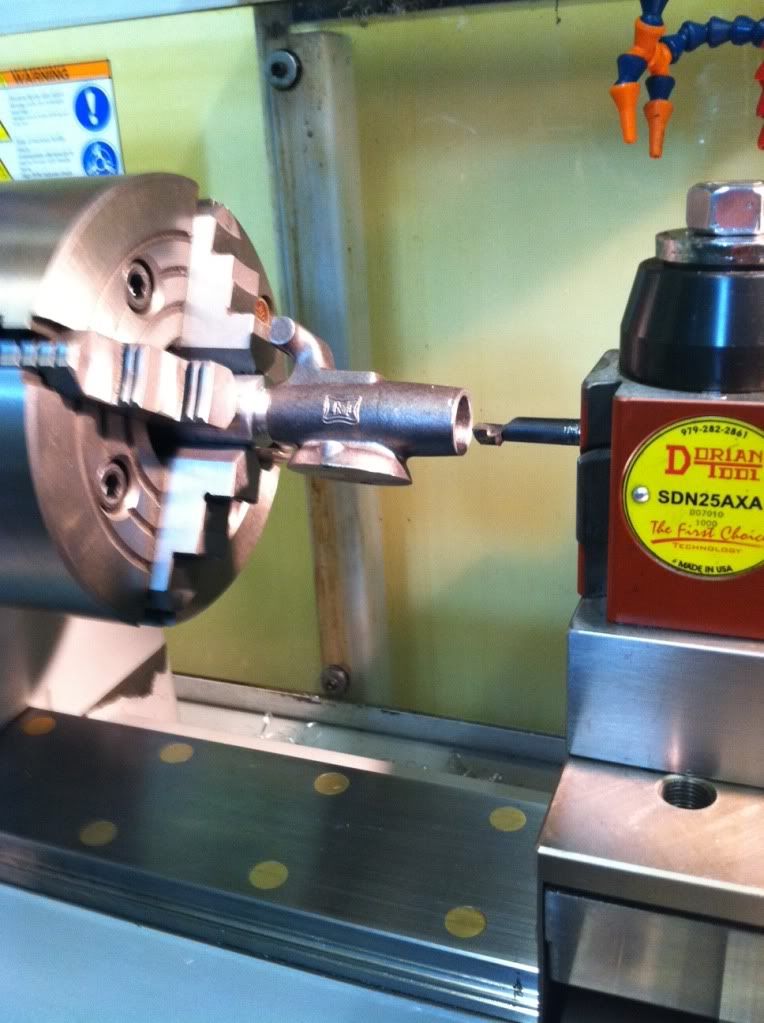
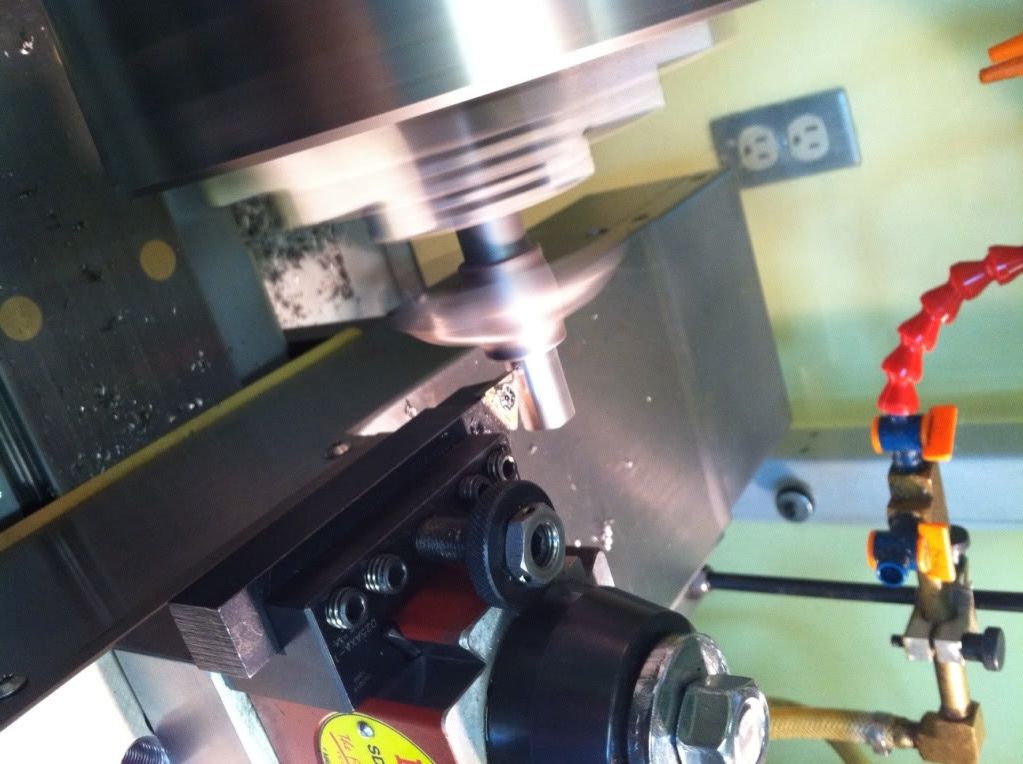
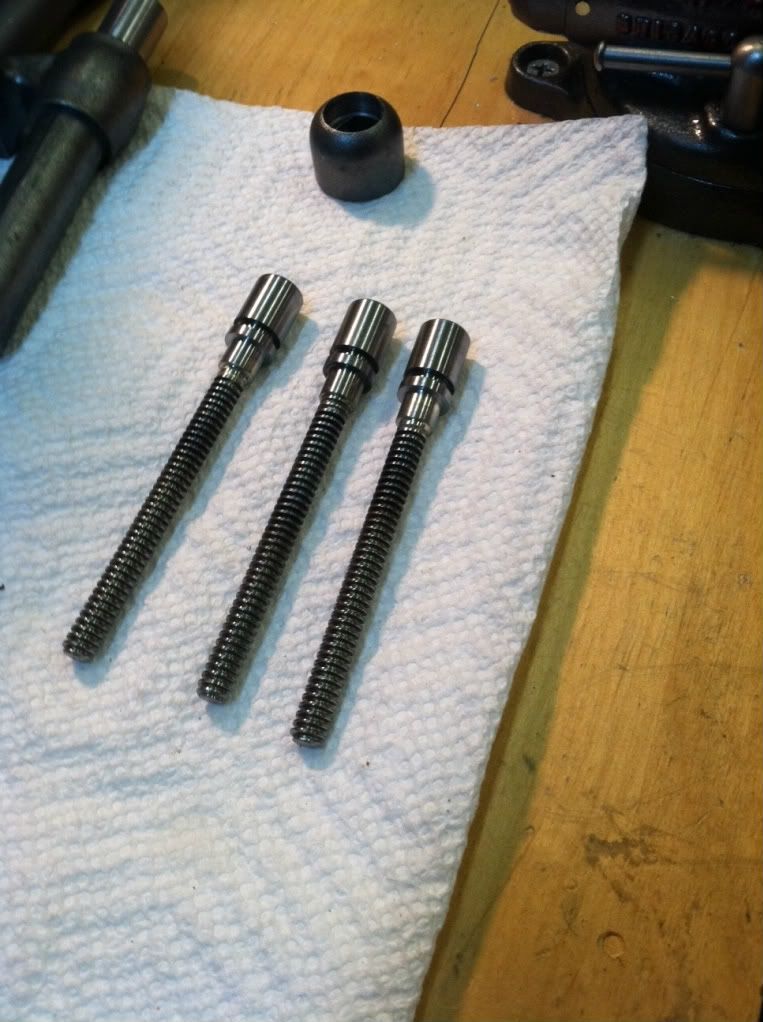
I've set aside the Body to continue with the movable jaw. I started by turning the chucking lug, remember, don't throw this away! Not that I would, I'm adding another shed just for that problem!
photo11.jpg


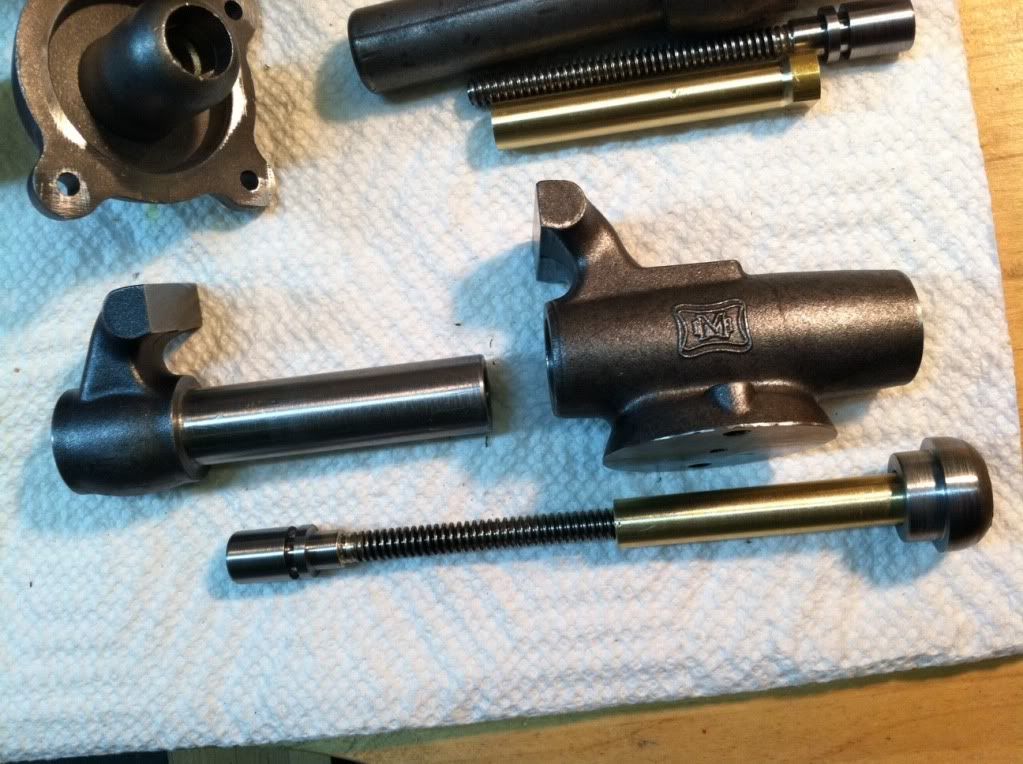
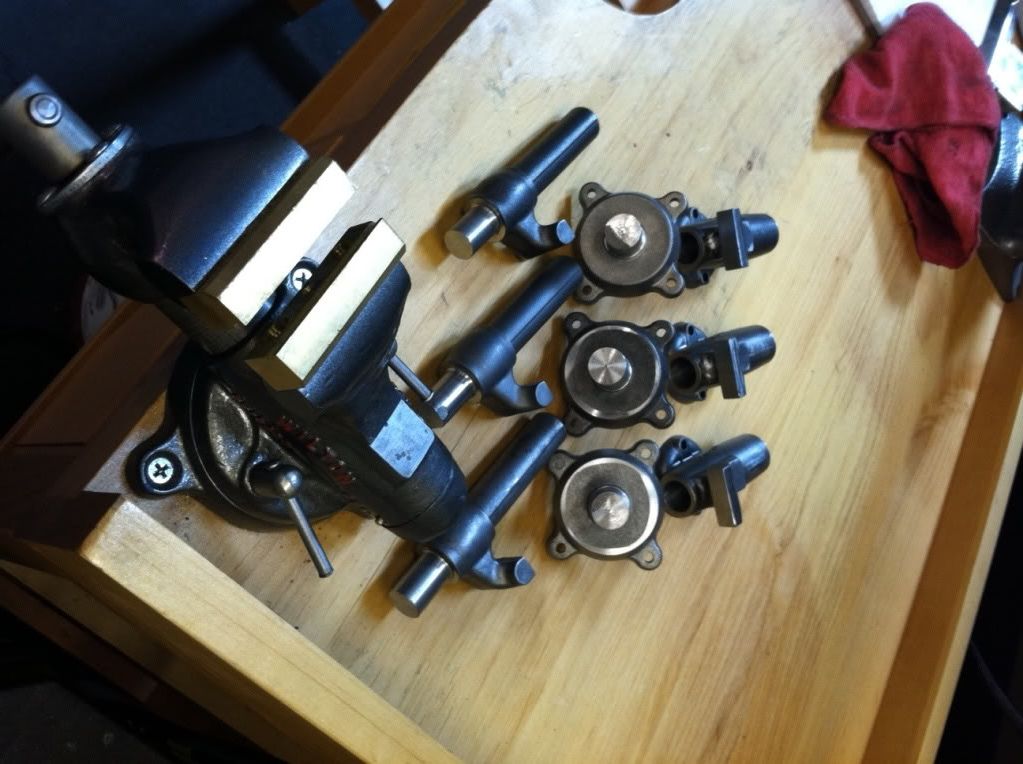
Here they are so far. Did I mention I am building three? But that is a Christmas secret, so don't tell anyone!
photo12.jpg


Well, Thanksgiving Dinner is a cooking!


That looks like a nice little project - Thank you for taking the pictures and sharing your helpful hints!
Brad
 
I just ordered one of those, it looks like a nice little project that should be a little different, something that you just don't see everyday. It might go along well with my little PM Research engine lathe.

I am excited because this should hold me over until all of the real good stuff comes on Christmas morning. :big:

Happy Holidays!
 
That sure is a nice looking vice. Working from castings really gets the brain ticking. Great build thread.
Brock
 
This is nice to see. I too was in the mood to acquire one of these, for use, but I ran across a small vice for sale, so I've been using it and kinda forgot about the kit from M&M. May have to revisit the thoughts on getting one, looks to be very nice kit with excellent castings. And also seems that you're doing a mighty fine job on your Christmas presants too. Please keep us posted.
 
You are off to a great start on the vises, I built one during the summer and fall of last year; it was a very enjoyable project. I was going to post pictures here on HMEM but never got to it.
I did take pictures of most of my setups and machinning operations. I don't want to hijack your thread so if there in interest I can start a new thread and post them there.

I also modeled a 1/2 size Wilton Power Arm Jr. for it to mount on. I finished it up just before the GEARS show last September.

The Model Makers Vise is a great conversation piece as well as a useable tool if one chooses.

Keep up the good work and keep the photos coming.
Dave

Vise_Small_1.jpg


Vise_Small_2.jpg
 
Wow! Beautifully executed so far. Castings are so much more challenging than bar stock, and work-holding can be tricky. Are you going to paint the bodies when you are done?
 
Thanks for the comments and Dave, we met for a minute at Gears. I must say, your stirling fans were among the finest work at the show. If anyone gets a chance to see them it is impressive! And your Vise speaks for itself! You just hijacked the thread with those photos!
Just kidding! Please post your photos! it is such a neat little project, I'd welcome anyone's input.
If everyone could see how Dave's jaws interlock perfectly that is a neat trick I want to do as well.
I am actually building 12 vises as one of my second year CNC students projects this fall. I think six will finish by break. So, I have a volunteer assistant, Lowell, who is "retired" and he has built the following jigs for broaching and key cutting.
I wasn't sure the project would suit CNC but it has been a real challenge and the Haas control has an "intuitive" programming mode that is suited to one off programs so it has been a really good learning experience.
Seeing Dave's vise I am not sure if I will paint them. Let's see how it goes!

Broachjig1.jpg


Broachjig2.jpg


The acme nut is silver soldered in place. The Solder set up keeps downward pressure so it doesn't get a head of steam up and shift, or so I think. Now, if I'd have looked at the prints I'd have realized the hole I am soldering in slightly breaks out in to the cross hole. That would have guaranteed a good draw on the silver.
soldersetup.jpg

Almost done. Time to cross drill.
Acmescrew.jpg


Lamachina58

Thanks for the kind words; Now it is all coming clear now I do remember our meeting at the GEARS show. I didn't realize from four avatar and log-on who was behind this great little project.

I'm sorry I don't remember your name ???

Dave

P.S. I would like to share my build pictures but I'm still not sure if I should start a new thread or mix them in with yours?
 
Idahoan,

Welcome to the forum. Generally you would start a new topic. That would seem to be the trend from previous "duplicate" builds....if there really is such a thing :)

Have at it....

Regards and welcome!

Dave

 
Hi Dave,
Tom from Montana. I flew in for the weekend and had a great time. Roland introduced me to yourself and a bunch of inspiring folks.
I wanted to hear how you built the fans. Have you posted them?

Also, what will be obvious to anyone watching my build is that there are seams in places you don't have on your vise! Beautiful work.

I think I understand how you did the matched jaw teeth; machine the cross hatch with 90 degree mill drill and then finish the perimeter last, all referenced to the bolt holes? Or drill the mounting holes last. The details on your vise were fantastic. And the swivel base, that was sweet.

I think I better get to work.

Thanks,

Tom
 
Turning the Acme nut between centers. The 1/2" brass comes tapped with the acme thread but a little 60 degree in the end was needed to center it properly. Turn to .380 leaving a 1/4" long head at the original .500 diameter.

Acmeturn.jpg


I just milled the flats on the head of the acme nut. This is .380 across the flats but keep in mind the Nut Holder is tapered so I think I will just file it to fit.

Acmemill2.jpg


I am now pondering holding the Nut Holder. Another expanding mandrel perhaps?
 
My students are getting ahead of me! So today we used the nice fixture Lowell made for broaching. We took .010" per pass and used .050" of shims to get to the depth we wanted. I may have made a mistake on my drawings and notes and made the key .125 wide because that was the broach I had. But it seems to work well and one student has already keyed the moving jaw and pinned his key in it.

Broaching3.jpg


Note the set screws allow us to align the jaw and compensate for any difference in the casting width. I intend to make lots of vises with students.

Braoching1.jpg


The broaching went smoothly which is always a relief!
 
The Nut holder. The plan calls to press it lightly to a mandrel and turn it. Methinks I am so smart and turn this split 5C only to have it spin, gall and then strip the hex trying to get it all apart. Here is how it supposed to go...never mind the hour fixing it all.

photo4-1.jpg


photo3-1.jpg


Nut and holder fit together.

photo5-1.jpg

 
Cutting the key way.

photo3-2.jpg


Drilling the end of the moving jaw after marking it carefully. This fixture is nice because I can tip the part on end accurately. Not the lengths to go to for one but it will be nice for my students.

photo4-2.jpg


Winter is really here and it is minus ten out!
 
Tap the 1-72...carefully.

photo5-2.jpg


And test assemble. Measuring my counter bore depths carefully paid off, it feels just right!

photo6-1.jpg
 
Man, you're about to fling a cravn' on me!!!! I've ordered 5.5 and 8" flywheels from M&M before, A-1 castings.
 
Back
Top