LTD Stirling - Securing displacer side casing to top and bottom.

Home Model Engine Machinist Forum

Help Support Home Model Engine Machinist Forum:

This site may earn a commission from merchant affiliate links, including eBay, Amazon, and others.

mnbylcr2

Active Member
Joined
Jun 2, 2009
Messages
25
Reaction score
0
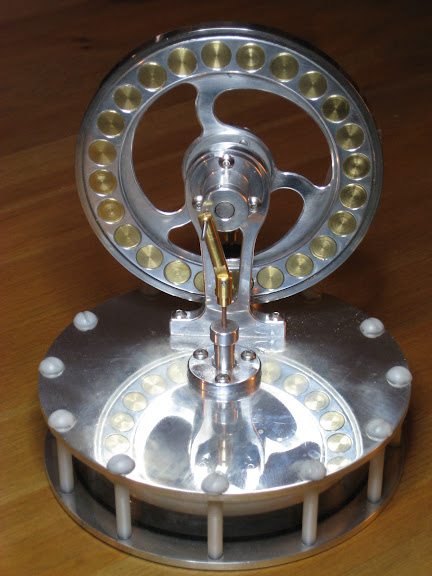
This is my first LTD build and I`m pretty much sorted now for a design. My only issue is how to secure the clear plastic sides of the displacer to the top and bottom with an air tight fit. I know quite a few use a perminant fixture, JB welds or expoxy but I would prefer to have a fixture that can be dismantled if needed. I know quite a few builds use pillars between the top and bottom and grip the plastic inbetween but I guess you would need some sort of rubber to push up against to get an air tight seal. Any info appreciated..?

One final LTD question - how high should the main drive piston sit (in the drive piston cylinder) above the top of the displacer at its lowest position and does this even matter?

Any ideas welcome.
 
LTD Stirlings develop only miniscule pressure differentials. A rubber or O-ring seal is really overkill. I sealed all of mine with Vaseline and they've been running happily for years. The easiest way to build the displacement chamber is to connect the two endplates with nylon screws. Plastic pillars will work but they're a lot of extra work.
 
A friend of mine built Jerry Howell's "Miser" and cut an O-ring groove in the top and bottom of the plastic ring. Jerry's plans don't call for it though. When I built mine I didn't bother, and had no trouble. I agree with Marv -- as long as you have good flat, smooth mating surfaces you should be fine. If you want a little more assurance on the seal, paint a thin coat of varnish on the edges of the ring just before you assemble it.

I strongly suspect that getting rid of all possible friction will be a far bigger problem than any air leaks.
 
Cheers Guys

If your only using vaseline to air seal, what do you use to actually clamp them together - nylon screws, pillars?

pictures or links to builds welcome!

Chris
 
Regardless of what method you use to clamp the plates, an easy way to make a gasket is to put bead of silicon on one edge of the plastic cylinder and then squeeze it down onto a piece of plastic film on a flat surface. When the silicon has set up, peel of the plastic and trim the inside and outside edges with a razor knife. You will then have a thin silicon gasket permanently bonded to the plastic.
 

I used the o-ring as mentioned and nylon screws outside of the cylinder;

stirling1.JPG


Agree with Marv, vaseline works good for sealing the clear plastic to metal. Another method is to drill and tap the plastic for fastening to the plastic.

Don't do as I did and use a petroleum base cutting fluid for acrylic plastic. About a week or two after using the plastic will crack and or craze in the area where the cutting fluid was. Soap and water should work good.
HalfsizeMiser28.jpg
 
ghart3 said:
Don't do as I did and use a petroleum base cutting fluid for acrylic plastic. About a week or two after using the plastic will crack and or craze in the area where the cutting fluid was. Soap and water should work good.

Great tip, Thanks for sharing.

Best Regards
Bob
 
I should make a new topic really but -- just curious, what power piston material are you all using and are you all running with bearings?

ghart3 - what have you used to pin the main shaft of the displacer rod at the joint to the rod going to the crank? I mean I could do it with a simple steel pin or something but I`m thinking about friction.
 
mnbylcr2 said:
I should make a new topic really but -- just curious, what power piston material are you all using and are you all running with bearings?

Graphite, in a glass cylinder... and bearings are a must. Start tearing apart old harddrives.
 
I`ve just this second torn apart a computer fan - two lovely little bearings in that!!

I`m torn between designs. In the examples below where will there be bearings?
 
I followed Jerry Howell's plans and to begin with I didn't use anything to seal the joints. The LTD ran just fine in the palm of my hand.

I seem to recall that I used a light coating of Dow Corning silicone grease the last time I assembled it (after replacing the displacer actuating rod--the first one was not perfectly straight).

Orrin
 
mnbylcr2 said:
I should make a new topic really but -- just curious, what power piston material are you all using and are you all running with bearings?

ghart3 - what have you used to pin the main shaft of the displacer rod at the joint to the rod going to the crank? I mean I could do it with a simple steel pin or something but I`m thinking about friction.

I believe graphite is the better material for a power piston in a LTD type Stirling engine. There are many grades of graphite and carbon. Some are better then others and I have heard that carbon is abrasive rather then self lubricating.

Not sure if I understand on the displacer rod. The rod from the displacer is attached to a cross-head and has some adjustment for length but no swivel type action. the rod from the crank is attached to the cross-head and is able to swivel in one plane as a wrist pin in the power piston would allow.

Recommend you go to Jerry E. Howell's web page and buy his plans for the Miser. The Miser is a proven design and the plans give much good instructions.
 
ghart3 - I have been in contact with Jerry Howell as I would really like to see his Miser plans but he does not accept paypal and being in the UK, I don`t know how to pay!


Latest posts

Back
Top