- Joined
- Oct 1, 2010
- Messages
- 1,342
- Reaction score
- 395
It seems that Harbor Freight has this sander on sale most of the time and that the price is so cheap that maybe it is worth checking out. Several other vendors also have one of these as well.
http://www.harborfreight.com/1-inch-x-30-inch-belt-sander-2485.html
http://www.grizzly.com/products/Belt-Sander-1-x-30-/H3140
http://www1.mscdirect.com/cgi/NNSRI...re=ItemDetail-_-ResultListing-_-SearchResults
http://www.travers.com/product.asp?r=s&n=||UserSearch1%3DBelt+Sander&eaprodid=255345%2D87%2D115%2D643
I have a Delta 4x36 Belt / 6-in. Disc Sander combination, but sometimes I think it is too big for some of the small parts I want to sand, in wood, metal, and plastic. In addition, the disc sander uses stick-on discs and it's quite a hassle to change them.
Maybe a bigger, faster, more rugged sander is really what I want, but at a price of $40 - $50 US I decided It was worth a gamble: Perhaps the parts could be used for something if this didn't pan out.
A quick online tour round some vendors proved that 1x30 belts are available in several grits and types that I might want to use, even though there are probably more 1 x 42 machines and belts in use.
This also gives me a chance to post some pictures of the machine for the forum, for other customers (victims?) like me.
Off to HF to spend money: It wasn't on sale that day, but $45.00 was still OK. I also got a couple each of the two grits of belt that they sell.
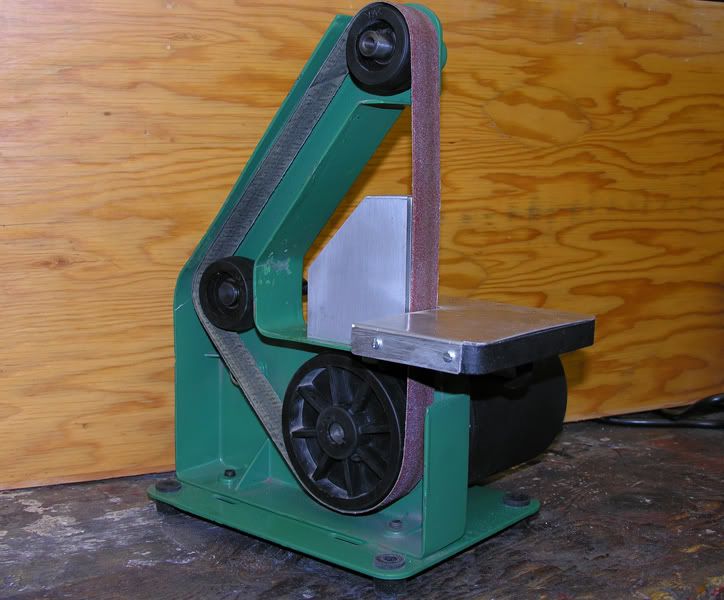
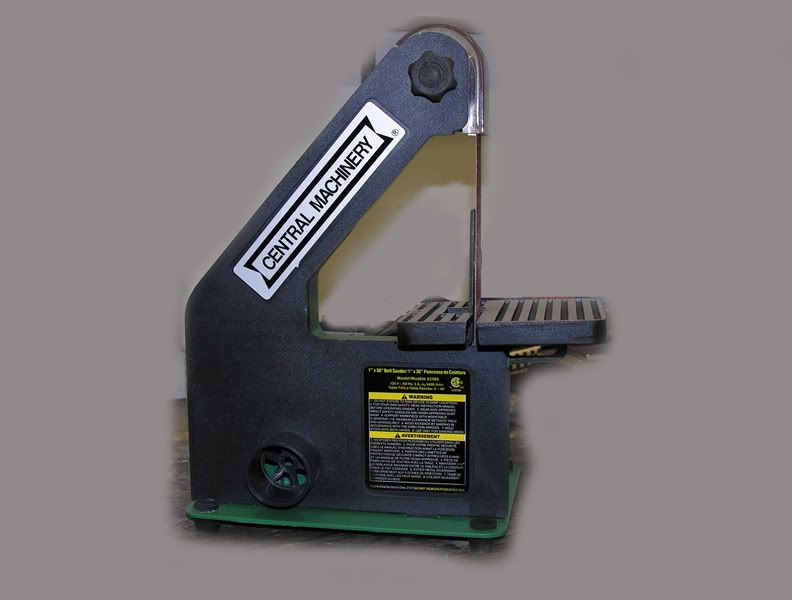
Once I got home, I opened the box to the usual broken-styrofoam packing and got the sander out to start taking pictures. The shop was too messy and I didn't feel like doing studio work, so the photos have been heavily modified so as to focus on the sander.
First Surprise: The sander is green, green suspiciously like someone else's green!!!
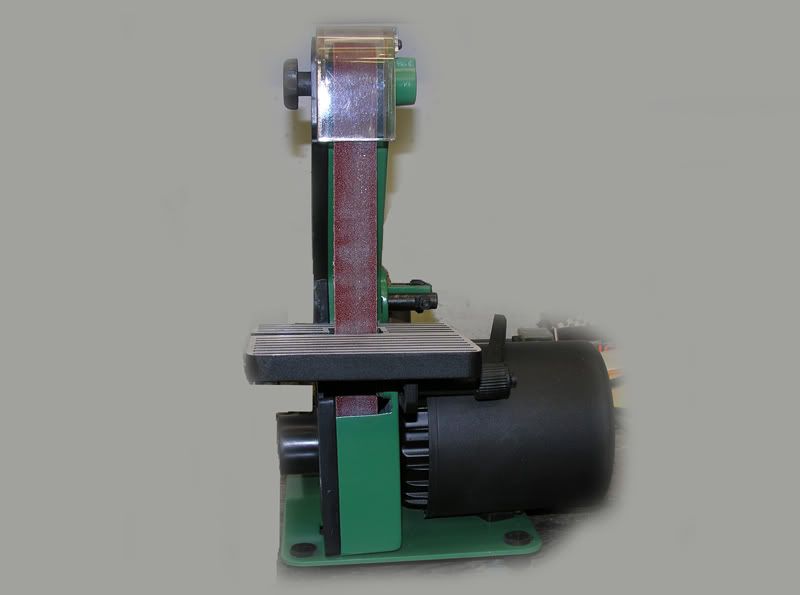
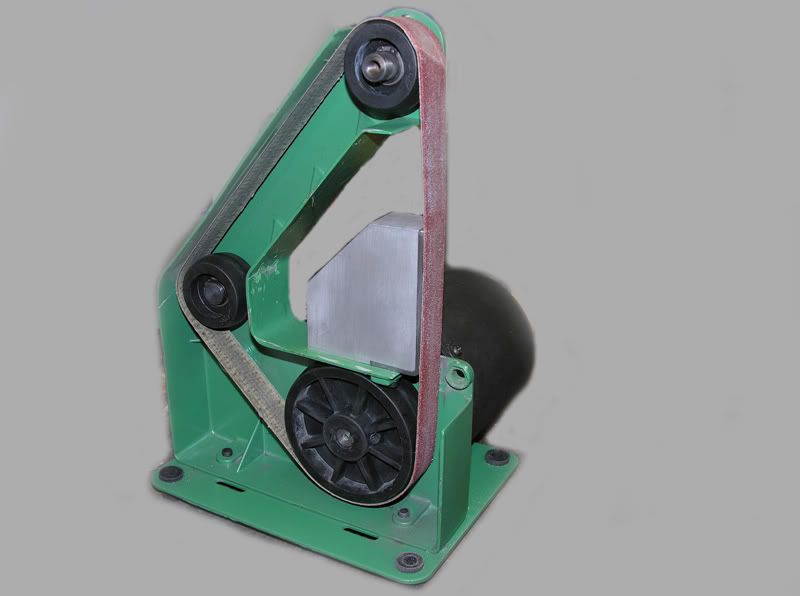
The belt rollers are heavily crowned and made of plastic. The top roller is on a shaft that is secured to the casting with a socket-head setscrew: Mine was extended way out so that only the end of the shaft was secured by the screw.
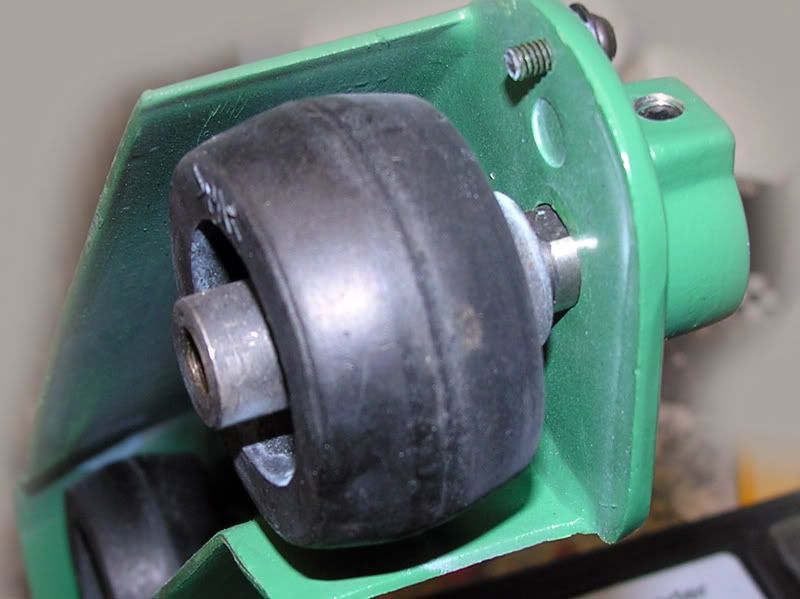
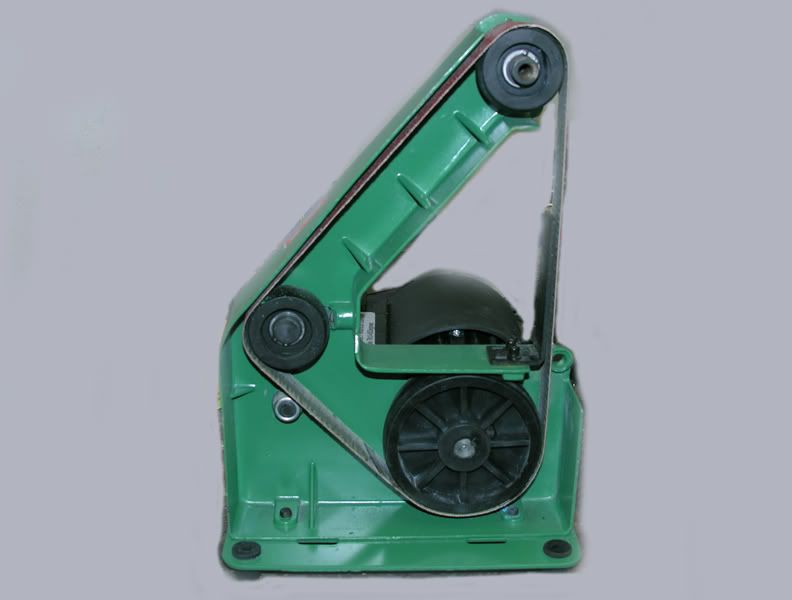
The two smaller rollers have metal inserts. The large motor drive roller does not have a metal insert, but is secured by a setsrew at an awkward angle: MIne was on the verge of stripping: I'll deal with that later. The rear roller has an insert and is secured to the adjustment shaft with an outside circlip. The adjuster is on the motor side of the sander: Mine was "out of adjustment range???"

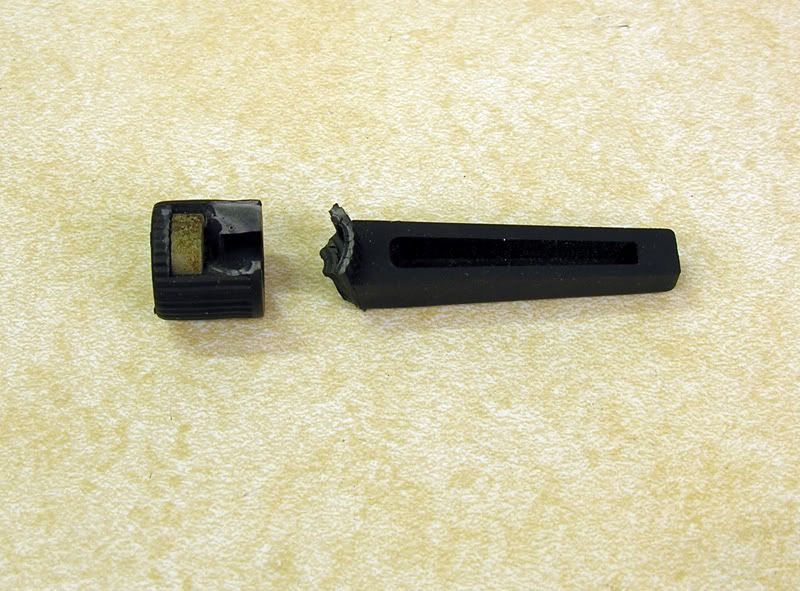
The toolrest is a rough alloy casting with deep slots on top and a large slot for mounting one of those spring-tensioned adjustable knobs. The lever on the knob that I received would not pull out far enough off the rest of the nut for setting it to a convenient angle without having to remove the screw and spring. Something else to deal with....
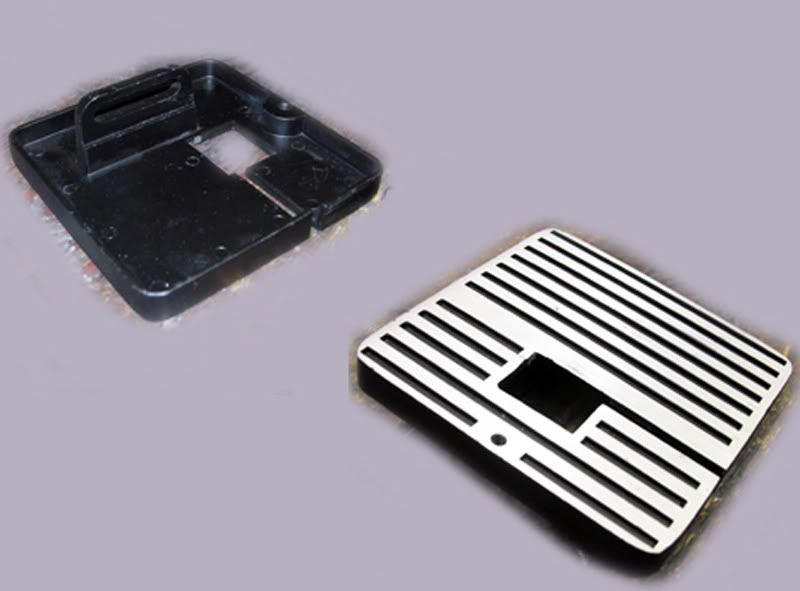

There is a hole at the top of the stage casting for another setscrew that is for setting a level stop position for the table: I did find the setsrew loose among the shredded styrofoam in the box later.
I set the sander up and ran it briefly. It seemed to have adequate power, but right away I found that the platen behind the belt is too weak and flexible to be useful. I expected this and I had been considering several alternatives. Following CFellows sander modification using a ceramic material, I thought about using that: I read his link to the vendor of this material and was duly awed and scared by the safety notices. Since I have lots of Murphy's-Law days I decided I did not want to do that. I look at this project as a learning and experimenting exercise, so maybe doing another, bigger sander later will be the time to look at that.
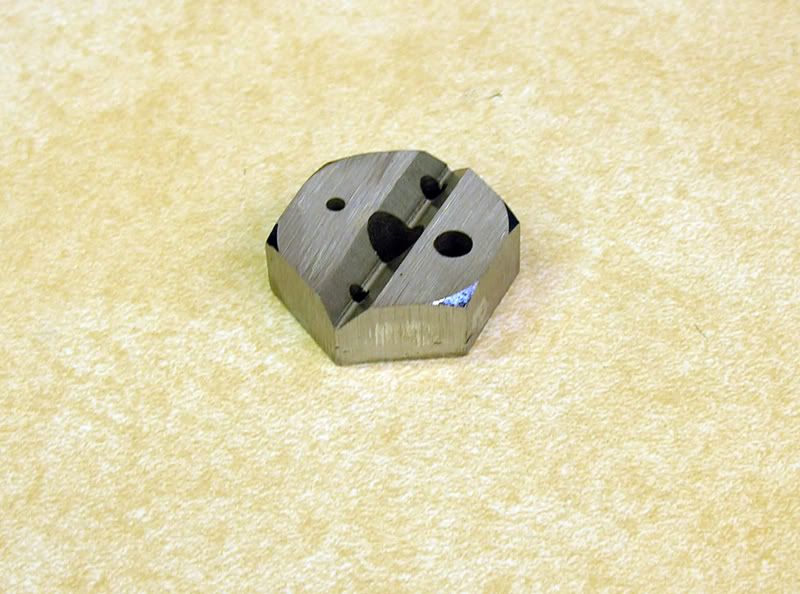
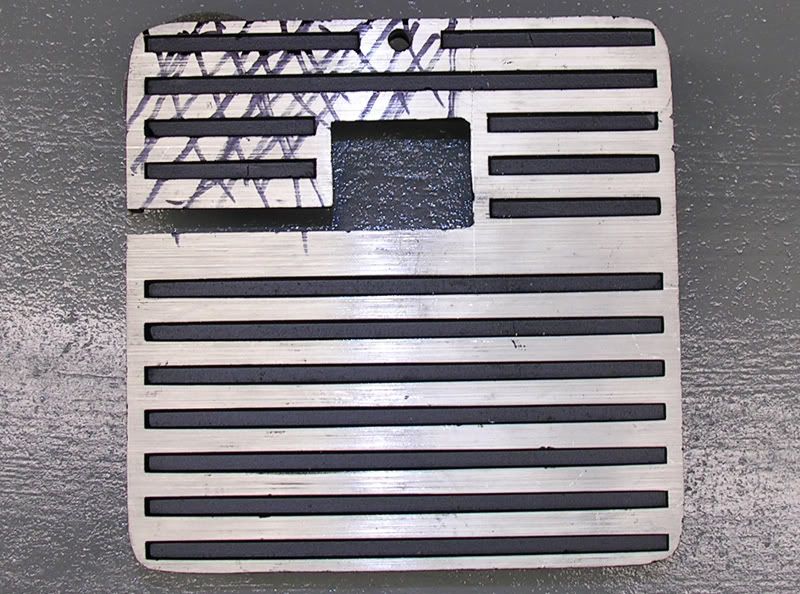
I really like using aluminum and I happened to have a piece of 1 x 3 6061 bar. I considered ordering some steel or cast iron and maybe even trying to do some hardening, but ended up deciding that would be too much to spend and too much to deal with for an experiment that might not lead anywhere. In the end I decided to make a heavy block from the 6061 and mill away part of it to fit the original platen.
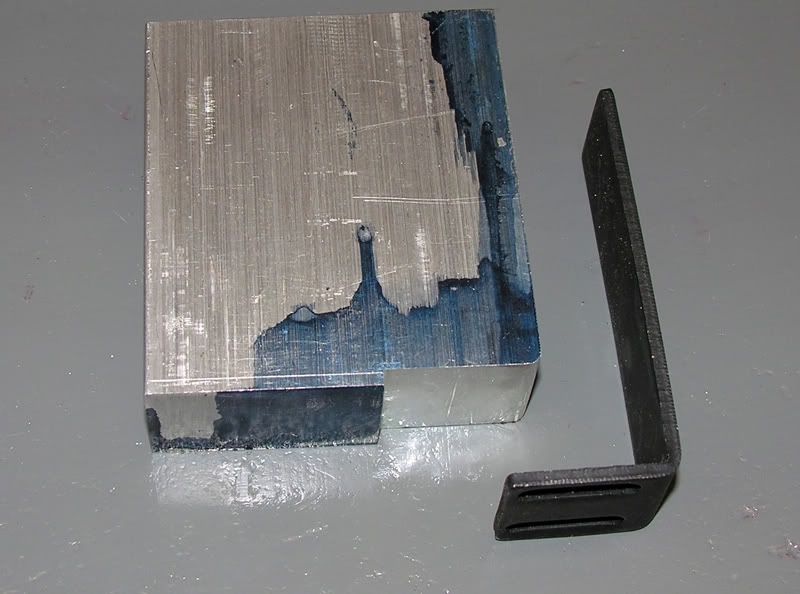
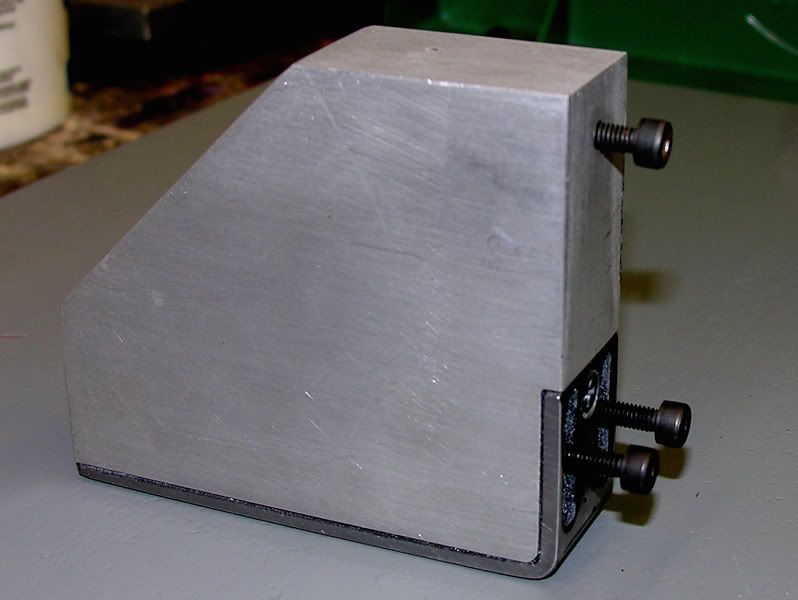
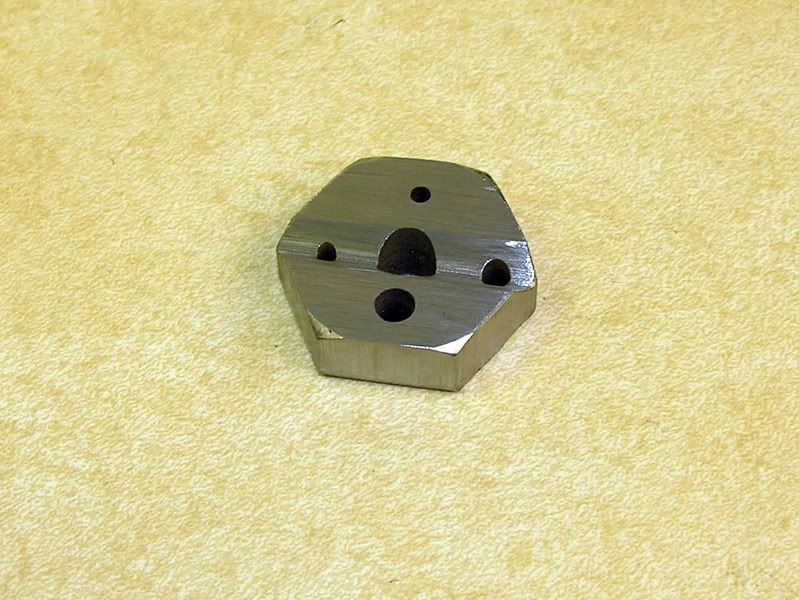
The original platen was "massaged" to fit carefully and a countersunk hole was added to secure it to the aluminum block. After doing this with a 6-32 screw, I remembered that I should try to use more metric on a project that is already metric, just to avoid confusion. Three 4mm holes drilled and tapped for socket-heads.
At this stage I started wresting with the locating and securing of the new platen and ended up deciding that I would have to try to deal with the belt-tracking issue. This project is an experiment, so I was happy to proceed without going back to HF.
Here's what I found:
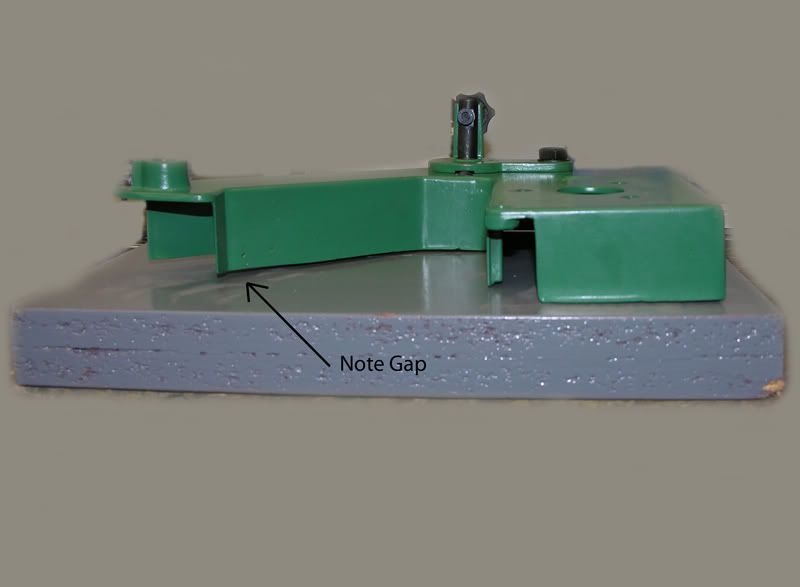
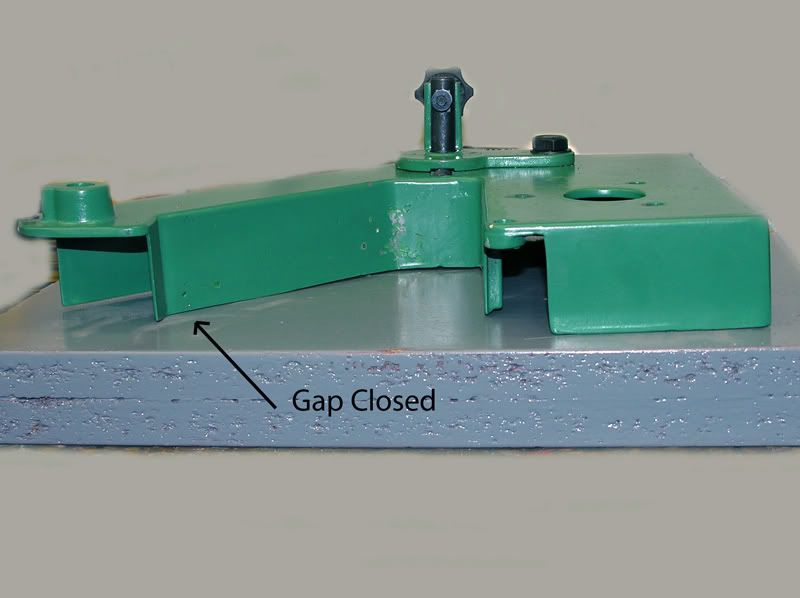
I have had lots of practice bending and straightening things, so I approached the problem by clamping the casting to a piece railroad iron (doesn't everybody have one of these?) and used one of my autobody pick hammers where the "arm" meets the "base"

It worked. But is the casting metal so bad that it'll come back? Time will tell.
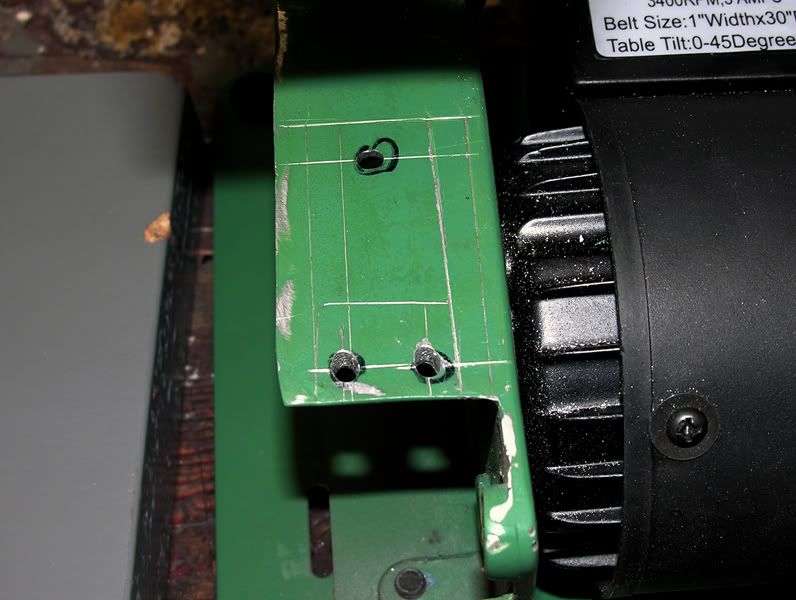
Back to the Platen: Finally settled on a location and drilled the holes: Started rough holes and filed to fit and adjusted as I went.
Some tests without a stage confirmed better support and rigidity. I think I'll hack away part of the existing toolrest (stage) to fit around the new platen block and get some different types of belts on order so I can report back.
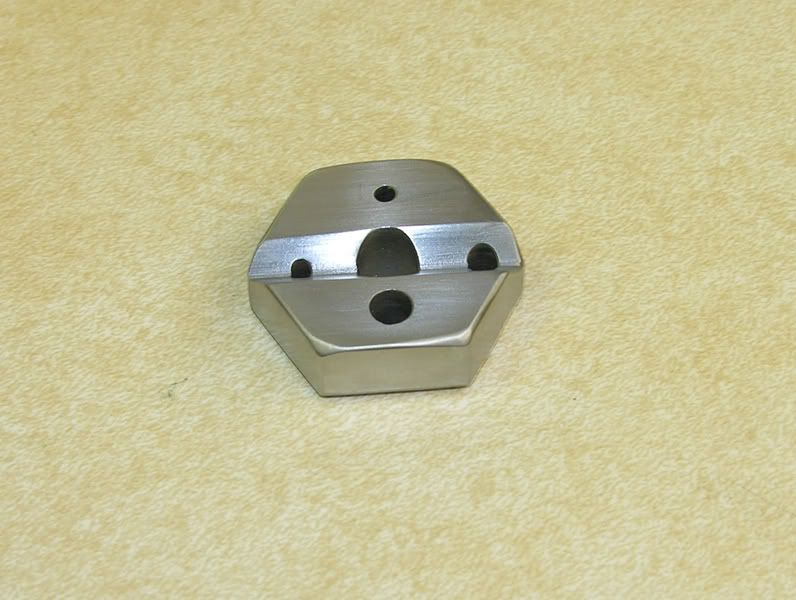
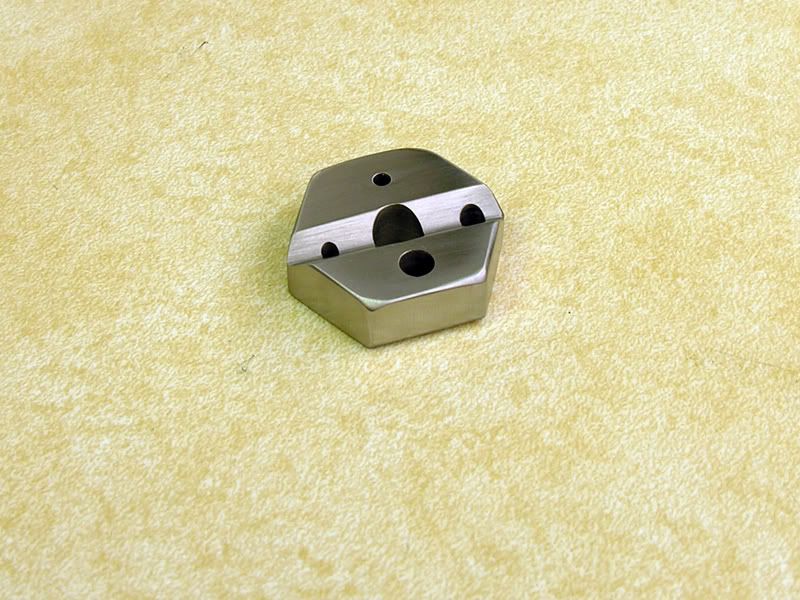
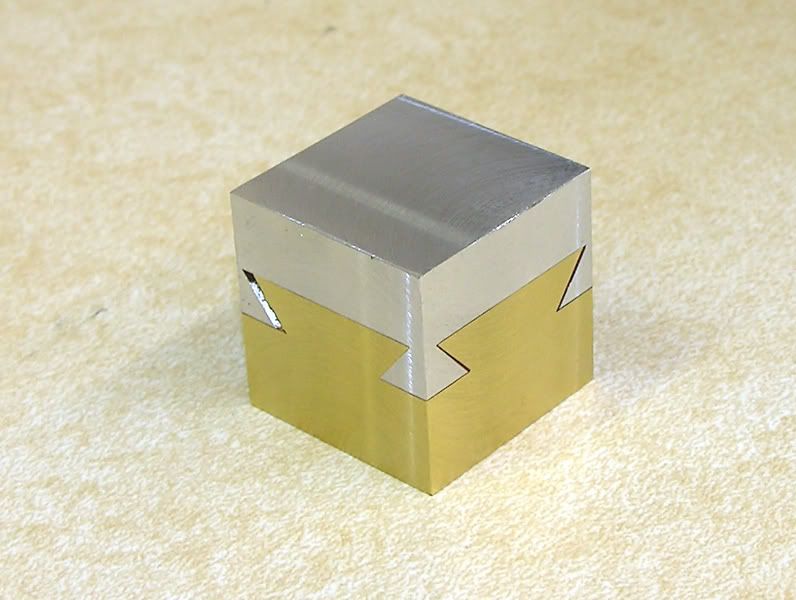
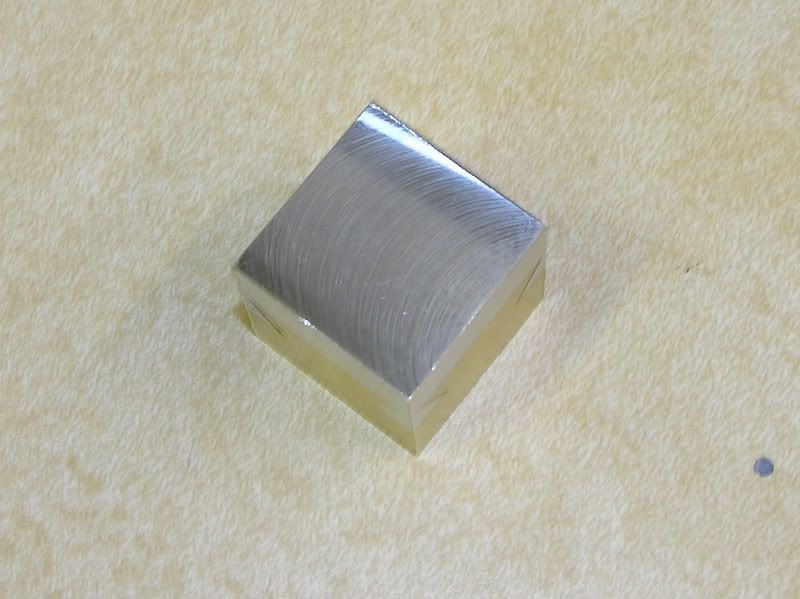
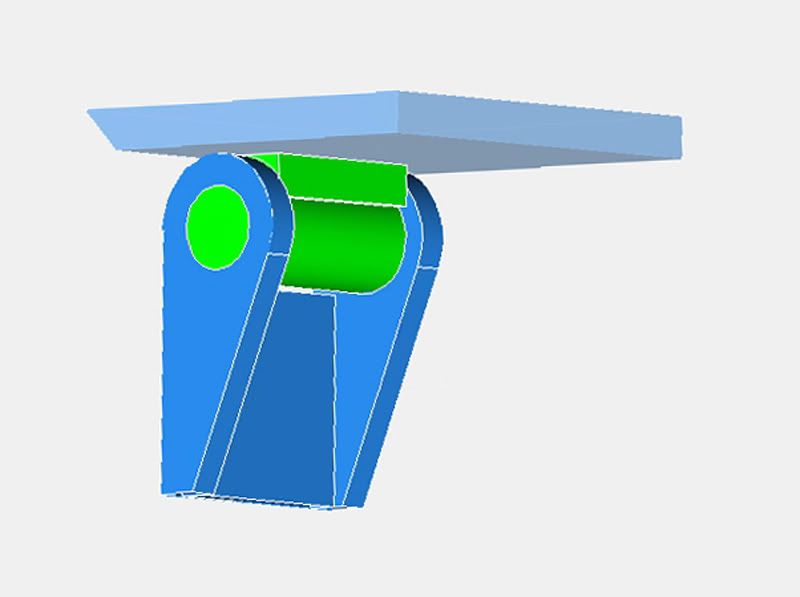
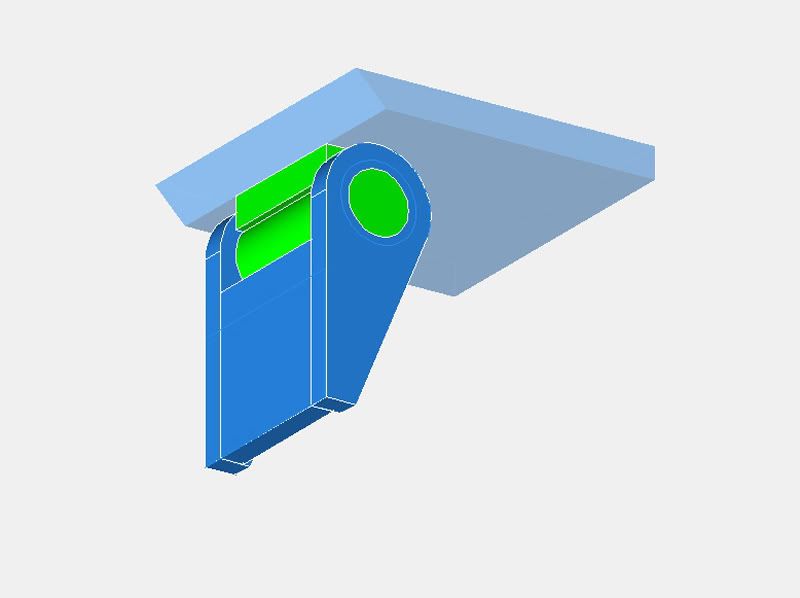
I'm thinking about a new toolholder similar to these models. I see this sander as mainly for sanding parts, not sharpening tools: I am pondering some type of a positive-stop system to the new stage for adjustable, but repeatable, results. I could also just end up with some type of calibrated setting with a strong lock knob. I'll report back when I get more done.
By the way, My life has been getting in the way of shop time lately. I have only had a little time to read and occasionally post here. Now that some things have changed I hope to actually get out in the shop and make more things.
Thanks for watching.
--ShopShoe
http://www.harborfreight.com/1-inch-x-30-inch-belt-sander-2485.html
http://www.grizzly.com/products/Belt-Sander-1-x-30-/H3140
http://www1.mscdirect.com/cgi/NNSRI...re=ItemDetail-_-ResultListing-_-SearchResults
http://www.travers.com/product.asp?r=s&n=||UserSearch1%3DBelt+Sander&eaprodid=255345%2D87%2D115%2D643
I have a Delta 4x36 Belt / 6-in. Disc Sander combination, but sometimes I think it is too big for some of the small parts I want to sand, in wood, metal, and plastic. In addition, the disc sander uses stick-on discs and it's quite a hassle to change them.
Maybe a bigger, faster, more rugged sander is really what I want, but at a price of $40 - $50 US I decided It was worth a gamble: Perhaps the parts could be used for something if this didn't pan out.
A quick online tour round some vendors proved that 1x30 belts are available in several grits and types that I might want to use, even though there are probably more 1 x 42 machines and belts in use.
This also gives me a chance to post some pictures of the machine for the forum, for other customers (victims?) like me.
Off to HF to spend money: It wasn't on sale that day, but $45.00 was still OK. I also got a couple each of the two grits of belt that they sell.
Once I got home, I opened the box to the usual broken-styrofoam packing and got the sander out to start taking pictures. The shop was too messy and I didn't feel like doing studio work, so the photos have been heavily modified so as to focus on the sander.
First Surprise: The sander is green, green suspiciously like someone else's green!!!
The belt rollers are heavily crowned and made of plastic. The top roller is on a shaft that is secured to the casting with a socket-head setscrew: Mine was extended way out so that only the end of the shaft was secured by the screw.
The two smaller rollers have metal inserts. The large motor drive roller does not have a metal insert, but is secured by a setsrew at an awkward angle: MIne was on the verge of stripping: I'll deal with that later. The rear roller has an insert and is secured to the adjustment shaft with an outside circlip. The adjuster is on the motor side of the sander: Mine was "out of adjustment range???"
The toolrest is a rough alloy casting with deep slots on top and a large slot for mounting one of those spring-tensioned adjustable knobs. The lever on the knob that I received would not pull out far enough off the rest of the nut for setting it to a convenient angle without having to remove the screw and spring. Something else to deal with....
There is a hole at the top of the stage casting for another setscrew that is for setting a level stop position for the table: I did find the setsrew loose among the shredded styrofoam in the box later.
I set the sander up and ran it briefly. It seemed to have adequate power, but right away I found that the platen behind the belt is too weak and flexible to be useful. I expected this and I had been considering several alternatives. Following CFellows sander modification using a ceramic material, I thought about using that: I read his link to the vendor of this material and was duly awed and scared by the safety notices. Since I have lots of Murphy's-Law days I decided I did not want to do that. I look at this project as a learning and experimenting exercise, so maybe doing another, bigger sander later will be the time to look at that.
I really like using aluminum and I happened to have a piece of 1 x 3 6061 bar. I considered ordering some steel or cast iron and maybe even trying to do some hardening, but ended up deciding that would be too much to spend and too much to deal with for an experiment that might not lead anywhere. In the end I decided to make a heavy block from the 6061 and mill away part of it to fit the original platen.
The original platen was "massaged" to fit carefully and a countersunk hole was added to secure it to the aluminum block. After doing this with a 6-32 screw, I remembered that I should try to use more metric on a project that is already metric, just to avoid confusion. Three 4mm holes drilled and tapped for socket-heads.
At this stage I started wresting with the locating and securing of the new platen and ended up deciding that I would have to try to deal with the belt-tracking issue. This project is an experiment, so I was happy to proceed without going back to HF.
Here's what I found:
I have had lots of practice bending and straightening things, so I approached the problem by clamping the casting to a piece railroad iron (doesn't everybody have one of these?) and used one of my autobody pick hammers where the "arm" meets the "base"
It worked. But is the casting metal so bad that it'll come back? Time will tell.
Back to the Platen: Finally settled on a location and drilled the holes: Started rough holes and filed to fit and adjusted as I went.
Some tests without a stage confirmed better support and rigidity. I think I'll hack away part of the existing toolrest (stage) to fit around the new platen block and get some different types of belts on order so I can report back.
I'm thinking about a new toolholder similar to these models. I see this sander as mainly for sanding parts, not sharpening tools: I am pondering some type of a positive-stop system to the new stage for adjustable, but repeatable, results. I could also just end up with some type of calibrated setting with a strong lock knob. I'll report back when I get more done.
By the way, My life has been getting in the way of shop time lately. I have only had a little time to read and occasionally post here. Now that some things have changed I hope to actually get out in the shop and make more things.
Thanks for watching.
--ShopShoe