Cedge
Well-Known Member
- Joined
- Jul 12, 2007
- Messages
- 1,730
- Reaction score
- 29
When I began machining, finding an edge or getting centered on a work piece was pretty much hit or miss. Even though I was careful when marking out or using a center punch, I often missed by just enough to create problems. When it came to putting the center drill to metal I was at the mercy of my fading eyes and the gods of chance. Been there? It's frustrating to say the least.
Someone, somewhere along the way, suggested a silly sounding little tool called a "Wiggler". I bought one. Nothing about its appearance did much to make me think it would soon become one of my favorite tools. However, this goofy little tool has hidden talents that can make your life easier.
The next few installments will share several techniques for using the Wiggler. I suspect others will chime in along the way with other tricks and probably other versions of the tool. I'm not going to comment on those, as the Wiggler is what I've come to use. I leave the virtues of the other tools to those who use them.
Meet the Wiggler:
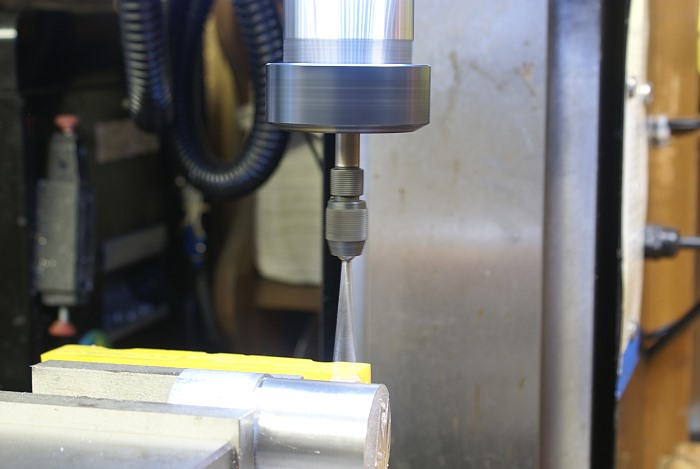
The Wiggler is a tool that fits in your mill or drill chuck. It usually comes with several different interchangeable stems which are held in the Wiggler mandrel by light friction. It does two things well. It helps you find the exact edge of a work piece and it can help you find the exact center as well. Both being pretty handy information to have. Here is a photo of mine with the .250 inch ball end stem installed.

Finding An Edge:
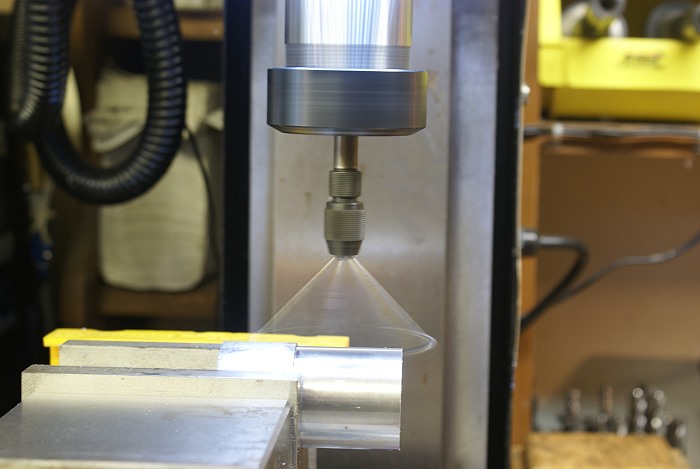
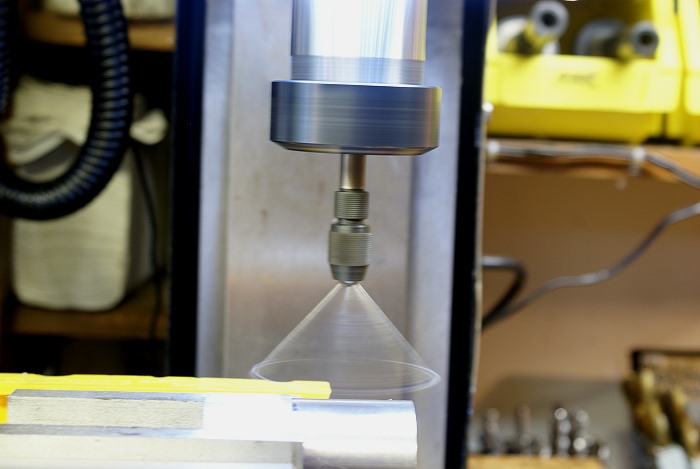
To find an edge the Wiggler has to .... well.... wiggle. The stem is first set off center just enough to cause it to rotate around its own axis as shown below.

It is then advanced slowly into the edge of the work piece until it stops wiggling. As it stops wiggling you'll want to slow the advance to a near stop.
All of a sudden the stem will "snap" and will slide off to one side or it will begin to rate in a wide circle. This is what you want it to do. I usually do this procedure twice, just to eliminate any error. You can shut off the machine at this point. .

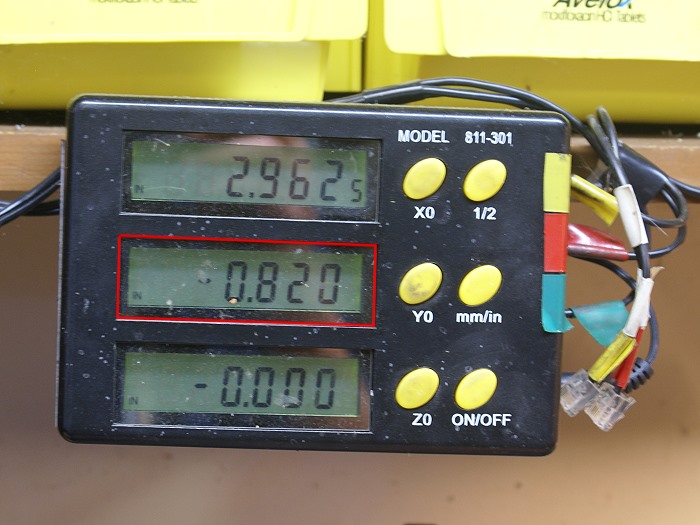
You are now .125 inches from the exact edge of the work piece. (remember the ball end on this stem is .250 inch... half the diameter equals .125 inch) By moving the table in the Y axis into the work piece .125 inches and setting the zero on your dial or DRO, you are now on the exact edge of the work piece. Repeat this procedure on the X axis to establish the X=0.000 datum point ,as well.

Installment #2 will come later this evening so stay tuned.
Steve
Someone, somewhere along the way, suggested a silly sounding little tool called a "Wiggler". I bought one. Nothing about its appearance did much to make me think it would soon become one of my favorite tools. However, this goofy little tool has hidden talents that can make your life easier.
The next few installments will share several techniques for using the Wiggler. I suspect others will chime in along the way with other tricks and probably other versions of the tool. I'm not going to comment on those, as the Wiggler is what I've come to use. I leave the virtues of the other tools to those who use them.
Meet the Wiggler:
The Wiggler is a tool that fits in your mill or drill chuck. It usually comes with several different interchangeable stems which are held in the Wiggler mandrel by light friction. It does two things well. It helps you find the exact edge of a work piece and it can help you find the exact center as well. Both being pretty handy information to have. Here is a photo of mine with the .250 inch ball end stem installed.
Finding An Edge:
To find an edge the Wiggler has to .... well.... wiggle. The stem is first set off center just enough to cause it to rotate around its own axis as shown below.
It is then advanced slowly into the edge of the work piece until it stops wiggling. As it stops wiggling you'll want to slow the advance to a near stop.
All of a sudden the stem will "snap" and will slide off to one side or it will begin to rate in a wide circle. This is what you want it to do. I usually do this procedure twice, just to eliminate any error. You can shut off the machine at this point. .
You are now .125 inches from the exact edge of the work piece. (remember the ball end on this stem is .250 inch... half the diameter equals .125 inch) By moving the table in the Y axis into the work piece .125 inches and setting the zero on your dial or DRO, you are now on the exact edge of the work piece. Repeat this procedure on the X axis to establish the X=0.000 datum point ,as well.
Installment #2 will come later this evening so stay tuned.
Steve