


If you have not checked out Dennis thread on building the tractor, you should, he does amazing work. Its located at http://www.homemodelenginemachinist.com/index.php?topic=4335.0.
I had looked at the plans many times, but until Dennis started the thread I kept telling my self to many other projects going on.
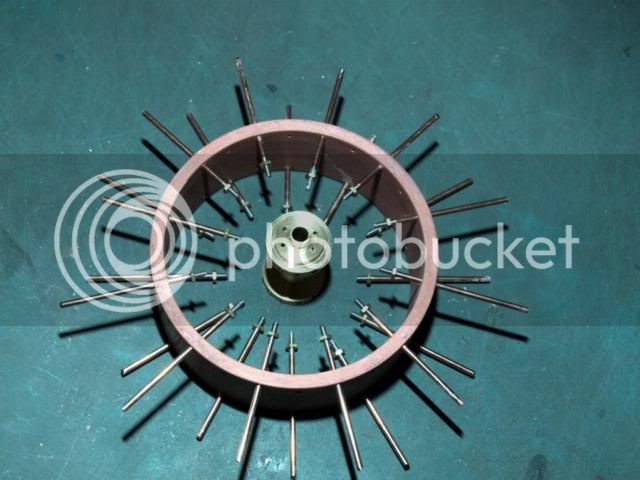
Well after looking at what Dennis was doing, I started it. I acquired some material for the rear rims, but not going to be able to turn them to size on my sherline lathe, so for now working on other parts as I ponder that problem.
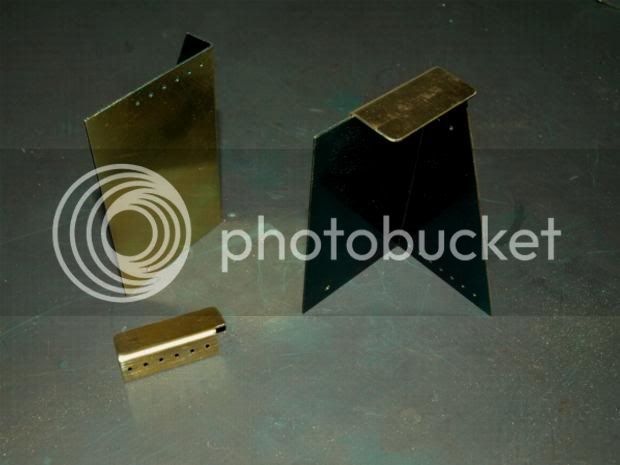
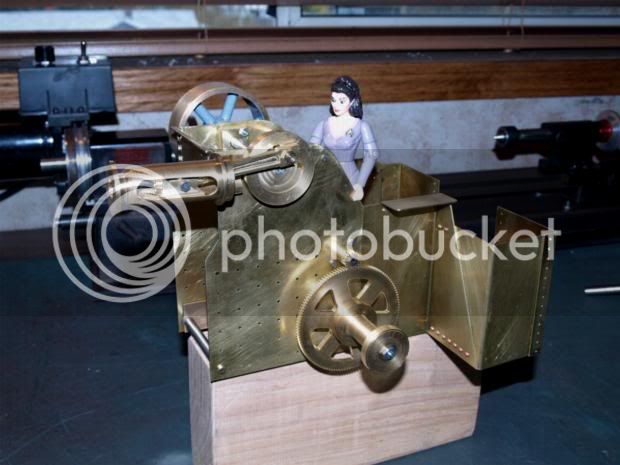
As I started to make sheet metal parts, my first problem was in bending the platform sides. They have a top pieace that is bent down. After two tries of doing that and not being happy with either one, I gave up and did an FM. I made the top pieace separate, that will be riveted to the platform sides in time as shown below. (my hat is off to you Dennis, how you bent that second bend I will never know)
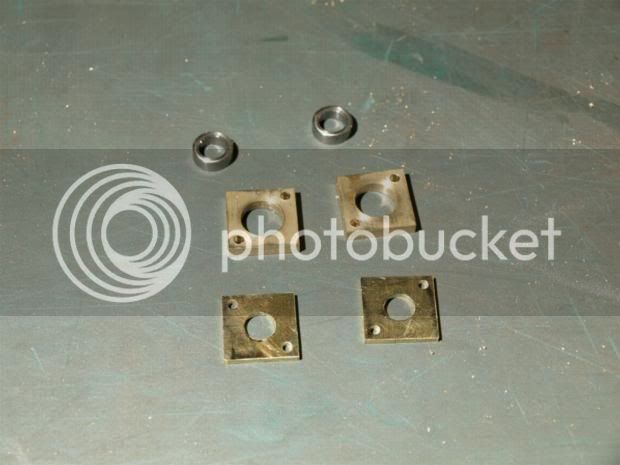
The next modification I made was in the bearings. They are shown as 5/8 blocks, I decided to install bearings so machined up 5/8 Square that is 1/8 thick, and covers that are 1/16 thick, still holding the 5/8 square. The bearings are 3/8 OD 1/4 ID by 1/8 thick and Boca Bearings has them for 99 cents, can't beat the price.
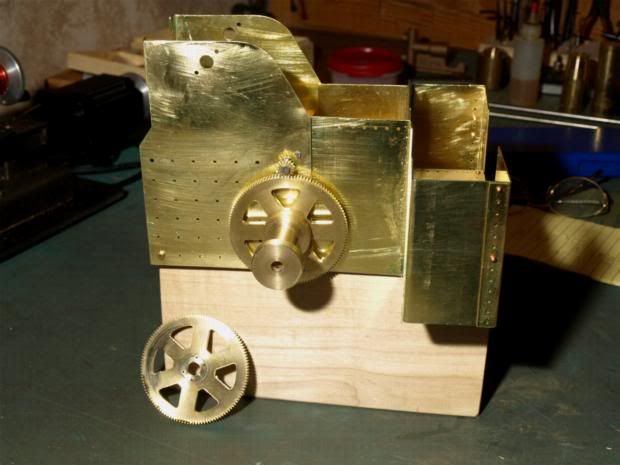
Now I have not done much riveting as I like to trail fit as I go, when I started to bolt the Horn plates on, the bearing blocks hit the Platform sides. I know Dennis made comment about the same problem. I solve the problem by cutting .100 off the leading edge. That leading edge is covered by the horn plates so it really is not much of a problem.

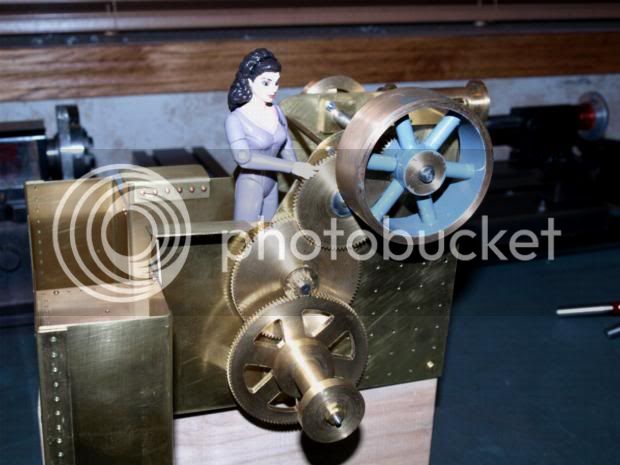
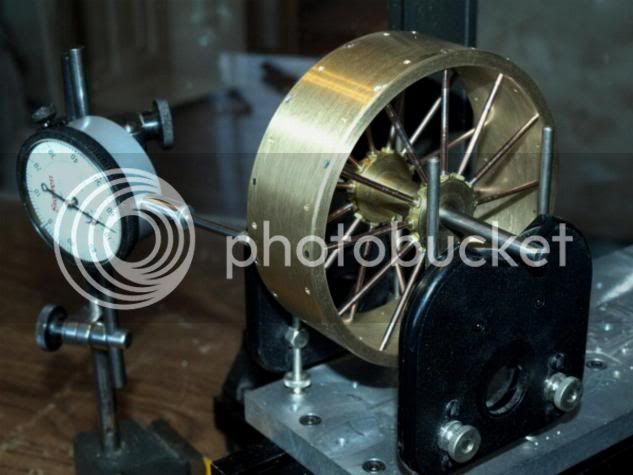
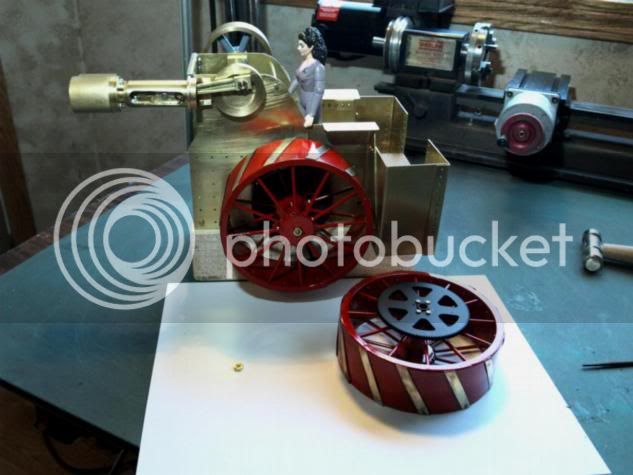
The last picture is of one rear hub with the bull gear mounted to it and mounted on the tractor to check the line up on the 16 tooth gear, which fits in perfectly. I am not sure how Dennis mounted the Bull gear, when I made up the hub I left a shoulder sticking out that was the same dia as the hole in the gear. Then drilled and taped 4 2-56 to bolt it on with. The other Bull gear is waiting for me to turn up the other side hub.
I think from here I will keep working on the horn plates to get all the gears in place. One other FM I am thinking on is to bolt the motion plate on rather than rivet it. That way I can make everything up and still have no problem taking it apart when its time to but the Fire Box cover in.
I had looked at the plans many times, but until Dennis started the thread I kept telling my self to many other projects going on.
Well after looking at what Dennis was doing, I started it. I acquired some material for the rear rims, but not going to be able to turn them to size on my sherline lathe, so for now working on other parts as I ponder that problem.
As I started to make sheet metal parts, my first problem was in bending the platform sides. They have a top pieace that is bent down. After two tries of doing that and not being happy with either one, I gave up and did an FM. I made the top pieace separate, that will be riveted to the platform sides in time as shown below. (my hat is off to you Dennis, how you bent that second bend I will never know)
The next modification I made was in the bearings. They are shown as 5/8 blocks, I decided to install bearings so machined up 5/8 Square that is 1/8 thick, and covers that are 1/16 thick, still holding the 5/8 square. The bearings are 3/8 OD 1/4 ID by 1/8 thick and Boca Bearings has them for 99 cents, can't beat the price.
Now I have not done much riveting as I like to trail fit as I go, when I started to bolt the Horn plates on, the bearing blocks hit the Platform sides. I know Dennis made comment about the same problem. I solve the problem by cutting .100 off the leading edge. That leading edge is covered by the horn plates so it really is not much of a problem.
The last picture is of one rear hub with the bull gear mounted to it and mounted on the tractor to check the line up on the 16 tooth gear, which fits in perfectly. I am not sure how Dennis mounted the Bull gear, when I made up the hub I left a shoulder sticking out that was the same dia as the hole in the gear. Then drilled and taped 4 2-56 to bolt it on with. The other Bull gear is waiting for me to turn up the other side hub.
I think from here I will keep working on the horn plates to get all the gears in place. One other FM I am thinking on is to bolt the motion plate on rather than rivet it. That way I can make everything up and still have no problem taking it apart when its time to but the Fire Box cover in.

")