First Engine from Plans - Elmer's Beam

Home Model Engine Machinist Forum

Help Support Home Model Engine Machinist Forum:

This site may earn a commission from merchant affiliate links, including eBay, Amazon, and others.
Very nice indeed. I bet you are thrilled with it now that it runs.

Now you can go back and tweak, fiddle and polish to your hearts content.

You have a definite runner, that was the objective.

Well done

Bogs
 
Hi AGR
That's wonderful, what an achievement, I particularly like your use of available materials and making them work for you by a little creative thinking, well done mate.

:bow: :bow: :bow: :bow:

Best wishes

Malcolm
 
Well done! I like the way you made the flywheel, a lesson there for me. Enjoyed seeing it run :bow:
 
Very nicely done Tony!

You will find that any of Elmer's engines run better after they have an
hour or so of running time on them.

Great job!

Rick
 
Hello agr,
I'm collecting material to start this same engine in Elmer's scale, like you. At this point only have the base machined.
I have a question about the acorn nut. Is it a #3-48 thread as in the drawing? If so did you make it yourself or buy it and from where? It appears in the photos that you may have gone to a #4-40 thread on a slightly larger piece. Is that so?
I'm getting lots of material and may make it myself but only can find 1/8 and 1/4 inch BRASS hex stock. Would like to find some 3/16 inch brass hex stock then making it would be a no-brainer.

TIA

Jim
 
Jim,

The acorn nut you refer to was "home made" and is actually 3/32 whitworth, the rod being 1/8" bronzing rod turned down at each end to suit as I had no 3/32" bar stock. The same "technique" was used for the connecting rod and eccentric rod. You will also notice that the rod linkages are also dis-proportionally thick as again, I only had 1/8" brass flat, not the 1/32" called for in the drawings.

Not having any UNF taps/dies, I adapted most of the threads to either 3/32" or 1/8" whitworth (1/8" stainless screws are available at the local department stores). Although I did do the unthinkable and mixed imperial and metric as I had a box or M2 screws that seemed about right for the cylinder head.

I think the best advice I have got from several entries in this site is "use the plans as only a guide and adapt to suit the materials/equipment available". Apart from buying some 1/16" drill rod the rest of the engine was made from what I had laying around in the shed.

Tony.
 
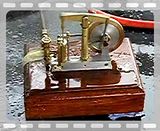
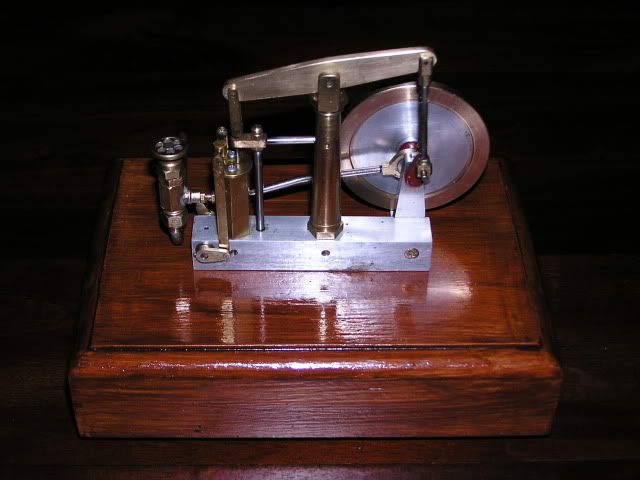
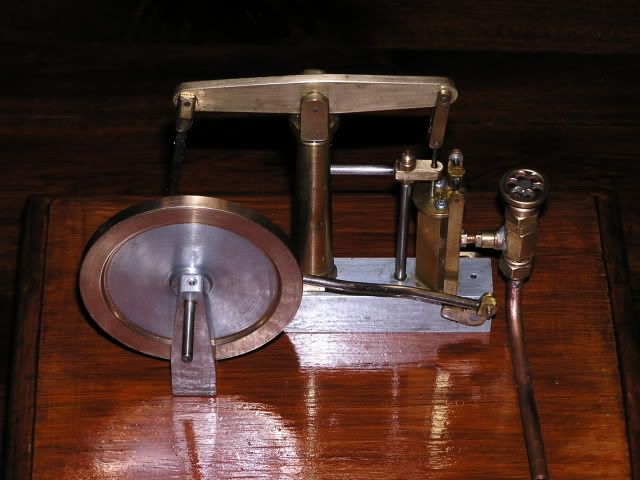
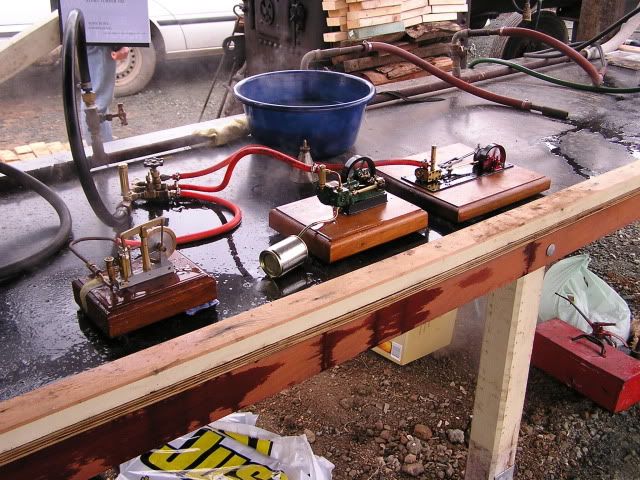
Well, after almost a year my emler beam is "finished". I finally got around to stripping it down for a clean/polish, mounting it on a board, and making a small control valve to regulate the speed, with about a week to spare before taking it to the annual "Echuca steam and Horse Rally" in Northern Victoria, Australia.

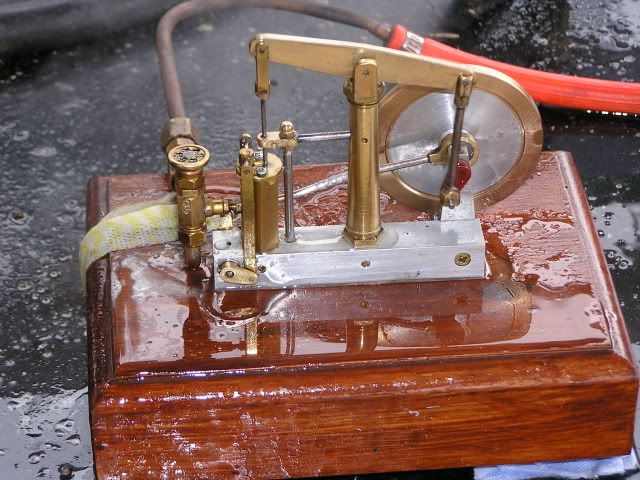
For those that have questioned in the past whether Elmer's beam engine would run on steam, I can now say Yes it can, but best if you don't. Firstly, unlike compressed air that you can only faintly hear, leaking steam/water is much more obvious when showing up your leaking glands/joints.

Secondly, the heat of the steam does a great job of stripping the lacqer and tarnishing all that brass that you spend hours polishing. However, that said, the engine ran consistantly all day and was a real crowd pleaser, especially with the younger audience.


A couple of photos prior to being packed in the car for the trip
P5250198.jpg


P5250208.jpg


"In action" at the rally - sorry no audio on the video (must get a new camera soon)
P6060215.jpg

P6060214.jpg

 
Great Job :bow:

Best Regards
Bob
 

Latest posts

Back
Top