end milling

Home Model Engine Machinist Forum

Help Support Home Model Engine Machinist Forum:

This site may earn a commission from merchant affiliate links, including eBay, Amazon, and others.

oregonsteam

Active Member
Joined
Jul 29, 2008
Messages
44
Reaction score
0
I've been practicing with my new Sherline 5400 mill. Using a 1/8" end mill, I have been milling flat areas on 1/2" brass rod. I've noticed the bit will leave a line on the finish when I make multiple passes. Is there a way to get a smoother finish? Any advice is helpful. Thanks!

Mike
 
Hi Mike,

First thing - despite its name, the end mill is not designed to cut on its end, it is used for profiling using the side of the cutter. For surfacing you need to use a slot drill which is designed to cut with the flat end. If you have to use an end mill to surface, you will find that the corners of the teeth tend to chip off - this can be prevented by taking the corners off and giving the teeth a little chamfer with a slip stone.

Second point - although you may be able to see machining marks you will find that these are actually very shallow (usually too shallow to measure with normal workshop tools) so the smoothness of the part is not an issue. If appearance is important you can polish out the marks.

Ian.
 
The line you mention, is it where one pass overlaps the next? This can be caused by several different things.

Have you checked the tram of your spindle?

What spindle speed are you running?

A 1/8" endmill is likely to flex if run too slowly, if you are taking too much in one pass, if you are feeding too heavily, too much tool overhang.

Do you have a larger diameter end mill to try?

You should be at about 9000 rpm for HSS or about twice that for carbide in 1/8" diameter. Feed rate depends on setup, end mill type, etc. On a manual machine you will develop a feel for it in time.

Kevin
 
oregonsteam said:
I've been practicing with my new Sherline 5400 mill. Using a 1/8" end mill, I have been milling flat areas on 1/2" brass rod. I've noticed the bit will leave a line on the finish when I make multiple passes. Is there a way to get a smoother finish? Any advice is helpful. Thanks!

Mike

With out seeing the machine marks in person it's difficult for me to say whether the the surface finish is normal or caused by abnormalities indicated in previous posts and suggestions. The surface finish on turned or faced parts done on the lathe are normally acceptable to my eye.

On flat surfaces I habitually fly cut areas larger than the width of an end mill to avoid this situation. This will result in a smoother and flatter surface than I normally get using an end mill.

To remove machining marks the piece is dragged across a large file held down to the bench. I call this step "planing." The final surfacing is done using a 4x6x1/4" glass plate topped with wet-or-dry sand paper laying on it with it's cutting side up. I used a little soapy water and rinse often. I call this finishing step "blocking". At this point a piece can be left as is, polished, or painted.

I hope this was of some help.

-MB

 
IanN said:
Hi Mike,

First thing - despite its name, the end mill is not designed to cut on its end, it is used for profiling using the side of the cutter. For surfacing you need to use a slot drill which is designed to cut with the flat end.
Ian.

I'm only going to guess that Mike "Oregonsteam" is somewhere in the USA, and if that is the case, then an end mill is absolutely designed to cut on the end, and the side. (They call 'em something different elsewhere). There are a couple of basic kinds, center cutting, and non-center cutting, either of which has cutting edges on its' end, but the non-center cutting type cannot be used for plunge cutting.

The lines you see are probably the over lap of one edge of the end mill cutting slightly deeper than the other, but it is usually an un-measurable amount and can only be seen, not felt. It gives the finish the appearance of having shiny lines, one next to another. If you want a finish without these lines, Mike, you may have to go to a wider end mill or a fly cutter, depending on how wide your work piece is. Otherwise, they should polish out easily as Metal Butcher says, or even with just W/D sand paper.

Dean
 
Here is an example of end milling compaired to milling with the side of the mill bit. I used a 3/8" end mill at 750 rpm on a half inch plate of cast aluminum with my Sherline 2000 mini mill.

This is making passes with the end of the mill bit.
Endcutmilling.jpg


And this is cutting with the side of the mill bit (conventional cutting, not climbing cut)
Sidemilling.jpg

 
Hi Russel, as already mentioned, I use the flycutter for the reason you have discovered, but as also mentioned the mark is usually only cosmetic and very tiny... unless the spindle alignment is out.... search previous posts for ways of checking.

A question on the cast ali... did you cast that? If so... SALT mate, SALT!. Helps remove the porous pockets... a couple of teaspoons after it is removed from the foundry and stir it in.... then dross skim.... sorry to take you 'off topic'....

;D Rob ;D
 
Alright Russel, now you have me doing it! LOL
The stock is new 6061 aluminum.
The end mill is a new 1/4" TiN coated tool.

Face milling:
EndMillAl01.jpg

It looks rough but reads a 62 RMS finish on a digital profilometer.

Side cutting, conventional milling:
millingal01.jpg

Looking rough again but below the 63 RMS level.

Side cutting, climb milling:
millingal02.jpg

14 RMS with no polishing required. Would I recommend climb milling? NO!!!
It can jump out and bite you very quickly if your machine isn't tight enough.

Rick


Rick, my understanding is always remove stock with conventional down milling and ONLY do a very very light finish cut in climb mode IF a finer finish is required. Is that your understanding or is there more?

Also I solidly lock all axis on the except that which is being used.

I say this because I have never had an indication of something about to bite me on the arse while climb milling. I suppose if you could see it coming it wouldnt be such a surprise ::)

Rob
 
In CNC programing we always preferred climb milling for roughing and
finishing. For manual machining conventional milling is much safer and
more predictable.

I keep the gibs on my little X2 adjusted very tight to allow for my
manner of milling. Still every now and then an end mill will grab and
take it for a ride. A quick change of pants, an adjustment to the gibs
and a new end mill has me back in business.

Climb milling is NOT recommended except for light finish cuts!

My Grandfather used to tell me:
"YOU DO AS I SAY NOT AS I DO!"
And I always have! ;)

Rick
 
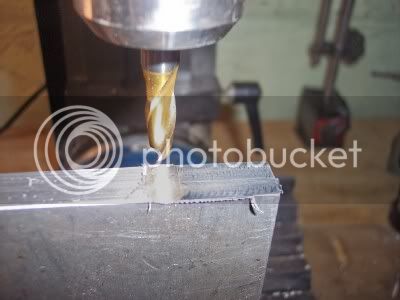
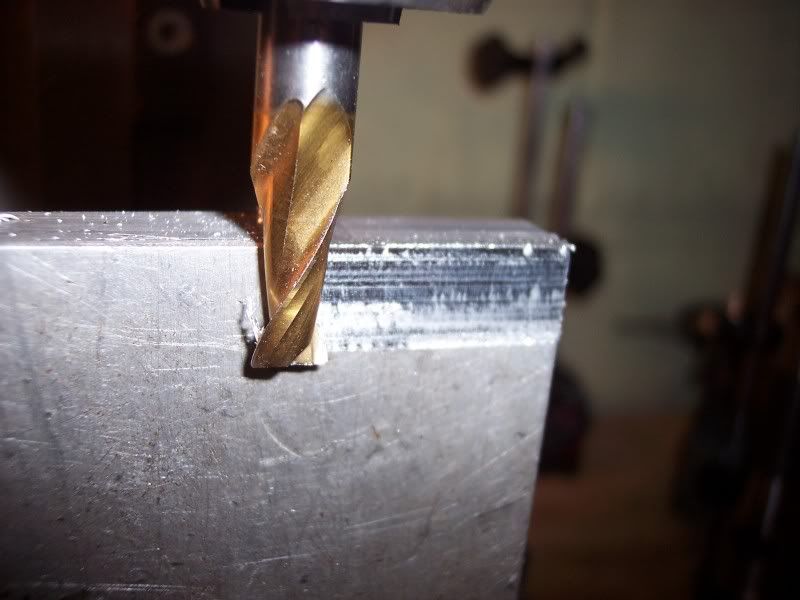
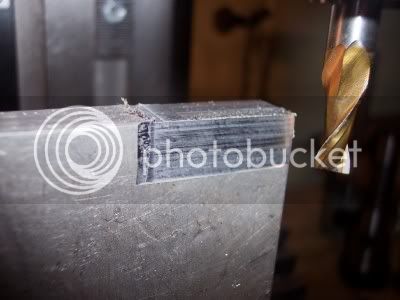
The issue with climb cutting is that the cutter is rotating in a direction that makes it drag itself into the part--deeper into the cut. Conventional milling does the opposite.

So, if you have backlash, and you take a cut that is too heavy, the part will can "jump" into the cut by the amount of the backlash. That can be quite exciting, bordering on the painful.

OTOH, climb milling has a whole lot of advantages. It puts lets force on the machine, oddly enough, for one thing. What's a poor machinist to do?

You really have two choices:

You can be like the CNC'ers and operate a machine with little or no backlash. CNC abhors backlash for many reasons, but one having done away with it, you get to climb cut to your heart's content. BTW, people have been installing ball screws on manual mills for ages so they could climb mill, so it isn't just a CNC thing. You have to take some care on a manual machine to pick a lead for the screw that discourages back driving, but that's a whole other topic.

Your second choice is to live dangerously. Keep the climb cuts really light, drag the locks, so on and so forth, hoping that you don't create enough force to overcome friction and have the cutter suddenly dig in by the amount of the backlash. Get to know your mill and you can get some idea, but just bear in mind its going to be a really unhappy thing if you go too far!

Cheers,

BW
 
Artie said:
A question on the cast ali... did you cast that? If so... SALT mate, SALT!. Helps remove the porous pockets... a couple of teaspoons after it is removed from the foundry and stir it in.... then dross skim.... sorry to take you 'off topic'....

;D Rob ;D

It was from an old scrap aluminum plate. I was surprised when I saw the bubbles, but that told me that it was cast.

Russ
 

Latest posts

Back
Top