arnoldb
Well-Known Member
- Joined
- Apr 8, 2009
- Messages
- 1,792
- Reaction score
- 12
Following on from my own research, questions asked (and answers received - Thanks Guys) in this post, and some other considerations - mostly related to personal finance and the backward location I live in (*), I have decided to build my own ER type collet chuck for my Myford lathe.
This is not the easiest (nor necessarily the best) option, but will provide me with some additional machining skills, personal satisfaction, as well as stress relief, and hopefully, a usable tool as an end result. If this "quest" adds to anybody else's knowledge, or serves as a spark of inspiration for someone, that would be an incalculable bonus.
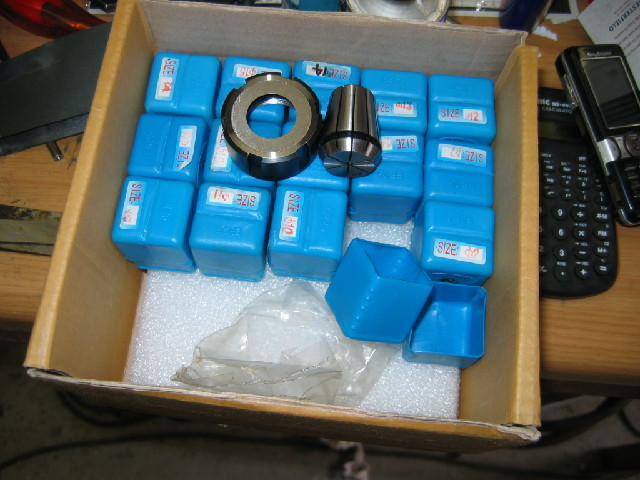
I have not yet decided on a specific ER size, but it will either be ER25 or ER32. I need to see what size collets local suppliers here in Windhoek can get - if they cannot or are not prepared to get collets, or those are too expensive for my budget, I'll make those as well.
So, how can I start on a collet chuck without knowing the sizes ? - well, I will need to machine most of the chuck on my lathe's spindle, so the first step in making the chuck, irrespective of size, would be to machine it's spindle mount in raw stock. Not being an entirely competent machinist yet, I decided the easiest way to accomplish this would be to make a clone of the myford's spindle nose first, and as accurately as I can, to use to test the collet chuck-in-making's mounting. If you want to propose Ebay, Chronos et al at this point in time for a solution, please refer to (*) above... No offense intended") As a bonus, I'll have a spindle nose adapter for use in other projects.
As a bonus, I'll have a spindle nose adapter for use in other projects.
Right, rules of engagement laid: Make a Myford spindle nose adapter.
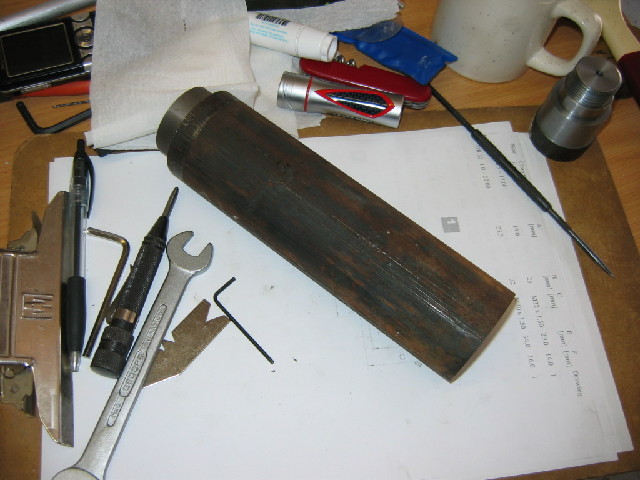
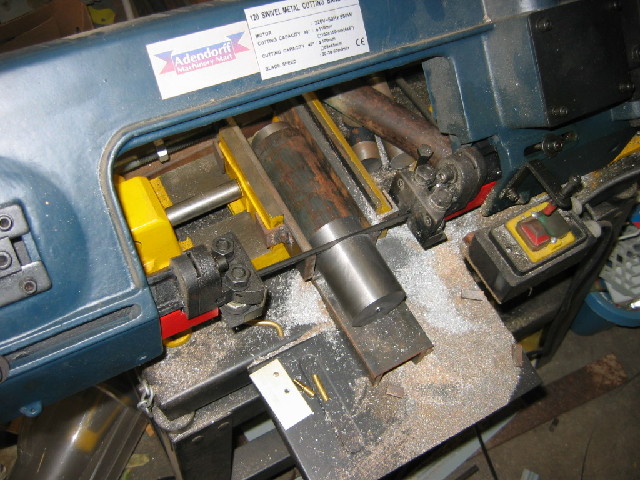
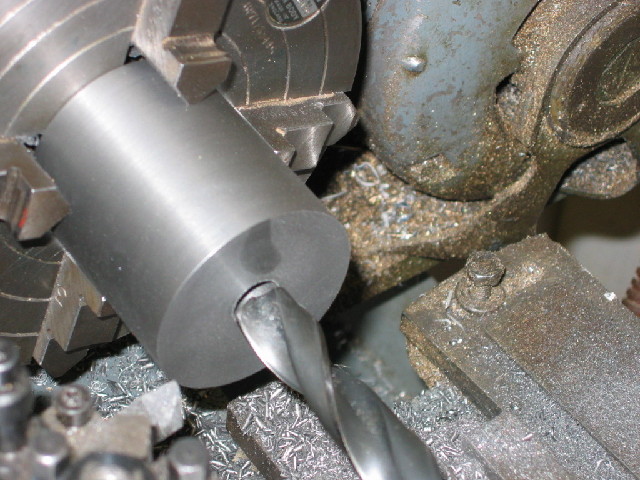
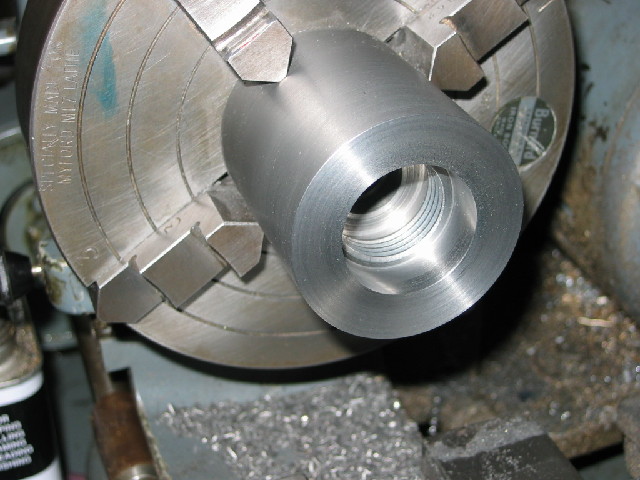
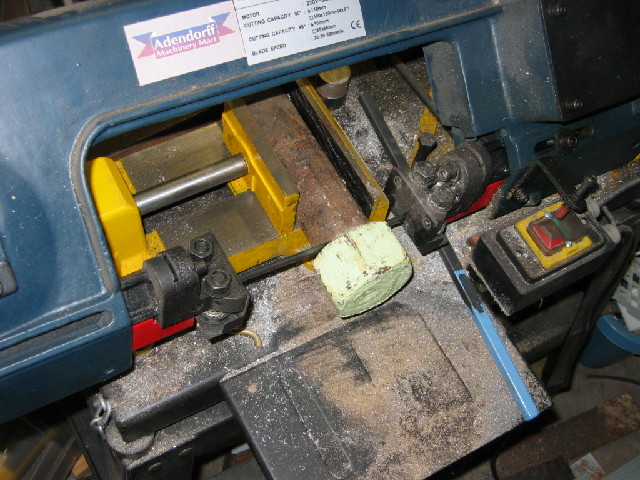
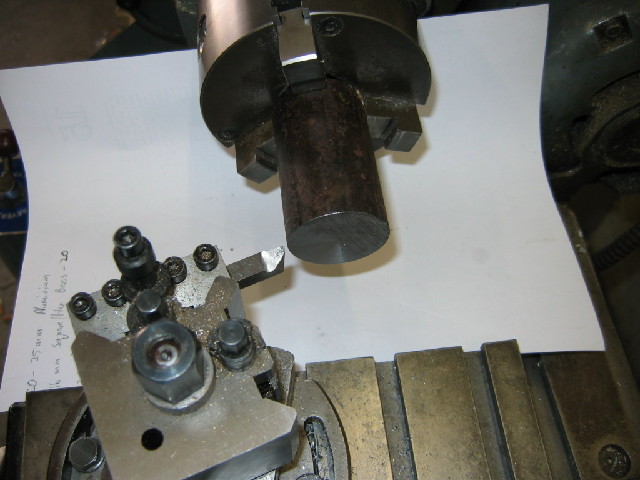
I used a piece of "suitable" HRS I had available to do this; the metal used is not critical (I think ??? ). This was chucked up (I used my 3 jaw chuck's outside jaws, as one of the inside jaws has a broken inner tooth, and grip would be border-line - or break more teeth):
This lot was very gently faced off without tailstock support to just beyond the bandsaw marks with a very sharp toolbit, then center drilled so I could add tailstock support.
Then I took a "deep" (for me) 30 thou" cross cut with the tool bit set at an angle that would "undercut" the scale and rust - saves effort on sharpening the cutting bit - and immediately cleaned all the swarf from the lathe-ways and slides - the scale works like grinding compound on the lathe's sliding surfaces.
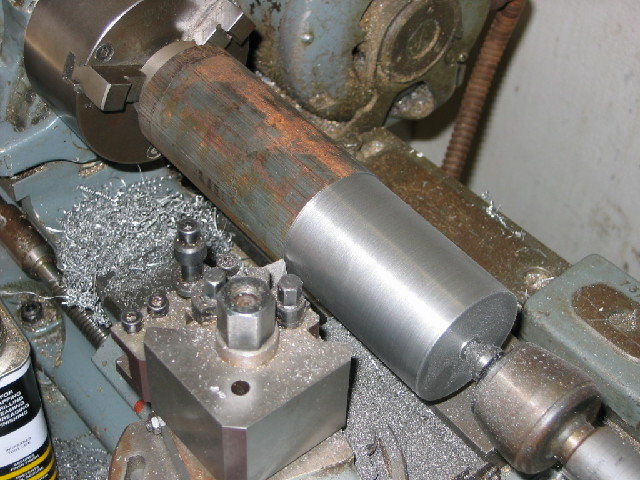
After this some plain turning to get to dimensions - this metal is horrible to get a nice finish on!:
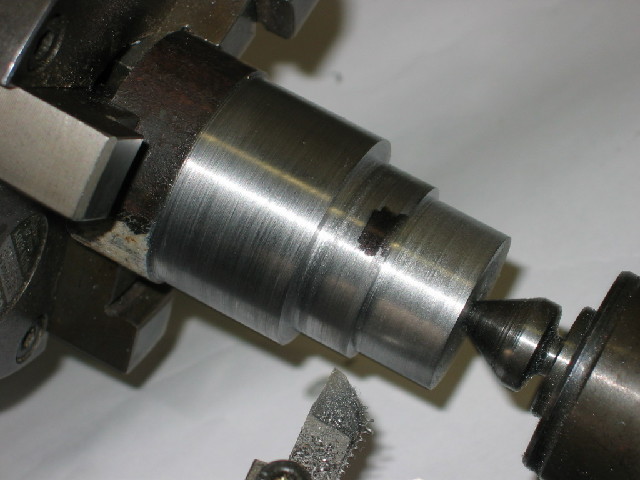
I left the register part 1/2 thou oversize - to work down as needed, as this is the most critical. Then I needed a 55 degree thread cutting bit, which I didn't have, so I just free-hand ground one for my "semi-quick-change toolholder" from 4mm round HSS, checking with a fishtail to get the correct angles:
 .
.
After grinding, I just moved it further into the holder to minimise overhang and "sproing"
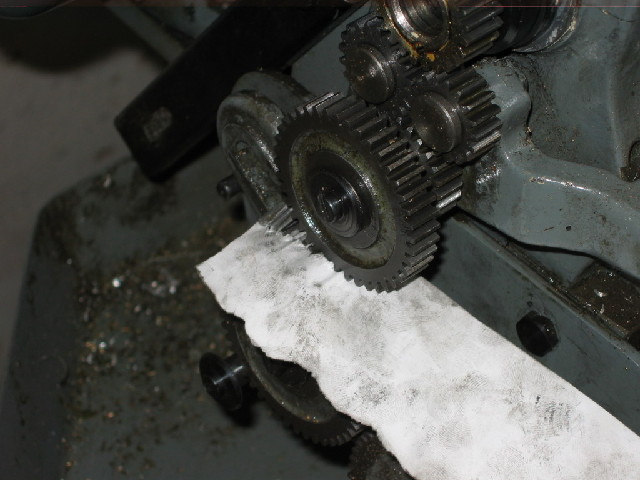
Then set up the change-wheels on the banjo for 12 tpi for the thread cutting part. Apologies to everyone who knows this, but maybe someone can appreciate the following: Use a strip of paper while pushing together, and turning, the gears manually to set gear spacing - feed the paper in while turning the gears, and when it passed through, just tighten up the banjo (or gear stud mounting) - And DON'T forget to add a drop of oil to the gear studs/runners and gear teeth!:
Humble pie - I forgot to take photos of the next steps.... :hDe: - well, I simply got busy...
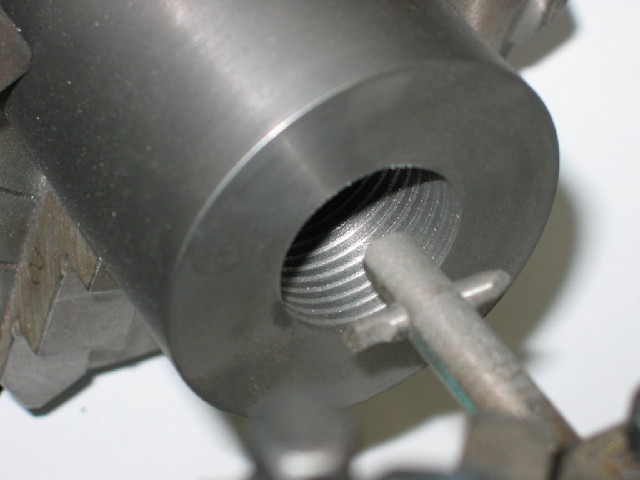
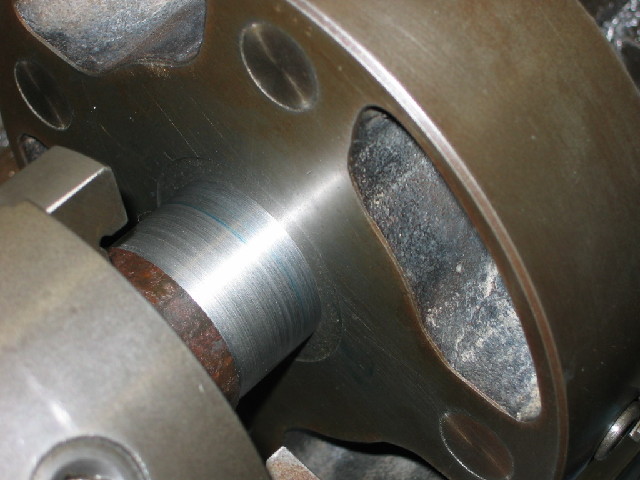
I first turned a groove for thread run-out next to the index ring, and spent many back-and-forths to thread the nose. Somewhere along the line, I think some dirt got stuck in the Myford's clutch (How do you people do single-point threading without a clutch ??? ???), causing some creep even when the clutch was disengaged (or should that be engaged??) Luckily, this was an imperial cut, so, for the first time since I've had my lathe I could use the thread dial indicator and disengage and engage the leadscrew as needed - MUCH easier than doing Metric threads on the old girl
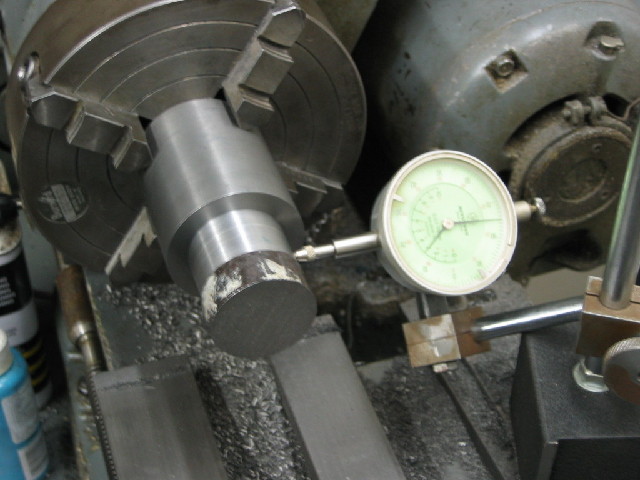
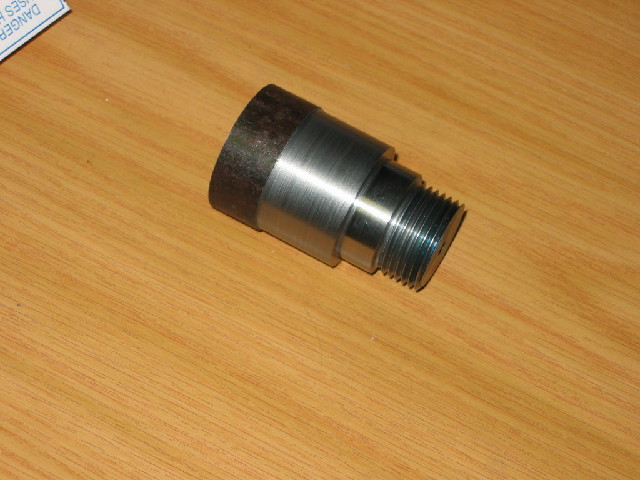
After turning and cleaning up the threads, I tried screwing on my 4 jaw, as well as dog-plate carrier. The last went on smoothly, but the 4-jaw refused, so I used engineer's blue (a.k.a. Prussian blue) to check for the problem. I know my 4-jaw is the tightest on the lathe's own spindle, so if that can fit, everything would be sort of OK. The blue showed the register was still too big, as I intended, so I used some oil-coated 320 grid sandpaper (Thanks Tel!) to get rid of the oversize. - the 4-jaw ended up screwing on with <approximately> <exactly> the same "feel" as it does on the lathe spindle - that should be good enough for now:
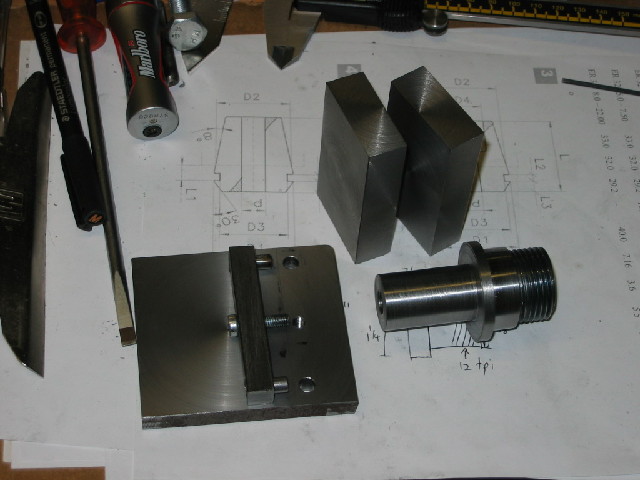
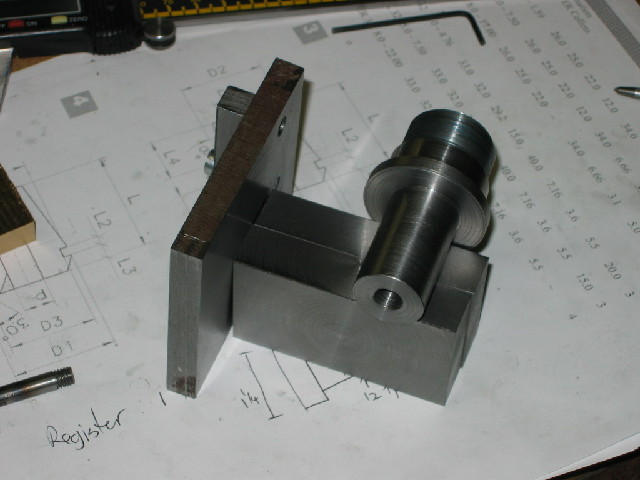
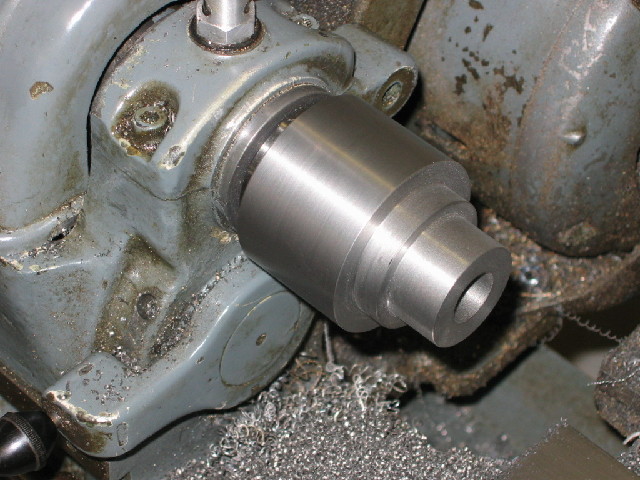
The results of this afternoon's work:
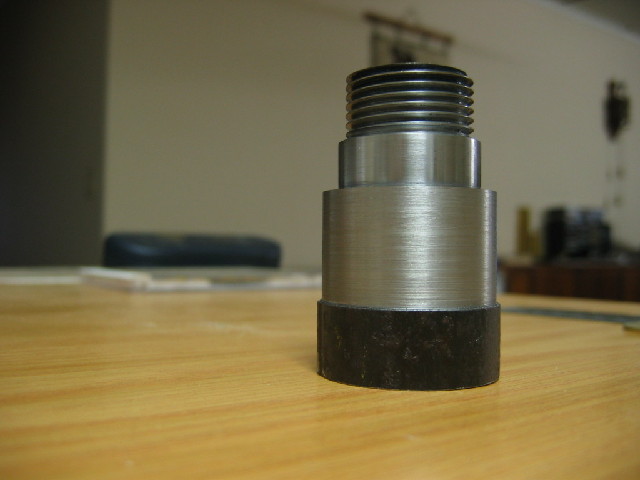
and
Regards, Arnold
This is not the easiest (nor necessarily the best) option, but will provide me with some additional machining skills, personal satisfaction, as well as stress relief, and hopefully, a usable tool as an end result. If this "quest" adds to anybody else's knowledge, or serves as a spark of inspiration for someone, that would be an incalculable bonus.
I have not yet decided on a specific ER size, but it will either be ER25 or ER32. I need to see what size collets local suppliers here in Windhoek can get - if they cannot or are not prepared to get collets, or those are too expensive for my budget, I'll make those as well.
So, how can I start on a collet chuck without knowing the sizes ? - well, I will need to machine most of the chuck on my lathe's spindle, so the first step in making the chuck, irrespective of size, would be to machine it's spindle mount in raw stock. Not being an entirely competent machinist yet, I decided the easiest way to accomplish this would be to make a clone of the myford's spindle nose first, and as accurately as I can, to use to test the collet chuck-in-making's mounting. If you want to propose Ebay, Chronos et al at this point in time for a solution, please refer to (*) above... No offense intended
As a bonus, I'll have a spindle nose adapter for use in other projects.Right, rules of engagement laid: Make a Myford spindle nose adapter.
I used a piece of "suitable" HRS I had available to do this; the metal used is not critical (I think ??? ). This was chucked up (I used my 3 jaw chuck's outside jaws, as one of the inside jaws has a broken inner tooth, and grip would be border-line - or break more teeth):
This lot was very gently faced off without tailstock support to just beyond the bandsaw marks with a very sharp toolbit, then center drilled so I could add tailstock support.
Then I took a "deep" (for me) 30 thou" cross cut with the tool bit set at an angle that would "undercut" the scale and rust - saves effort on sharpening the cutting bit
- and immediately cleaned all the swarf from the lathe-ways and slides - the scale works like grinding compound on the lathe's sliding surfaces.After this some plain turning to get to dimensions - this metal is horrible to get a nice finish on!:
I left the register part 1/2 thou oversize - to work down as needed, as this is the most critical. Then I needed a 55 degree thread cutting bit, which I didn't have, so I just free-hand ground one for my "semi-quick-change toolholder" from 4mm round HSS, checking with a fishtail to get the correct angles:
After grinding, I just moved it further into the holder to minimise overhang and "sproing"
Then set up the change-wheels on the banjo for 12 tpi for the thread cutting part. Apologies to everyone who knows this, but maybe someone can appreciate the following: Use a strip of paper while pushing together, and turning, the gears manually to set gear spacing - feed the paper in while turning the gears, and when it passed through, just tighten up the banjo (or gear stud mounting) - And DON'T forget to add a drop of oil to the gear studs/runners and gear teeth!:
Humble pie - I forgot to take photos of the next steps.... :hDe: - well, I simply got busy...
I first turned a groove for thread run-out next to the index ring, and spent many back-and-forths to thread the nose. Somewhere along the line, I think some dirt got stuck in the Myford's clutch (How do you people do single-point threading without a clutch ??? ???), causing some creep even when the clutch was disengaged (or should that be engaged??) Luckily, this was an imperial cut, so, for the first time since I've had my lathe I could use the thread dial indicator and disengage and engage the leadscrew as needed - MUCH easier than doing Metric threads on the old girl
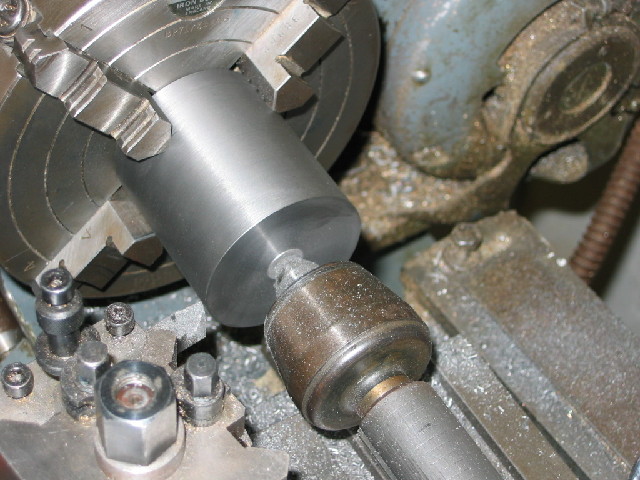
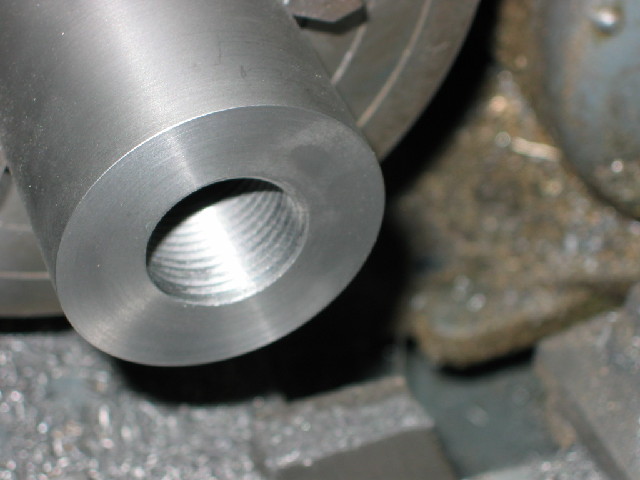
After turning and cleaning up the threads, I tried screwing on my 4 jaw, as well as dog-plate carrier. The last went on smoothly, but the 4-jaw refused, so I used engineer's blue (a.k.a. Prussian blue) to check for the problem. I know my 4-jaw is the tightest on the lathe's own spindle, so if that can fit, everything would be sort of OK. The blue showed the register was still too big, as I intended, so I used some oil-coated 320 grid sandpaper (Thanks Tel!) to get rid of the oversize. - the 4-jaw ended up screwing on with <approximately> <exactly> the same "feel" as it does on the lathe spindle - that should be good enough for now:
The results of this afternoon's work:
and
Regards, Arnold