Brian Builds the Kerzel Hit and Miss I.C.

Home Model Engine Machinist Forum

Help Support Home Model Engine Machinist Forum:

This site may earn a commission from merchant affiliate links, including eBay, Amazon, and others.
Brian Rupnow said:
.............. I ragged on him a bit, and he gave it to me for sales price. Now back to work. Work-Work-Work----Thanks Guys.


It was probably just your charm more than anything Brian. Rof} Rof} Rof}

BC1
Jim
 
I've reached the point in this build where all the easy stuff is done. Now I'm into "Do everything twice" mode. This evening I made the last brass bit for the carburetor---the part the needle valve screws into. It was PERFECT!!! And then, after coating all the surfaces I didn't want silver solder on with whiteout, I silver soldered it into the carb body. Disaster overtook me. It sucked silver solder down the carfully tapped #2-56 thread and filled the damn thing right full of silver solder. I believe I may have learned something though. I think I will heat the body and pull the ruined part out, but when I make another part, since there is enough sticks out on the gasline side of the carb to hold in my lathe chuck, I will silver solder it to the carb first, then chuck it up and drill and tap the #2-56 thread and the .039 dia. port after the fact. The .062" hole could be put in before silver soldering, as that side sticks up high enough above the side of the carb that it shouldn't be able to wick up any solder into the hole.
 
Much better success the second time around!!! I re-made the part which I messed up yesterday, and this time I only put the 1/16" hole part way in from the large end as the drawing calls for. Then I did my soldering trick. Then I set it back up in the lathe,holding the 3/16" dia. spout that the gas line attaches to, and drilled and tapped for the #2-56 thread and the 0.040"thru hole at the same time to keep the bores as concentric as possible. I found an appropriate sized sewing needle in the package I bought last week, and Voila'!!! I almost have a carburetor. Now if those #2-56 screws that are on their way here form B.C. would hurry up and get here, I'd have a finished carburetor. Son of a gun---I never made a carb before!!!
carbaftersoldering001.jpg

carbaftersoldering002.jpg
 
I just tried a very interesting experiment. I know the theory behind how a carburetor works. I know that a venturi creates a low pressure area either at or slightly downstream from the venturi. I know that this low pressure area is what sucks the gasoline up from the tank for distribution into the moving air stream---however, like many of the ten million things I know, a lot of it is "theoretical knowledge". I just realized as I sat eating supper with my good wife, that I had everything on hand now to test the carb I just built, in terms of the suction my venturi would create. After supper I found a peice of rubber hose that would connect from my air blowgun to the inlet side of my carburetor. I attached a peice of clear plastic flexible gasline to the fuel inlet and hung it in a pop bottle full of water. I held my thumb over the hole where the needle valve goes, and turned on the air to my blowgun.---AMAZING----It was just like a mosquito fogger. It didn't take much airflow at all to blow a great fog/mist of water out of the outlet side of my carb. The vacuum created by the venturi lifted the water about 8" from the pop bottle up to the carburetor where the airstream "grabbed" it and turned it into an atomized mist .I love it!!! This kind of experiment gives me an absolute high!!!!----Brian
 
looking good now Brian
Will not be long till shes a goa :bow: :bow: :D
 
My test rig set-up may be uglier than original sin, but I've got a wonderfull big fat blue spark at the end of my home made sparkplug. Mind you, I've got enough time invested in this thing to buy my own private island in the Carribean---but----Ive made a working sparkplug!!!! I never ever thought I would do that. The sparkplug is built to Kerzels plan, except for the brass collar at the top of the corian. The corian kept wanting to split, abd rather than fight with it any longer, I resorted to a small brass collar and crazy glue.
SPARKPLUGFINISHED002.jpg

SPARKPLUGFINISHED001.jpg
 
The thought must have occured to some of you by now, that it must be getting pretty crowded at the head of that Kerzel engine. All I can say is "You're absolutely right!!!". Luckily, the only thing left to go on there is the needle valve for the carburetor and a wire to the sparkplug. There isn't enough room left there for an angel to dance!!!
bustengine002.jpg

bustengine003.jpg

bustengine001.jpg
 
Looking good Brian, just watch that the spark does not try to jump from the brass cap to the rocker arm, a bit of heat shrink once the wire is on should sort that.

Jason
 
Looking brilliant Brian, I suppose it was obvious but I would never have thought of testing the carb!

You must be on a high, I don't want to put a hex on this, but as long as things seal properly I've never been more confident that somethings going to run as I am now! :bow:

Can't wait

Nick

 
Rleete---Thats my next door neighbours firewood.---The engine is setting on the fence between my house and his, to take the picture. I've been monkeying with my hardware store governor springs. They were close, but not quite right. Since I am not ready to tackle the arcane science of spring winding, I decide that I could make them work if I built 4 little brass bushings and loctited them onto the 0.094 stub shafts sticking out the ends of my counterweights. this worked fine, fit-wise, but they were too strong----Running the dril motor wide open they only moved a tiny bit---The springs were too strong. Not to be so easily defeated, I unscrewed one counterweight and stretched the springs untill I felt them give just that "little bit" that tells you they have stretched beyond their elastic limit. Now they work fine---at full drill speed, the counterweights move full swing, and move the spool controlling the Kerzel arm about 0.080" travel.
governorsprings001-1.jpg
 
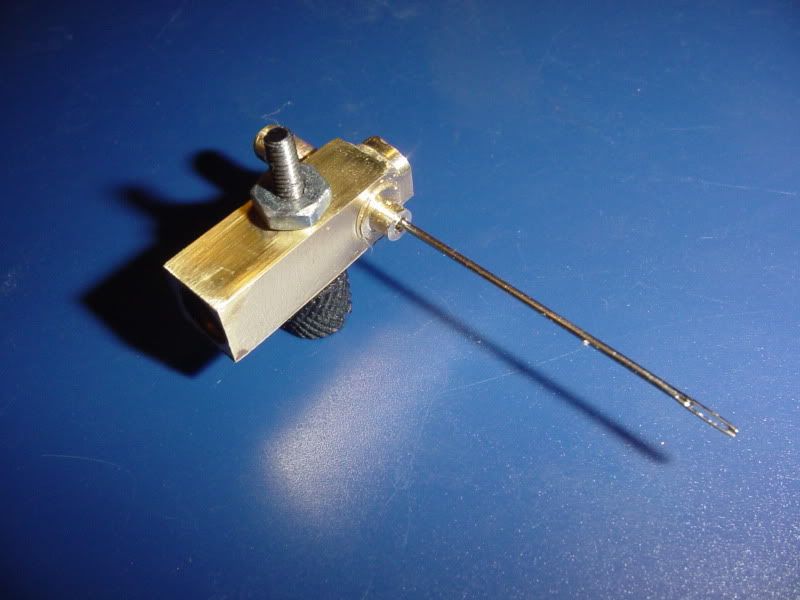
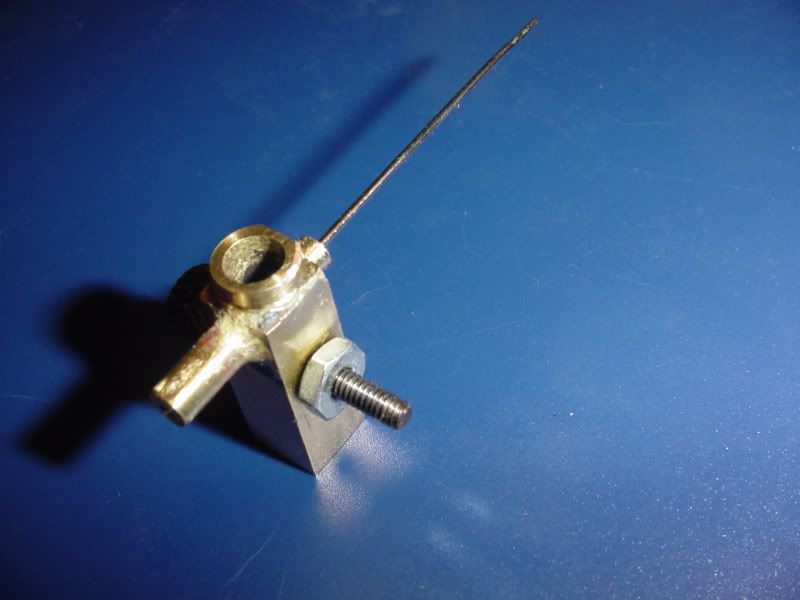
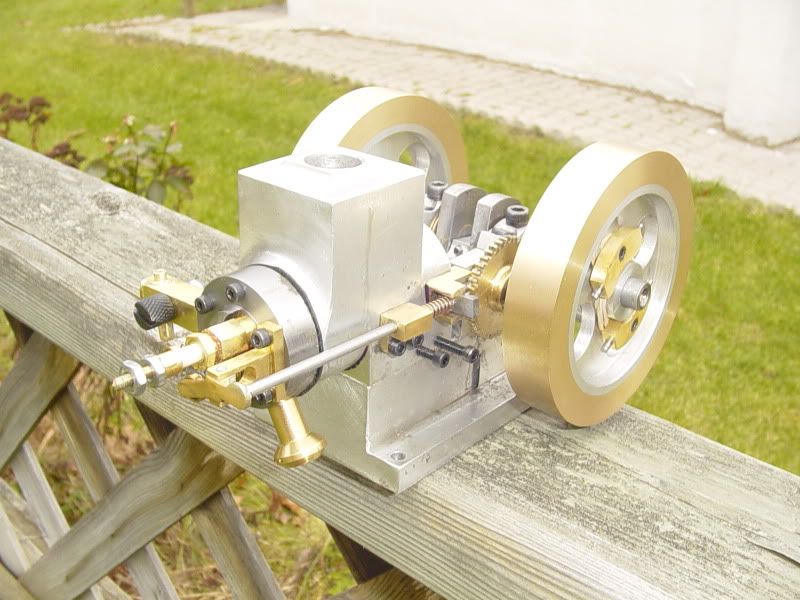
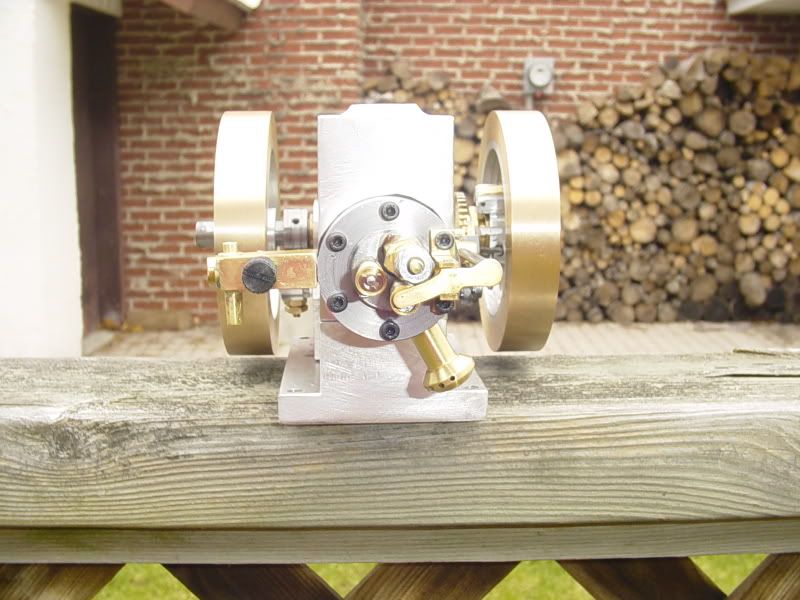
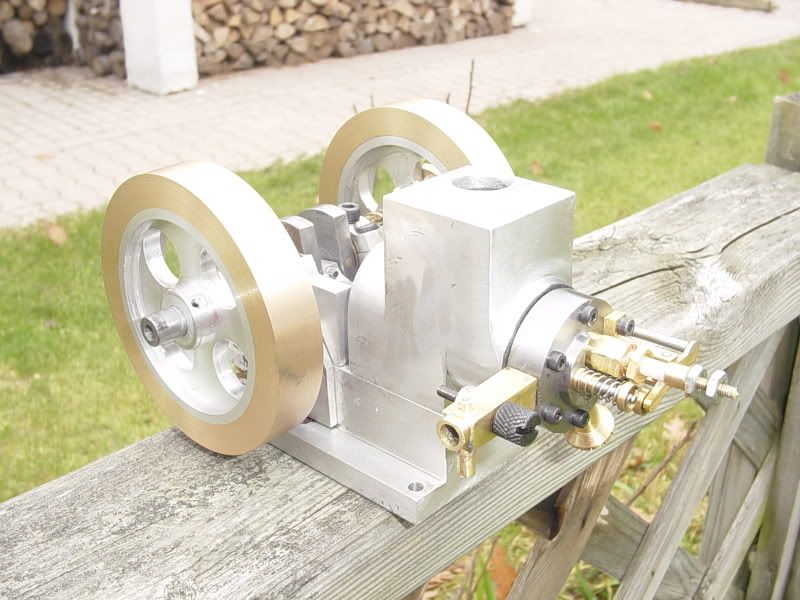
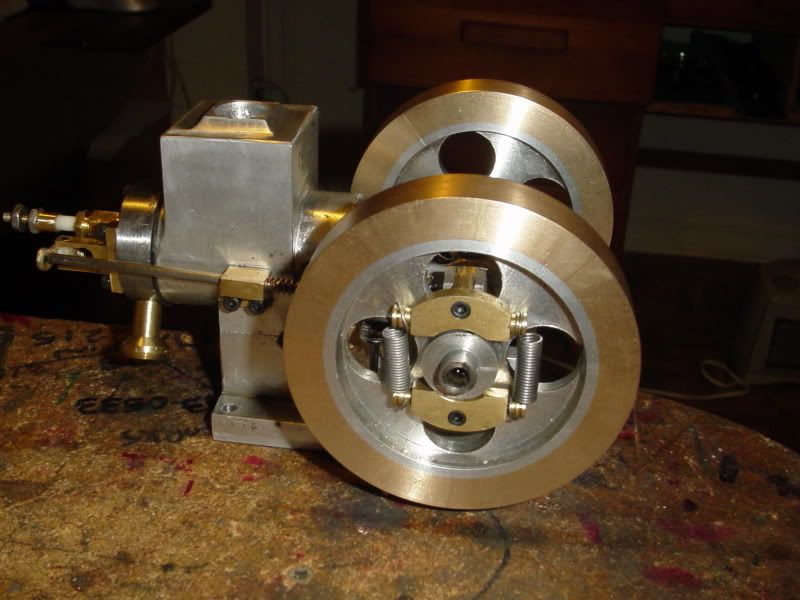
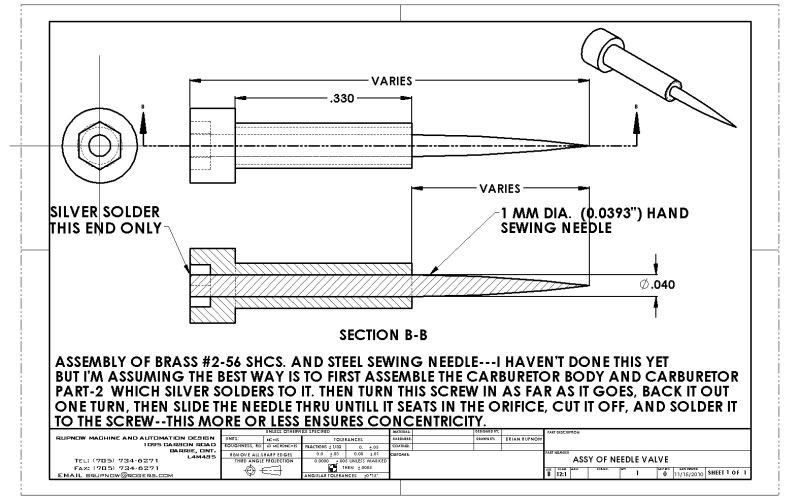
Folks---This long winded thread is approaching the end. Tonight I remade the "kerzel Arm".--That is the lever that props the exhaust valve open when in "miss" mode. There is some incredibly complex "fitwork" on that arm, as it has to pivot, slide in the groove of the spool on the crankshaft, allow the valve to have its full travel when the engine is running at low speed, and yet move in just enough to prop the valve open at high speed. I had filed and ground, and built up with silver solder so much on the first Kerzel arm that it looked like a relic left over from war. I built a new one, and in the process of "fitment" I now see that I took too much material of the "notch" that holds the valve open, so will build that area up with silver solder tomorrow and reshape it. I would use the mig welder, but the nice thing about silver solder is that it is quite visibly different from the parent metal, so you can see clearly what you have added when working it. All I really lack now to make this thing "runnable" is the #2-56 brass screw for the needle valve that is somewhere in the mail between here and British Columbia. It will be exciting and interesting to see it run. I may have issues with the shape of the cam for the valve train---it doesn't seem to stay open very long to me, but thats something you can't tell about untill you first try the engine. it shouldn't prevent the engine from starting, anyways. Thank you all for your comments and well meant advice,----Take heart---The end is in sight!!!-----Brian


Brian, I always enjoy your builds. Am anxiously awaiting the fist run.

Good job as always.

Ron
 
Twineman---I never doubted you. The fun part is going to be drilling a 0.040" dia. hole full length of one of them and hopefully keeping it concentric. (Actually, I will probably drill half way through from each end.)
 
Are you going to have a cylinder oiler Brian? I just noticed one was not present on your last couple of shots. Long time coming but I hope you don't have a lot of problems getting this one to run for you.

BC1
Jim
 
Today my #2-56 brass screws showed up in my mailbox. Four of them, yet!!! Thank you very kindly to Allen in B.C. Drilling a 0.040" hole full length of one of them for a sewing needle is going to definitly be a challenge. After MUCH MUCH filing and grinding and tweaking, I have my Kerzel arm and counterweights working properly, as tested by the "run it with my variable speed electric drill method". At low RPM the weights stay close to the centerline of the crankshaft and the exhaust valve operates properly. At highest RPM (which isn't all that high on a variable speed electric drill) the weights fly out away from the crankshaft centerline, the Kerzel arm pivots, and holds the exhaust valve open. When I slow the drill down, the springs pull the weights back in, the Kerzel arm pivots, and the exhaust valve operates again. I have noticed something that concerns me---This is the first time I have used bronze for my main bearings and connecting rod big end bearing. The bearings were all "snug" when I first assembled the engine. Whenever I have ran it with my electric drill I have used lots of good lubricating oil. Now the main bearings and the con rod big end are visibly loose.---I mean I can wiggle the crank in the bearings. This simply shouldn't be!!! I have always used brass for bearings before, and never had this problem. Can anybody hazard a guess as to whats going on? I am going to have to remake the two main bearings and the con rod bearing, but before I do, I have to figure out what has happened. Is there some types of bronze that are too soft for bearing material? The bronze I used was 3/4" diameter, sawed from a 20 foot length at my local metal supplier.
 
Brian, on the loose bearings. Mike up your crank journals and see what the exact size is. The reamed holes may have been to large. Material diameter varies from batch to batch. I have some stress proof that's taged .3125" but mikes up @ .3105"! Also they may have been touching on a few high spots (or canted) giving the impression of a good fit but after a short run in the small high spots on the bearings or journals come down quick and show a loose fit. The bronze couldn't have worn out, this stuff doesn't wear out that fast, unless they didn't give full support.

To fight these battles, under size, oversize, and decimal reamers are your friend. Drill bits are the enemy you can't trust! :D

-MB
 
The spirit is willing, but the machinery is weak----or at least the machinery isn't precise enough. This evening I exhausted my bag of tricks and sacrificed three 1mm drills trying to drill through a #2-56 screw lengthwise. Tomorrow I will go see my friend with a Sherline lathe and see if he has any better luck. If not, then I will buy a carburetor like the one I used on my Webster build.
ASSYOFNEEDLEVALVE.jpg
 

Latest posts

Back
Top