Bolton 12 Beam engine from scratch

Home Model Engine Machinist Forum

Help Support Home Model Engine Machinist Forum:

This site may earn a commission from merchant affiliate links, including eBay, Amazon, and others.
Nice engine! Where did you find the plans? It looks like the Stuart Beam engine, which I know was modeled off of an old engine.

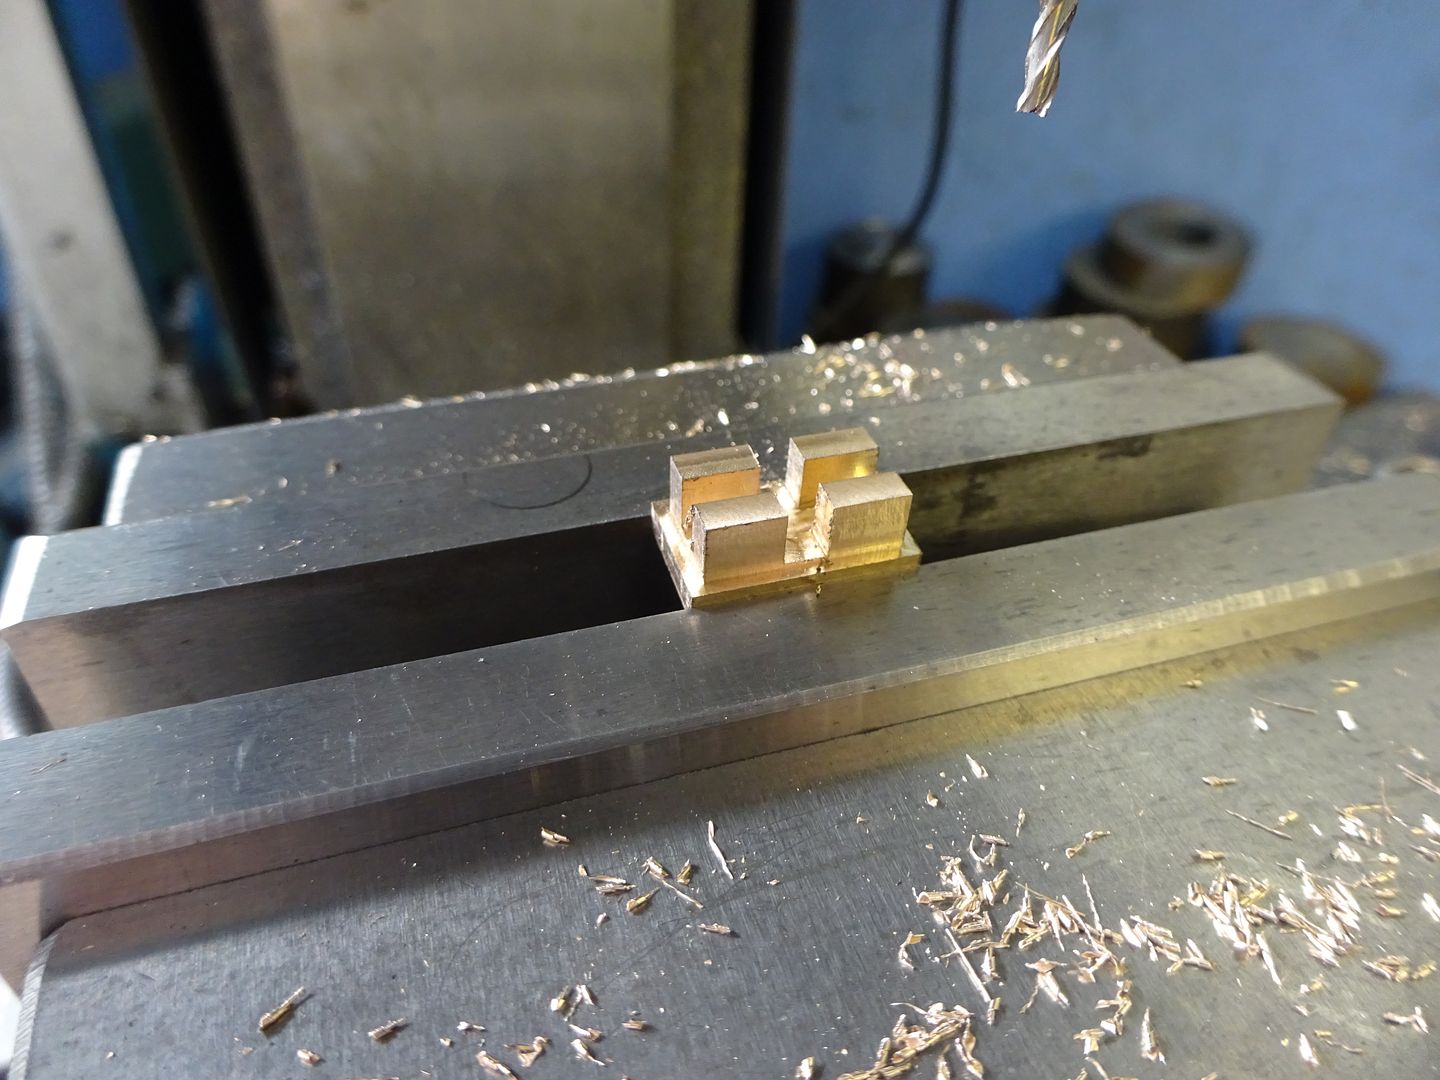
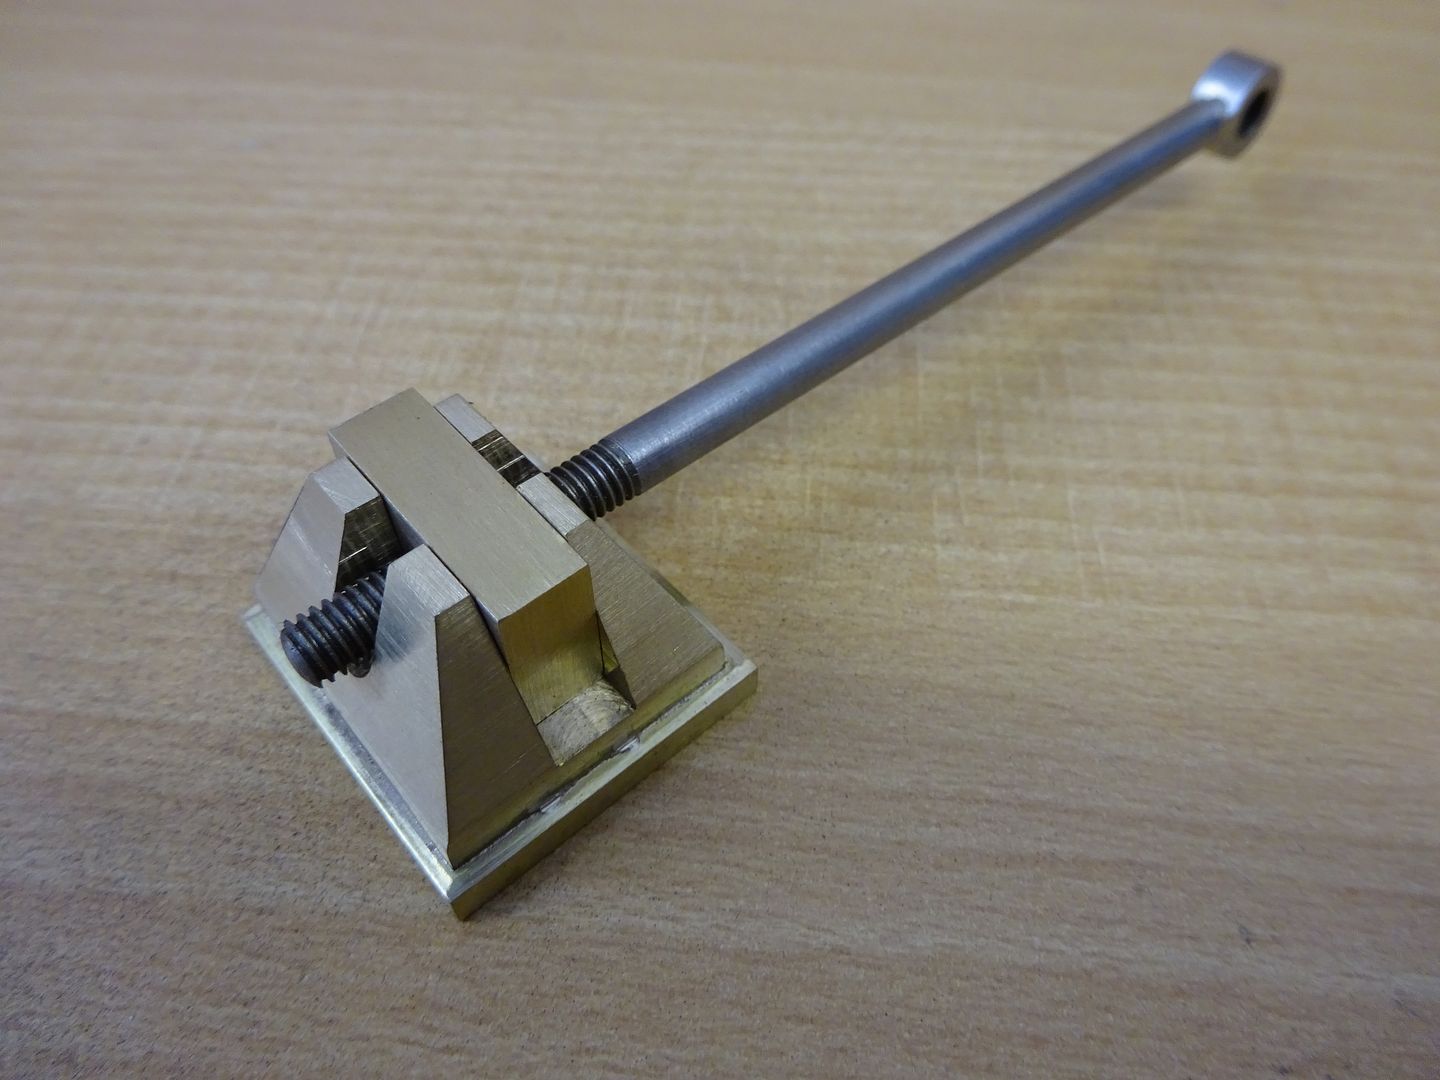
About ten years ago I designed and build a much smaller version of the beam engine, similar to the Stuart on my CNC'd Sherline mill.

I'd like very much to compare designs.
Alan
 
I bought the plans from E J Winter but not the castings. I believe the engine is similar to the Stuart and I have read that some believe that the Bolton is a copy of the Stuart, others seem to think it's the other way around. If you do a google search for "Beam engine" you can find lots of information.
 
Time for the beam.I had not been looking forward to this as I didn't feel confident about machining it to resemble a casting. I decided to see if I could make it look like a timber beam. I scaled the shape from the plan's as best I could and cut and pasted the paper shape onto the aluminium. The holes for the main shaft and stub shafts were drilled on the mill, then the rough shape cut out on the bandsaw. Time on the sanding belt and a bit of filing got the shape to something similar to the plan. I eopxy glued teak timber to both sides and clamped it together using bolts and a clamp. When the glue had cured, the timber was shaped to the metal and grooves cut to simulate the look of planks. I turned the shafts to fit the reamed holes, finished the main bearings and fitted the beam to the bearing blocks. Well the result is there for all too see. The jury is still out as far as I am concerned,I can't decide if I like it or not. Maybe I will make another, if I will have to work out how to machine the besm to look like a casting.
Regards Peter

20161116_070525.jpg


20161116_080719.jpg


20161116_084820.jpg


20161116_100650.jpg


20161116_120509.jpg


20161116_121017.jpg


20170125_115417.jpg


20170130_064538.jpg


20170130_064549.jpg


20170130_064556.jpg


20170130_084050.jpg
 
I liked the idea while I was reading it (though I don't know how it will suit the engine) and the construction pics looked good, but I think the grooves might have been a mistake. Just my opinion but they make it look more like decking than planks and take away from the scale look. If you wanted the plank type look then maybe thinner strips of timber cut and glued in a plank fashion would have much smaller join lines and with the obvious differences in grain pattern should give a plank effect. Lots of extra work though.

Maybe for a relatively simple casting-ish look you could have your narrow ali beam fitted with bosses to bring out the width where required and the bosses filleted with some sort of filler material (JB Weld maybe or car body filler?), then the whole thing lightly sandblasted and painted. Should look something like a casting.

At the end of the day you are the one that has to be happy with it, and I know things can look vastly different in the flesh than in pictures, so your current beam might be just fine.

Edit to add: of course you could always cast the beam yourself. It doesn't look overly large and even if you're not set up for casting with furnace, etc. you can build yourself a small fire pit out of bricks and use charcoal briquettes and a hair dryer/vacuum cleaner to make a fire hot enough to melt a kilo or two of ali really easily and quickly.
 
As I said in an earlier post. I am presently in Toowoomba, an inland town in Queensland. My reason for being here is that this weekend they have had a big swap meet for vintage and veteran cars and old farm machines. I have been wondering what to do for a flywheel and was hoping to find an old cast iron wheel or pulley, roughly a foot (300mm) in diameter. I wanted something with a little style and so I wandered around.......SUCCESS! For $45 I bought a Champion Blower and Forge Post Drill. The hand wheel is a foot in diameter and the loveliest looking casting, plus I think the gears can be used as well. The whole thing is frozen with rust and time, a bit like me, but love and patience will work. I think it is well over a hundred years old and I know that cast iron matures with age, does anyone think I will have a problem machining it? Any suggestions would be gratefully received.
Regards Peter

20170204_084816.jpg


20170204_135100.jpg


20170204_135122.jpg


20170204_135129.jpg


20170204_135113.jpg
 
I think it will be like the sash weights that I use, the skin will be around 10 thou (0.25mm) thick, once you can get through that, the iron underneath will machine like silk.

If you are careful with an angle grinder, you might be able to remove most of that hard skin and get it down somewhere near the square profile you require, and if so, will save you a lot of heartache and broken tips. I wouldn't try to touch the spokes though, leave them as they are.

On the other hand, you might be lucky and get a soft skin, try it out with a file first.

John
 
That is a nice looking wheel, but beam engine flywheels normally had straight spokes. The size of their flywheel meant that they were typically built up: each spoke was a separate casting and the rim was made in sections. The whole was then pegged and/or bolted together.

Small engines (not beam engines) often had curved spokes because it was safer to cast them in one piece like that. The curved spokes helped to reduce the effect of the stresses resulting from casting.
 
If you want to invest in large 'flying wheels' this is the most reasonably priced place I have purchased from and to the UK, the postal charges were very reasonable. The rims are prefinished, so it is just a matter of setting up true to the rim and bore the centre out.


https://www.rc-machines.com/en/model-engineering/flying-wheels

The postie nearly had a hernia carrying 6 of the larger ones available.


John
 
Last edited:
If you want to invest in large 'flying wheels' this is the most reasonably priced place I have purchased from and to the UK, the postal charges were very reasonable. The rims are prefinished, so it is just a matter of setting up true to the rim and bore the centre out.


https://www.rc-machines.com/en/model-engineering/flying-wheels

The postie nearly had a hernia carrying 6 of the larger ones available.


John
John,
Only problem with that site is you can not set up an account if you live outside of the listed countries.

Cheers
Andrew
 
Thanks John and Bill. As this is more a " see if I can do it " exercise than making an authentic model, I am not that concerned with the flywheel having curved spokes. I appreciate and value your comments.
Peter
 
I had now reached the point where the whole project could end, the machining of the cylinder. The 80mm (3.1" ) external diameter was OK but the internal length of 130mm (5.1" ) was going to make boring it a bit tricky on my equipment. I turned the outside then fitted the steady rest, this was a challenge in itself and I had to grind away the copper bearings to get it to fit. I opened up the bore with a succession of drills until I reached my biggest at 30mm (1.2") My longest boring bar reached the 130mm but it was only just held in the tool post. Chatter nearly led me to despair, the finish was terrible and the rate of metal removal so little meant that I would have been there forever. The solution in the end was to take an extremely heavy cut, 2mm (80 thou) at 140 rpm and the slow feed with plenty of lube, lard mixed with kerosene. The chatter disappeared and the surface finish was good, not mirror finish but OK. Everybody else probably knows this but I didn't . When the boring was completed, I milled a flat surface on one side to take the steam gallery block and steam chest and machined the top and bottom steam inlets to the cylinder. At the end of this marathon I had had it. Rewarded myself with a large scotch and went to bed.
Regards Peter

20170121_122110.jpg


20170120_161853.jpg


20170120_161919.jpg


20170121_101228.jpg


20170121_101219.jpg


20170121_101553.jpg


20170121_101604.jpg


20170123_112255.jpg


20170121_134105.jpg
 
The steam gallery block, that's all I can think of to call it, was fairly easy to make. The block was drilled lengthwise with a 4mm drill three times at each end to make the passages for the steam to travel. These galleries were then connected by machining ports with an end mill. These ports allow the steam to travel from the steam chest to the cylinder. The ends of the drilled galleries were blocked off using grub screws loctited into position. The exhaust port was machined in the centre of the block and exited from the side. Finally the location holes for the steam box studs were drilled. I'm starting to feel that I might just possibly be making some progress.
Regards Peter

20170123_074604.jpg


20170123_082356.jpg


20170123_082405.jpg


20170123_121447.jpg
 
I continued on with the steam chest, making the valve case and cover. The slide valve was machined from brass and I drilled and tapped a 4mm thread in one end to take the slide valve shaft. I am flying blind a little bit here as the plans are not very clear, once again I assume that if I had the castings I would be able to understand it a bit better. I have dimensioned the slide so that when the top port is uncovered, the exhaust and the other inlet are covered and I think this will work. When the steam gallery block, valve case and cover were bolted to the cylinder, I milled a few thou off the top and bottom to ensure the cylinder head and cylinder base would bolt down nicely. So far everything is creeping along OK.
Cheers,
Peter

20170124_093247.jpg


20170124_130413.jpg


20170131_074619.jpg


20170124_063030.jpg


20170125_115411.jpg
 
I'd be looking to remove some metal from the sides of the valve as you don't have much room for steam/air to find its way around the valve to get to either side. Leave a bit mor ethan the depth of the recess the size it is and then reduce what is left by an 1/8" or so.

You want it to look more liek these

DSC01692_zpsmmsmddgl.jpg


Tid149_zpsyuxlx2zx.jpg
 
Thanks Jason, I see what you mean and I will run a taper all around the slide to provide relief for the steam to reach the ports. I never gave it much thought before but I suppose steam is just like any other compressed gas and will benefit from smooth passages, enlarged ports and so on like a petrol engine. Thanks for the tip and by the way I really liked your slide, fine workmanship, makes me envious. Regards, Peter
 
I anticipated that the cylinder head would be a snack. Sigh! Nothing is as easy as you imagine, and if it is it generally means you are doing it wrong. I machined the head and indexed the head bolt holes such that they wouldn't foul the top inlet port, but, after I had drilled and tapped the cylinder I discovered that two of them ran into the gallery block bolts. Bugger! I made a length of threaded aluminium rod and loctited this into both of the tapped holes in the cylinder, then lapped them down on the surface plate. The holes in the gallery block were treated in a similar fashion. New holes were drilled and tapped 10mm down the cylinder, the gallery block matched to these and we were finally back to where I started.
After taking advice from members about the piston, (See Questions "Steam engine piston" 26-1-2017), I decided to keep it simple and go for a disc with a groove for an O ring. Trial and error got me a nice sliding fit and I get a encouraging "puff-puff" sound when I slide it up and down. I know that an aluminium piston in an aluminium cylinder is frowned upon for good reason, but this engine will probably only be run air so I'll see how it goes. The gland for the piston rod came from s bit of brass, I will use O rings for the seal but I have no experience with sliding seals so if there is a better way, I'm listening. I machined the pipe flange fittings for the inlet and exhaust but thew will be finished off when the delivery and exhaust pipes are made.
Some of the pics are a bit out of sequence with the text but I hope you all get the gist of the project. As always, comments are more than welcome, Regards, Peter

20170126_082203.jpg


20170127_101625.jpg


20170127_102803.jpg


20170128_081039.jpg


20170128_122219.jpg


20170129_065221.jpg


20170129_074558.jpg


20170129_074640.jpg


20170126_144138.jpg


20170126_144134.jpg
 
Other duties have slowed the progress but I did get a brief respite and had some time to begin work on the valve train. The plans here are pretty good and I can easily understand what is required but I will modify the construction to suit the scratch building. The design calls for the two bearing blocks for the valve rod shaft to be halved in similar fashion to the beam blocks, however I decided to just go with plain blocks as disassembly would still be fairly easy.
A good day was had, this hobby is an absolute joy when things go well but there is always a slave in the chariot, I just discovered that my magnificent cast iron flywheel, which was really a hand wheel, is distorted to the point of being unusable. Oh well, Toowoomba was fun anyway.
Cheers, Peter,

20170124_124606.jpg


20170129_104415.jpg


20170129_131807.jpg


20170129_131824.jpg
 
Hi Bazmak, is that a definite, even running on air? I don't have much experience with this, could I use steel or is corrision a problem? Appreciate your advice,
Regards, Peter
 
Back
Top