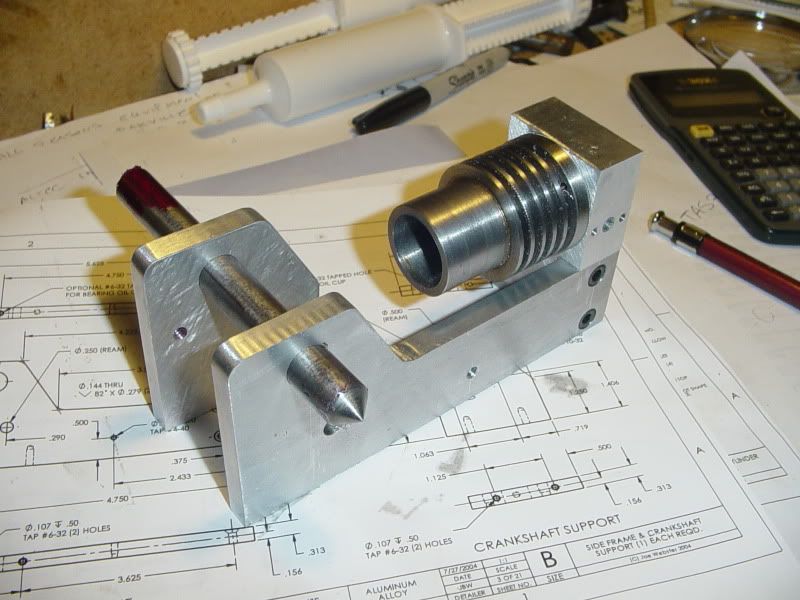
Anybody want to guess---

Home Model Engine Machinist Forum

Help Support Home Model Engine Machinist Forum:

This site may earn a commission from merchant affiliate links, including eBay, Amazon, and others.
Brian Rupnow said:
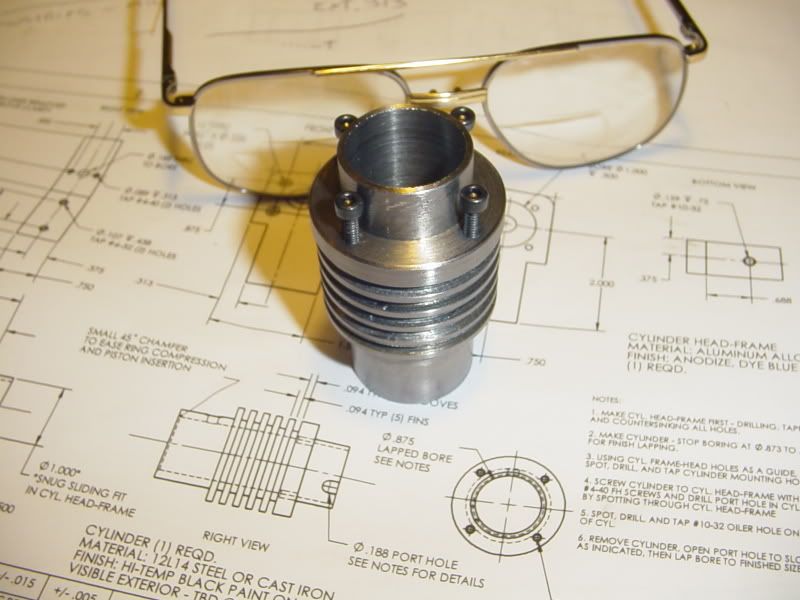
This evening I discovered the first "caveat" for anyone building the Webster engine. The four tapped holes that hold the cylinder to the "Cylinder Head-Frame". I used #5-40 threads instead of the #4-40 called for on the plans (only because I have a box full of #5-40 shcs). And here's the rub----If you only drill through the 1/4" mounting flange, and not through the first cooling fin, (for cosmetic purposes), then you can't get the threads all the way through with a normal tap, because, of course, the end of the tap hits the first cooling fin. So---I'm going to have to buy a #5-40 bottoming tap. Every time I build anything, I end up having to buy more tooling. I was afraid of putting in a tapered bore, as the cylinder is 2 1/2" long, so this morning while I was out, I bought a 27/32" drill and a 7/8" chucking reamer. That shot my budget to the tune of $82.00. Now I have to buy a bottoming tap. #@$%!!!
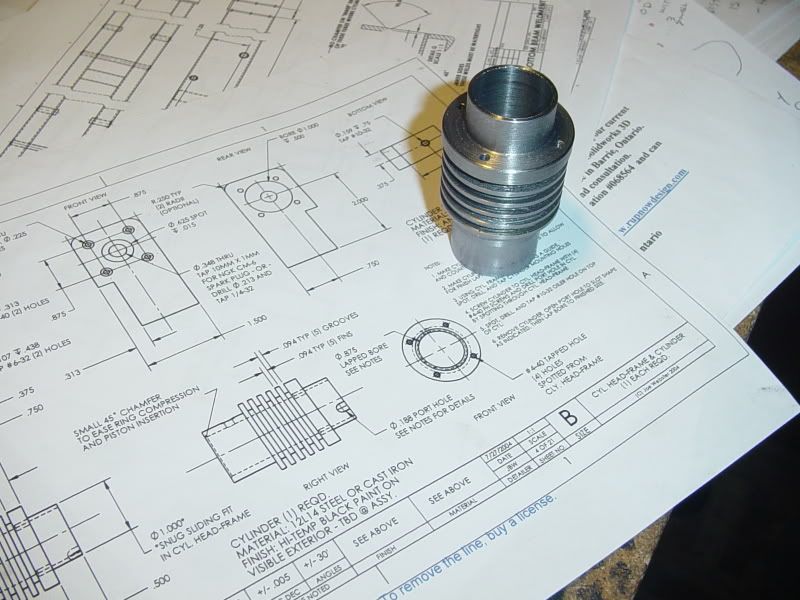
CYLINDERCAVEAT003.jpg

As I see it, every time I go to make something, I get the opportunity to buy more tooling!! Whoopee! Almost as good as getting to buy another machine.
 
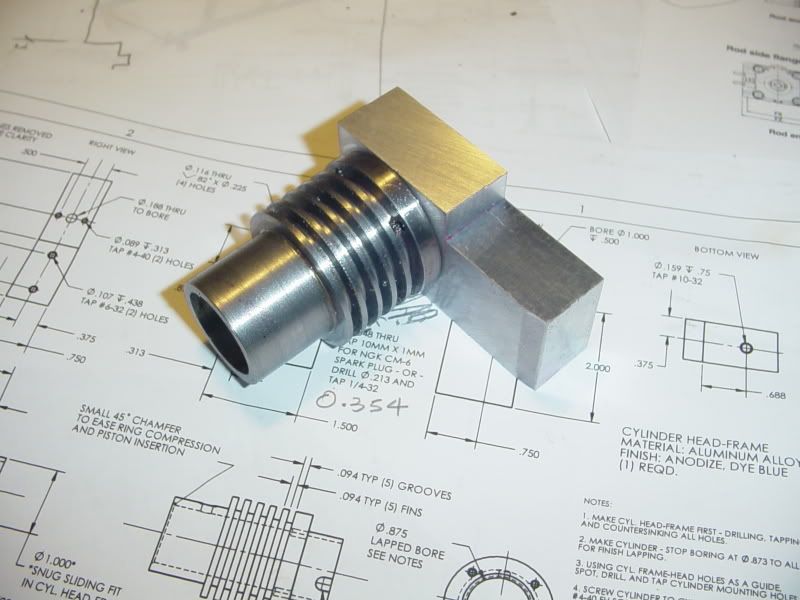
It seems I've dodged a bullet on this one.---Close examination showed that when the tap drill broke through the 1/4" mounting flange, I stopped and didn't keep on drilling deeper untill I hit the first cooling fin, because I didn't want to put a mark on it. The tap, of course, only wanted to go down to the depth I had drilled---because the tap wasn't hitting the cooling fin---it was hanging up on the side of the "land" at the bottom of the cooling fin. I popped the piece back in the lathe and turned that particular groove (between the 1/4" mounting flange and the first cooling fin) about 0.010" deeper. This gave the required side clearance for the tap and let me tap through untill the tap actually hit the cooling fin, like I thought it had yesterday. Now my bolts thread in full depth, with no trouble.
CYLINDERTAPPEDHOLES001.jpg
 
In the Webster plans that I have, the designer calls up a 0.348" tap drill for an M10 x 1 sparkplug thread. My machinery Handbook calls up 8.5 to 8.6 MM which translates to 0.335" to 0.338".
does anybody know whats going on there???
 
Brian,

My Machinerys Handbook, (16th edition page 1194), shows SAE standard threads for spark plugs 10mm x 1mm, Minor dia 0.345"

11/32" is pretty close.

Hope this helps.

Best Regards
Bob
 
Brian Rupnow said:
M10 x 1 seems to be a bastard thread size-----might cost a fortune for a tap that size. I'll check tomorrow.

It's a normal metric fine thread. I have one if you'd like to borrow it. I'm in Idaho, but small parcel to Canukville shouldn't be much, if you can't fine one locally.

Dean
 
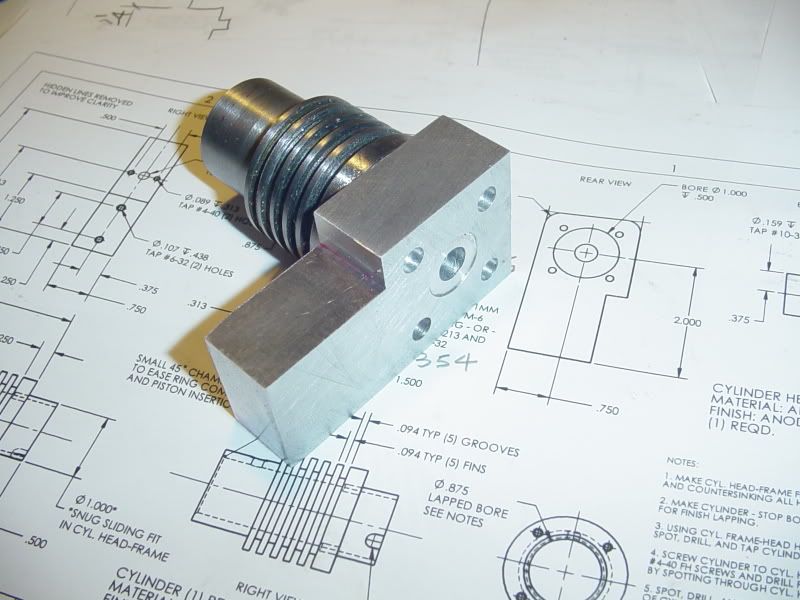
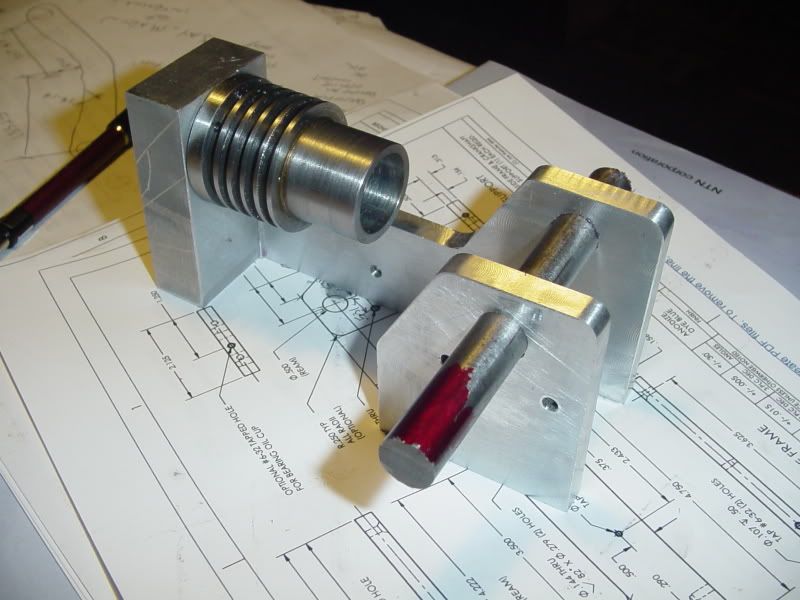
Boldly we plod onward!!! I've had lots of "real work" lately, so machining progress is slow.(BUT THATS OKAY-----HONEST!!!!) The fellow who made the Webster plans calls for a "Snug sliding fit" between the o.d. of the cylinder and the i.d. of the 1.00" bore in the support. Who's he trying to kid??? My fits range from "Won't go in at all" immediately to "Falls in". This time I did take extreme caution---musta turned my milling machine on and off 50 times checking for fit. When it even HINTED that the cylinder might fit into the hole I was boring, I shut the mill off, and put the cylinder back into the lathe and "snuck up on it" with emery cloth untill it actually was a "snug" fit. I'm stuck now---Don't want to machine anymore untill the #5-40 x 1" long shcs. which I ordered last week get here. Once they arrive, and I confirm that yes, indeed it does bolt together the way I intended, I'll do the rest of the machining on the cylinder. Then I'll finish off the stand and put the rest of the threaded holes in it, and buy a M10 x 1 tap for the sparkplug hole.--Thanks for the offer Deanofid, but I'll buy one locally--Got to help get the Canadian economy back on its feet----
cylandsupport-firstassembly001.jpg

cylandsupport-firstassembly002.jpg
 
That's a good thing, supporting your locals, Brian. The tap shouldn't be that much money. That size runs only about $8-10 here, and we're not even a medicated metricated country.

Dean
 
Brian Rupnow said:
In the Webster plans that I have, the designer calls up a 0.348" tap drill for an M10 x 1 sparkplug thread. My machinery Handbook calls up 8.5 to 8.6 MM which translates to 0.335" to 0.338". does anybody know whats going on there???

Brian, The difference is what percentage of full threads are being made. If you go to http://www.scribd.com/Lew Merrick, you will find a document on Pilot Hole Considerations that may give you information. Most "standard" tap drills are set to produce a nominal 75% of full thread. The paper will show you what the effects are on using less than 100% full thread on overall strength. The lower the percentage of full thread, the easier it is to tap -- and the weaker the joint will be. It's a trade-off.
 
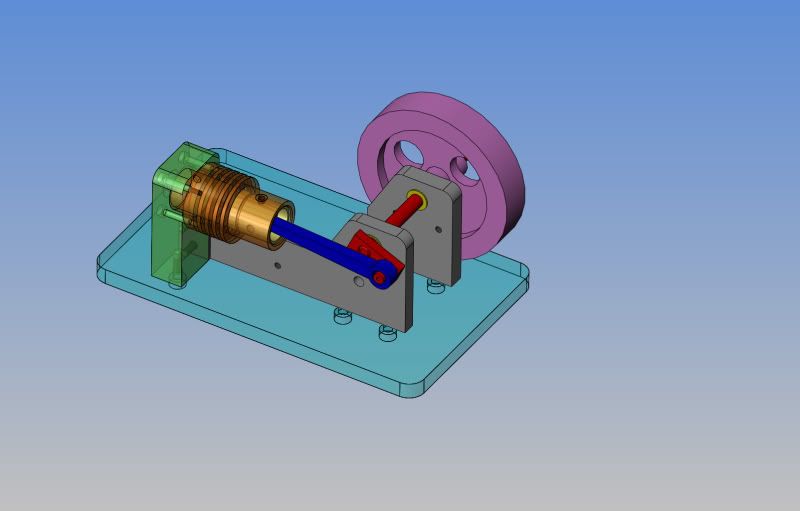
Bit by bit I'm working my way through the Webster----Its unbelievable how much it helps me understand whats going on if I model it in 3D as I go along---
WEBSTERENGINEASEMBLED.jpg
 
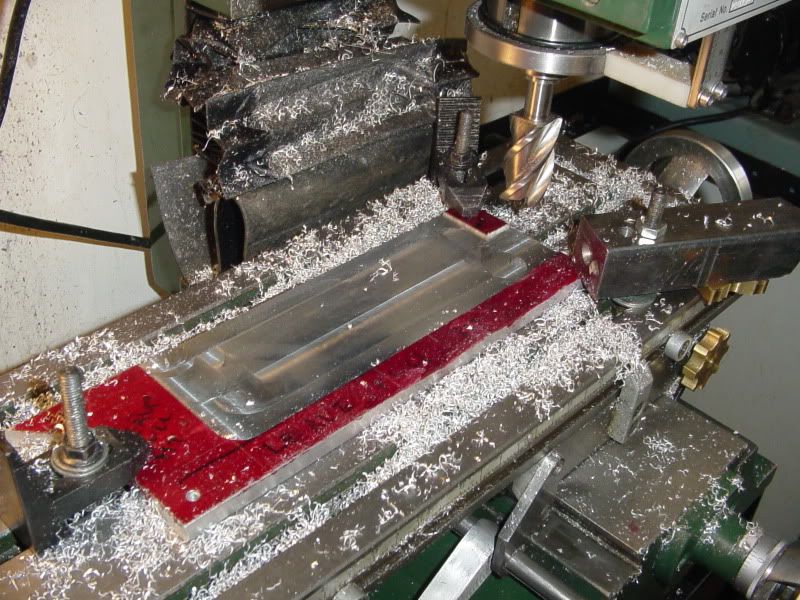
So here we are, making 3/8" plate into 5/16" plate. I have lots of scrap pieces of 3/8" aluminum plate laying around, and no 5/16", so I'll make a wee bit. Why is there one piece in the back right corner not milled?---Well, when I made the cylinder support, I had it in mind that I would use 3/8" plate for the plans, so I made the notch in the cylinder stand 3/8" deep instead of 5/16" like the plans call for. Then as I got deeper into the plans, I discovered that a lot of things would change if I went ahead and used 3/8" plate.-So----That unmilled corner will stay at 3/8" thick to act as a 1/16" spacer between the main 5/16" plate and the cylinder stand.
making375plateinto312001.jpg
 
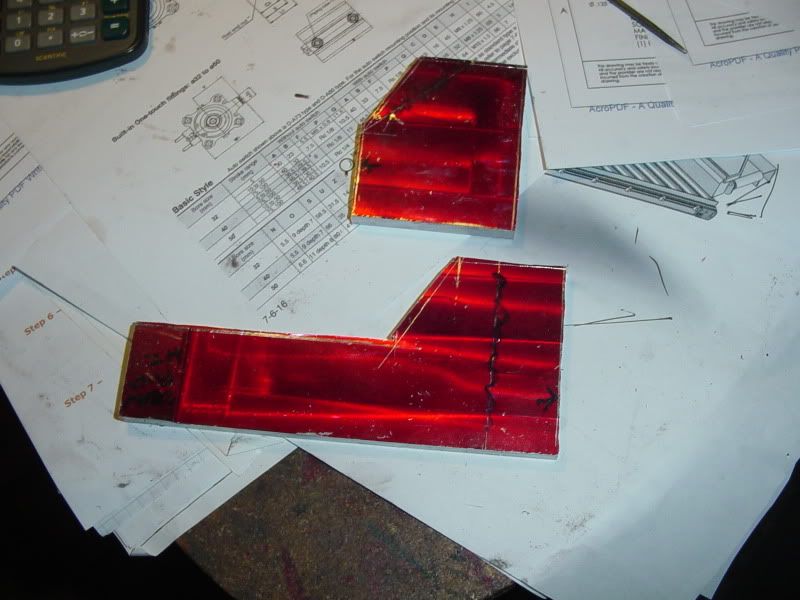
A little time on the mill cleaning up edges---And Voila'--A couple more parts for my Webster. Thats enough playing machinist for this weekend.
webstersideframes005.jpg
 
Exciting stuff, Brian. Love to see your progress.

Chuck
 
Thanks for your interest Chuck. I know that builds are not terribly impressive in the early stages, and I've kind of gotten beyond posting every single step that I do as a build progresses. Once I get a few more pieces made, and it starts to look like an engine, I will probably get a few more comments from the rest of the crowd.---Brian
 
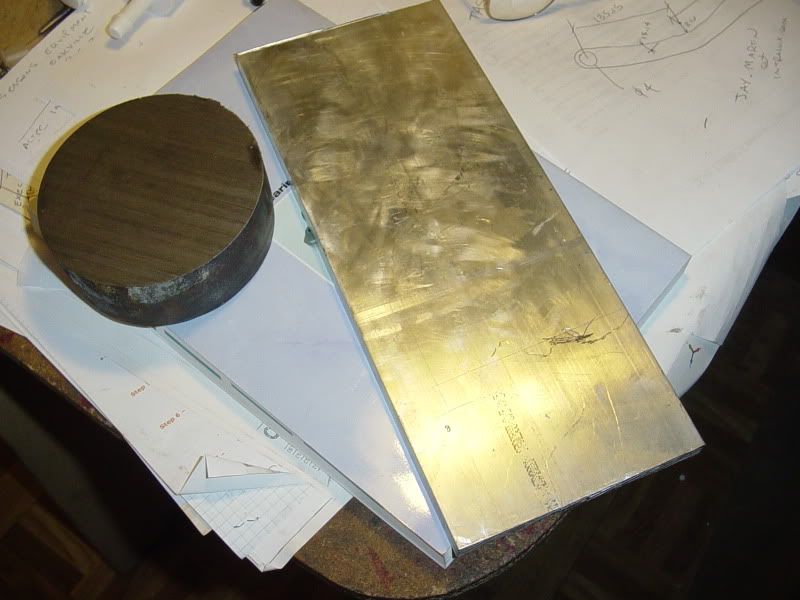
Today I actually did accomplish a few things, but for some reason I can't get logged onto Photobucket, so you may never actually get to see it!!! I stopped and picked up a piece of 5" x 1/2" aluminum for the base, and an end cut from a piece of 4 1/2" mild steel roundbar, about 1 3/4" long to make a flywheel from, for the princely sum of $12.00. On Monday I will resume my attempts to get back into Photobucket and hopefully post a bit more progress.

MATERIAL FOR FLYWHEEL AND BASE001.JPG
 
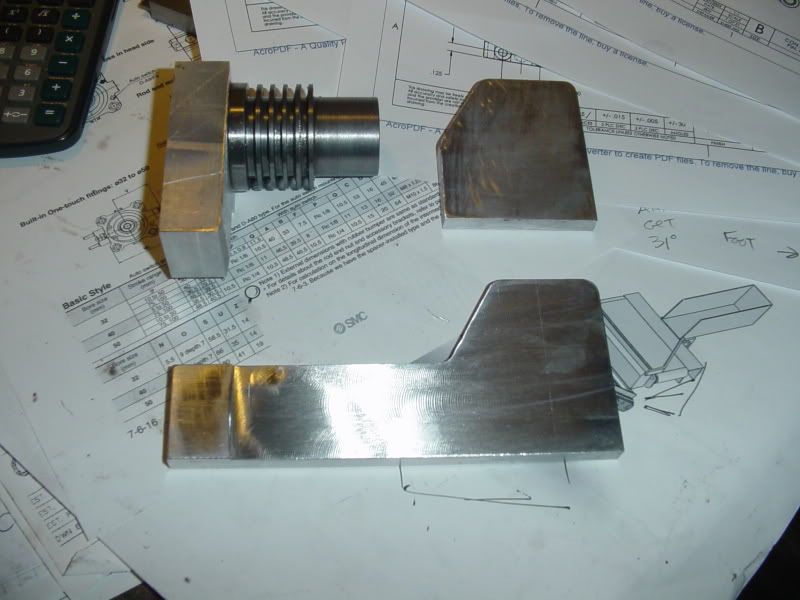
Okay---I got Photobucket sorted out.---First pic is a repeat of previous post---material I purchased today. Other two pics are some progress shots. Nothing mind bending, but now that I am crazy busy with engineering work I have to sneak in a little "play machining" on the weekends.
MATERIALFORFLYWHEELANDBASE001.jpg

firstassembly002-1.jpg

firstassembly003.jpg
 
Brian;

Always good to see your projects post. I am not to far from starting this engine so it will be good to have the parts and pieces to check out. Looking good so far!
 
Back
Top