- Joined
- Jan 17, 2009
- Messages
- 887
- Reaction score
- 81
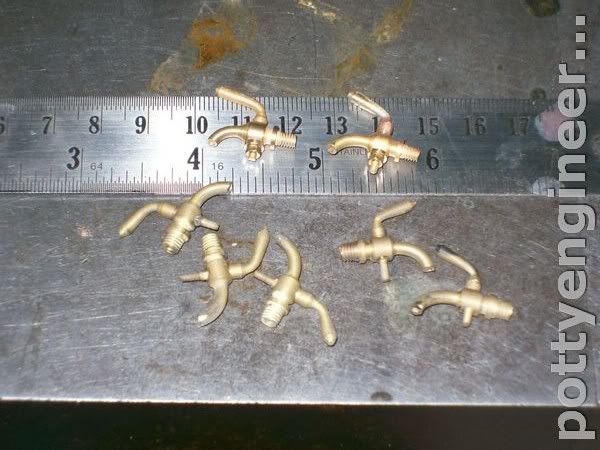
A friend ask me if i could make hime some Bibcoxs for his 1 1/2" Allchine traction engine, Bibcox is the old fasion name for a tap.
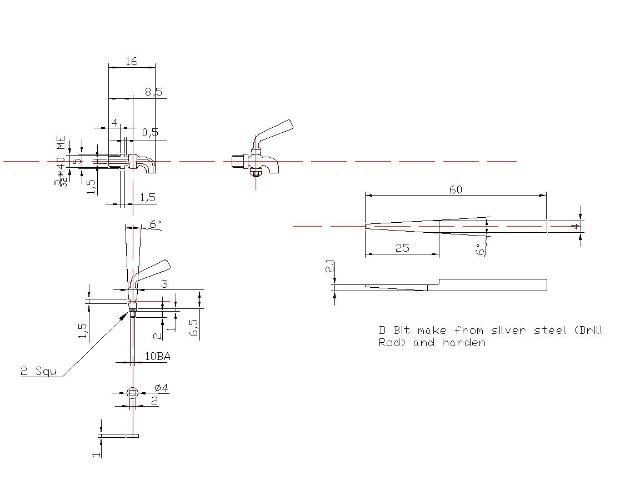
This is the drawings
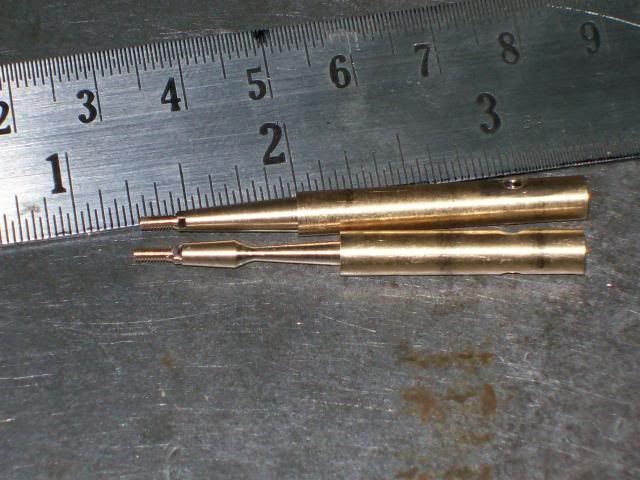
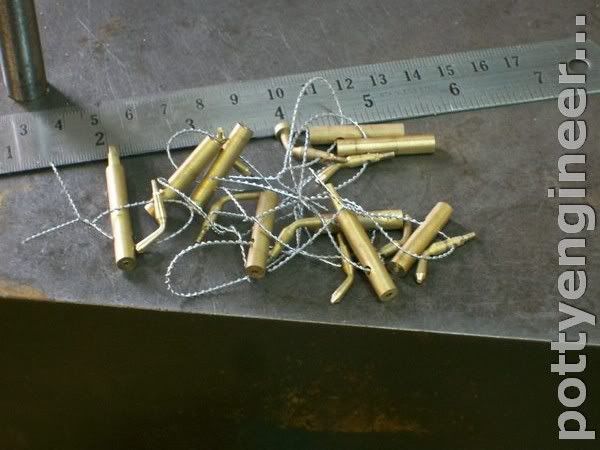
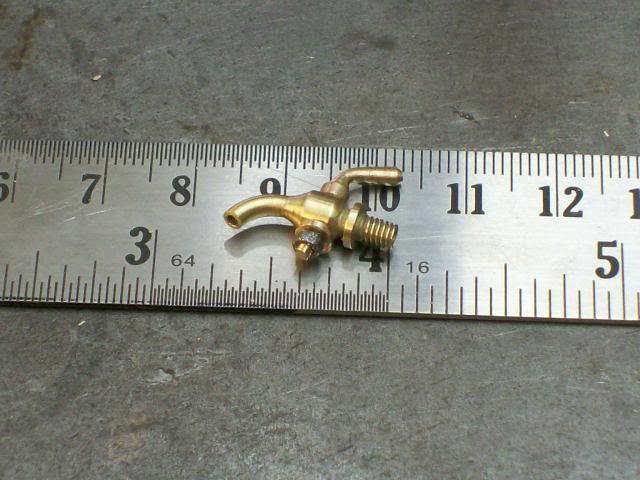
Tiny little buggers arn't they.
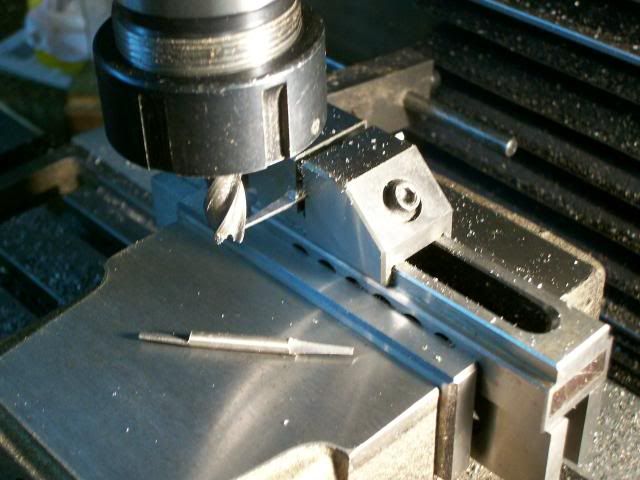
First make the D bit
Slew the compound over 3 deg and turn a taper on a length of silver steel, give it a bit of a polish. Now so that the cox matches the taper in the body perfectly don't change the setting of the compound until the job is finshed.
Section the D bit you want to make them just over centre
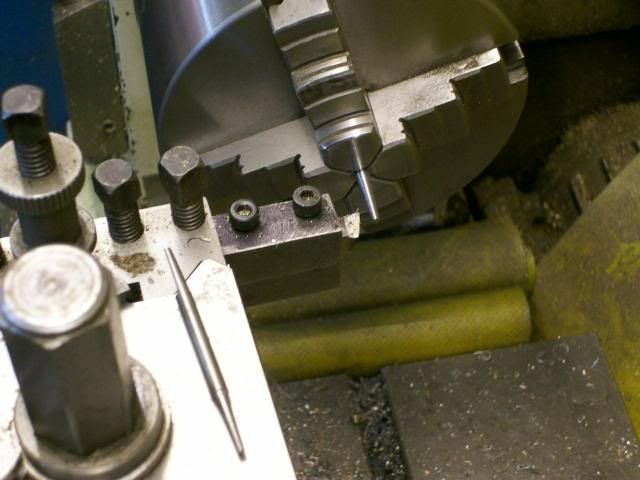
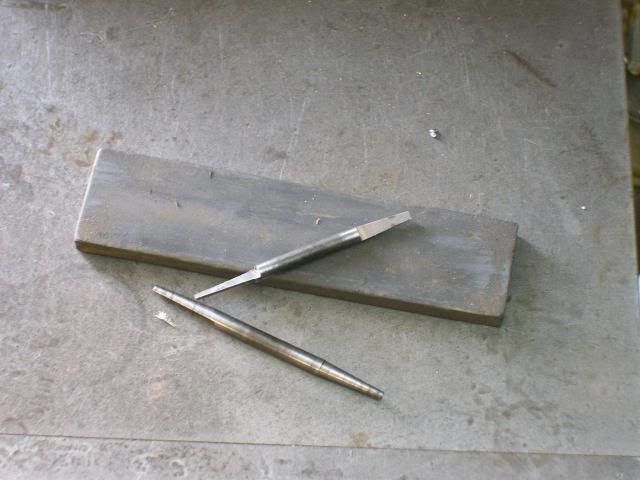
Heat them to cherry red and quench in water, I didn't bother with tempering them.
Give the flat face a rub on a smooth stone to get a nice sharp edge. I glued a collar round it to act as a stop.
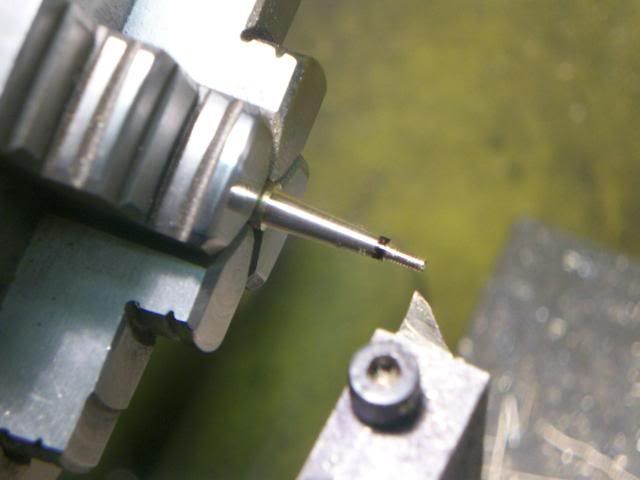
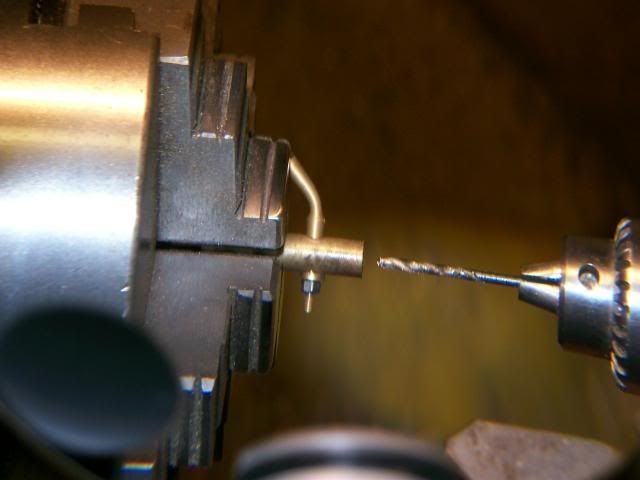
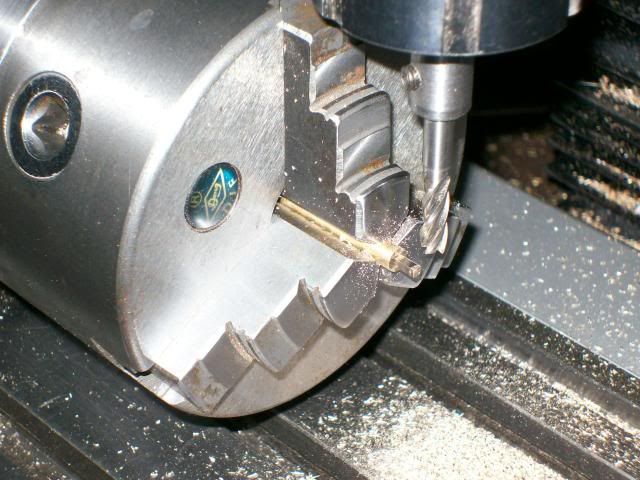
Then in a bit of 5mm brass bar on the centre, put through a 2mm drill then follow it up with the D bit to cut the taper for the body.

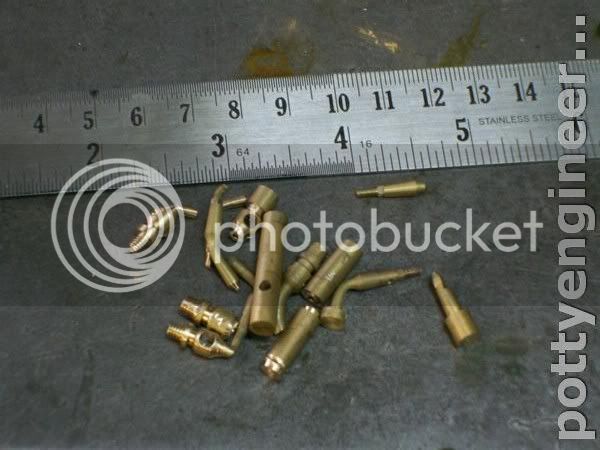
Thats the hard bit done
Mill a 2mm square on the cox.
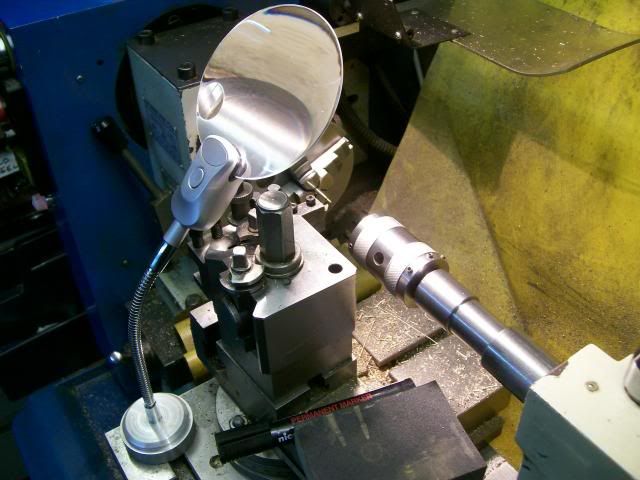
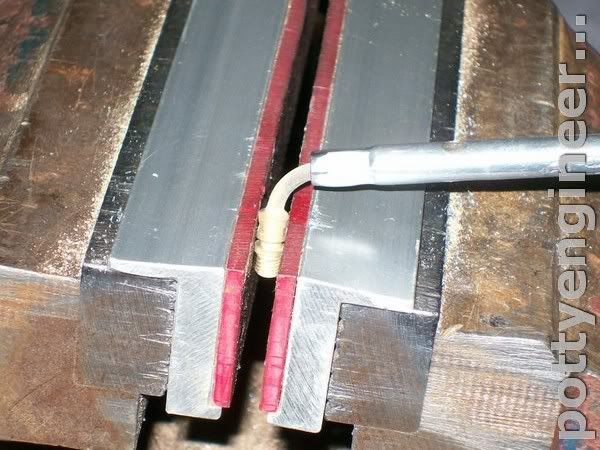
Chuck it up in the lathe and thread 10 BA and turn the tapere length, and the handle bit part off, and aneal it before bending the handle.
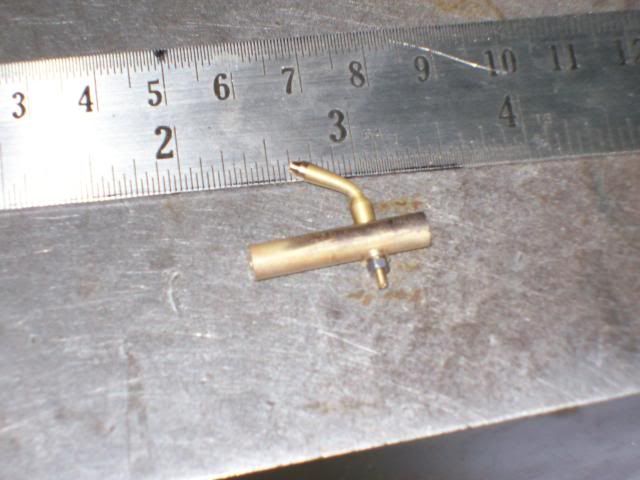
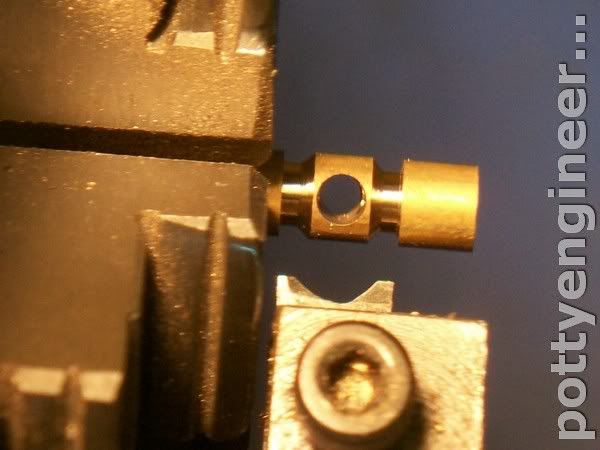
Put the body in the lath assemble the cox and drill through 1.5mm: remove the cox and finish turn the rest of the body and thread 5/32* 40 ME again aneal before you bend the spout.
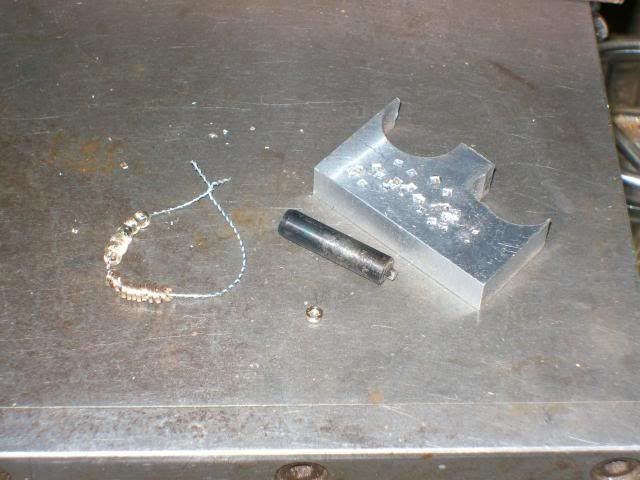
To make the square hole washer make a 2mm square punch from silver steel just harden the square bit, turn up some brass washers with a 2mm hole in them and use the punch to knock the square bit out.
Thats it Job done
Stew
This is the drawings
Tiny little buggers arn't they.
First make the D bit
Slew the compound over 3 deg and turn a taper on a length of silver steel, give it a bit of a polish. Now so that the cox matches the taper in the body perfectly don't change the setting of the compound until the job is finshed.
Section the D bit you want to make them just over centre
Heat them to cherry red and quench in water, I didn't bother with tempering them.
Give the flat face a rub on a smooth stone to get a nice sharp edge. I glued a collar round it to act as a stop.
Then in a bit of 5mm brass bar on the centre, put through a 2mm drill then follow it up with the D bit to cut the taper for the body.
Thats the hard bit done
Mill a 2mm square on the cox.
Chuck it up in the lathe and thread 10 BA and turn the tapere length, and the handle bit part off, and aneal it before bending the handle.
Put the body in the lath assemble the cox and drill through 1.5mm: remove the cox and finish turn the rest of the body and thread 5/32* 40 ME again aneal before you bend the spout.
To make the square hole washer make a 2mm square punch from silver steel just harden the square bit, turn up some brass washers with a 2mm hole in them and use the punch to knock the square bit out.
Thats it Job done
Stew
")