Kaleb
Senior Member
- Joined
- Jan 3, 2010
- Messages
- 272
- Reaction score
- 27
As you would expect, its quite exciting to work on something big.
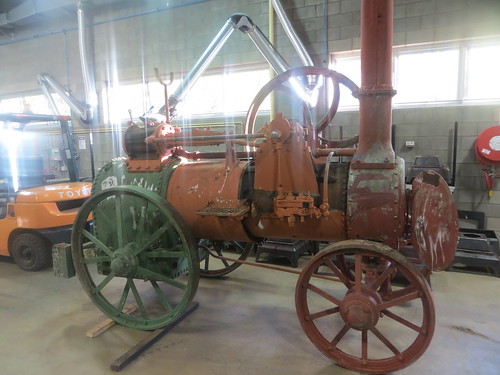
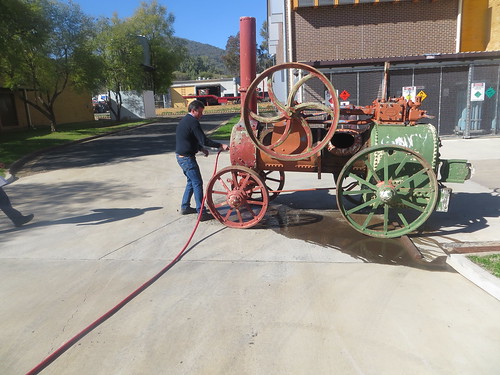
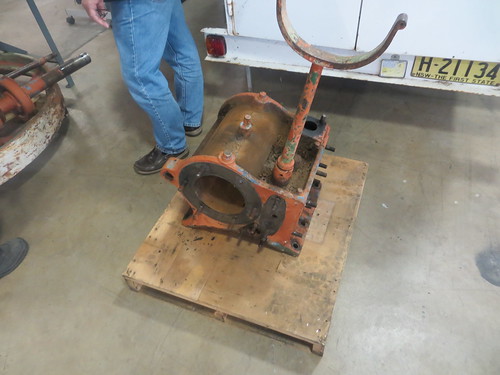
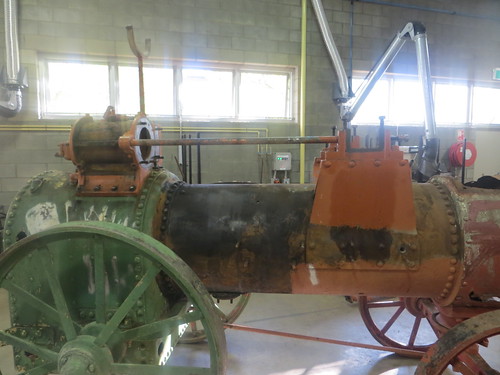
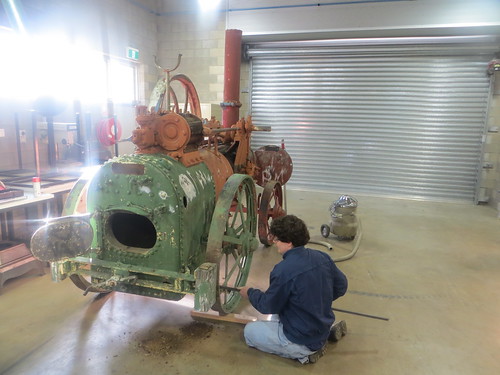
This engine is not mine, but I am involved in the restoration, and will be doing quite a bit of work on it. The engine is a Ransomes, Sims and Jefferies portable which we believe dates from around 1903. We don't know much of its history, what is known is that it was displayed in a park at the town of Boggabilla, north of Moree on the Queensland border, then removed and stored in a council works depot until it was brought to the local TAFE college were we are working on it. Most of the major parts are there, though the elements have clearly taken their toll.
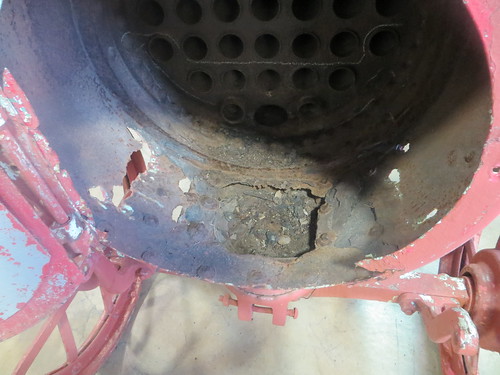
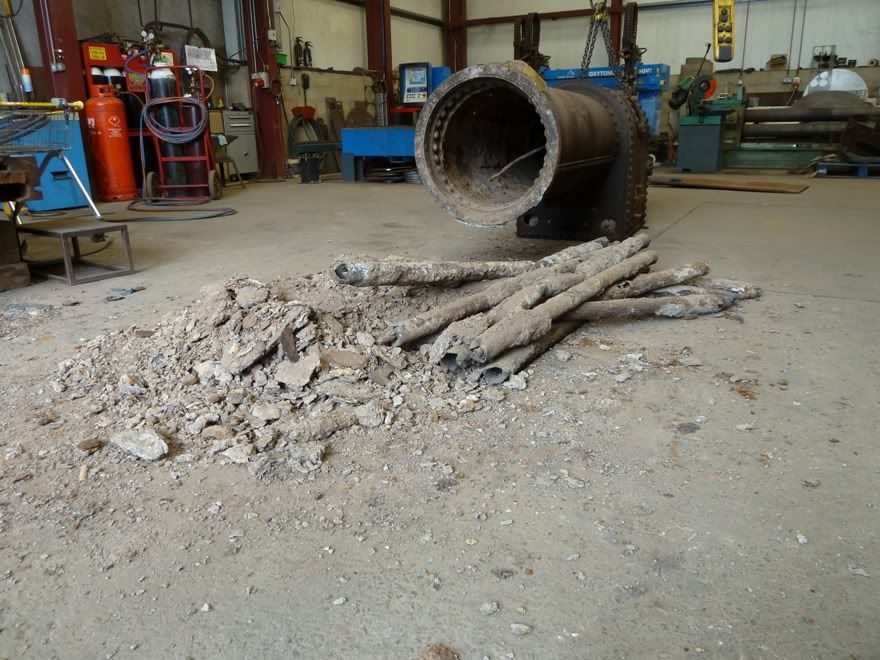
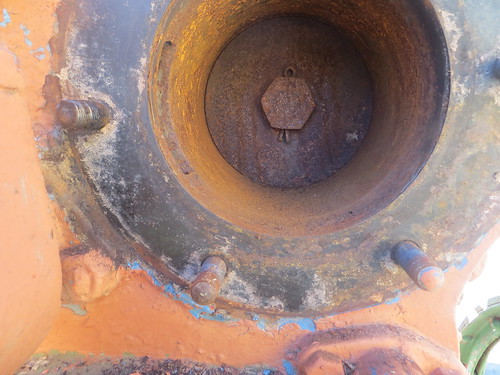
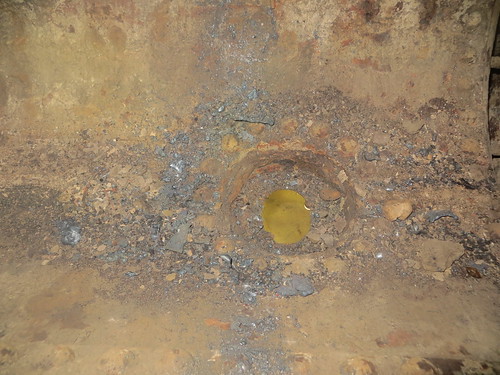
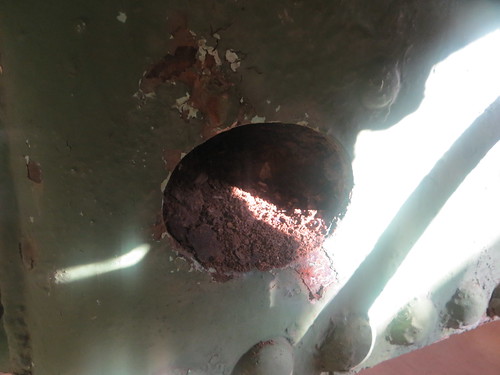
As you can see the bottom of the smokebox is pretty well rusted out. It may not be visible here, but part of the smokebox tube plate (the area marked with chalk) is shot, so we'll be replacing that section, if not the whole plate.
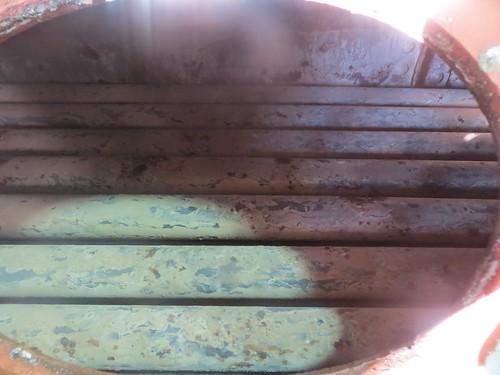
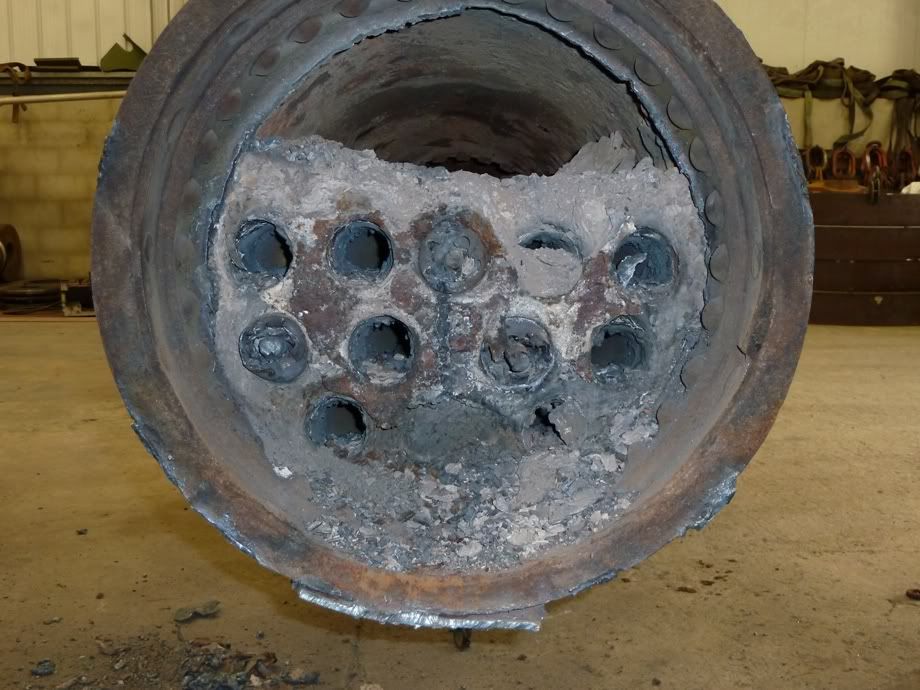
The fire tubes look a lot better than I was expecting, though we'll still be re-tubing the boiler to be sure. Better safe than sorry with any kind of boiler, especially one this size.
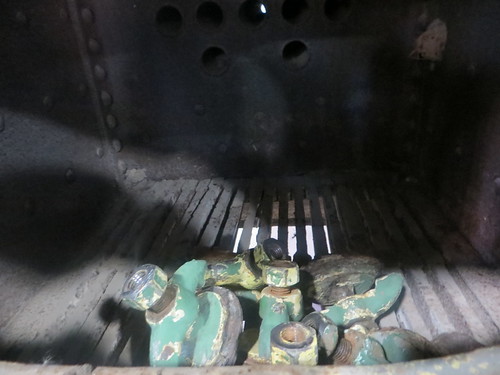
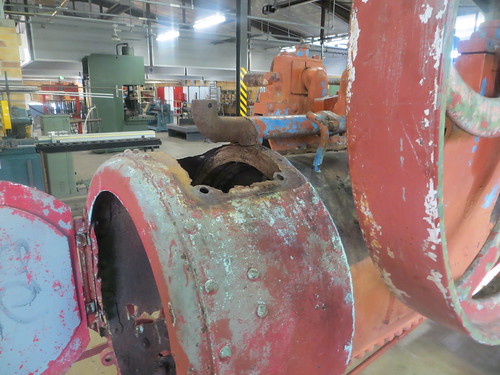
Doesn't look too bad inside the firebox either, those things on the grate are some of the mudhole covers that some other students removed before I went in to work on it yesterday. Interestingly, the foundation ring of the firebox is not made from solid bar, but is bent from plate. I'm told that several manufacturers did this.
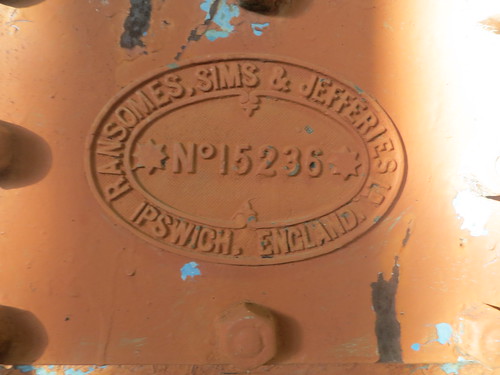
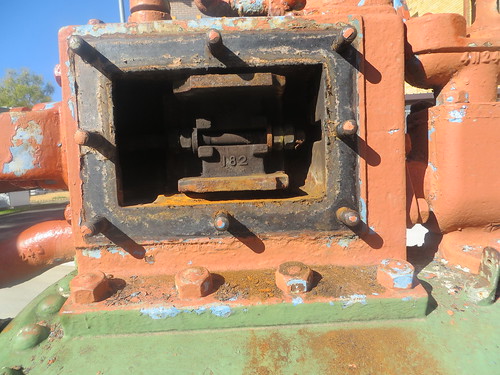
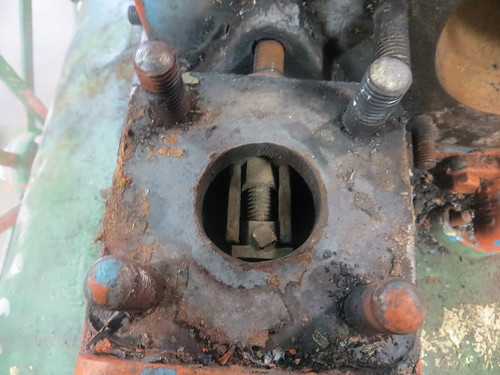
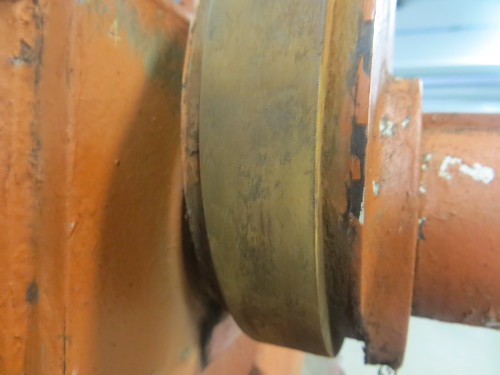
Just a close up of the builders plate on the valve chest cover. A more accurate date from the works number would be appreciated.
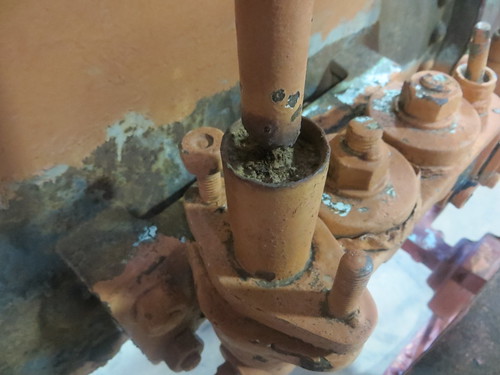
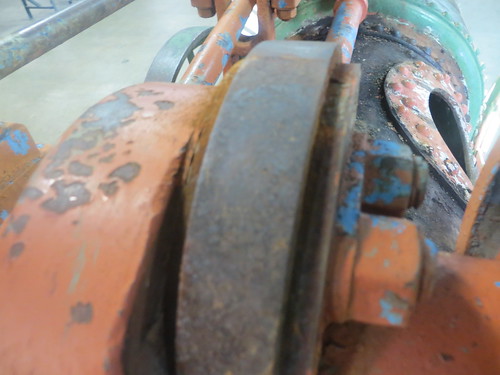
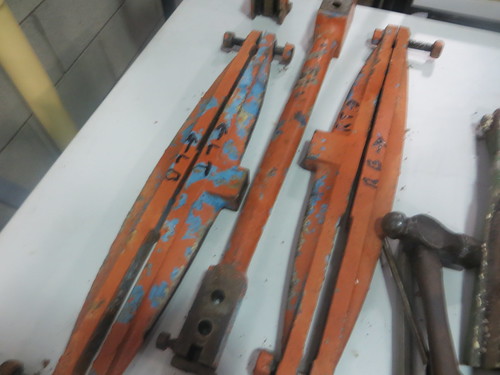
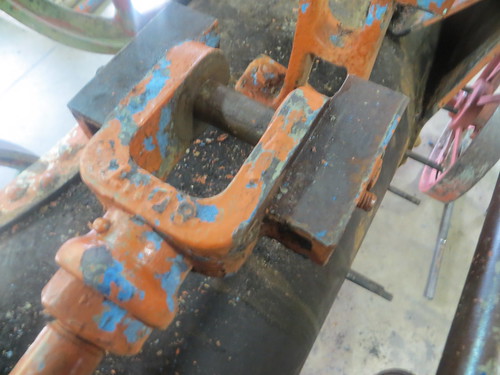
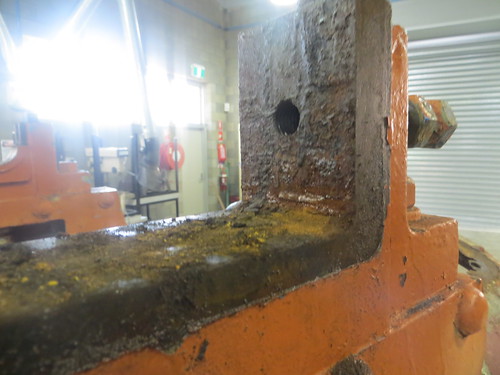
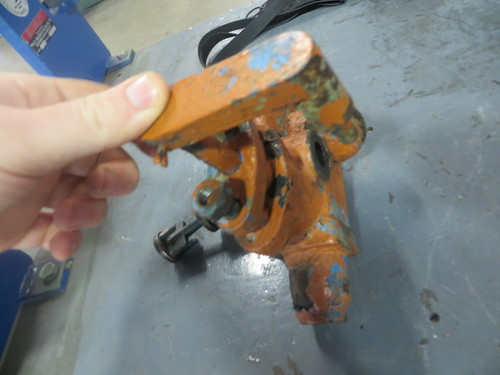
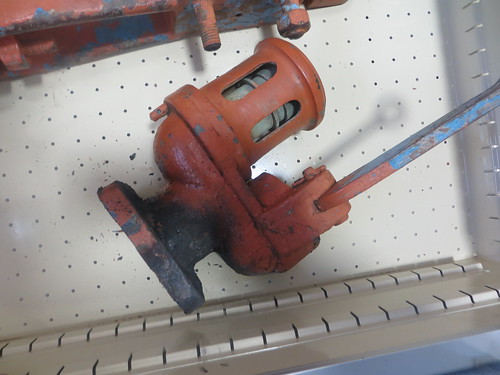
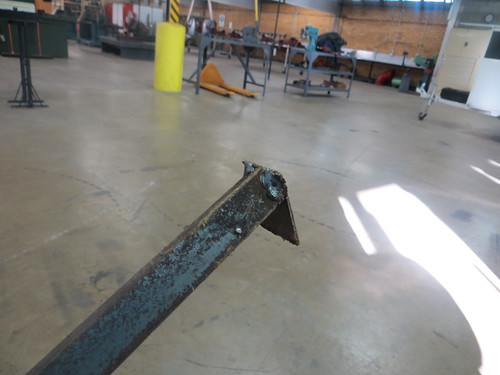
Hmm... that rod going to the feed pump is rusted pretty badly, looks like it'll be needing some new parts here.
The first job of the day was to get as much of the scale and dirt out of the water jacket around the firebox. That's where almost all of it builds up, since it's the lowest point of the boiler. The other fellas at TAFE reckon it hadn't been cleaned out in 100 years!
So we quickly welded a piece of plate to a length of angle iron and we were ready to go.
Yep, that's me doing the dirty work. It was hard yakka getting the stuff out, you should've seen the piles that came out when we were done for the day, would've been enough to fill a large flowerpot or two at least. There were even some ants that had made a nest in this stuff!
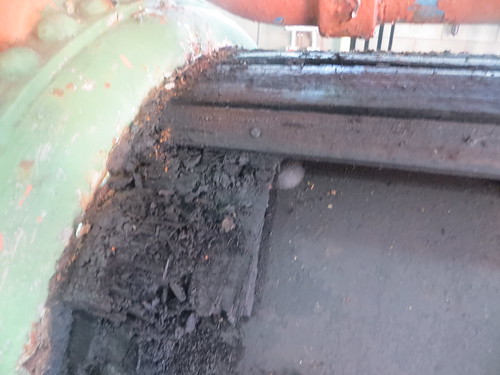
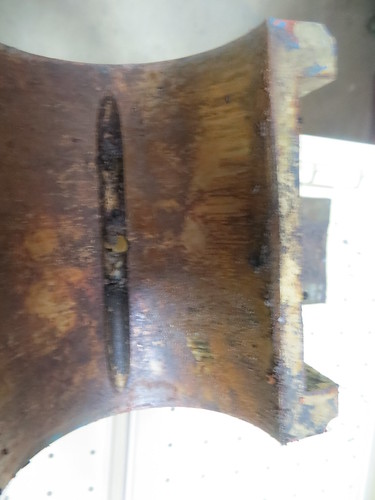
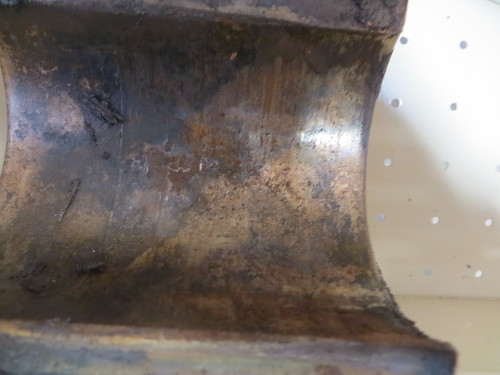
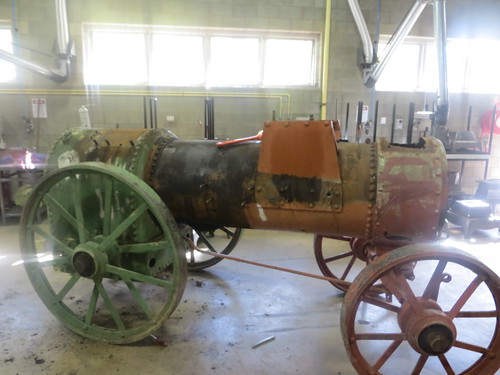
The other job of the day was to strip the lagging, or what was left of it. As you can see it was pretty rotten.
I'll be doing some more work on it tomorrow, looks like I'll be having a long day there, 8am to 3pm. The site I use to host my photos will be down for maintenance, so I may not be able to post any updates till Friday.
This engine is not mine, but I am involved in the restoration, and will be doing quite a bit of work on it. The engine is a Ransomes, Sims and Jefferies portable which we believe dates from around 1903. We don't know much of its history, what is known is that it was displayed in a park at the town of Boggabilla, north of Moree on the Queensland border, then removed and stored in a council works depot until it was brought to the local TAFE college were we are working on it. Most of the major parts are there, though the elements have clearly taken their toll.
As you can see the bottom of the smokebox is pretty well rusted out. It may not be visible here, but part of the smokebox tube plate (the area marked with chalk) is shot, so we'll be replacing that section, if not the whole plate.
The fire tubes look a lot better than I was expecting, though we'll still be re-tubing the boiler to be sure. Better safe than sorry with any kind of boiler, especially one this size.
Doesn't look too bad inside the firebox either, those things on the grate are some of the mudhole covers that some other students removed before I went in to work on it yesterday. Interestingly, the foundation ring of the firebox is not made from solid bar, but is bent from plate. I'm told that several manufacturers did this.
Just a close up of the builders plate on the valve chest cover. A more accurate date from the works number would be appreciated.
Hmm... that rod going to the feed pump is rusted pretty badly, looks like it'll be needing some new parts here.
The first job of the day was to get as much of the scale and dirt out of the water jacket around the firebox. That's where almost all of it builds up, since it's the lowest point of the boiler. The other fellas at TAFE reckon it hadn't been cleaned out in 100 years!
So we quickly welded a piece of plate to a length of angle iron and we were ready to go.
Yep, that's me doing the dirty work. It was hard yakka getting the stuff out, you should've seen the piles that came out when we were done for the day, would've been enough to fill a large flowerpot or two at least. There were even some ants that had made a nest in this stuff!
The other job of the day was to strip the lagging, or what was left of it. As you can see it was pretty rotten.
I'll be doing some more work on it tomorrow, looks like I'll be having a long day there, 8am to 3pm. The site I use to host my photos will be down for maintenance, so I may not be able to post any updates till Friday.