Whittle Aero V8 WIP

Home Model Engine Machinist Forum

Help Support Home Model Engine Machinist Forum:

This site may earn a commission from merchant affiliate links, including eBay, Amazon, and others.
Hi Tony,
Hope the back's getting better. It must be something about people who build model engines, I broke my spine about 15 years ago.
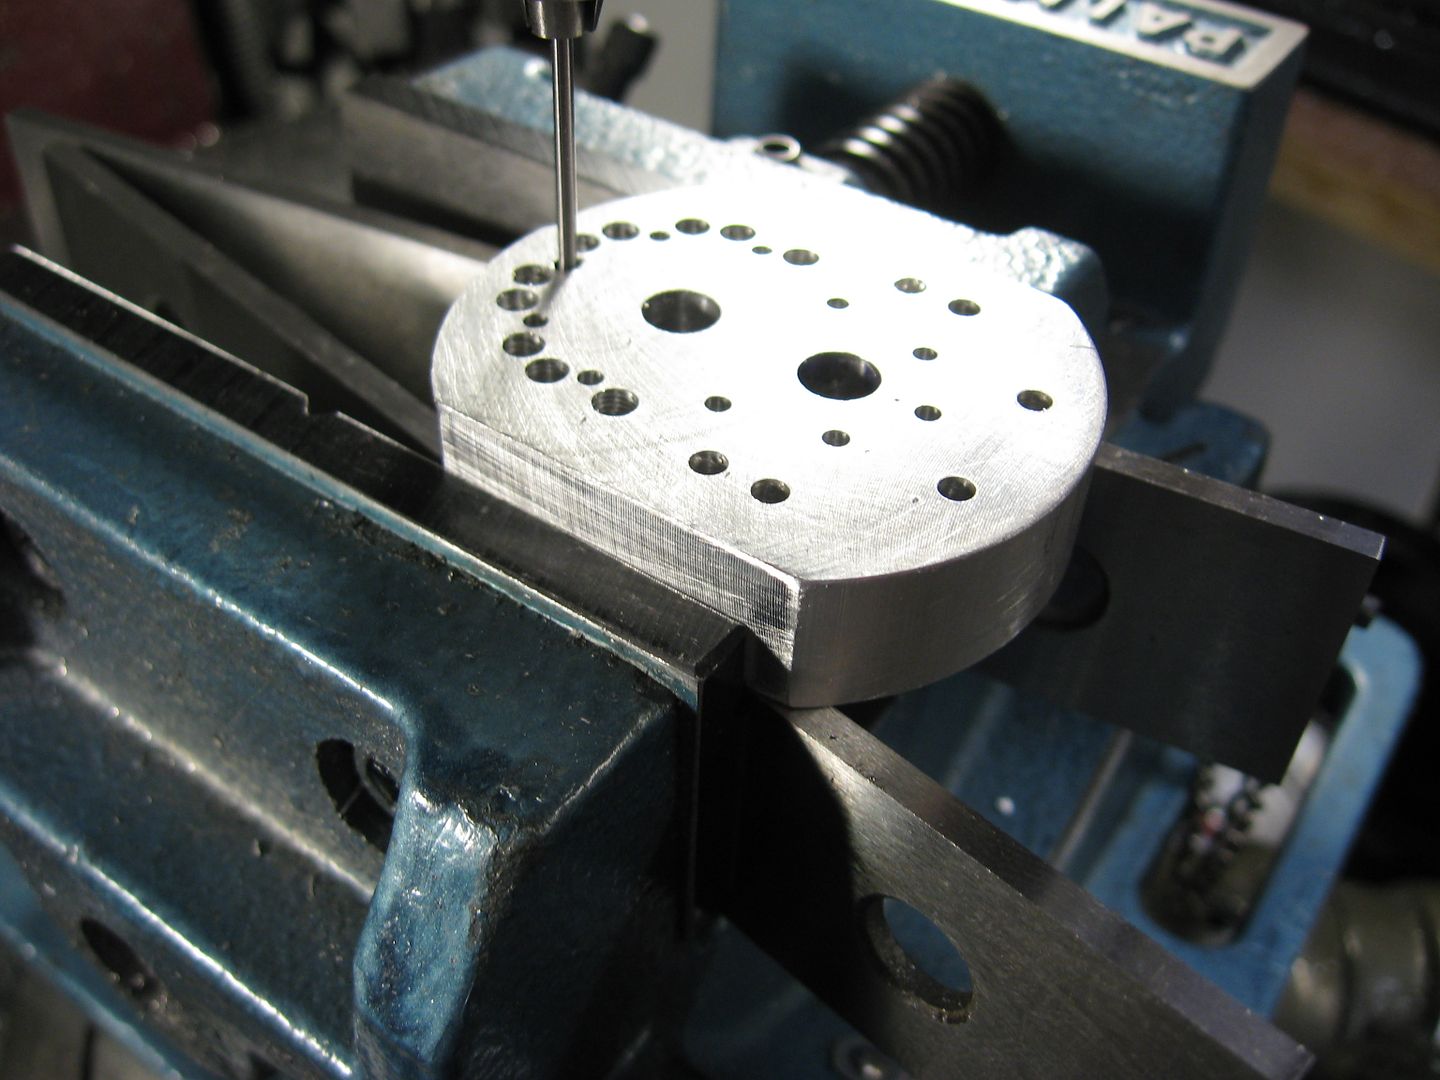
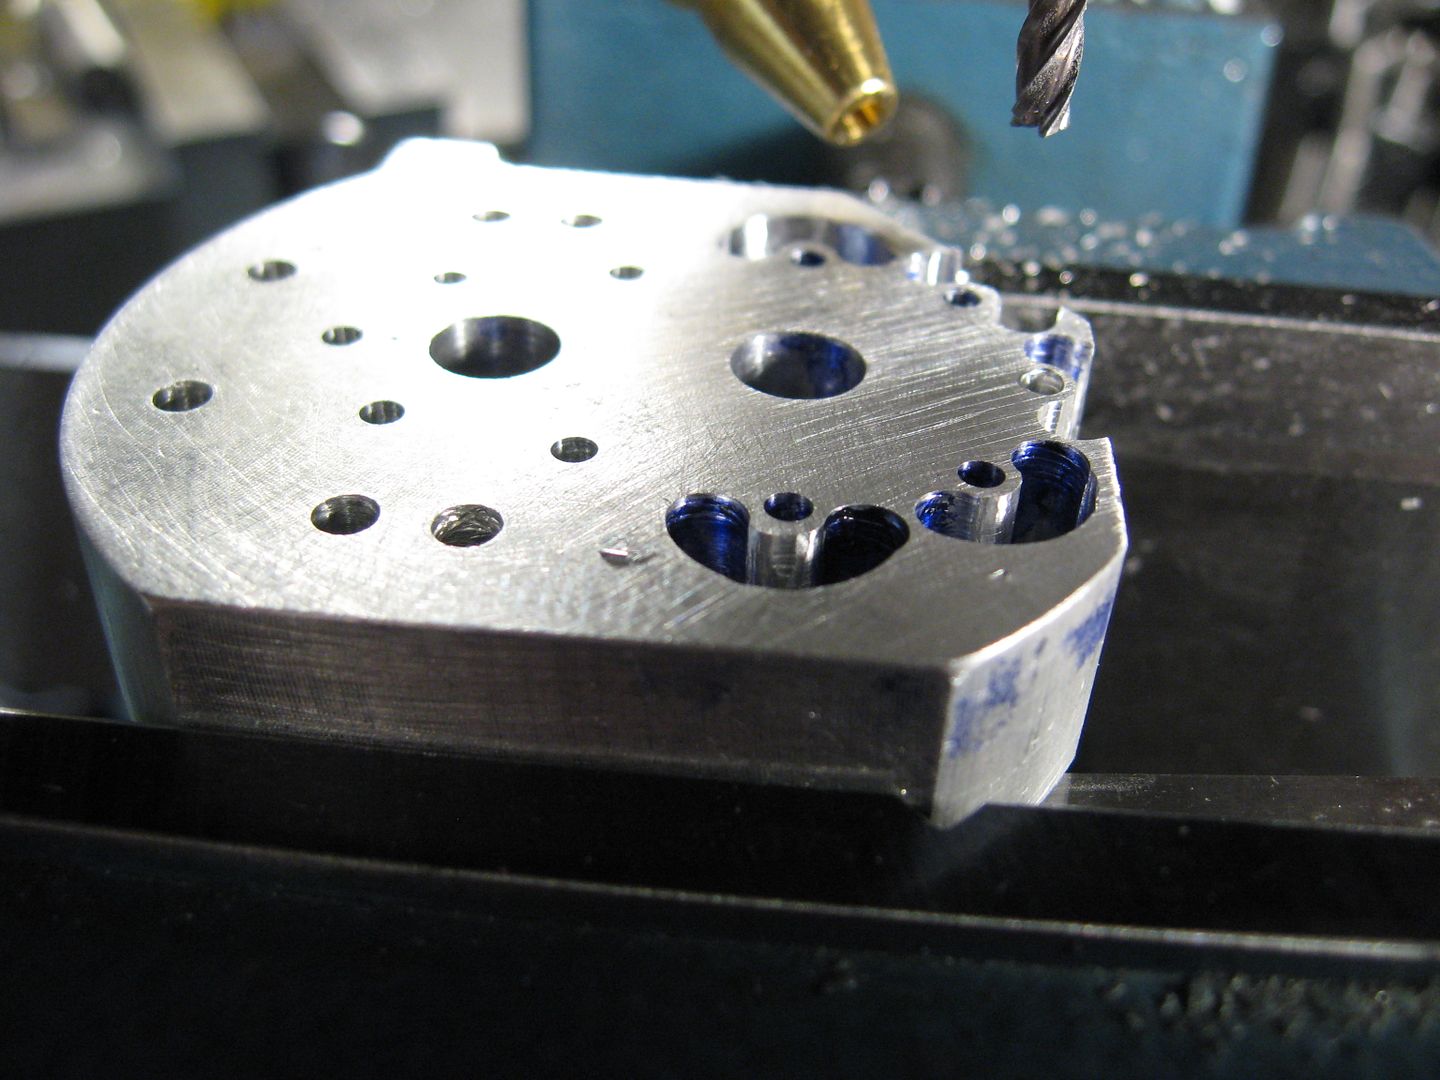
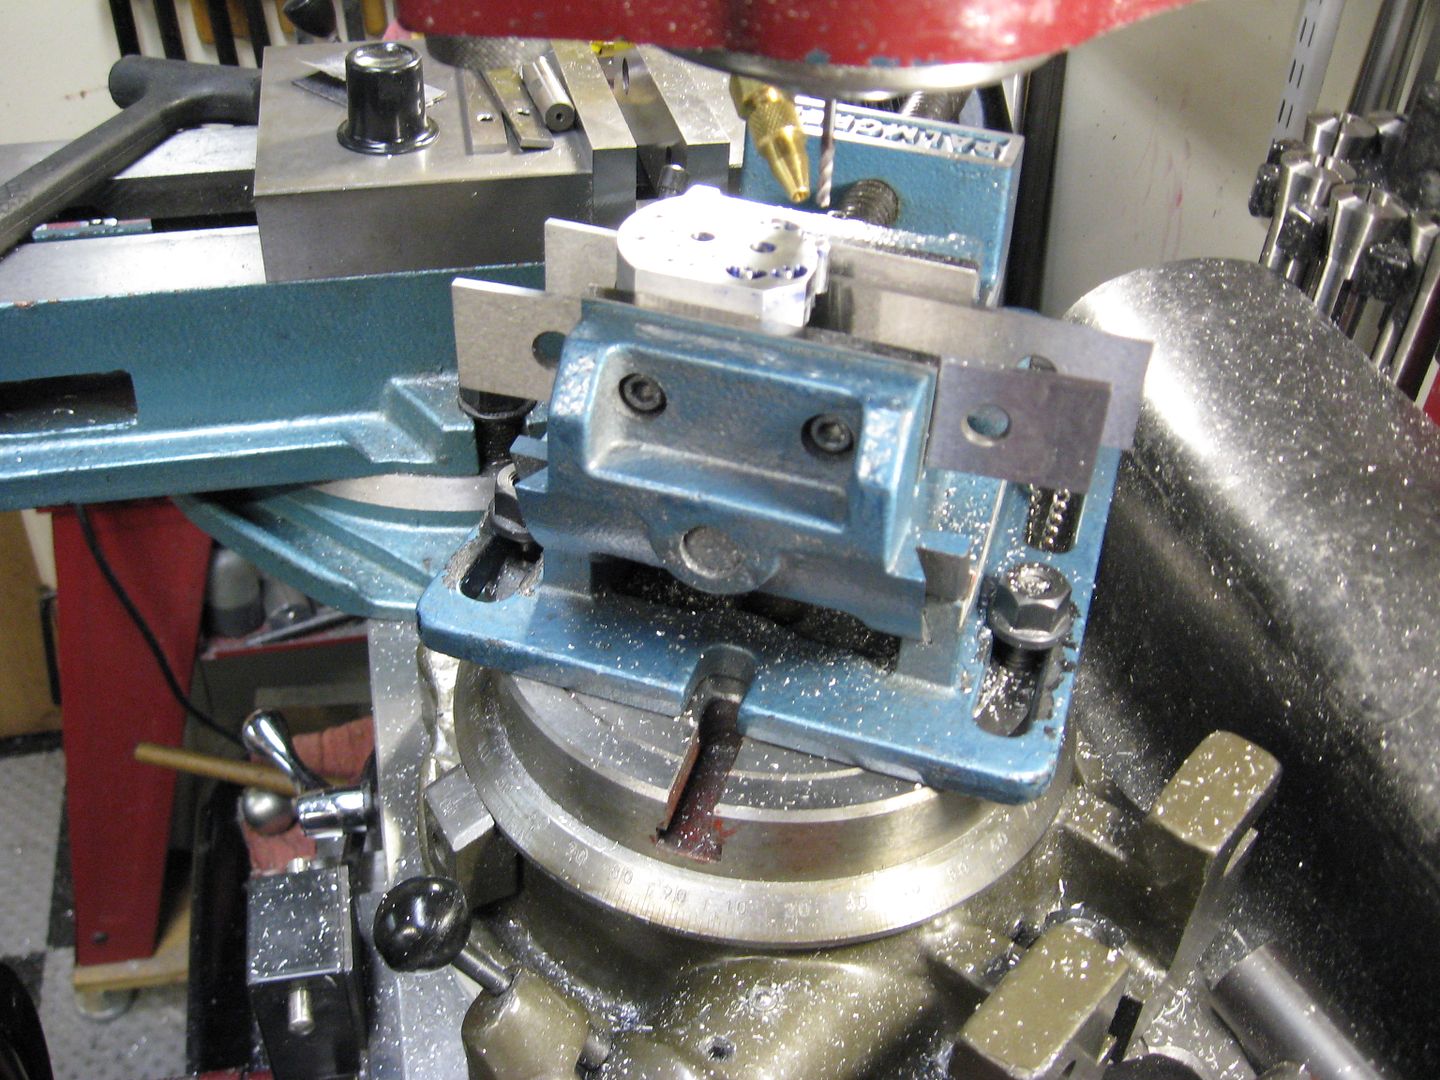
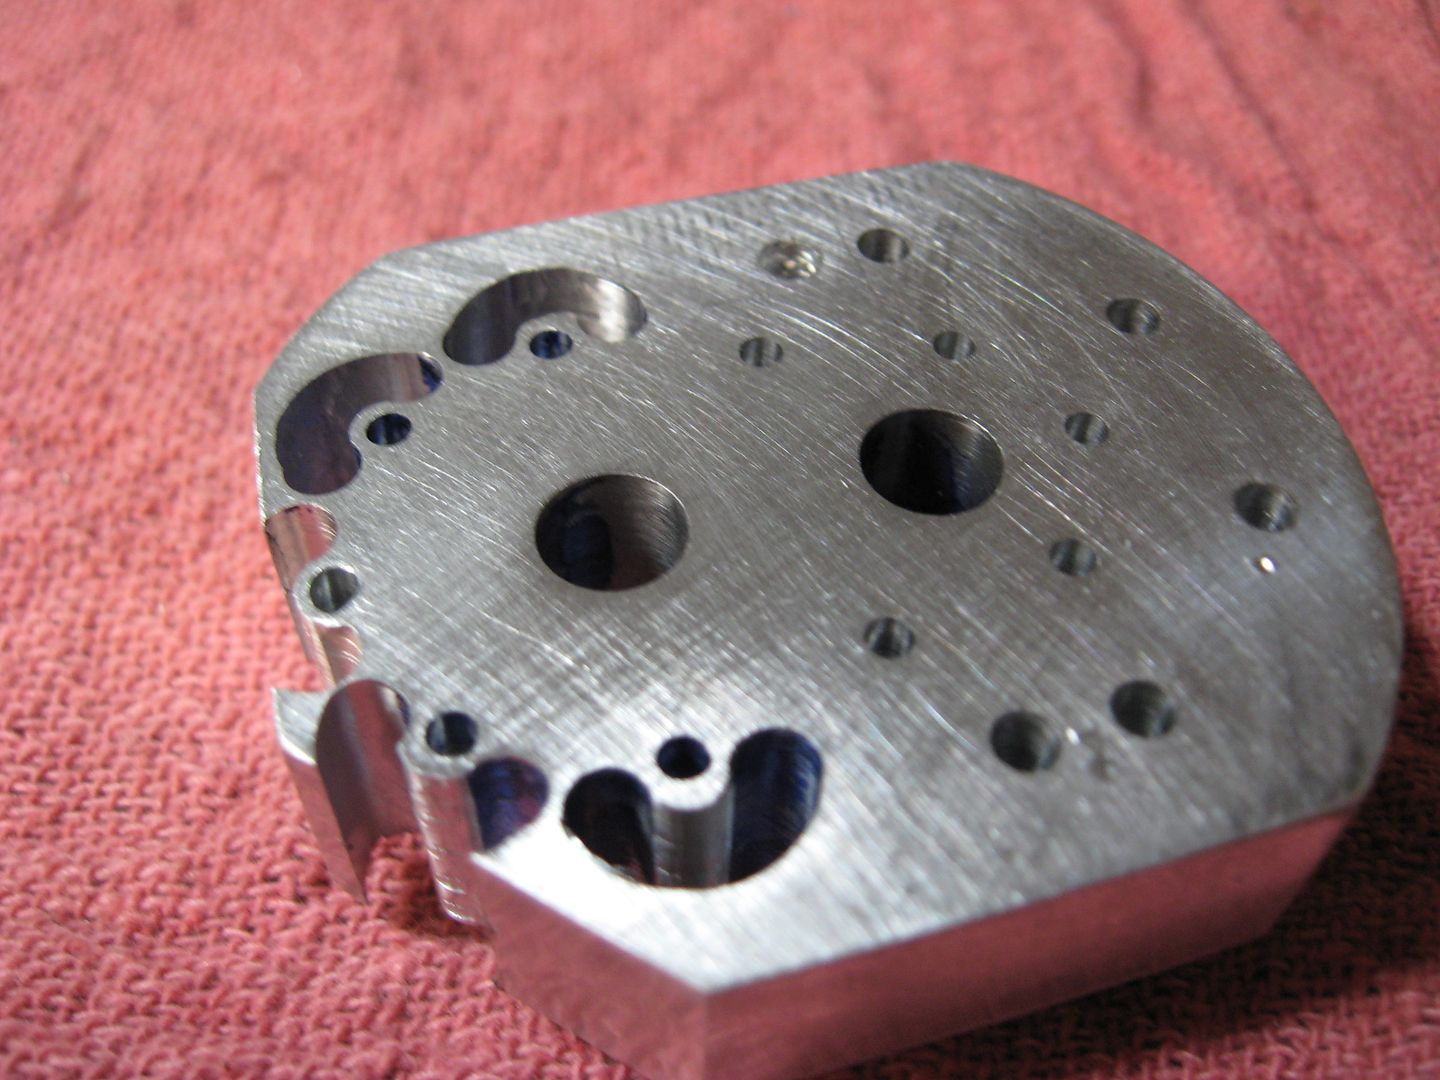
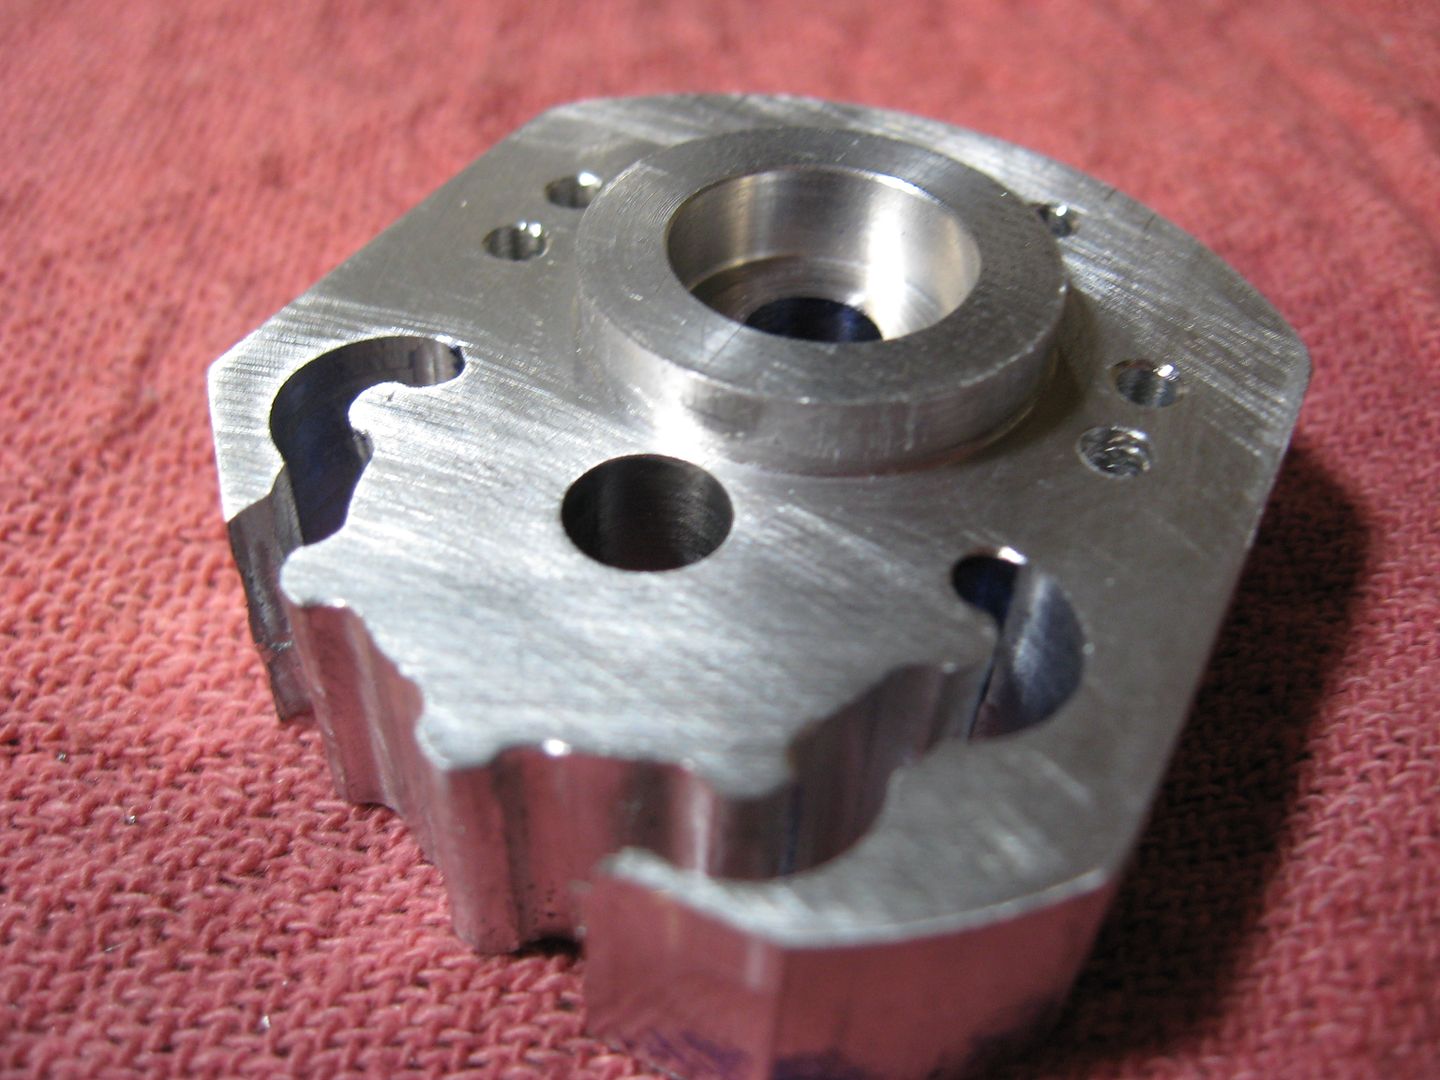
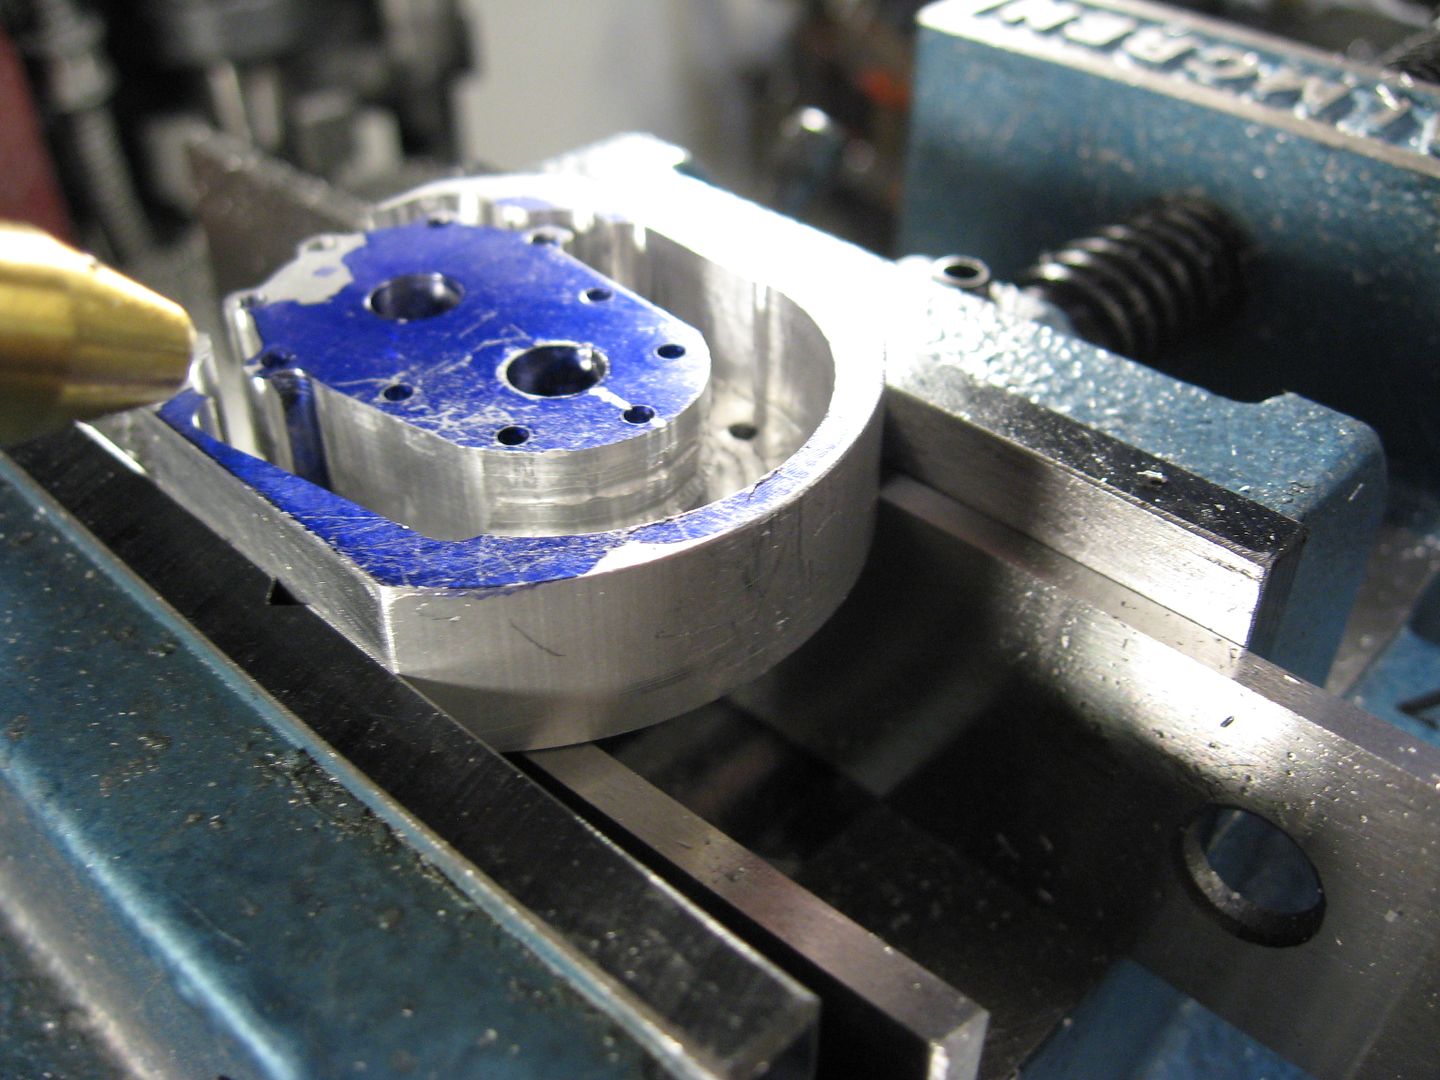
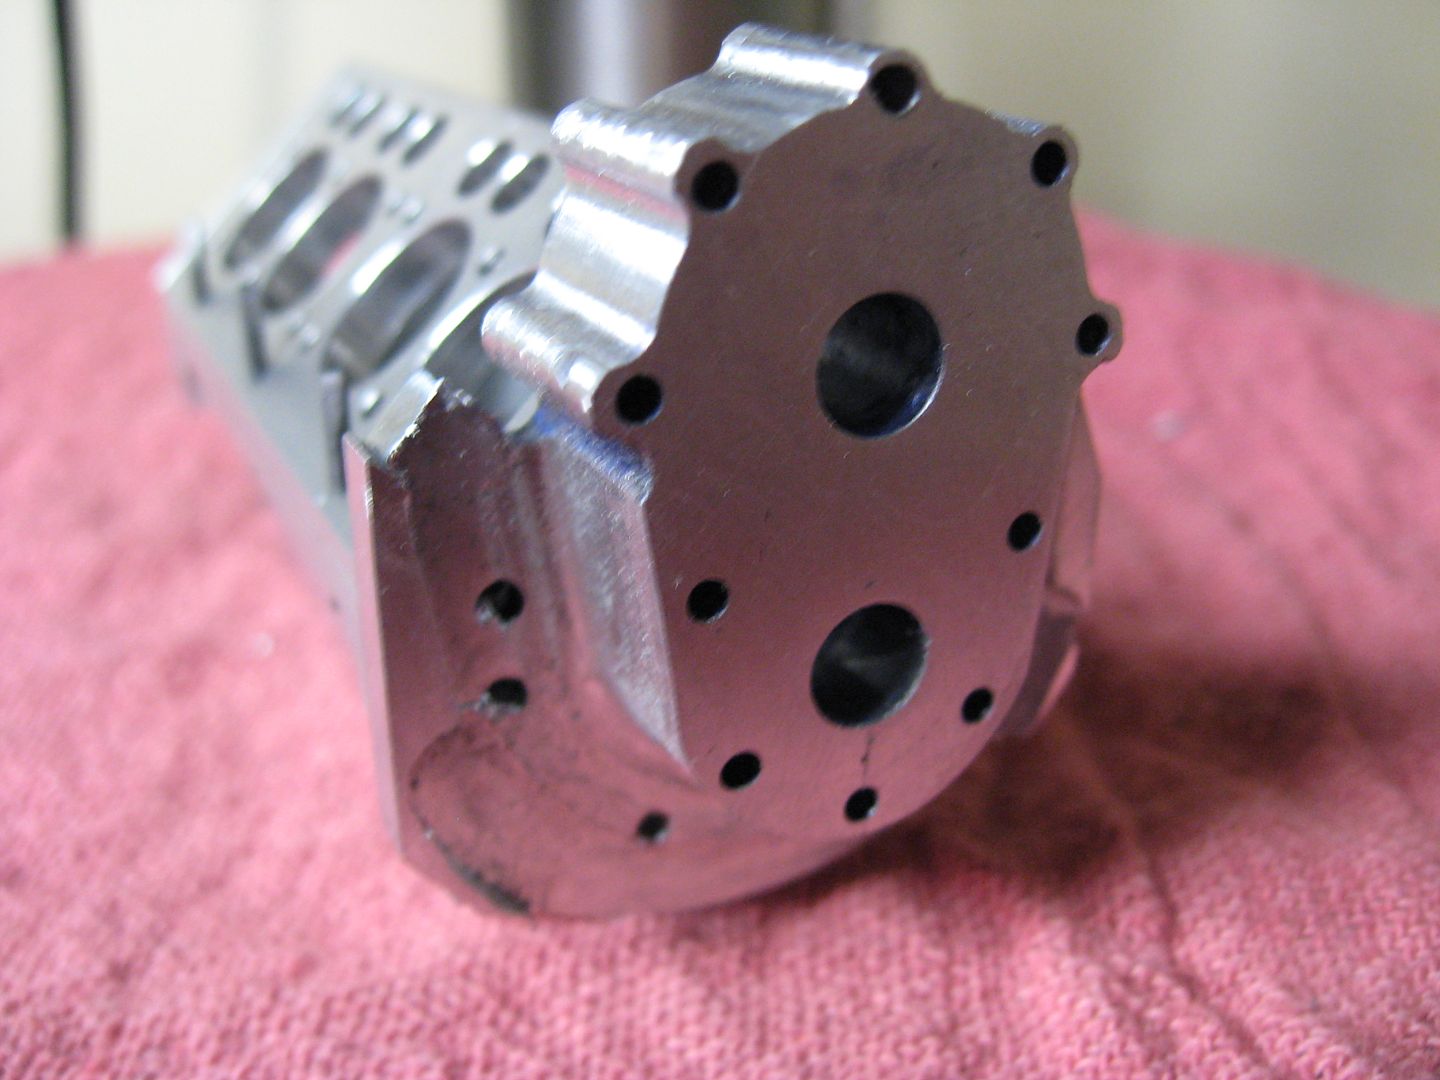
Here's my efforts so far. Keep up the great work.

Rob


002.JPG


011.JPG


012.JPG
 
Very nice Rob,
I'm planning to get in a little shop time tonight. A little, don't want to push things to much. I just started to feel better yesterday!

Tony

I like the lighting, looks like it's gold anodized!
 
WOW!

I'm trying to turn a little CRS flywheel and drill a couple of holes in it.

I just got back from buying a few drill bits.

Your engine looks fantastic.

SAM
 
Rob, Ray,
This is pretty cool. 3 of us just about at the same point in the build. We can really compare notes!
Now all we need is GailinNM to drag out his parts. Then there will be 4!
Tony
 
Rob Tony
Tony Hope back is OK now & not holding the job up
Rob Build looks v.good the cap head screws look really cool on the end caps are they BA or UN
Did 2 hrs on the camshaft did not want to use topslide scale for position of cams so marked out on surface plate I think it would have been easier to transfer DRO from mill to lathe
Good Luck Guys
Ray
 
Tony, Rob & Ray,
Great looking work by all of you. I have been following along, but have not posted in a while. Before getting to the heads and valves, I wanted to have my hand at some small valves so I have been building a "Tiny" of PutPutMans. It has smaller valves than the Whittle so I thought it would be good experience. I am shut down right now doing some modifications on the lathe, but that will be finished today or tomorrow.

Since I last posted I did get the cylinders all turned and lapped to size. I still need to cut the flats on the fins. I made them out of 41L40. So I am creeping up on it a little bit at a time. I also got the glow plugs in as I found some on sale at a fair price. They had 10 left so I bought all of them.

You guys are giving me inspiration to get back on the project some more.

Gail in NM
 
Well the back was felling better. I'll let you know tomorrow how better!

Come on Gail join the party!!

Got quit a bit done tonight


Thanks Ray for the flats tip....you saved my Whittle ;D


It actually lines up


The inside


The outside


I'm thinking studs and nuts


No broken things....I was going to tap but my 1-72 where ....shirt. I got to order some new ones. Don't want to break a tap now!
Time for the Rotary Table

Tony
 
"No broken things". Woo-hoo!
It fits up nice, Tony. Glad you could get into the shop.

Dean
 
Tony,

Good that your back in the shop. :)

Best Regards
Bob
 
soooo many holes
scary very scary lol
looking fantastic guys
cheers Pete
 
Hi Tony
Glad your back in the shop & got the chips flying.The part looks good, the critical bit is done the cam & crank holes I can see this finished for the weekend. How do you plan to do the rads mine need improving somehow. EW recommends studs & nuts for the cover plate & hex head for both end caps.The cam is in the lathe with the first cuts done the marking out may not be the preferred method but it worked for me, so far so good.
Cheers
Ray


P3240060.JPG


P3250066.JPG


P3240060.JPG
 
Hi Ray,
I plan on turning a stepped pin, 1/4" and the other to fit the screw hole. Pin in vise (1/4) the other in screw hole slowly rotating part as I bring the mill closer and closer (no climb cut or say bye bye). This will be after roughing. I know, don't make much sense but I post pics tonight. Hopefully all that shaping will be over with.

Did you make the cam fixture yet or are you going with spindex or RT?

Tony
 
That you in the new avatar, Tony?

Snappy lookin' feller, you are.

Dean
 
Yup, That's me Dean.

Now to the V8. I got a lot done tonight,so here goes
Located the screw holes with a pin gauge after centering RT adjusted vise to pin.
IMG_1109.jpg


Moved out proper distance...and away we go.
IMG_1110.jpg


The set up
IMG_1111.jpg


The cuts
IMG_1113.jpg


Large radius cuts
IMG_1116.jpg


The dig out
IMG_1117.jpg


More to cut
IMG_1124.jpg


IMG_1126.jpg


Till Tomorrow

Tony
 
Tony,

I'm impressed, very neat. :bow: :bow:

Best Regards
Bob
 
That's some very handy work, Tony. It's an impressive looking thing, for sure.

Dean
 
Wow Tony. Were it me I don't know how I could continue...I'd worry so much about possibly messing up the next operation. Nice going.
 

Latest posts

Back
Top