


Sshire
Well-Known Member
- Joined
- Jun 29, 2011
- Messages
- 936
- Reaction score
- 259
Whistle times 3
While waiting for the paint to dry on the boiler's firebox castings, I got onto the whistle. Someone told me that a proper boiler needs a whistle. I'm looking at this one as a prototype. I love the sound of a multiple chime whistle and started with this piece of 1.25" brass. which will be the body. Initially, the short cutoff piece was going to be the bottom but, with the "plans" in my head, that changed down the line.
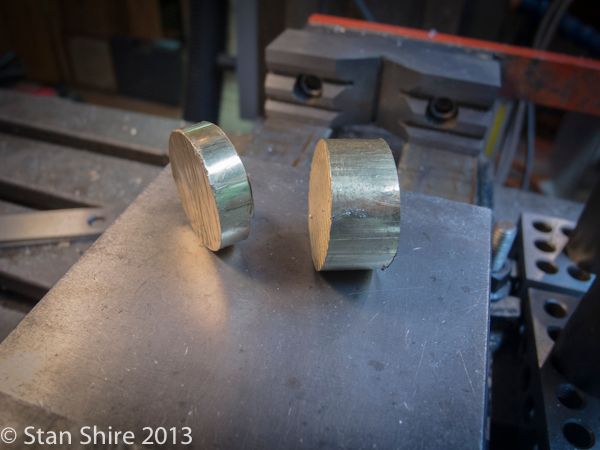
Faced and generally squared up.

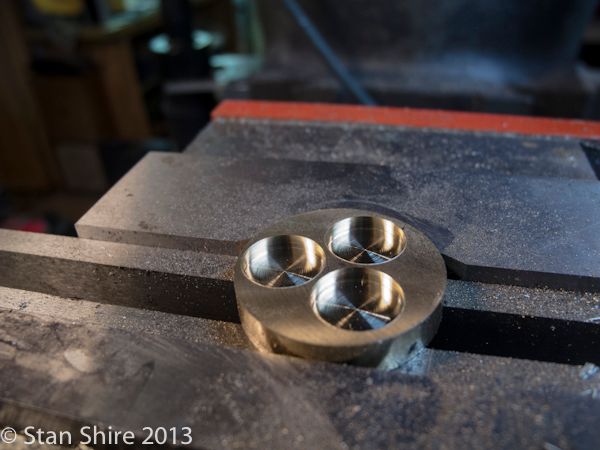
Since this is to be a three chime whistle, I set up a bolt hole pattern on the DRO and used a .5" end mill to give me the recesses for the whistle pipes.

Ended up here. Depth is .200.
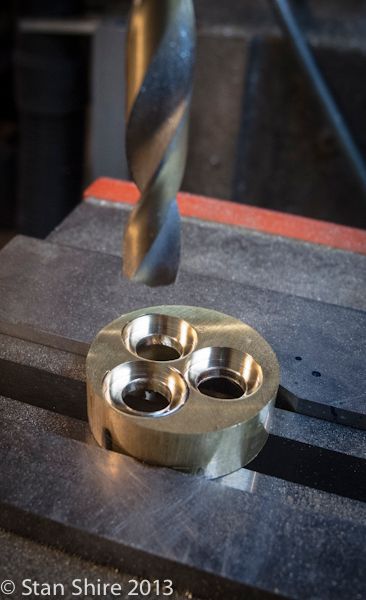
Then, through holes were drilled. These allow air to get to the whistles.
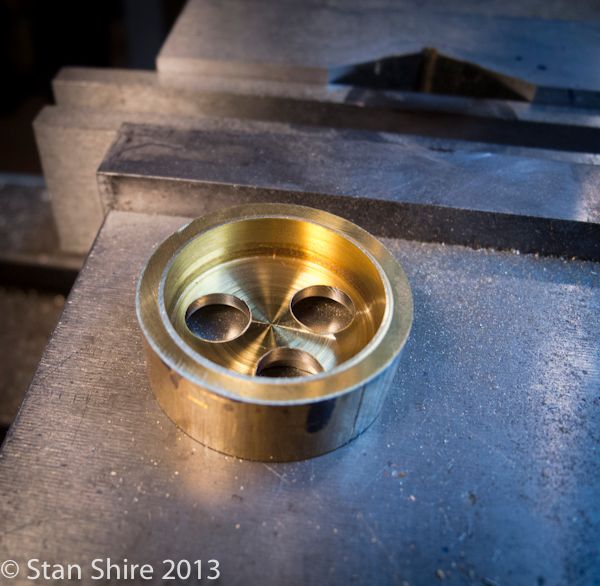
Flipped the body over and used a 1" end mill to carve out a recess for the air chamber.
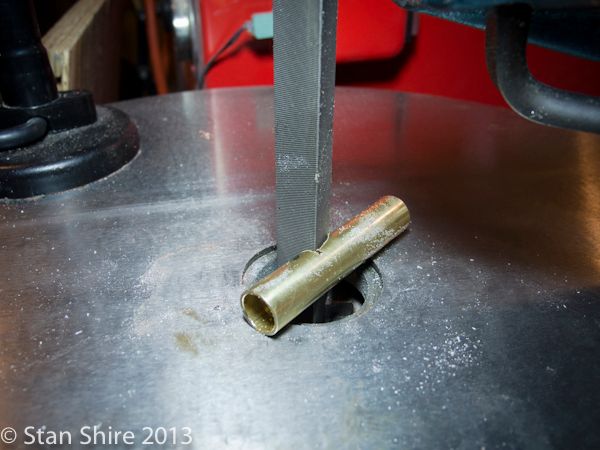
The original concept for doing the cutouts in the pipes. First the bandsaw to rough them out.
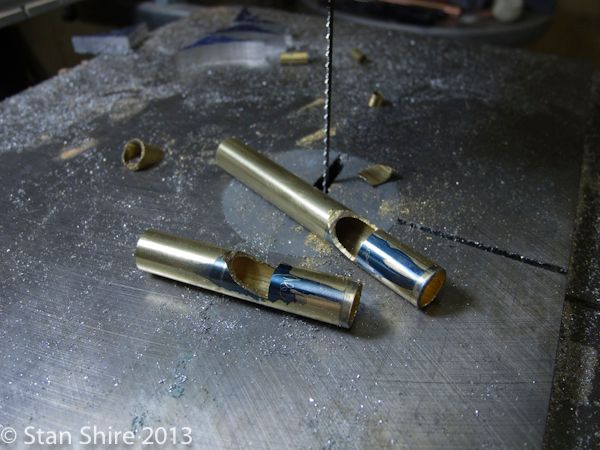
Then a triangular file in Oliver to clean up the bandsaw cuts.
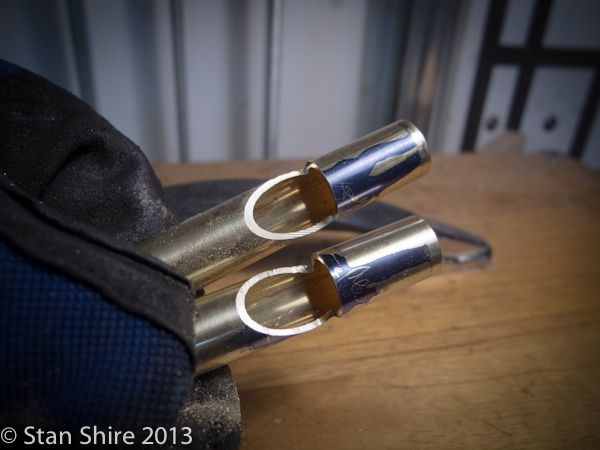
That got me here.
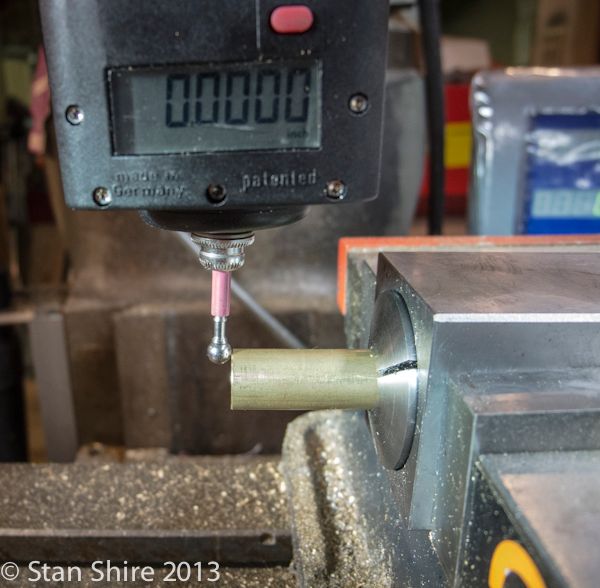
Reading everything I could find on small steam whistles showed a better, and more precise way to make the openings in the pipes. So, here's Plan B.
New piece of .5" OD pipe. Edge located.
[
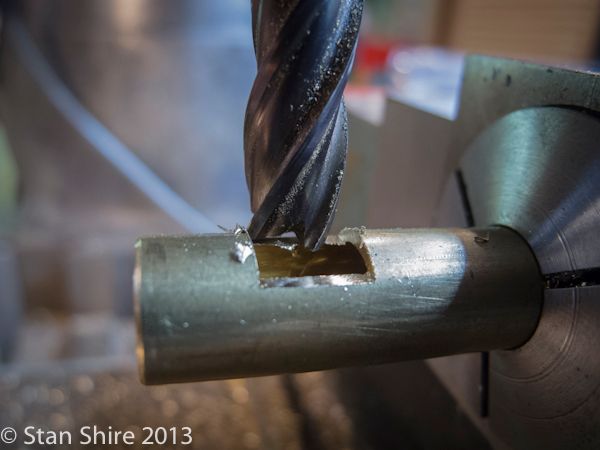
An End mill, .375 from the edge. Make a pass, raise table, repeat until the width of the opening is .25"
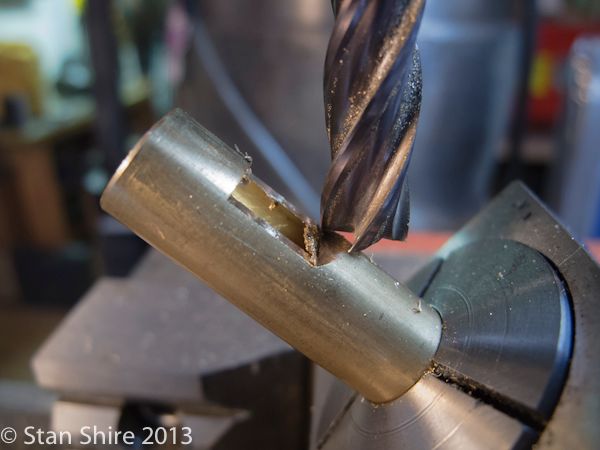
Then bring the 5C collet block up to 45 degrees and make the knife edge at the top of the opening.
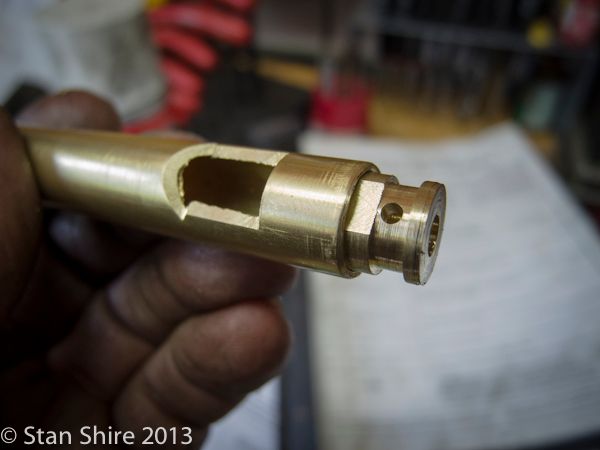
Turned this piece on the lathe. Wide diameters fit into the whistle pipes and the center recess is for an air chamber. The 5C collet then moves to the mill to cross drill an air passage and mill the flat where the air will exit.
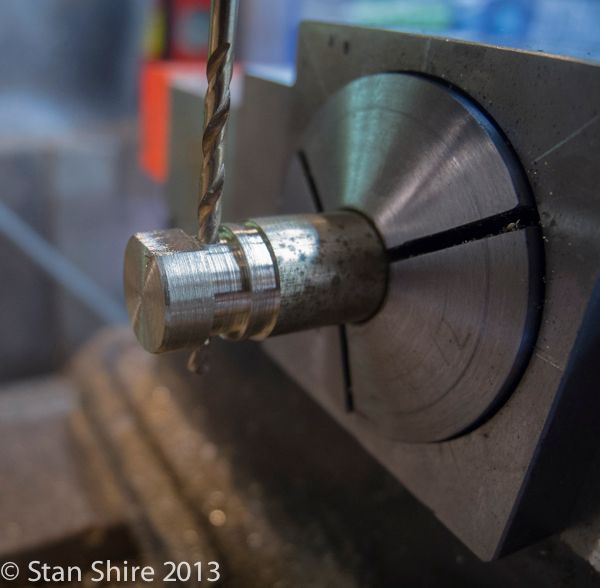
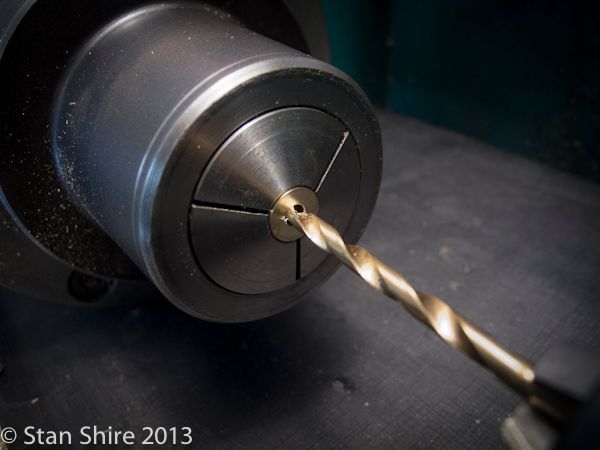
Then back to the lathe to drill an air passage from the bottom to intersect the cross-drilled passage.
The finished piece.

Test fit in the whistle tube.
Looking in the bottom hole, the cross-drilled air passage is visible.
Everything soldered together. Air inlet pipe (¼-40 thread) is in the side of the body. Didn't spend much time filing and cleaning up, as I'm going to remake the whole thing now that I have the process somewhat refined.
I'm going to do a CoC while my notes are still on the bench and in my head. I'll post it if anyone is interested. It does sound like a whistle. I plan on getting to a video over the weekend so you can hear it. Toot. Toot.
While waiting for the paint to dry on the boiler's firebox castings, I got onto the whistle. Someone told me that a proper boiler needs a whistle. I'm looking at this one as a prototype. I love the sound of a multiple chime whistle and started with this piece of 1.25" brass. which will be the body. Initially, the short cutoff piece was going to be the bottom but, with the "plans" in my head, that changed down the line.

Faced and generally squared up.

Since this is to be a three chime whistle, I set up a bolt hole pattern on the DRO and used a .5" end mill to give me the recesses for the whistle pipes.

Ended up here. Depth is .200.

Then, through holes were drilled. These allow air to get to the whistles.

Flipped the body over and used a 1" end mill to carve out a recess for the air chamber.

The original concept for doing the cutouts in the pipes. First the bandsaw to rough them out.

Then a triangular file in Oliver to clean up the bandsaw cuts.

That got me here.

Reading everything I could find on small steam whistles showed a better, and more precise way to make the openings in the pipes. So, here's Plan B.
New piece of .5" OD pipe. Edge located.
[

An End mill, .375 from the edge. Make a pass, raise table, repeat until the width of the opening is .25"

Then bring the 5C collet block up to 45 degrees and make the knife edge at the top of the opening.

Turned this piece on the lathe. Wide diameters fit into the whistle pipes and the center recess is for an air chamber. The 5C collet then moves to the mill to cross drill an air passage and mill the flat where the air will exit.

Then back to the lathe to drill an air passage from the bottom to intersect the cross-drilled passage.

The finished piece.

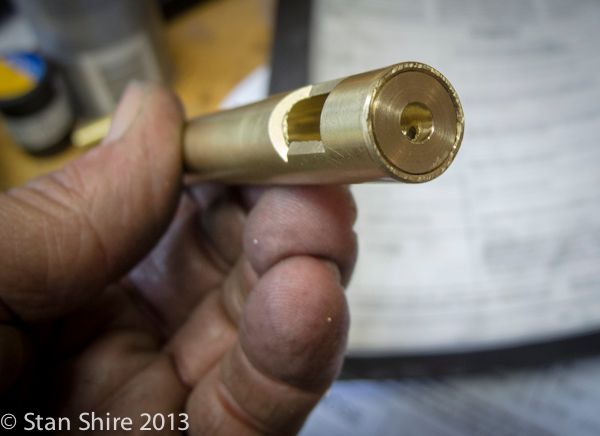
Test fit in the whistle tube.

Looking in the bottom hole, the cross-drilled air passage is visible.

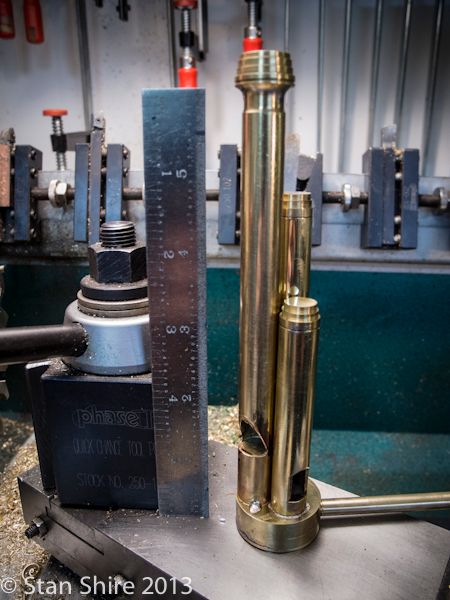
Everything soldered together. Air inlet pipe (¼-40 thread) is in the side of the body. Didn't spend much time filing and cleaning up, as I'm going to remake the whole thing now that I have the process somewhat refined.

I'm going to do a CoC while my notes are still on the bench and in my head. I'll post it if anyone is interested. It does sound like a whistle. I plan on getting to a video over the weekend so you can hear it. Toot. Toot.