Th unusual tools are often looked at with wonderment, these tools are very basic.
Tap Holders are made in a variety of shapes and sizes and whenever I see an odd tool at a flea market I cant resist.
Here are four different tap holders I have found over the years and surprisingly, I tend to use these over some more recent tools available in todays market.
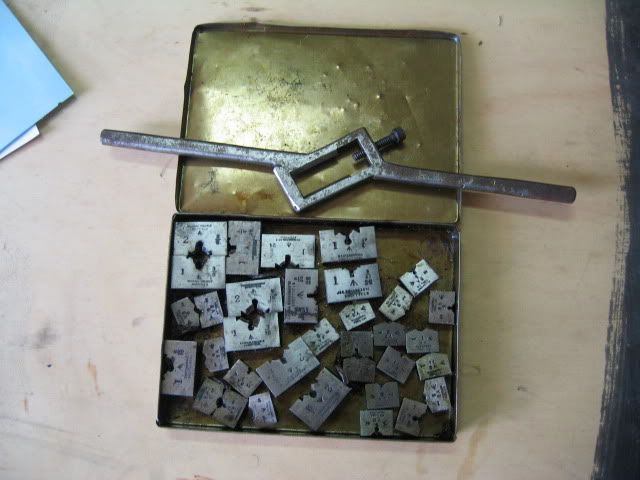
The first is simply made from a piece of flat bar and has three different size square holes machined or filed in to it. It has no makers mark.
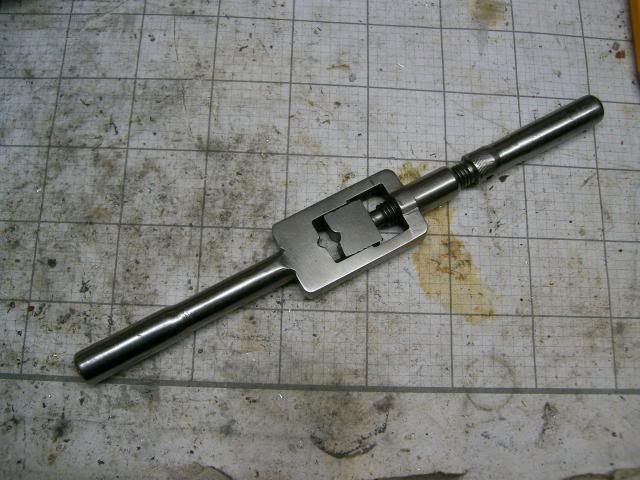
The second is made from a piece of round bar stock and one end is threaded. The hole is formed square on one side. It is stamped British made. I find this one very easy to use for small taps.
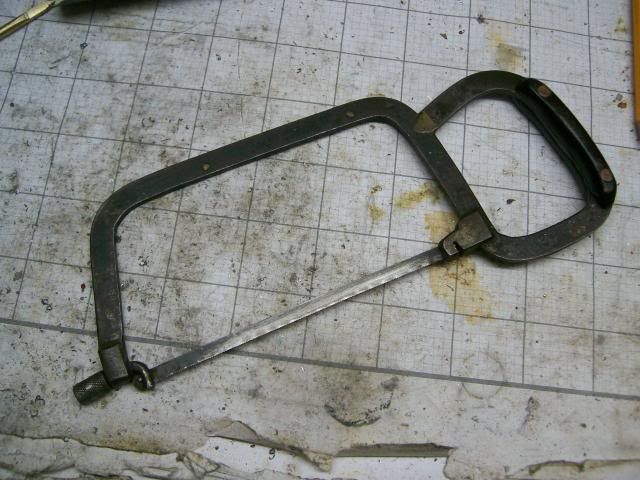
The third is made from a combination of Flat and round bar stock and works somewhat like a set of parallel clamps with a thread in each side.
Both sides are identical so there are only two parts made twice. The unit can accept taps up to 12mm. It has stamped markings on it "TNC 151" and appears to be a commercial unit
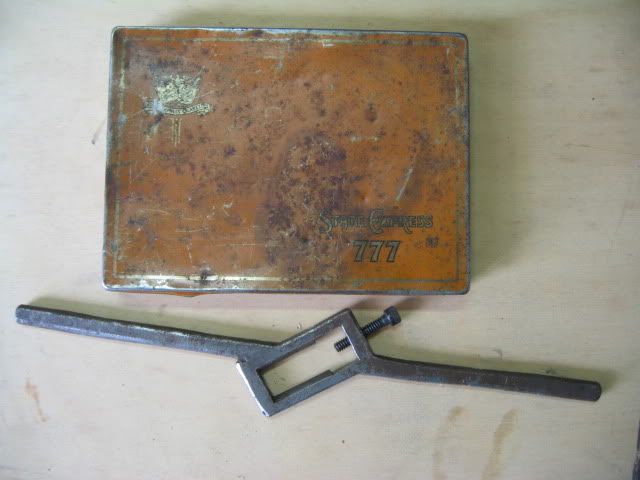
The last unit is may favourite to look at but rarely use. It is made from bar stock. The jaws are made to slide by way of a vee in the body and a matching "A" groove in the jaws. The lot seems to have been made on a lathe and use of a file. Perhaps this was a an apprentice job? There are no markings on the unit
Next time you see a rusty piece in an old box, will you be tempted and give the unit a new lease on life or will you let it go to tool heaven?
Cheers
Phil


Tap Holders are made in a variety of shapes and sizes and whenever I see an odd tool at a flea market I cant resist.
Here are four different tap holders I have found over the years and surprisingly, I tend to use these over some more recent tools available in todays market.
The first is simply made from a piece of flat bar and has three different size square holes machined or filed in to it. It has no makers mark.
The second is made from a piece of round bar stock and one end is threaded. The hole is formed square on one side. It is stamped British made. I find this one very easy to use for small taps.
The third is made from a combination of Flat and round bar stock and works somewhat like a set of parallel clamps with a thread in each side.
Both sides are identical so there are only two parts made twice. The unit can accept taps up to 12mm. It has stamped markings on it "TNC 151" and appears to be a commercial unit
The last unit is may favourite to look at but rarely use. It is made from bar stock. The jaws are made to slide by way of a vee in the body and a matching "A" groove in the jaws. The lot seems to have been made on a lathe and use of a file. Perhaps this was a an apprentice job? There are no markings on the unit
Next time you see a rusty piece in an old box, will you be tempted and give the unit a new lease on life or will you let it go to tool heaven?
Cheers
Phil