- Joined
- Jun 24, 2010
- Messages
- 2,361
- Reaction score
- 931
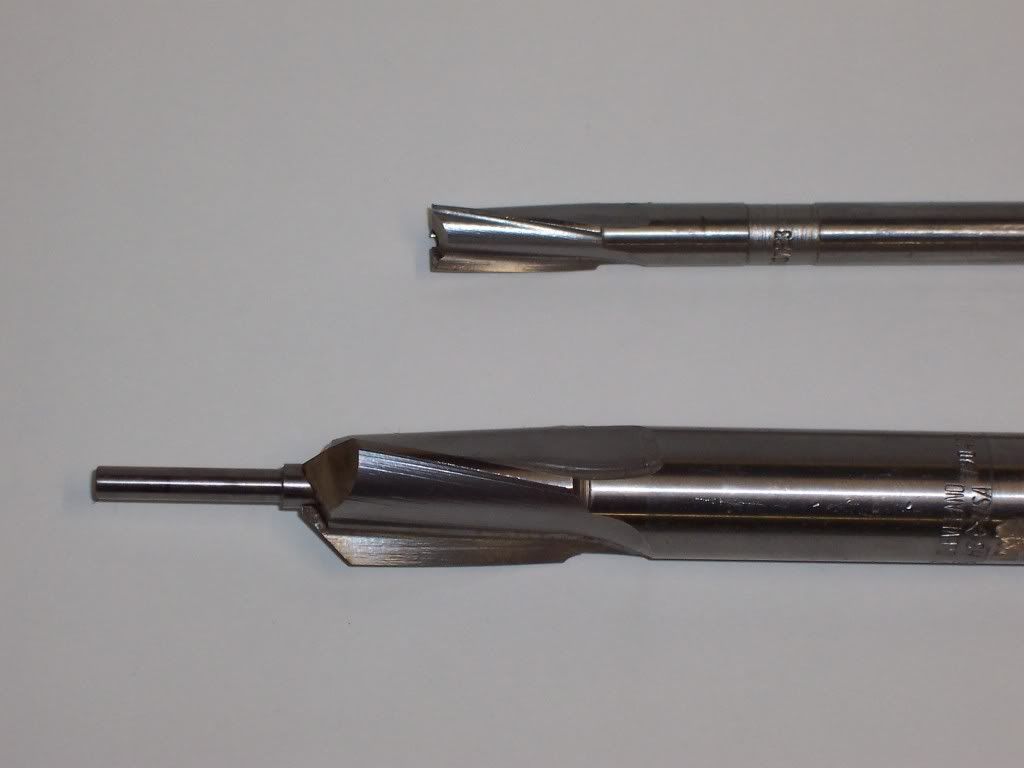
Im drawing up my design that assumes a valve group like the sketch. After searching some posts here, the general consensus was to keep the 45 deg valve face itself relatively thin for good seal, like 0.010 0.015range.
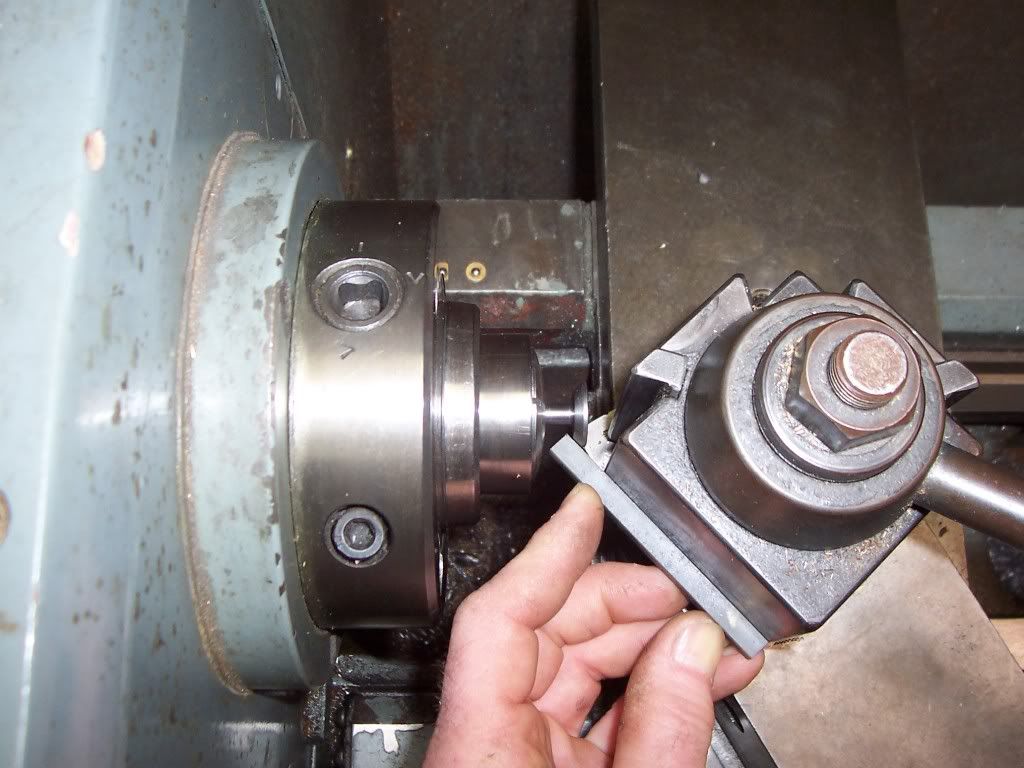
Visualizing how (a newbie like me) would actually machine this, Im guessing: set the compound to 45 deg, reference zero off the corner with the cutting tool, then come back a fixed amount, in this picture example removing 0.010 yields a face of 0.014.
But would one risk being off by a couple thou just looking the corner reference? Say you were over +0.002 on one cup because there was a slight burr, then under 0.002 on another by misjudging a hair thin shaving. Now this error progresses to a proportionately varying seat dimension by adding 0.010? Normally one can check how dimensions are progressing against an actual measurement, but how would you accomplish this on a relatively tiny, internal circular face like this?
This leads to another question. Ive also read that you should maintain the same compound angle for all the valve seat faces & the valves themselves to ensure a good fit. Maybe the actual set angle is 44.5 deg vs. target 45.0 deg, but at least everything is 44.5 deg & matches. So Im thinking maybe if one had a stop point so the cage extends outside the collet to a fixed position & then you are always lopping off the same (0.010) amount they would be the same & bypasses the corner searching issue?
Am I over-thinking the problem, or maybe there is some setup advice Ive missed? I would have to make 10 cages + 10 valves + spares so its worth hearing advice!