Trying lost wax casting

Home Model Engine Machinist Forum

Help Support Home Model Engine Machinist Forum:

This site may earn a commission from merchant affiliate links, including eBay, Amazon, and others.
Did couple wax patterns. Sure wish would of done core for big end. Ruined first one. Took long time for wax to freeze in big end and had opened rubber mold too soon. Second one came out ok, think need higher wax temperature.
firstwax6006.jpg
 
Thanks, shred - I'll give it a go once I have my shop set up, and see what I can come up with.

Looking nice, ghart3 - plenty of trial and error required, but you're getting there. Looking forward to seeing it in the metal. Can you drill the wax out of the big end and replace it with a carburised steel plug? That may work as a core that can be driven out of the finished casting and re-used.


The wax can be drilled out and no core would be needed. With investment casting no relief is needed, metal will go only where the wax was melted out.

What should of done was drill out the metal model and insert pin in the hole. After vulcanizing the pin slips out of the metal model and goes back in the rubber mold. After injecting the wax and removing, the pin can be pushed out of the wax pattern, leaving the hole in the wax. gary
 
Okay, I see now. When you mentioned 'core' 4 posts up I went off on a tangent, having only done casting from wooden patterns before.
 
Made some wax patterns. Rubber mold is dusted with baby powder so hot wax don’t stick to the rubber

zbabypowder.jpg


Rubber mold lightly clamped to hold halves together without distorting them.

zclamped.jpg


Using home made pressurized wax pot to inject wax into mold.
zinjectingwax.jpg


Left mold clamped for 5 minutes to make sure wax solidified before opening.

zwaxliquid.jpg


11 waxes ready for treeing and investing.

zwaxesbook.jpg

Gary
 
Your going to upload plans for that wax melting pot right? :)
 
Gary, you sure do make it look easy! And the results are amazing.

Chuck
 
Bill, for making a wax injector you might one to see if you can find a small book called "Handbook of Lost Wax or Investment Casting" by James E. Sopcak. Has lots of "How to Make" articles in there. Made manual pot like in book and it works good. Only reason made air pot was, well, cause like making tools. Will try do some info on mine. Never done one of the PDF things but will give it a go.


Chuck, mostly what makes it looks easy is cause don't take pictures of the goofs and messes that I make. Actually it is not hard but is kind of involved.

Gary
 
Good link, Rick. That is a good way too get started and keeping it simple.
Lots of good info.

My problem is getting free catalogs from the big boys like:
http://www.gesswein.com/catalog/home.cfm?CFID=2195339&CFTOKEN=74423899
https://www.riogrande.com/home/
http://www.grobetusa.com/
Looking thru the catalog and seeing the expensive equipment, I think Gee, got some stuff (mostly junk) that is on hand. I can make that for all most nothing. Trouble is it can be long road when should of just got in and done something with what could do with what’s on hand as shown on link Rick posted.
 
Manual wax pot. Old hot plate with pot on top, simple hand pump, temperature gauge. Outer shell is old coffee can.
zmanualwaxpot.jpg


Waxes turned out about 1/16” to long between bearing centers. Shortened the waxes by taking saw cut out of middle of rod using band saw.
zcuttingwaxrod.jpg


Wax pieces are held in alignment in V-block and welded using hot pen. Kept pen on in picture only to show it is hot. This is way to hot for the wax.
zweldingwax.jpg


Picture showing rod on bottom before cutting and one on top is welded back together. Welded rod still needs little work in welded area to even up. Working the wax with hot pen is very easy and have much control. Very easy with the hot pen to add just part of a drop of wax if wanted.
zsplicedwaxrod.jpg

 
Thats inspirational. I bought some stuff for a try at lost wax casting but havent had the right project come up yet.Id like to see more of this type project.
 
Made some lost wax equipment ten years ago after seeing a demonstration and been wanting to do it ever since. Was lucky to have gone to a 3 day class a year ago. Should of done something right after class but didn't. Would of been far easier to just machine 4 rods but figured this was as good as any place to start and if I posted as going along maybe will give me incentive to finish this first project.

Having trouble figuring out how to sprue up the con rod waxes. Thought bigger flask would work better. Made new 4 and half diameter investment vacuum flask.
011209spruedwaxes001.jpg


Sprued up 8 waxes all at same level and think will fit in the 3 and half inch diameter flask
011209spruedwaxes002.jpg


8 waxes in 3 and half inch diameter investment flask. Might be too crowded. Suppose to have 1/8” between waxes, 3/8” from sides and half “ on bottom. Picture is showing bottom up.
011209spruedwaxes006.jpg

 
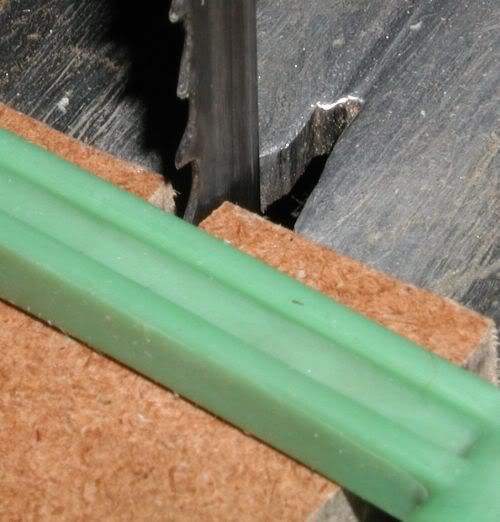
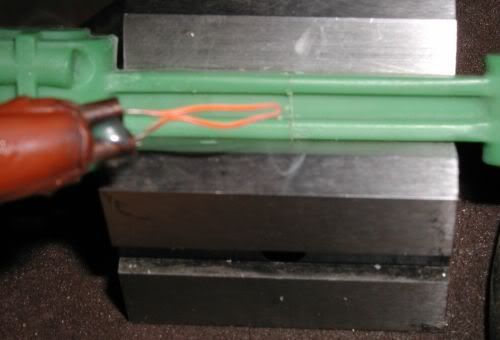
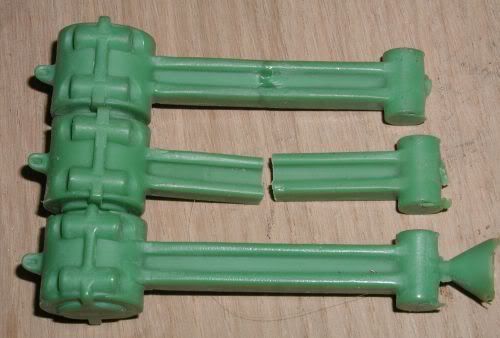
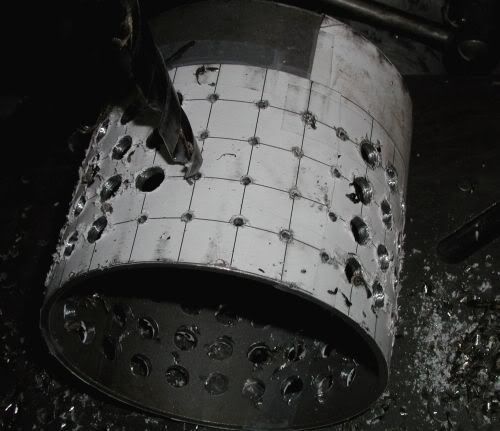
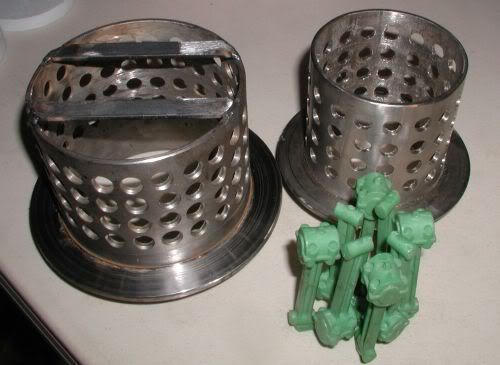
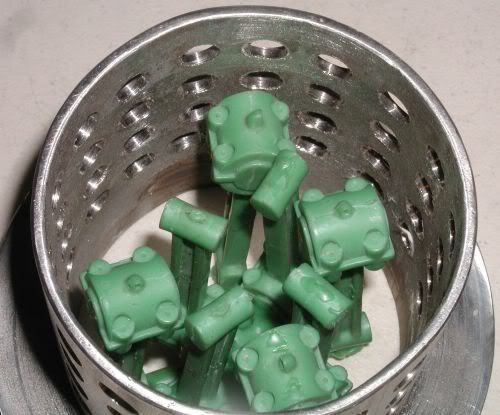
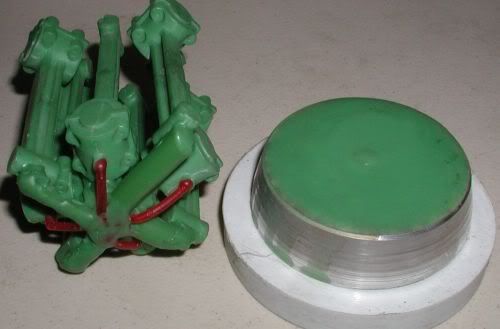
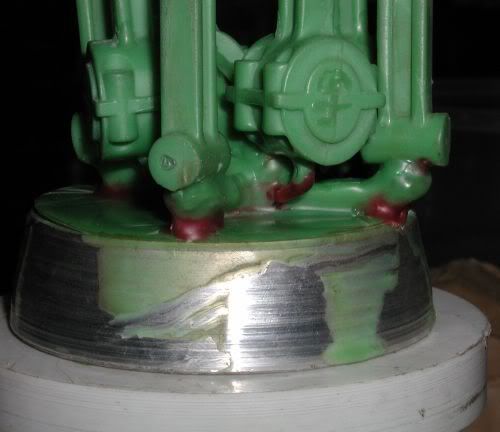
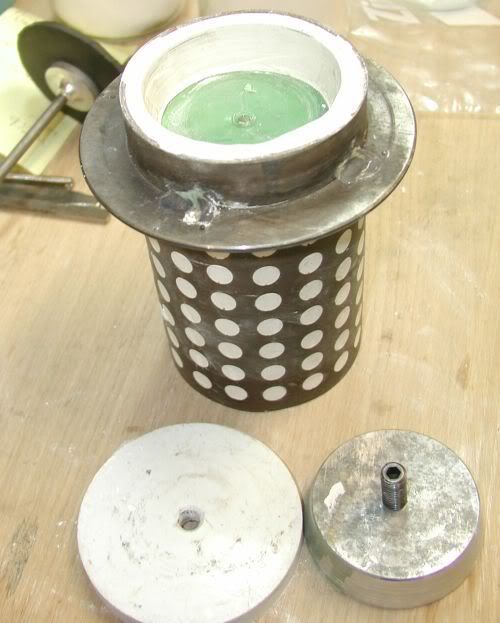
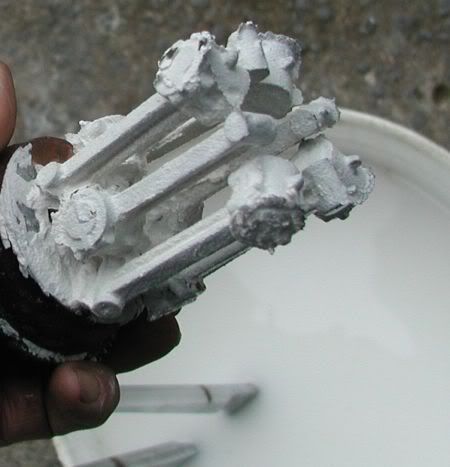
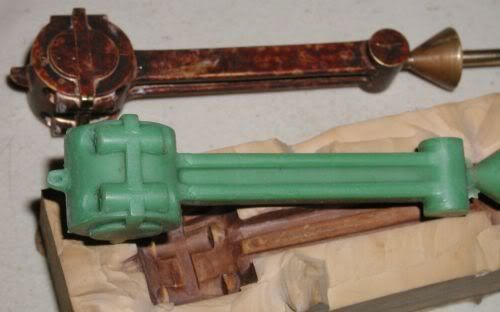
Little more work on sprues before attaching to base. Wish hadn't done such a sloppy job. Got fears hunks of investment will be left after burnout that can be washed into casting when pouring

zbaseready2.jpg

zpourbasin.jpg


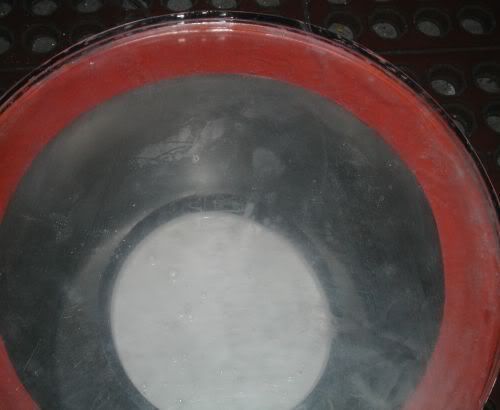
Base taped on and holes taped over with cheap electrician tape to keep investment from leaking out while pouring.

ztapedflask.jpg


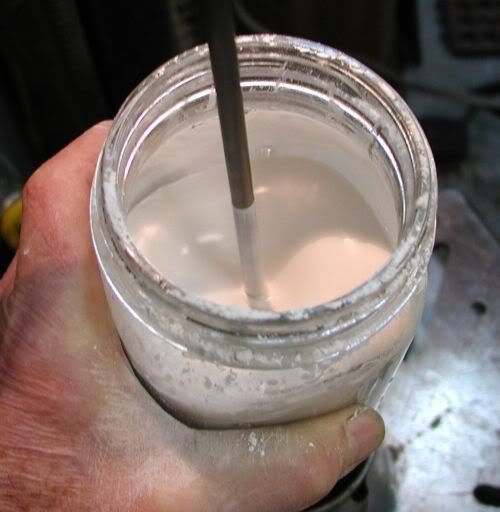
Found some good information at Ransom-Randolph site on investment.
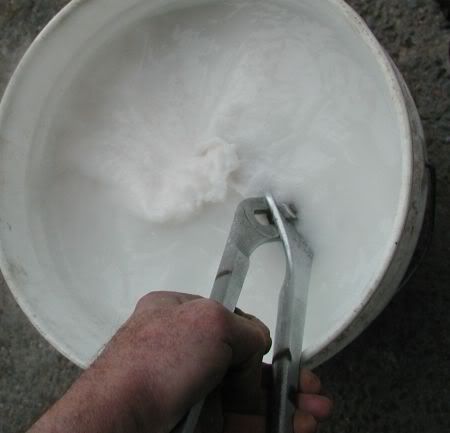
They told about using rubber disk for mixing investment. Made one and was quite impressed at how well it worked and didn't seem to pull any air into mix. Also site has nice calculator for figuring out how much mix and proportions needed.

http://www.ransom-randolph.com/English_measure_calculator_worksheet_jewelry.xls

zrubbermixingdisk-1.jpg


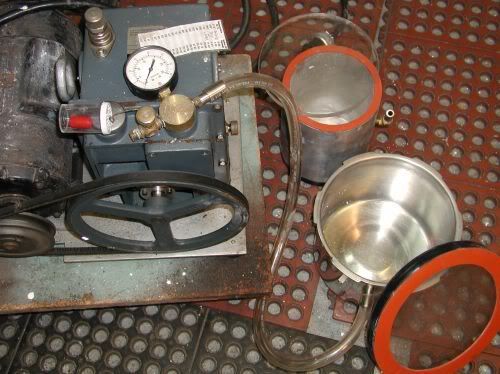
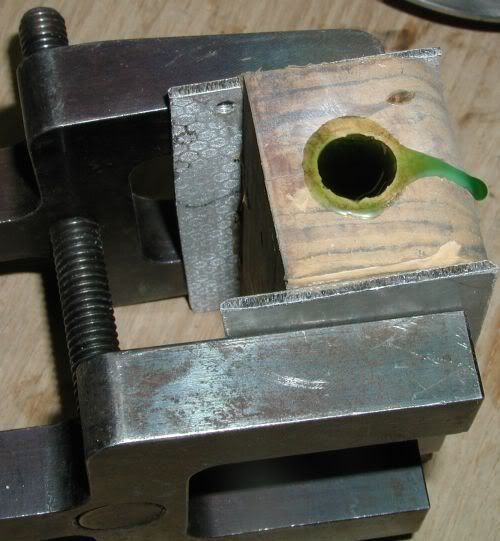
Mixing with drill press turning about 760 rpm.
zmixinginvestment.jpg


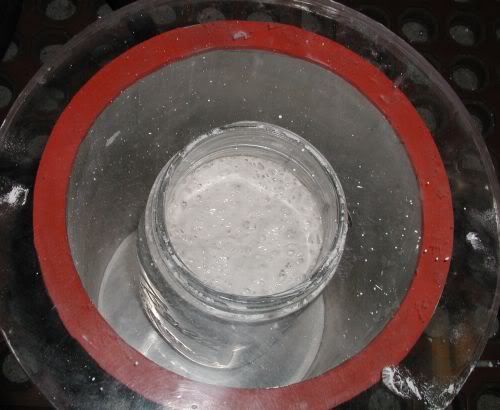
Vacuum after mixing about 4 minutes to remove air in mix.

zvacinvestment.jpg


Second vacuuming after pouring in flask.
z2ndvacafterpour.jpg


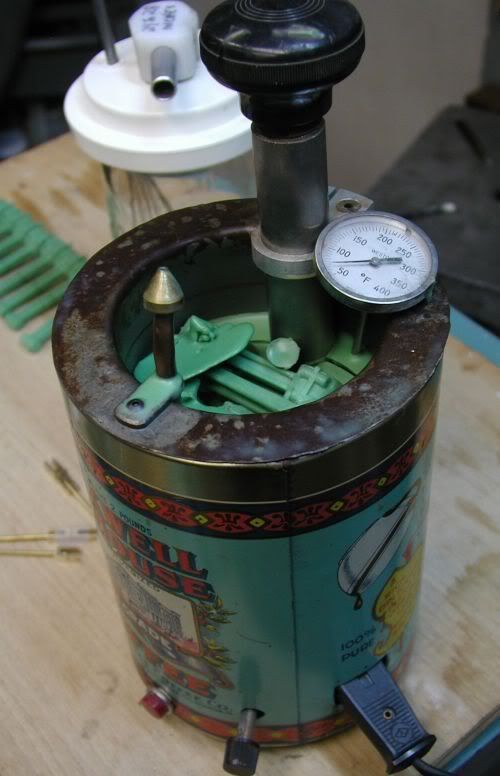
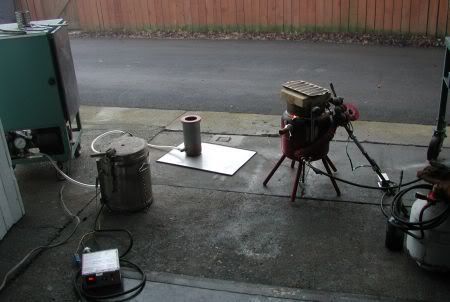
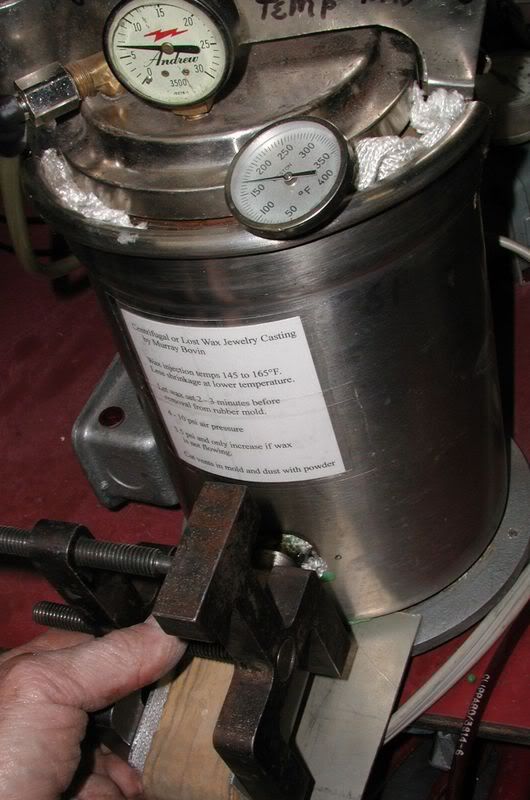
Vacuum pump set up. Two vacuum chambers one made from used kitchen canner and the other one from capped aluminum pipe.
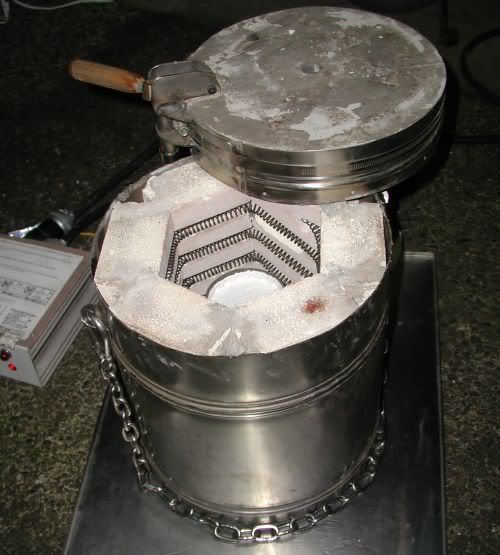
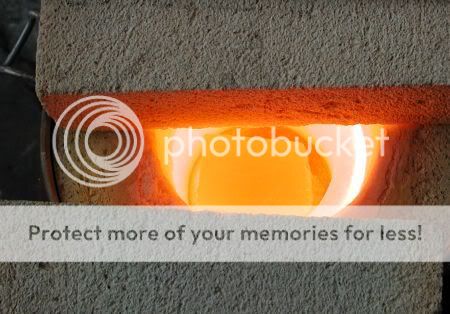
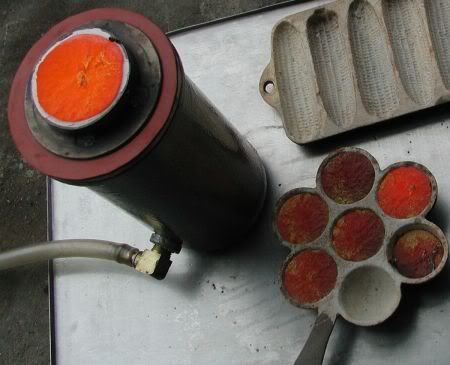
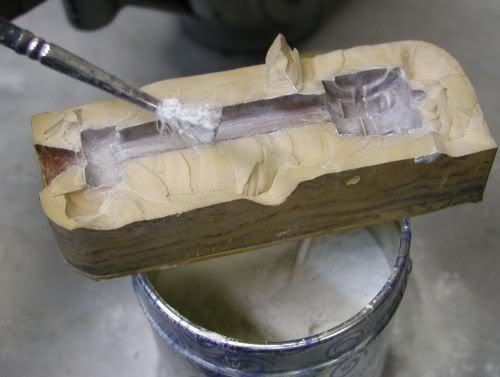
zVacpumpchambers.jpg


Ready for burnout.
Had bought investment at rock shop. Was a mistake as the investment is old. The gloss over time was about 4 minutes over what is called for. Next time will buy from jeweler supply place that sells more.

zreadyforburnout.jpg


Burn out oven. Vacuum cleaner can, soft fire bricks with slots cut for wire and heating element from an electric furnace.

zburnoutoven2.jpg


Investment burnout over night and did pour this morning
xsetup.jpg


Crucible is charged with some bronze with hunk of graphite on top. Not sure if graphite does any good. Thinking it might burn up oxygen in crucible.

This is only third time use for this propane furnace. Made a lifting device so crucible is raised up after metal has melted. Them made a special pouring shank that slides open allowing shank to slip over top of crucible. Lower shank and slide shank close and it has latch to hold in closed position. This works good and am pleased with this system.
xChargingcrucible.jpg


xovertop.jpg


Test run before pour, checking for trouble makers.

xTestingforpouring.jpg


Bronze melting

xmelting2.jpg


Just after pouring.

xjustpoured.jpg


Dunking investment with casting in water just after solidifying

xdunkingflask.jpg


xoutofwater.jpg


Lightly bead blasted to clean up some. Was surprise no shrinkage between rod bearing centers. Good thing had shortened waxes before pouring. Maybe there is usable rods in there. Thinking maybe might redo and cast in aluminum to have lighter rods.


xcleanedsome.jpg


End of story...............gary

 
Gary,

A very informative post of investment casting. :bow: :bow: :bow: :bow:

One question, were do you get your ingots from?

Again a very nice thread on casting.

Bernd
 
Bernd, I'm a scrounger and been saving scrap for years. This was all from the same kind of parts, cast electrical contacts. It looked like color of bronze and lucked out as melted good and got not dross.

If buying ingots, have read silicon bronze is good choice. Also have heard brass boat props are good for casting. Sorry, not much help.
Gary
 
That's fine Gary. I don't plan on doing any casting soon. Was just curious as to were you got yours. So it's scrap instead of ingots form a supplier.

Bernd
 
Back
Top