Summer activities followup (pictures)

Home Model Engine Machinist Forum

Help Support Home Model Engine Machinist Forum:

This site may earn a commission from merchant affiliate links, including eBay, Amazon, and others.

gbritnell

Project of the Month Winner!!!
Project of the Month Winner
Joined
Jul 16, 2007
Messages
2,987
Reaction score
1,056
Gents,
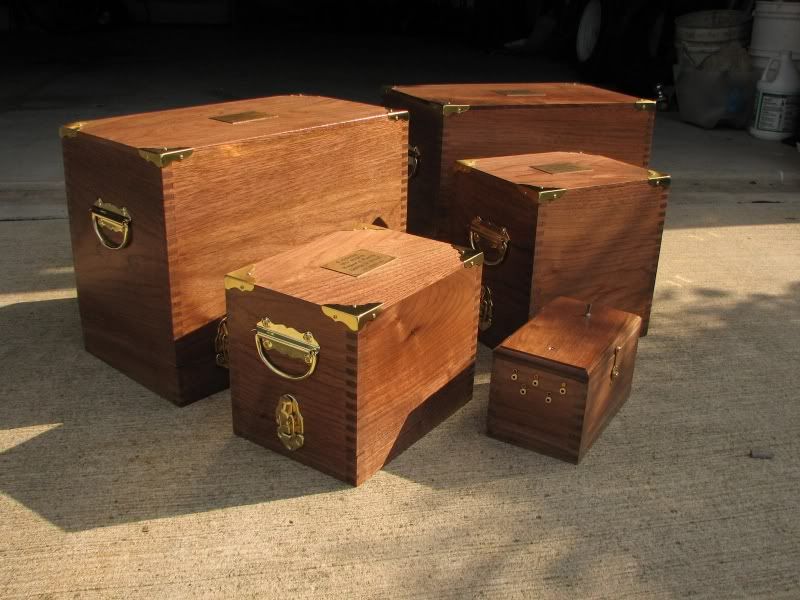
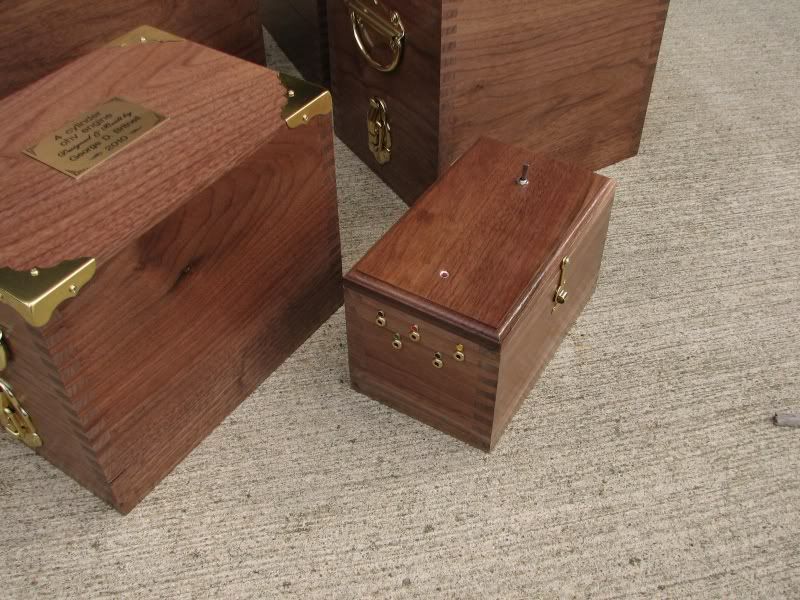
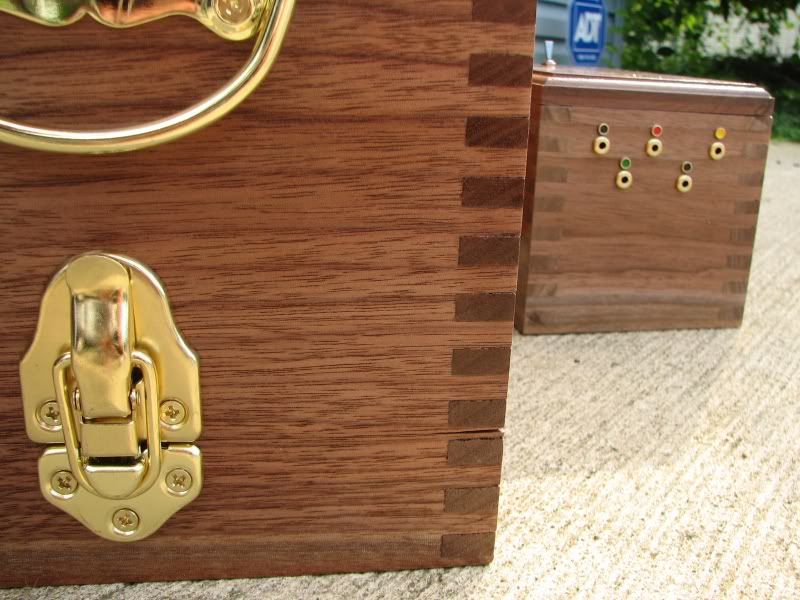
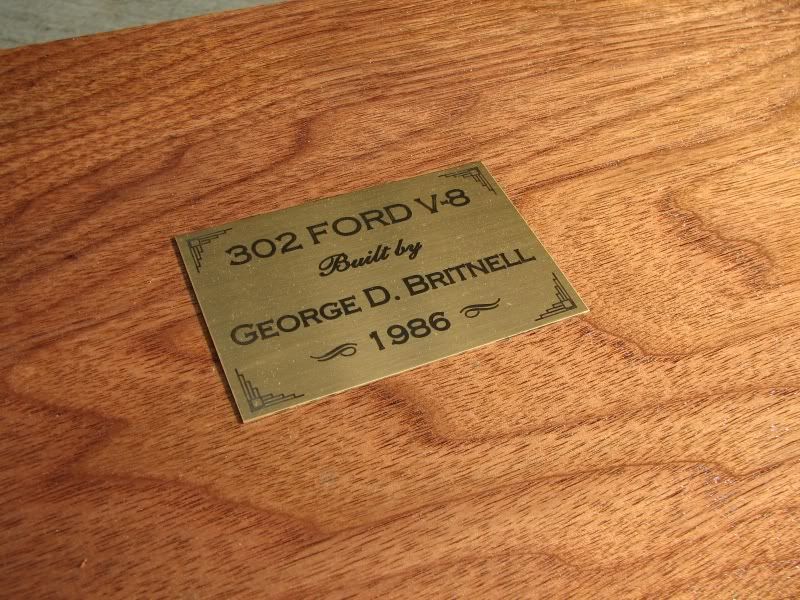
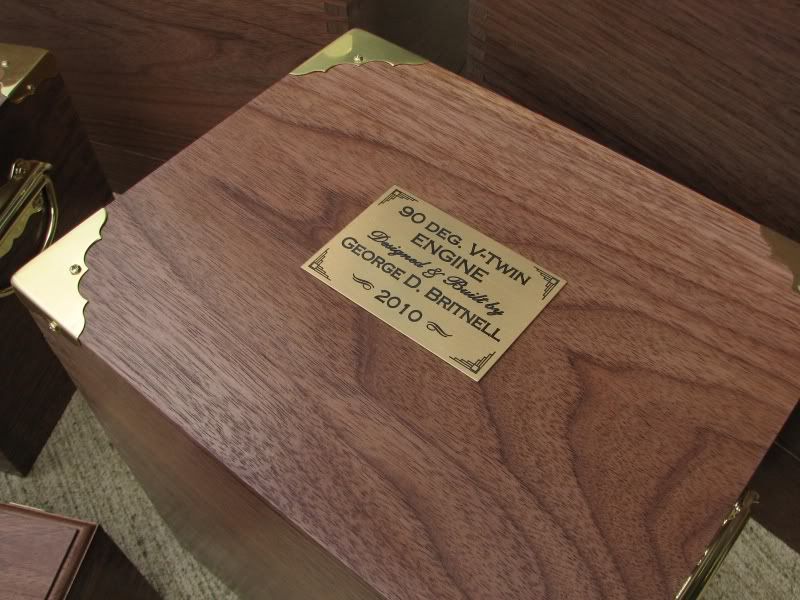
As a followup to my thread in the break room I have taken some pictures of the boxes I built for some of my I.C. engines, the 302, the Holt, the V-twin and the 4 cylinder OHV engine. I also made a couple of ignition boxes but only showed one.
I know they're not engines but they are at least related to engines.
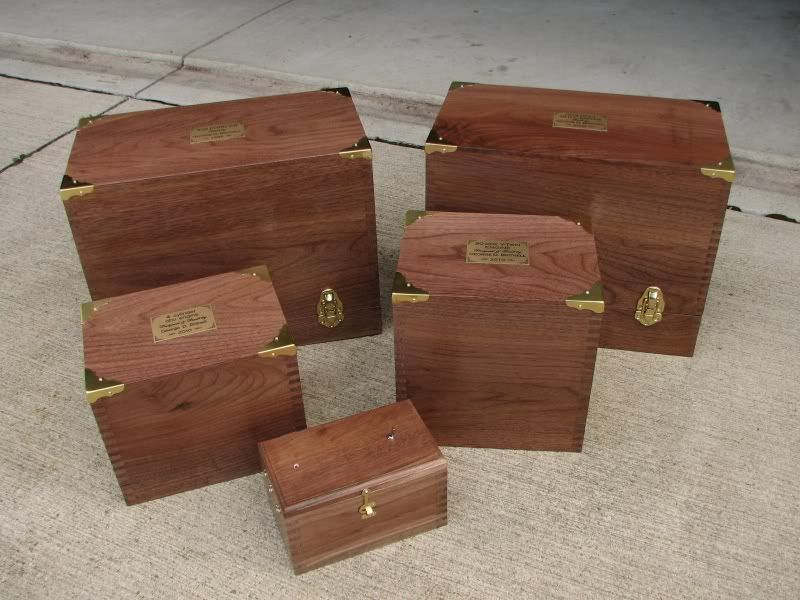
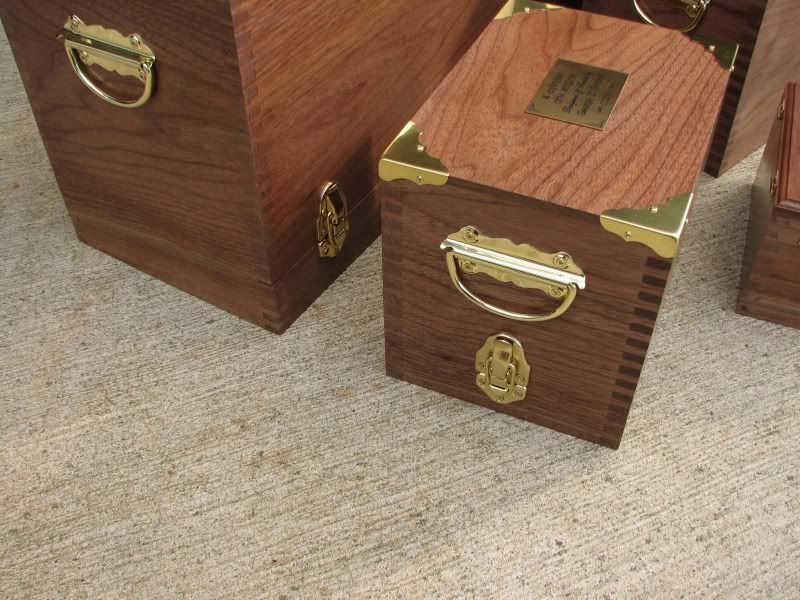
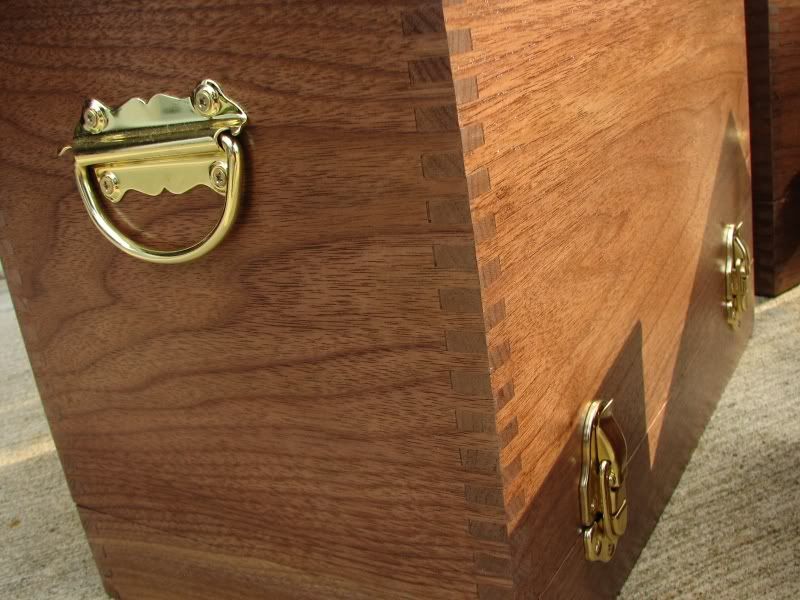
They are all made from Black Walnut wood. As can be seen they have finger jointed corners and are outfitted with brass hardware, or at least brass plated hardware. The bigger boxes are 13 inches high and made from one board. Hopefully the finger joints will keep it from warping too much. The finish is water based poly gloss. I have blocks glued inside to keep the engines from moving around.
I had always meant to get to this project because the engines deserved more than the cardboard boxes tied with string that I used to transport them in.
George

ENGBOX8.jpg

ENGBOX1.jpg

ENGBOX3.jpg

ENGBOX4.jpg

ENGBOX5.jpg

ENGBOX6.jpg

ENGBOX7.jpg

ENGBOX2.jpg


Very nice woodworking,

Excellent job on the finger joints,
good choice of wood, for that project.

 
George, that is VERY nice :bow: - a worthy transport system for your engines indeed!
 
George

Thanks for showing those beautiful boxes. I have made a few similar to those with the finger jointed corners so I know how much fun it is. If you have used a good quality glue on them and finish them both inside and out they should stay fairly stable. The brass trim and nameplates really sets them off. They are excellent quality as are the engines that they will house. :bow: :bow:

Cheers :)

Don

 
George,

Your woodworking skills mirror your metal working skills.

Very nice boxes.

Regards,

SAM
 
Beautiful, George. I'm not surprised!
Your boxes look nicer than my engines. ;)

Dean
 
George,

I can't agree with your more "the engines deserved more than the cardboard boxes ....." And your cases are every bit as elegant as the engines you are encasing. simply beautiful!
 
Lovely boxes for lovely engines! I´d like to ask a favor: could you show also the machines inside the boxes, please!


There's nothing left to say. I'll echo everyone else EXCELLENT work. :bow: :bow:

Ron
 
Beautiful work George. I know a guy that has most of his engines in Plexiglas display cases . Then an aluminum transport case to put the display case in. You can not beat walnut for classy furniture.
Tin
 
Thanks everyone.
Cidrontmg, I'm not quite sure what you're asking. Do you want to see pictures of the engines themselves or pictures of them sitting in the boxes? If you want to see the engines you can go to this link and then look at the other ones under my name.
gbritnell
[ame]http://www.youtube.com/watch?v=O_vQp0gevh0[/ame]
 
Hi George,

I used to make jewelery boxes as a hobby there for a few years. I appreciate a well-joined box and yours certainly look beautiful. Well done.

One thing that used to gall me was the price they were asking for the small solid brass hinges that had a stop, so the lid would only open to a certain point - usually to where the lid is held at a few degrees past vertical. Now, with my new machining hobby, I've been thinking about making my own solid brass hinges.

One trick I learned and it has to do with filling tiny gaps in the finger or dovetail joints was to put a piece of whatever wood my boxes were made of to my small belt sander and collect the sawdust. Then I would mix it into a small amount of Elmer's wood glue and use it as putty. It would match the color of the wood perfectly.

One of many I made.

DCB0000672.jpg


Can I ask where or how you made those engraved brass plates?

-Trout
 
George, there is perfection in everything you do. The boxes are just as beautiful as your engines.

Did you build a fixture for the finger joints, or how did you make them.
 
George,

I loathe working in wood with a passion, but I really do appreciate it when I see nice workmanship.

Your great engines deserve the time and effort you have lavished on them by making the transport boxes.

A great job.


John
 
Really beautiful work George, your engines deserve only the best.

Regards
Gordy
 
"Cidrontmg, I'm not quite sure what you're asking. Do you want to see pictures of the engines themselves or pictures of them sitting in the boxes? If you want to see the engines you can go to this link and then look at the other ones under my name.
gbritnell"

Oh, I´ve seen the engines, and not just once :bow: But sitting inside the boxes would be nice. I expect the boxes to have some internal structures, to hold the engines steady. I just can´t imagine them crashing wildly against the box walls, during transport...
 
Hi Trout,
Having dealt with a place that did a project for my class reunion several years back I know that the 'engraving' business has sure changed. The fellow was nice enough to show me all the new processes that they use for sign making.

With that in mind I made up what I wanted in a program called Corel. I looked in our local yellow pages and found quite a few offerings for plaque making so I picked one out, called and asked if he could work from my file. He said that he could. After seeing what he had to offer the only thing he changed was the corner embellishments. The were laser engraved on solid brass. The cost was $11.00 per plaque which I thought was quite reasonable.

I originally wanted engraved brass but I like the look of these much better.

Trout, your boxes are beautiful. Every once in awhile I tell myself to get a some other wood tools but at this point I don't need another hobby. I just have a very nice table saw with a few attachments for it. I have tried what you suggested with the sawdust trick. It works very well. I had the one small chip in the corner when I sawed the box open. Although I have a thin kerf ATB blade it still chipped a little piece out.

Arv, I used to make boxes with miter joints. I bought corner clamps etc. but it seemed like no matter how hard I tried I just couldn't get them square. At least not to my standards. I then decided on the finger joint route. Like I said I only have a table saw, no router, so I went on line and studied finger joint fixtures. As with our hobby they run from quite simple to gear driven, index plate, lead screw versions. I decided to go with something of my own design. I have a very good miter attachment so I mounted a good straight piece of hardwood to it. I then made up a screw setup to adjust my guide pin location and lastly I made replaceable inserts out of 1/8th inch hardboard so that I had a good backing to keep the wood from chipping out.

I really enjoy doing this kind of work but I have fallen into my favorite saying,
"Too many projects, so little time." With my metal, wood, art, poetry, designing, motorcycling etc, etc. I have to pick and choose which one to do. I feel truly blessed to have these talents so I try to devote a little time to each of them.

Thanks again everyone for your gracious comments, they are truly appreciated.

George.
 
Hi Cidrontmg, I have small pieces of walnut, .375 x .375 glued to the lower half of the box floor. These keep the engines from shifting around when being moved. I also plan on gluing some angle gussets to the inside walls that will have small rubber pads that will come down to a surface on the engine and hold it form moving up and down. With all the buffed and fragile parts I haven't quite figured out how to do this last step yet.
George
 
George,
Have you thought of styrofoam blocks to hold the engines steady? Much easier to shape it to the engines than wood. A nice covering of velor would hide it nicely.

I can't add to what others have said. Just plain WOW! Beautiful work.
 

Latest posts

Back
Top