Small Gas Engine

Home Model Engine Machinist Forum

Help Support Home Model Engine Machinist Forum:

This site may earn a commission from merchant affiliate links, including eBay, Amazon, and others.

mhirst121

Member
Joined
Nov 5, 2008
Messages
15
Reaction score
7
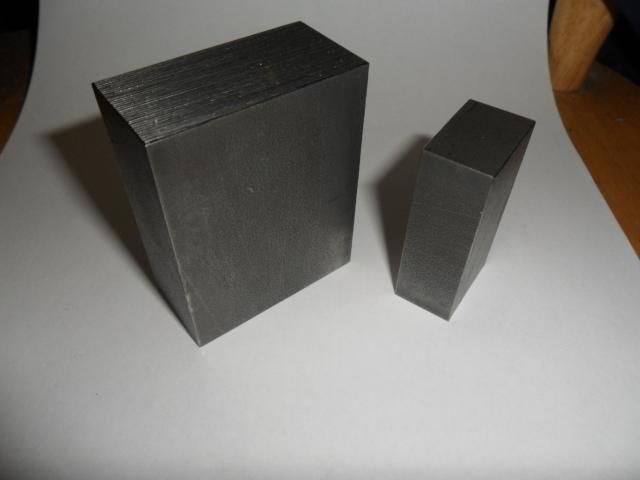
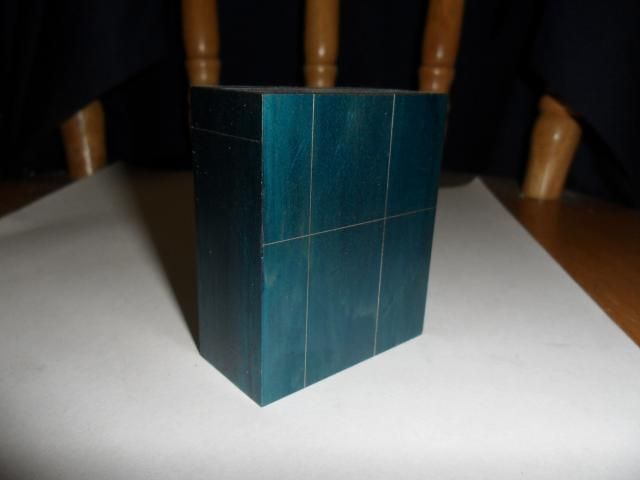
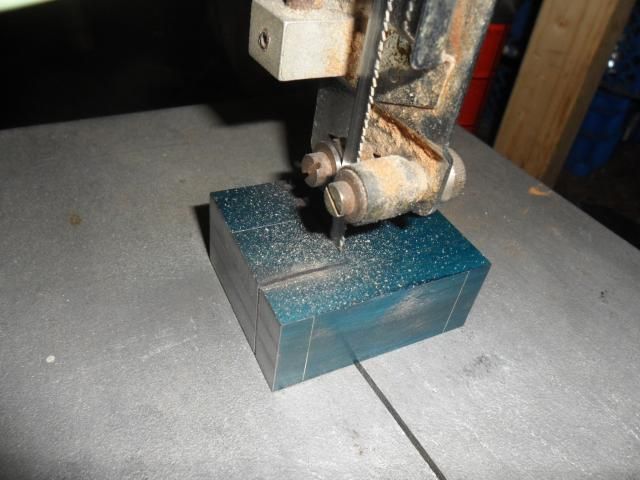
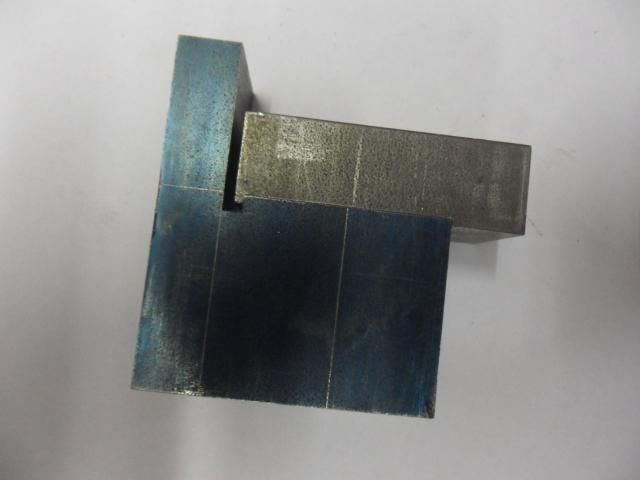
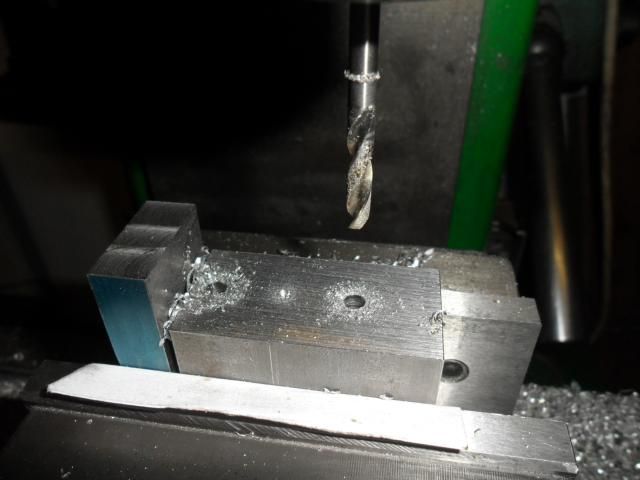
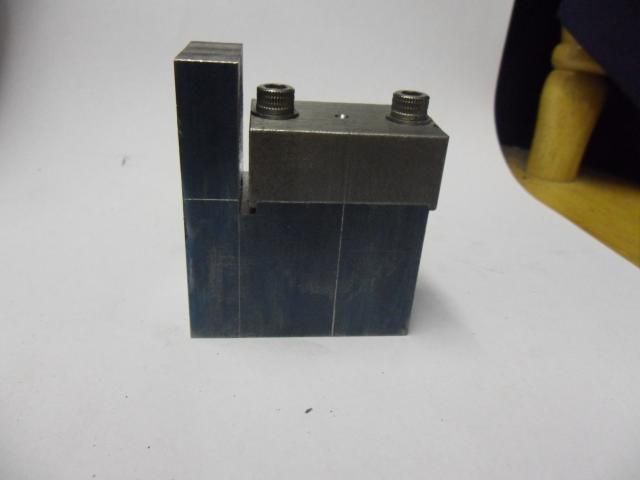
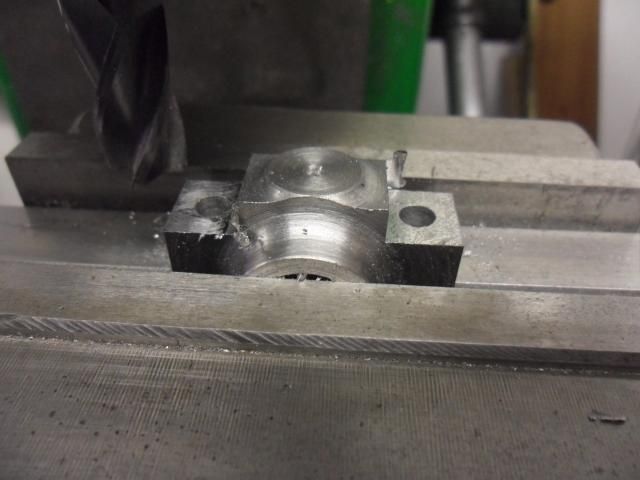
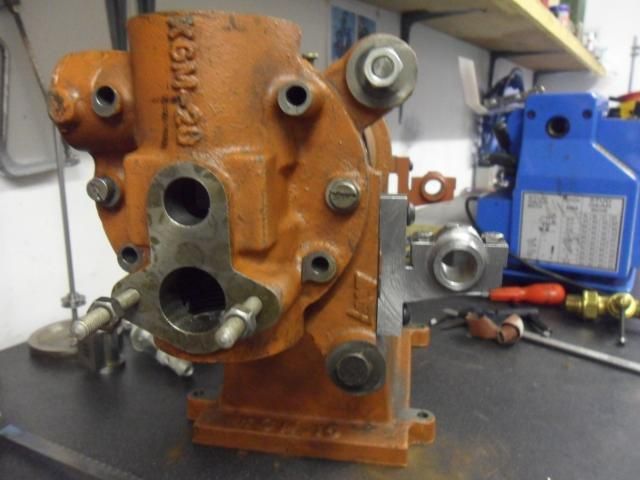
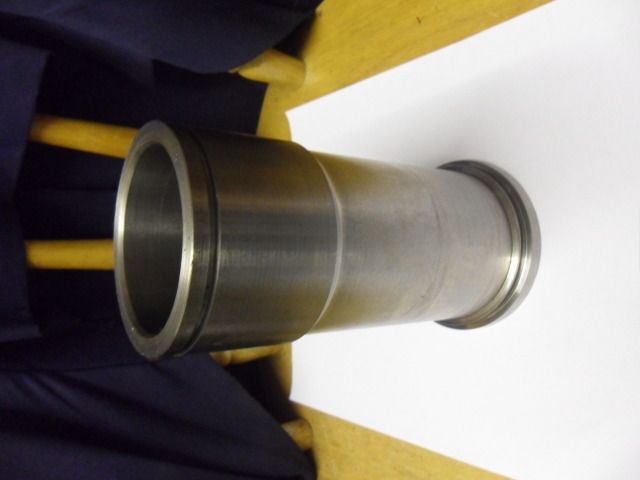
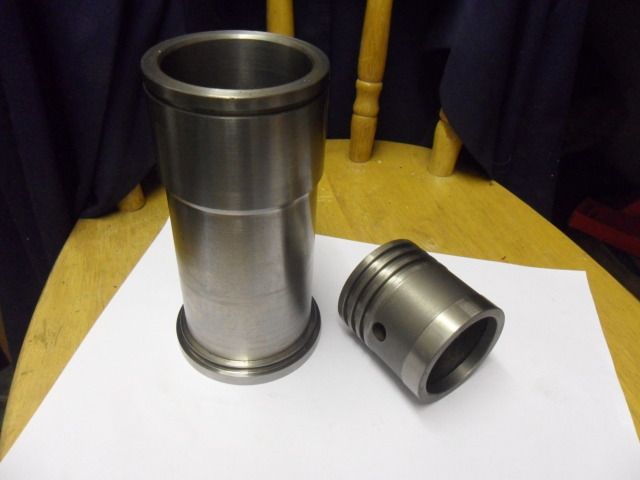
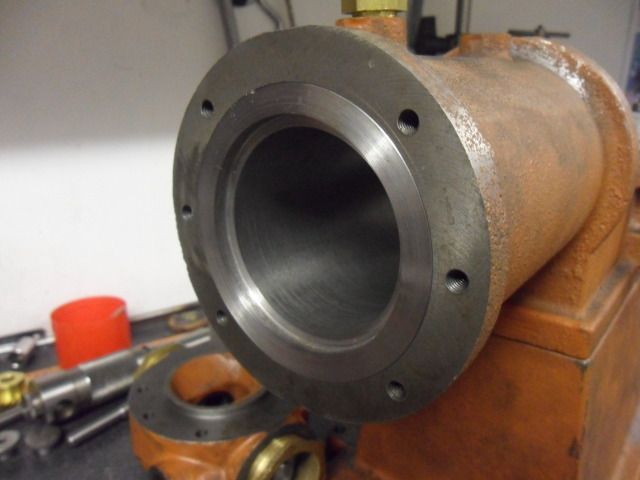
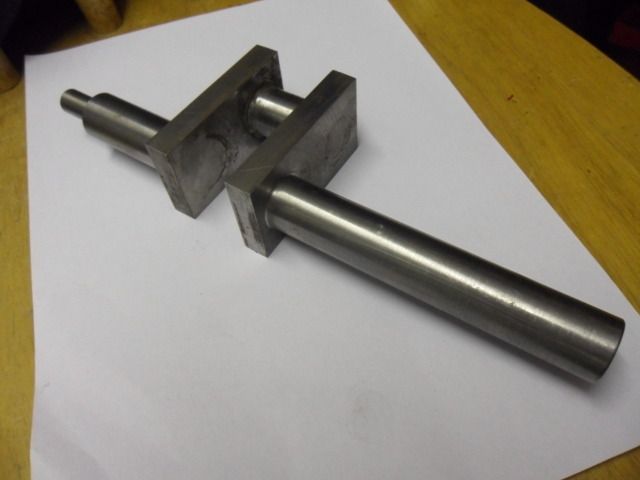
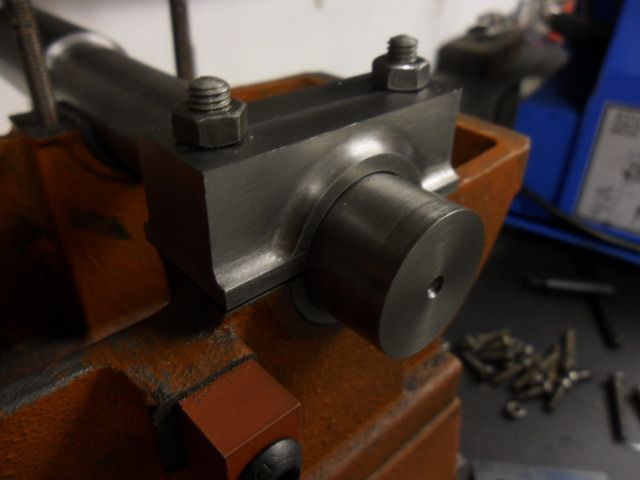
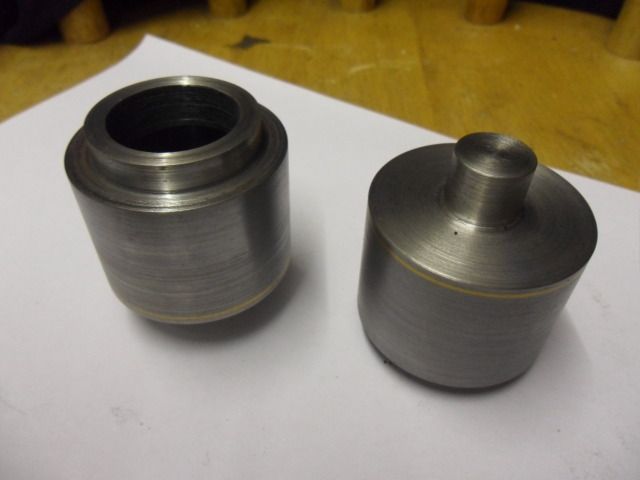
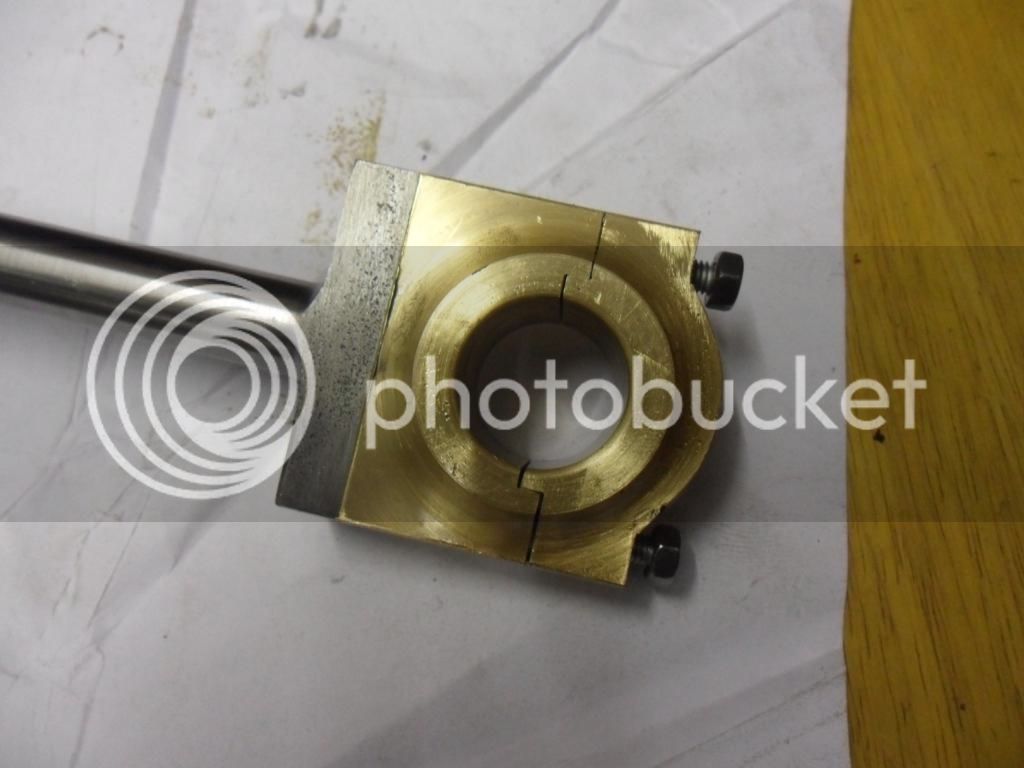
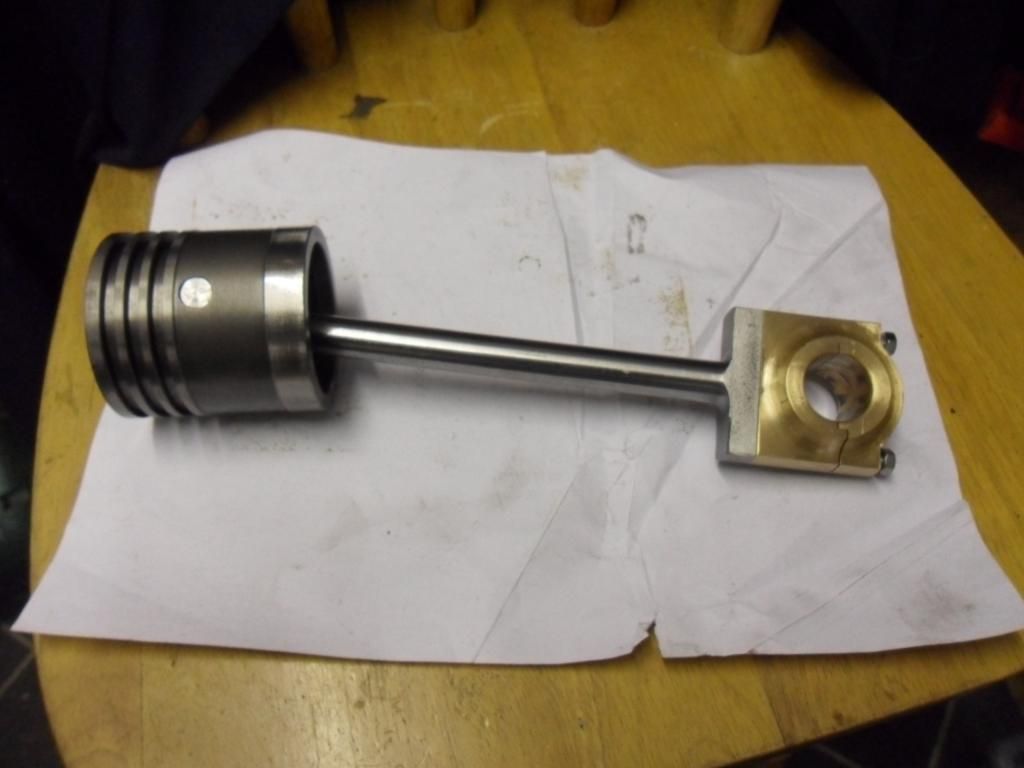
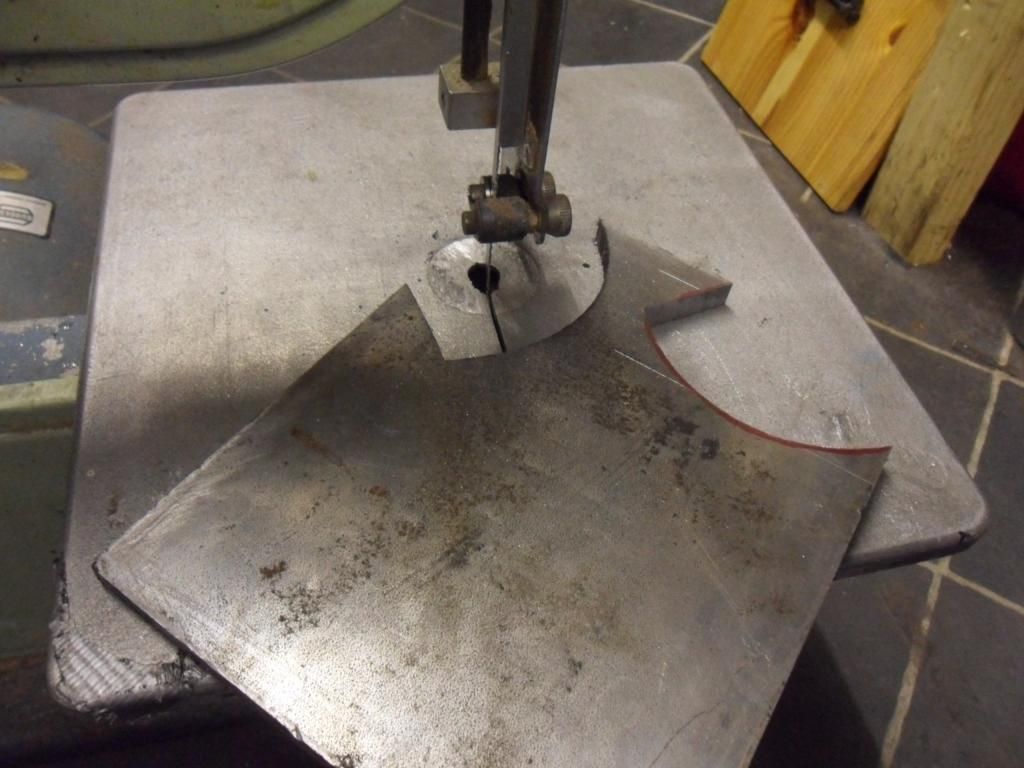
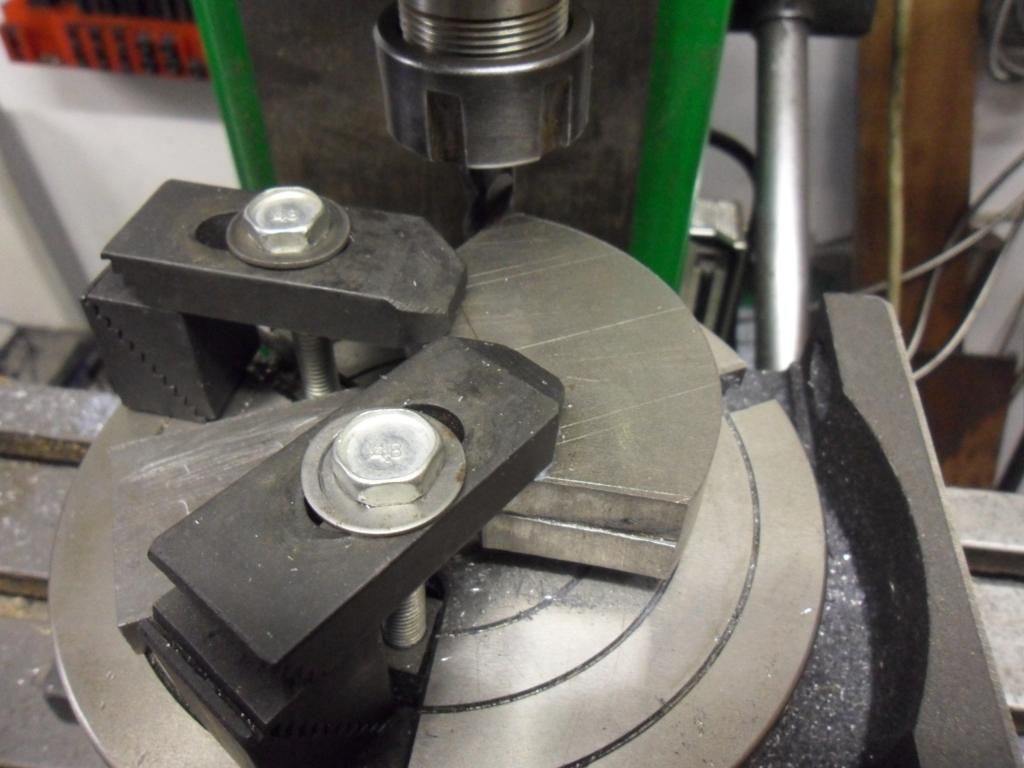
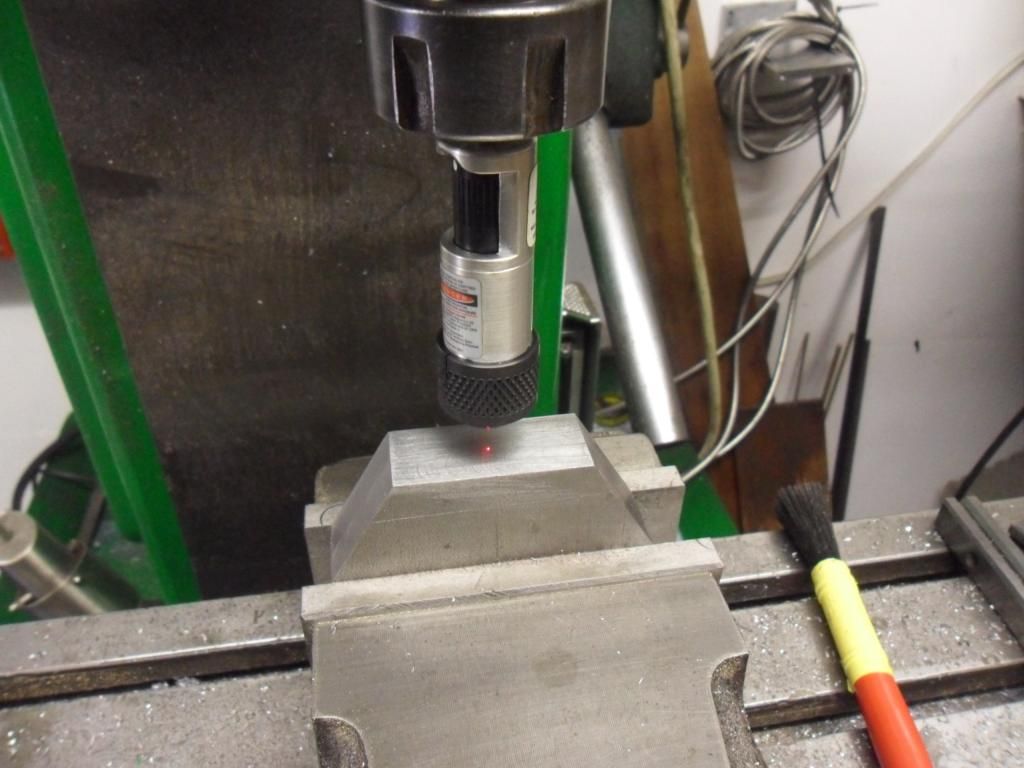
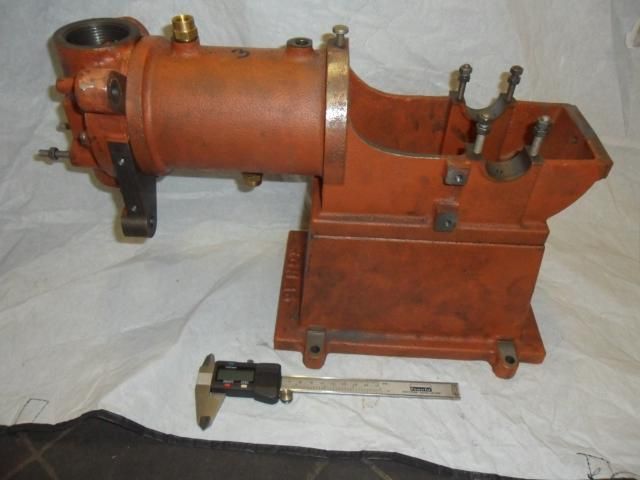
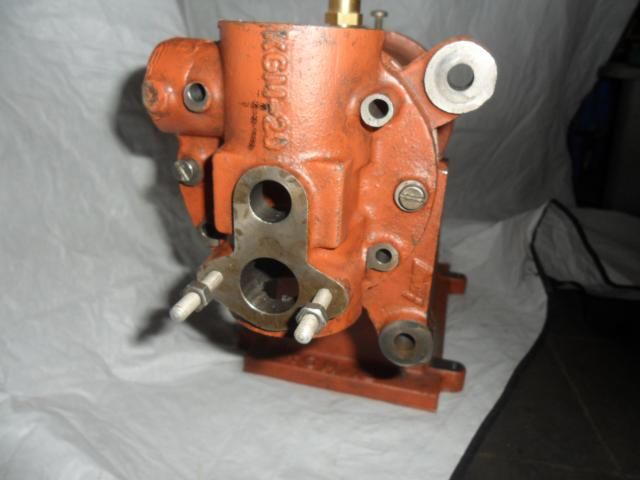
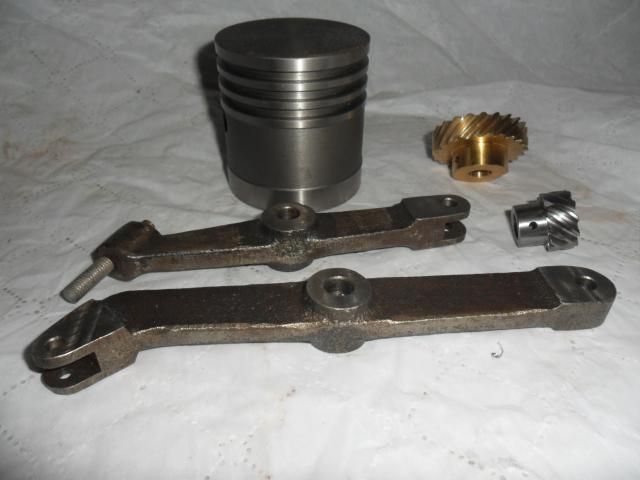
Hello all, while attending the 1000 engine rally here in the UK I came across these castings for a small gas engine. The large parts had been machined and a few items were included with the castings. It is always a risk buying castings that have been machined as to whether they are correct or not, luckily these measure up fine to the drawings.
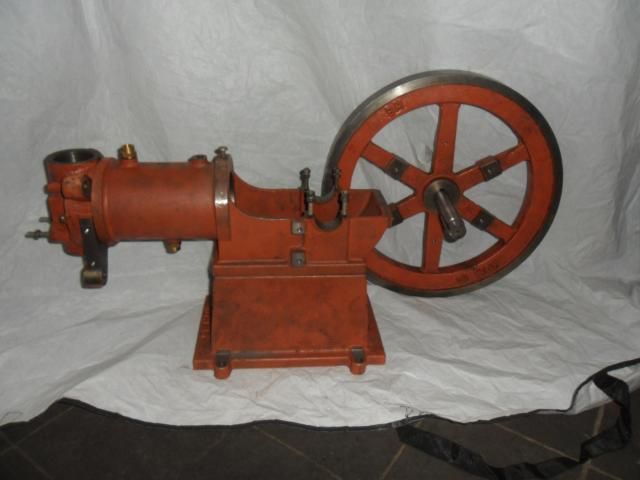
The engine is not a model but a full size engine. The bore is 61mm and the stroke is 80mm. The flywheel is around 14" in diameter and 2" across the face.
Although it is not a model, It is a Klein gas motor of German manufacture, I thought some of you would like to follow my trials and tribulations in a build log for it.
I will be ran on propane and have hot tube ignition, it has sideshaft driven cams that operate the valves. I may also fit a CDI ignition unit and spark plug so that the engine can be run outside if it is windy.
Let me know if you think a build log would be of use to anyone.
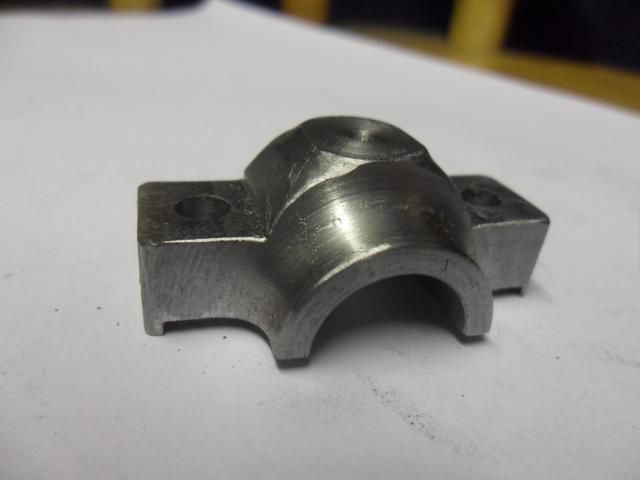
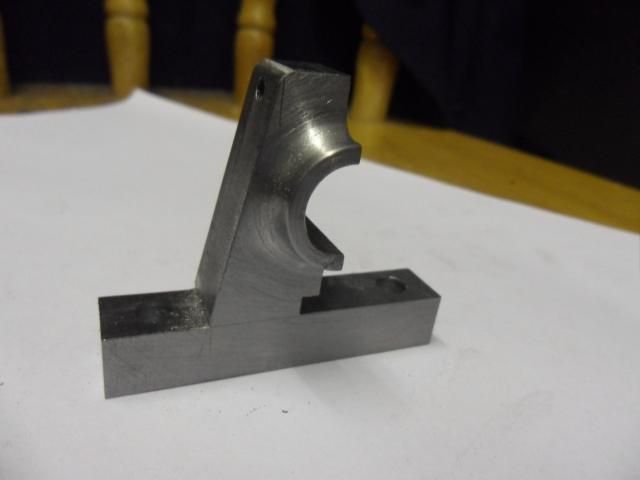
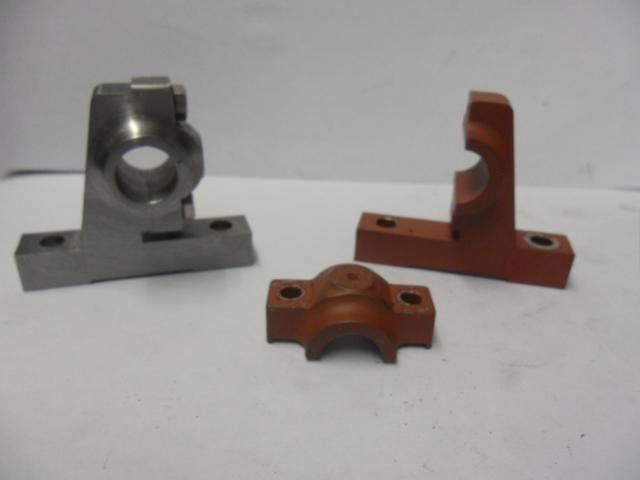
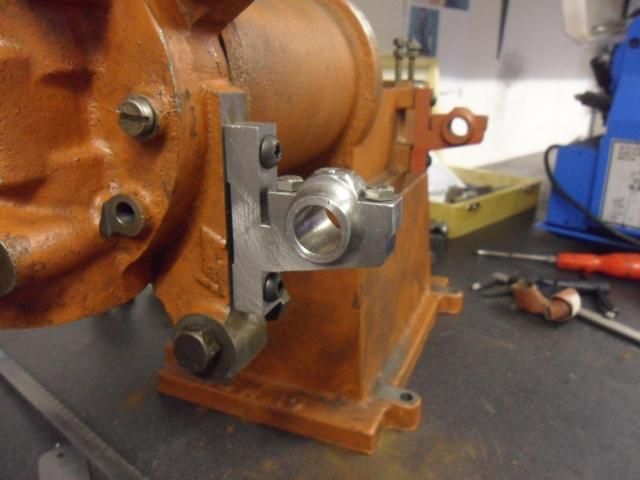
A few pics of the castings below, the vernier in front of them is 6" and should give some idea of the physical size of the engine.
Cheers,
MartinH

SAM_0571.jpg


SAM_0570.jpg


SAM_0572.jpg


SAM_0574.jpg
 
Hi Martin

I have pulled a chair and will follow you on your journey. Hope you do not have any missing castings.

Vince
 
Vince what you see in the pictures is all I got, the sideshaft perch brackets and the mains caps will have to be machined or fabricated. Shouldn`t be too much of a problem, the mains caps will be a bit more work as one half is already machined, will have to match the caps up to them.

MartinH
 
Martin: Can't wait to see where this leads. I'm sure it will be interesting. Roger
 
Any engine built is interesting to me, I will follow you on your venture it looks like a real educational venture to me.

Don
 
I'll be watching, always a softie for a gas engine.

It's a pity there is not more metal on the lower bearing housings as you could have made the tops and then bored oversize and bearings to suit, maybe there is still room for a light skim?

J
 
Right then, let the fun begin. I like to work from castings, don`t know why I just do, so with this in mind I decided to make the parts I felt should have been in a complete set of castings. With this in mind I thought I would start with the sideshaft perch brackets.

Blocks of steel for brackets
SAM_0575.jpg


Blocks machined square and to required size
SAM_0577.jpg


Marked out
SAM_0578.jpg


Excess cut out on the bandsaw
SAM_0579.jpg


Step milled to size
SAM_0580.jpg


Recess for cap machined
SAM_0582.jpg


Cap block machined to fit main part
SAM_0583.jpg


Drilled and tapped for screws
SAM_0584.jpg


Ready for the lathe
SAM_0586.jpg


Centred in lathe ready to cut first face and bore
SAM_0587.jpg


First face done and bored to size
SAM_0588.jpg


cap screw faces machined
SAM_0589.jpg


Finished cap
SAM_0590.jpg


Bracket mounting holes drilled and marked out and cut to lines of finished size
SAM_0592.jpg


Finished brackets
SAM_0593.jpg


And test fit to the engine
SAM_0594.jpg


SAM_0595.jpg


I will tidy them up a little more with a file to make them look a little more like castings. Well thats a start anyway.

Cheers,
MartinH
 
Thanks for sharing Martin. Looking forward to next instalment :bow:
 
Great stuff Martin,

Please keep posting your progress on this neat little engine.
How will it be fired? Hot Tube maybe?

Dave
 
Oops, Sorry; I went back and read your original post where you said that it would be hot tube ???

Dave
 
Well here we are again, sorry it`s been so long since the last post on the progress of this engine but sadly my father died and I did not feel like playing computer for a while.
Anyway I have made a little progress on the engine but unfortunately did not take as many pics as you would like, so I have taken some of the parts that are done for now and promise to try harder in future on the pics front.

Cheers
MartinH

This is the liner (61mm bore), I made it from a piece of solid EN24 bar I had lying around, should be more than tough enough for the job. I also added `o` rings to either end where it fits in the casting, just in case it has to be removed in the future.

SAM_0625.jpg


Piston and liner

SAM_0627.jpg


Liner installed in block

SAM_0631.jpg


The finished crankshaft, I may fit balance weights at a later date, that is why I have not shaped the ends of the webs.

SAM_0626.jpg


The bearing caps

SAM_0629.jpg


The valve cages, these were blocks bored out then caps made and silver soldered on to them. When I make the valves I will cut the seats and bore the holes for the valve stems to get everything at the same angle and in line.

SAM_0630.jpg


Thats all for now
 
Well I managed to get a bit of me time the last few days and heres a few pictures of what I have been up to.

First I made up the big end bearing from a solid lump of 3" diameter phosphor bronze bar. I didn`t take any pictures as I was too busy concentrating on the job in hand so as not to mess up the rather expensive piece of bronze. Anyway heres the result with the taper turned rod. I did the rod between centres with the tailstock offset.

SAM_0640.jpg


And one with the piston connected.

SAM_0639.jpg


Next I moved on to the crank balance pieces. I made these bolt on type as this is what alot of the early engines used and also they can be removed if not required or need adjusting.
First cut parts from piece of 10mm plate on the bandsaw.

SAM_0633.jpg


The radius was then cut on the rotary table.

SAM_0634.jpg


The angle sides were then dressed and the pieces set up in the vice using the laser to find the centre point.

SAM_0638.jpg


The slot for the crank web could then be cut.

SAM_0641.jpg


The holes were then drilled and counterbored for the screws.

SAM_0642.jpg


How they look on the crank.

SAM_0643.jpg


SAM_0644.jpg


A few other little jobs were cleared up these being the sideshaft bushes, which were just a straight forward lathe job. The gears were mounted with grub screws to hold them till the final timing is set up, then they will be pinned in place.
An overview of where it`s at now.

SAM_0645.jpg


Coming along nicely, well thats all for now, off on holidays for a week so will not be back in the shop for a while.

Cheers,
MartinH
 
Very impressive! Looking forward to the next installment. I like working with castings far more that raw stock as well.
 
Martin, sorry to hear about your dad. Went through it a few years back; my condolences. You engine is a real cutie! It appears you are doing it proud in your restoration efforts. It takes a bit more time, but there is always the pride factor which last forever. I'll stay tuned to your progress. MM
 

Latest posts

Back
Top