Quill Stop

Home Model Engine Machinist Forum

Help Support Home Model Engine Machinist Forum:

This site may earn a commission from merchant affiliate links, including eBay, Amazon, and others.
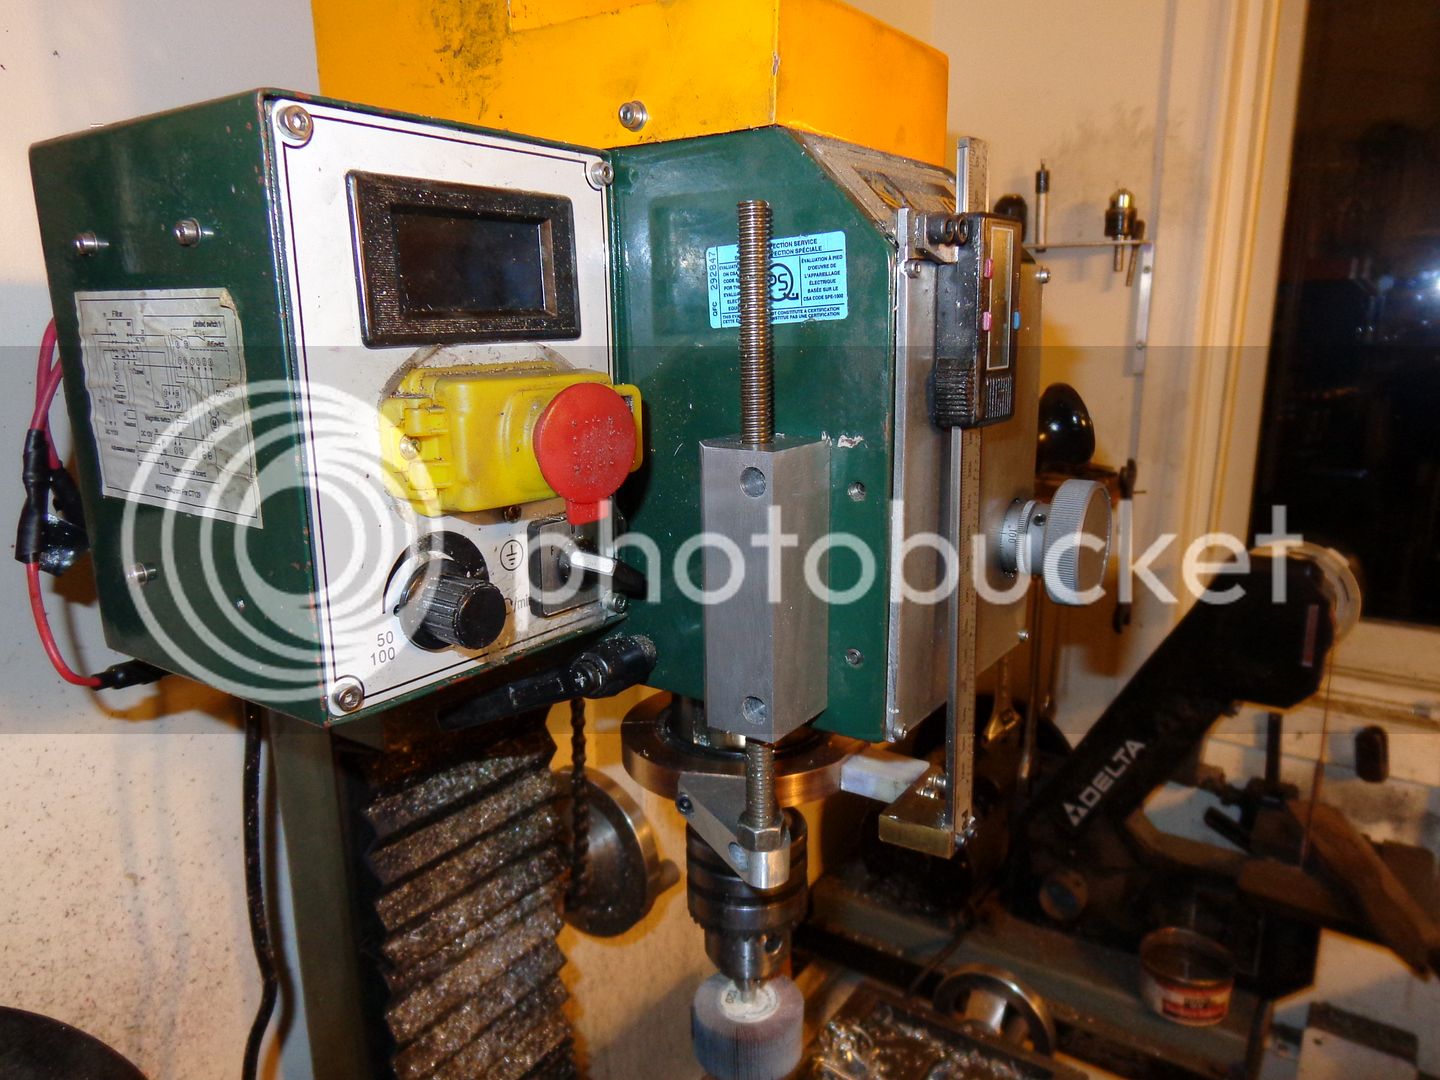
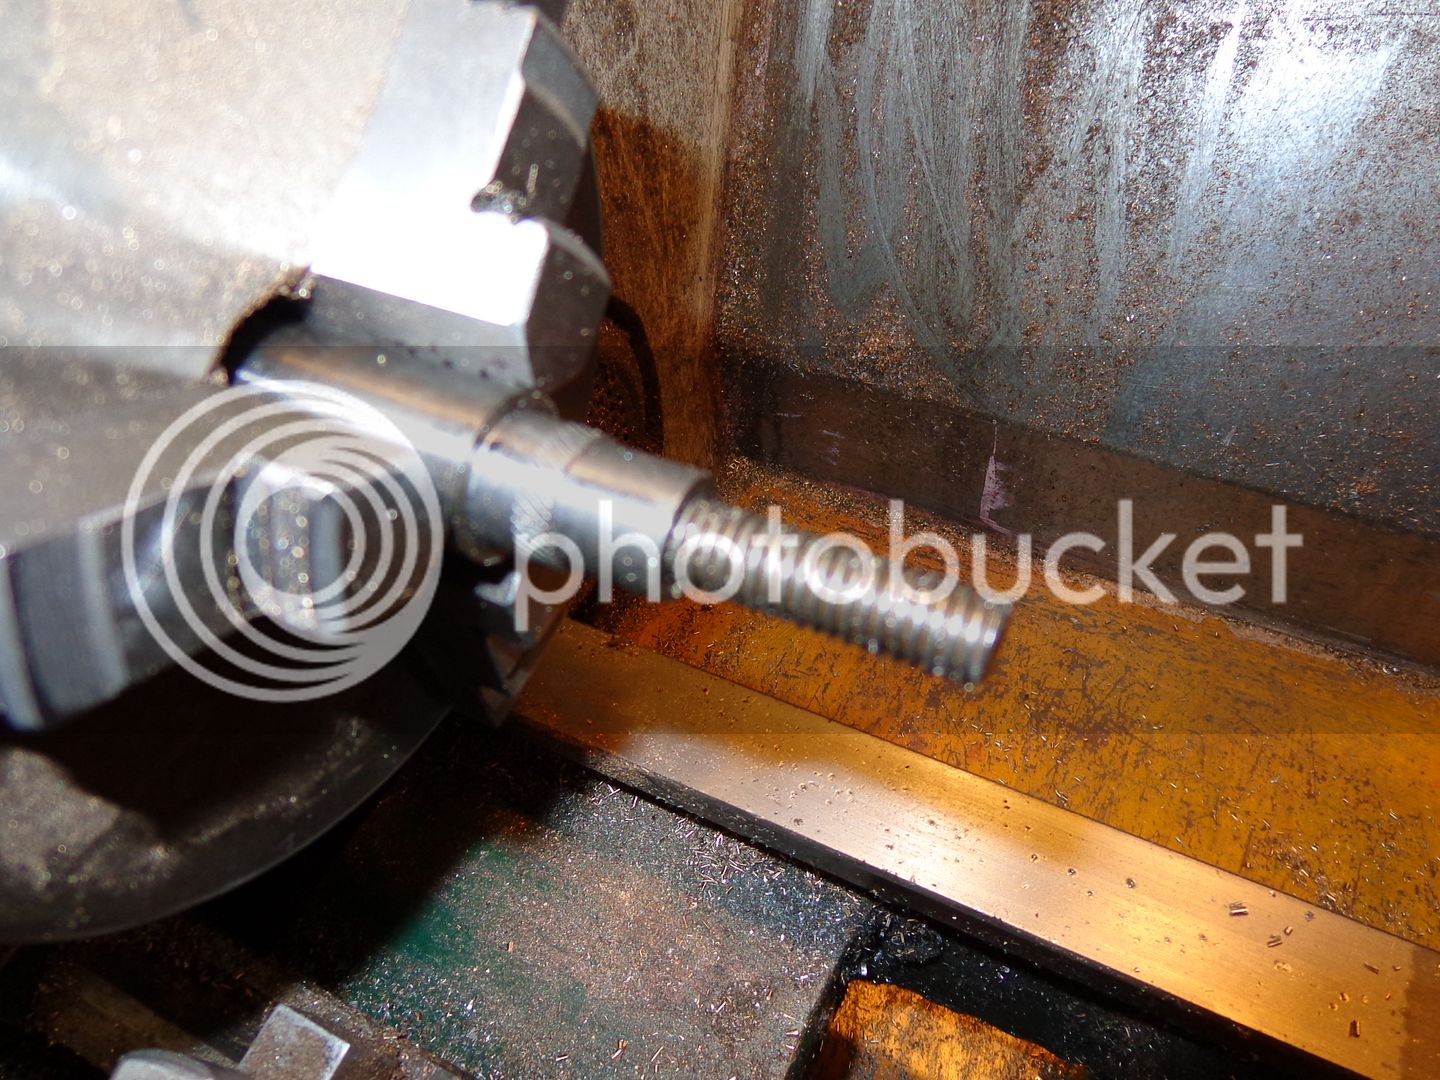
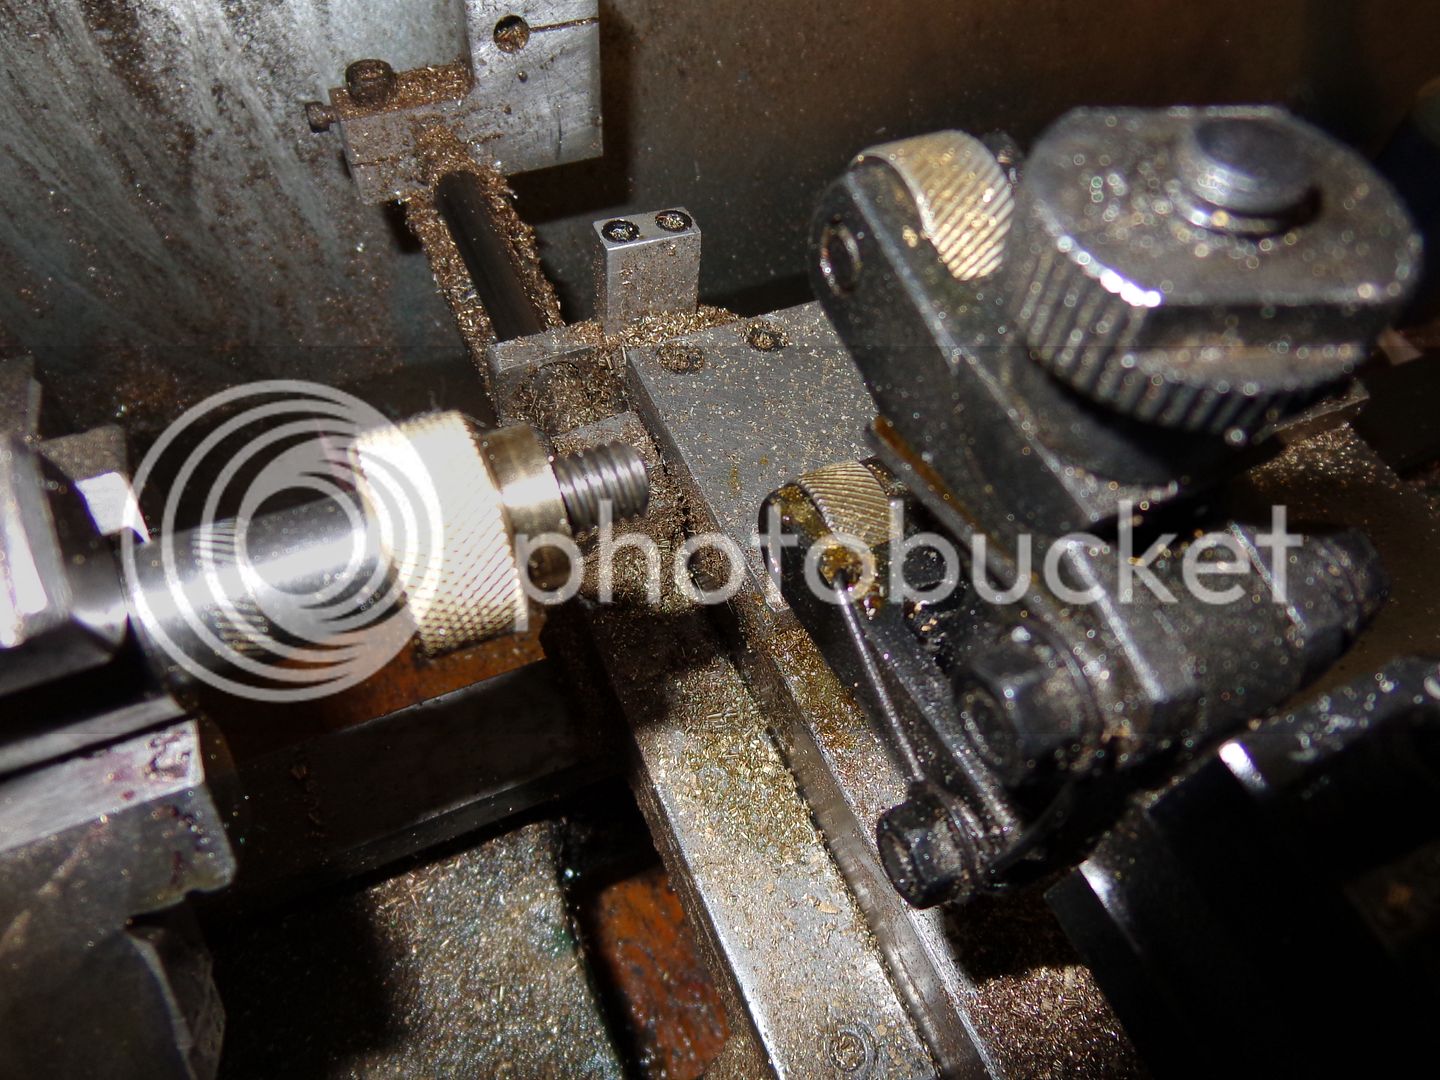
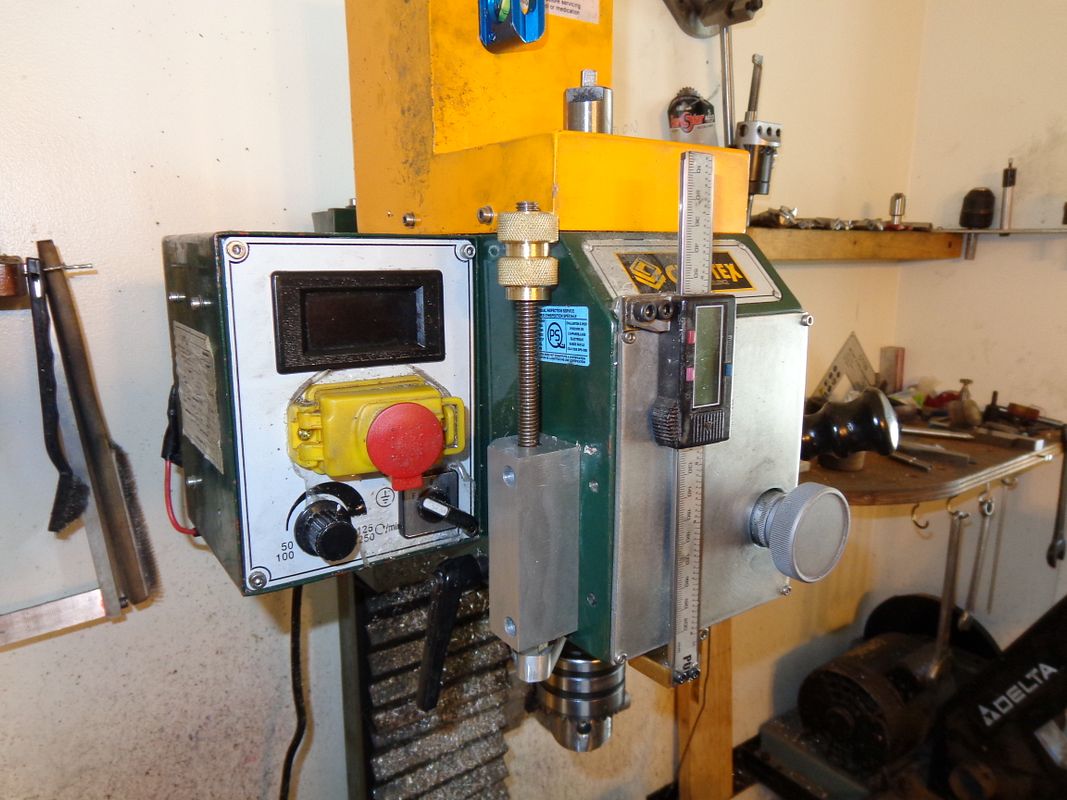
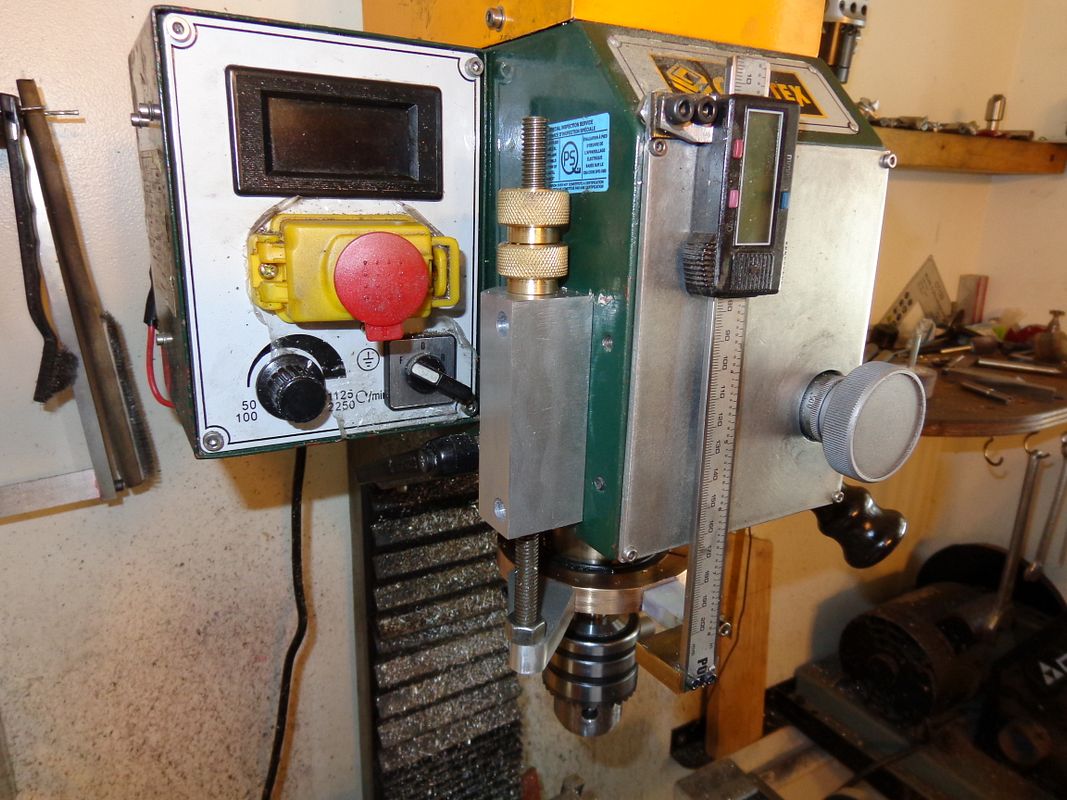
Here is the second part of the quill stop bolted into place. The reason I changed the bracket design was because the original one shrouded the reverse switch and start/stop button too much for my taste. The temporary 3/8" bolt I screwed into it was just to prove to myself that it does indeed miss the M5 bolts which will hold the final part to the side of the machine head, and it does---barely. A strange thing happened. When I removed the rectangular box which originally served as a mount for the plexiglass chip guard, there were two wires hanging out of the larger hole in the side of the milling machine head that were supposed to recognize whether or not the plexiglass guard was in place. That switch never worked from day one. I removed the switch and seperated the wires, and the machine wouldn't run. I twisted them together and the machine ran fine, so i soldered them together, taped them up, and shoved them up in the machine head to get them out of the way. (there are no moving parts inside the machine head casting). The strange thing is, that I took a picture of them, loaded the pictures onto Photobucket, and the damned picture dissapeared. Photobucket somehow deleted it off my camera but didn't save it either. I'm using the new Photobucket format, and find it rather "Hinky".
MOREABOUTQUILLSTOP011_zpsbdba38c2.jpg
 
Well Sir, Well Sir!!! Now ain't that as cute as a bugs ear!! If I just had a little bit of brass to make a couple of fancy knurled nuts, I'd be finished. The best part is, so far its only cost me $3.75 for a 36" length of threaded rod, and the rest is made up from "extra bits" that I had laying around.
QUILLSTOPALMOST001_zpsd1476f93.jpg
 
I had to work across town today, and take two granddaughters to swimming lessons after work, but when I got home I had a search thru my "brass bits" drawer and found a treasure!!! A piece of brass I had forgotten about, left over from something. A quick measuring and a little CAD work shows that I should be able to carve a pair of knurled knuts out of it, between 1" and maybe even 1 1/8" diameter.
BRASSFORKNURLEDNUTS002_zps14d8561c.jpg
 
So, there's a lot going on here. I have machined the piece of brass flat in my vice, coated it with layout dye to determine where the material would be cut from, as per the earlier drawing, and drilled and tapped the 3/8"-16 holes thru two places. The part is setting up on a pair of parallels so that I don't drill or tap the vice.
QUILLSTOPFINISHED004_zpsbedb77b8.jpg
 
Howdy, How about a rotational stop on yer quill feed shaft.
 
On the quill feed shaft, a collar with a thumb screw to lock the collar.protruding from the collar a stop pin. another pin from the head close to quill shaft. Lower quill to desired depth and lock, rotate collar so stop pins are touching and tighten thumb screw.
Some drill presses have this type of stop.
 

Latest posts

Back
Top