My Hit and miss engine

Home Model Engine Machinist Forum

Help Support Home Model Engine Machinist Forum:

This site may earn a commission from merchant affiliate links, including eBay, Amazon, and others.

jerrybilt

Well-Known Member
Joined
May 18, 2012
Messages
53
Reaction score
5
Hello all,

Just started this project and looking at the speed I work its going to tale some time. I was asked to detail my progress with pictures so here is the start of the job.

The castings look like this :


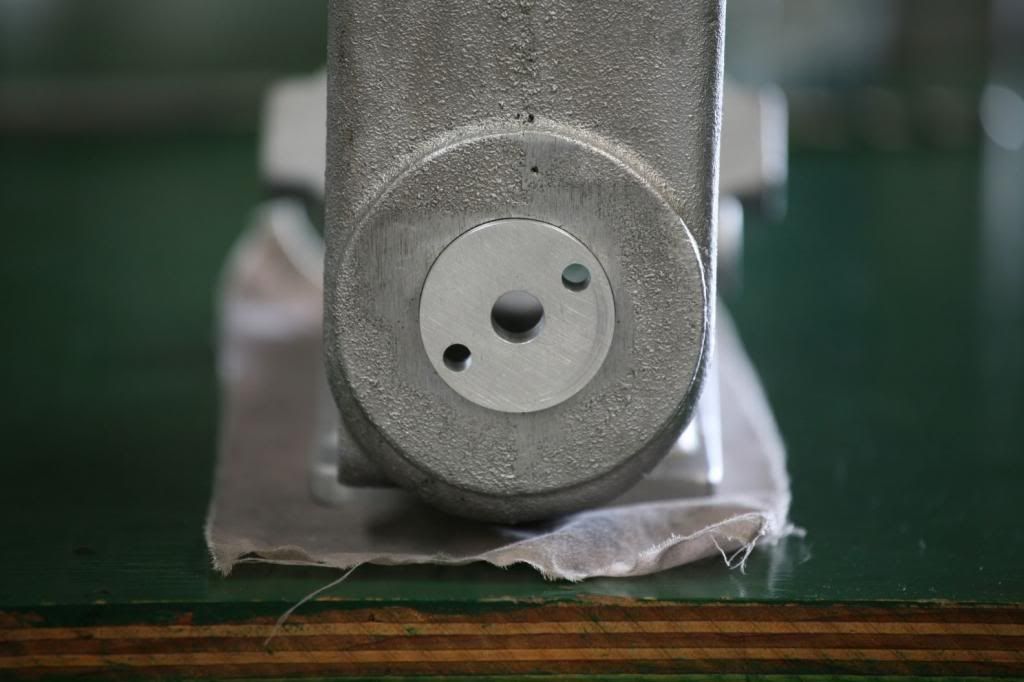
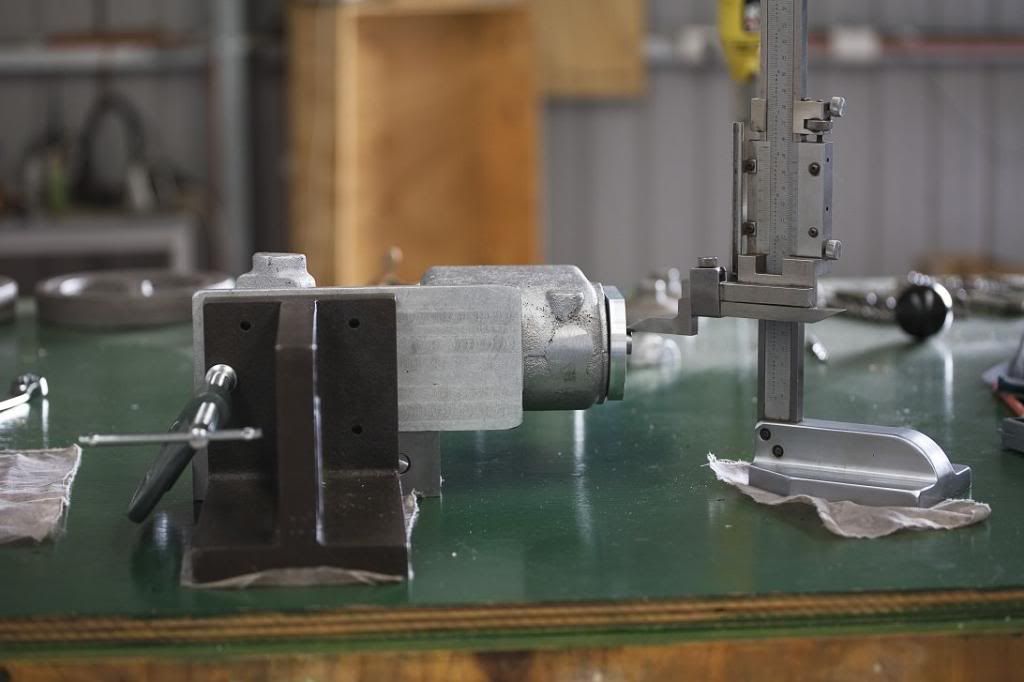
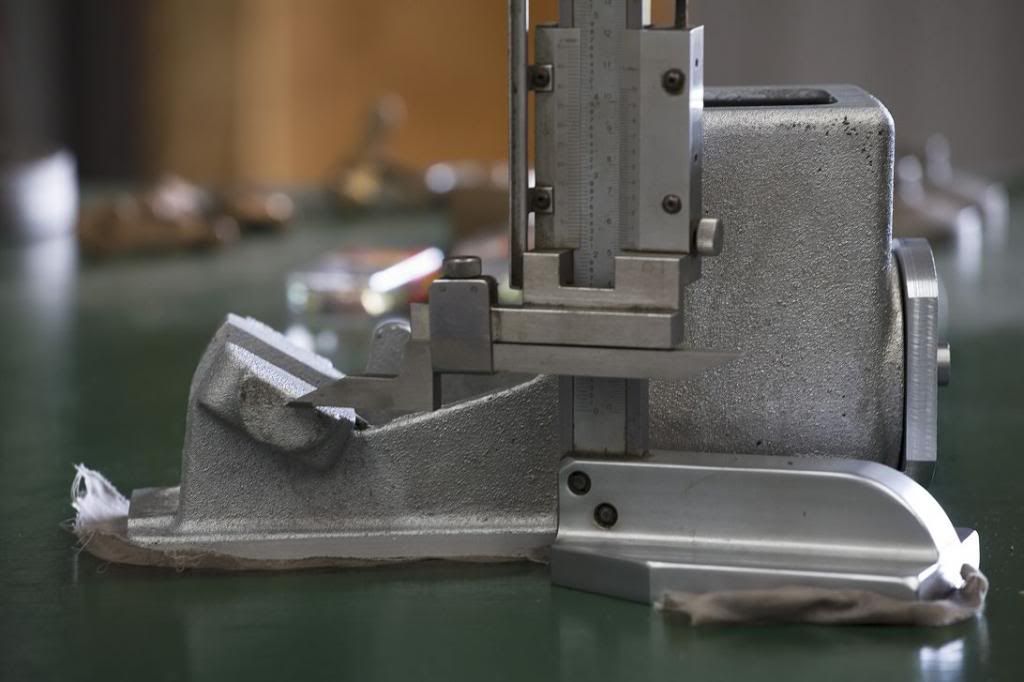
The first thing to do is to machine the castings to get the reference surfaces. Some pieces are easier to do than other pieces. Cleaning up the bottom mount was easy and here is a pic of the work holding :


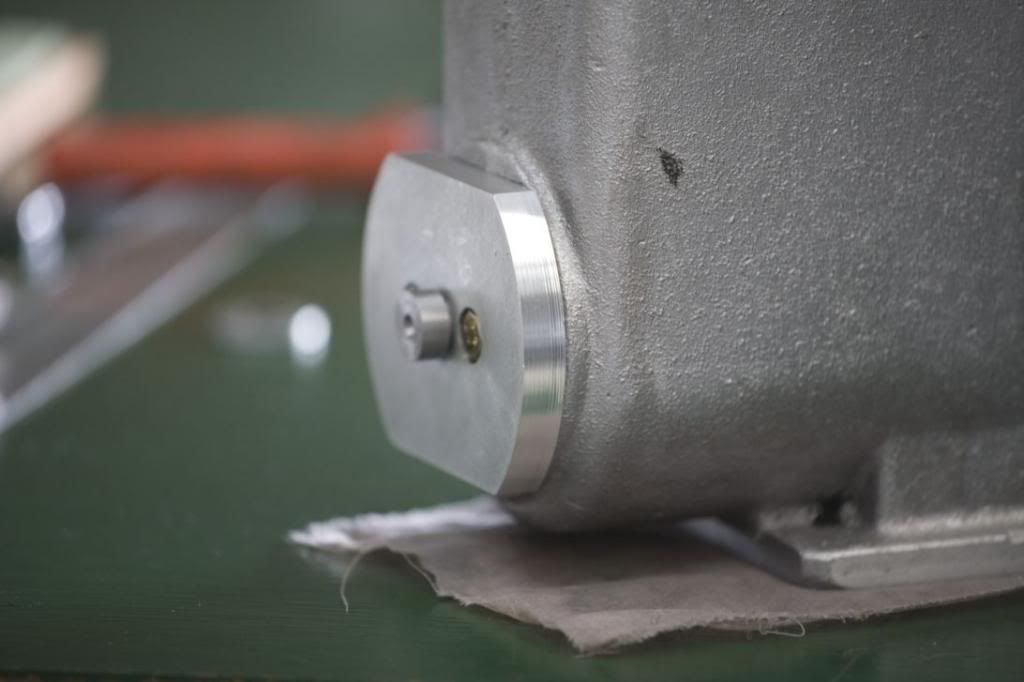
The top piece is a bit more "curly". The reference surface is the castings bottom surface and two of the rectangle edges. Here is how I setup. The accurate Wixey digital "spirit level" and angle finder (used in set up of astronomy instruments) is used to make the reference "parallel " with the mill table and the dial indicator gets the reference with the x and y travel:

work_holding_3146_zpsdf3b0ced.jpg


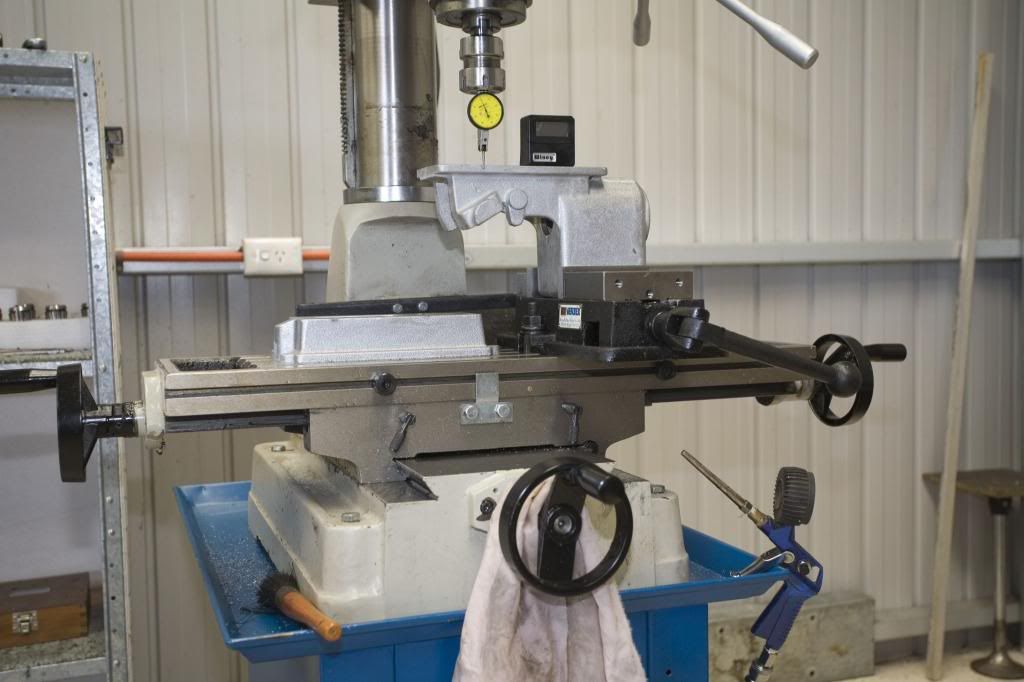
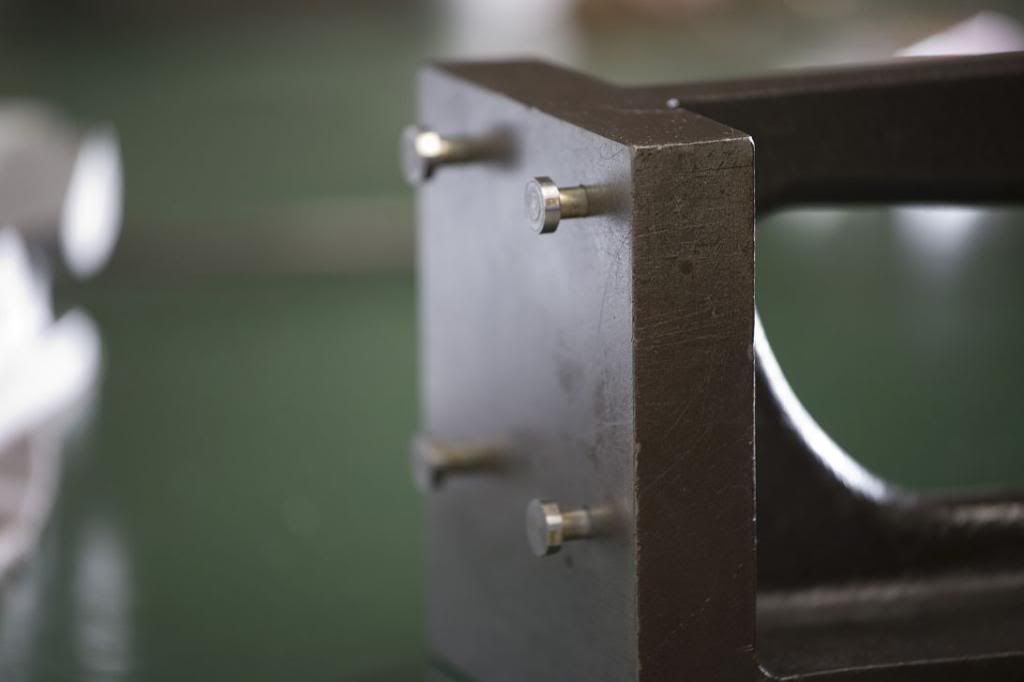
By suitable shimming of the casting in the vise the surface is made true.

Well this is the start.
 
You are dead right. They do take up time but most things worth doing do so good luck with the build.
 
Thanks Herbie.

Well this part completed. The 4 surfaces have been trued and the fit is quite good (even if I say so myself !). :


The next stage is to check the hole distances between top and bottom castings to see if they conform to the drawings and fine tune the surfaces to make sure this is correct.
 
Jerry--when you copy the link from photobucket, copy the IMG code. That way the actual pictures will show up in your post.---Brian
 
Thanks for pointing out that. I have replaced the jpg image with the code. I'll see how this works.

Jerry
 
hi jerry, im just wondering if you could give some information regarding where and if you dont mind how much that casting set cost?? it looks like a good set of casting to work with.
 
Thats a nice looking engine and tidy set of castings - I'll be following :)

It might just be time for another IC engine soon...
 
Continuing with the set up process for machining the castings the next stage is to establish the "main" reference line ie. the line going through the cylinder and in line with the crank shaft also determine the "exact" centre. This line will be used fix the position of the mounting holes that join the two castings. A machined 10mm thick disc fits snugly in the cleaned hole in the casting :-

work_holding_3165_zpsdf2137d4.jpg


Next the following fixture is made :

work_holding_3167_zps20ed1d2b.jpg


the machined disc is to the right and the steel insert. This insert is centre drilled and will be used to centre the cylinder while the hole is bored to size. The diameter of the outside is 0.600" (nice round number when adjusting the vernier height gauge !!)

The fixture is clamped on the inside of the casting. The steel insert may be reversed so that the centre is accessible from the inside when the second hole is to be bored :

work_holding_3169_zpsbf7fd04c.jpg


The next stage in the work holding saga is to hold the castings at parallel with the reference surfaces. My angle block has 4 off 1/4" holes (used with other mounting plates) to which is bolted the " custom" mounting plate drilled to hold the two castings.

work_holding_3170_zpsf83b74bb.jpg


Here is the plate in the vertical position:

work_holding_3171_zpsddaba84b.jpg


The plate has 4 holes in the centre so that the castings are centred on the mill table also the plate may be removed and rotated through 180 degrees. The plate reference edges are to the top right (centre pop mark).

And finally here is a mockup (before the whole "box and dice" are moved to the surface table for the measuring setup and check to mark the line of the mounting holes :-

mock_setup_3174_zpsfb368dcb.jpg


And a mock setup showing the centre line going through where the centre of the crank shaft will be.

mock_setup_3176_zpsa8f5fdea.jpg


As yet I have not drilled a single hole in the casting !!

Jerry.
 
You are off to a good start, looks like a fun build. Thanks for keeping us posted.
 
That's a good piece of info. I'll google it presently, but if I do not find it could you give us any more info. Many thanks Graham

Jerry.
Found it !!
 

Latest posts

Back
Top