Making an eccentric strap

Home Model Engine Machinist Forum

Help Support Home Model Engine Machinist Forum:

This site may earn a commission from merchant affiliate links, including eBay, Amazon, and others.

tel

Well-Known Member
Joined
Feb 8, 2008
Messages
3,293
Reaction score
44
This topic came up not so long ago, and as I am up to making the strap for the Ridley half beam, I though it might be timely to post a few 'how I do it' pics

First cut a big-enough piece from the parent stock, in this case 5mm brass, 20 mm wide


Then mill the long edges straight and square.


.... and do likewise on a small section of one end, for indicating purposes

 
Perhaps before we go any further, a look at the drawing would be in order.

 
the piece of material - big enough for the two halves, plus a bit for luck


Indicate the edge and pick up the centre of the piece, then do likewise to the end


then step along and drill the four holes - the first two are clearing size for 8BA, the other two are tapping size. At this point there is a broken no.49 drill firmly wedged in the rightmost hole. :mad:


20 annoying minutes later the broken drill has been cleared and the two holes tapped


The two pieces roughed out on the bandsaw


.... and screwed together

 
The profile is marked out - sorry about the quality of this one - I was using natural light, of which there wasn't much


After a bit more roughing out on the saw, the piece(s) mounted in the 4 jaw


... and the boss for the eccentric rod turned, drilled and tapped


That's all for now - I'm tied up the rest of this week, so it'll be a few days before we move forward


Would really be interested in how you cleared the broken bit? Puuulllleeeeese?? :) :) :)


Ron
 
No biggy Ron - if you look at the pic you will see that I roughed out the bolting tab on the bandsaw, then a bit of nifty file work allowed my to get at the pointy end of the broken bit and drive it out with a small pin (actually a small allen key)
 
Very interesting and informative Tel Thm:
Thanks for the step-by-step!

Regards, Arnold
 
Nice piece of work Tel , or for 2 quid you could buy one of my castings ;)
DSCF3549.jpg

DSCF3548.jpg
 
And a nice looking casting it is mate, you go from strength to strength.

Trouble is, the bit of brass was here, the casting there! ;)
 
Nice work Tel. Thanks for the pics and explanation. :bow:

Cheers,
Phil
 
OK, moving right along.

Some years back, on an idle afternoon in what must have been a particularly lucid period I made a little 3" faceplace from an offcut of CI, this plate is just the duck's guts for little boring jobs, so it's what I used here.

The embryo strap is mounted on the faceplate with the centre dot running true, centre drill.


Then the hole is opened out to 1/2" or so with progressively larger drills, and bored to fit a previously made plug gauge


The strap is then hand fitted to the eccentric - this required a little scraping and lapping of the sides. BTW, for scraping in little bores like this, I use the corner of a piece of square HHS tool bit (if it's good enough to ream .303 barrels with, it's good enough for me) Then the eccentric was mounted on a stub of crankshaft material, put in the 3 jaw in the lathe, and run in with a little oil for a short while.


More later - watch this space
 
OK, we're on the home straight now.

Next step is to turn up a couple of filing buttons - the small diameter is a good fit to the bore in the strap, the larger is equal to the required finished size of the strap. The holes are in 'em purely to make the parting off (from 1" bar) easier


Now back to the bandsaw (you should know the way there by now) for a final roughing out.


Now insert the buttons, bung the whole package in the vise, and have at it with a file


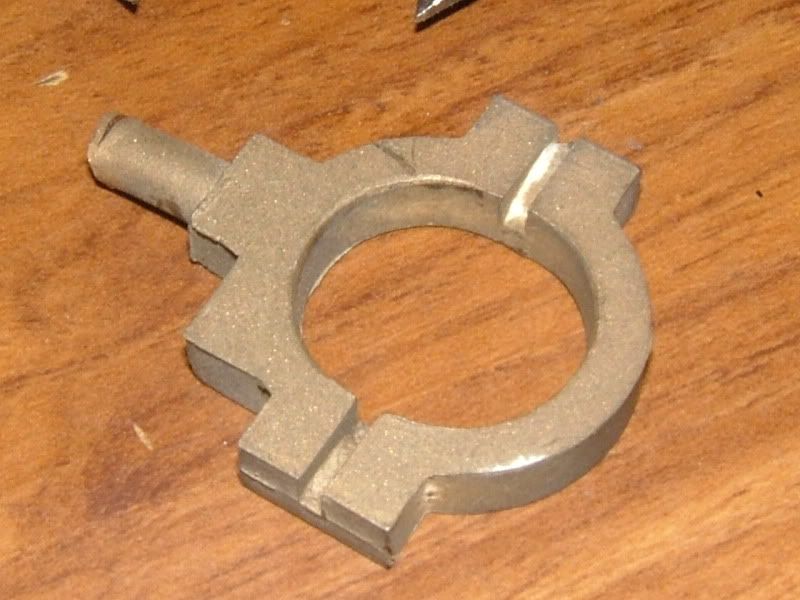
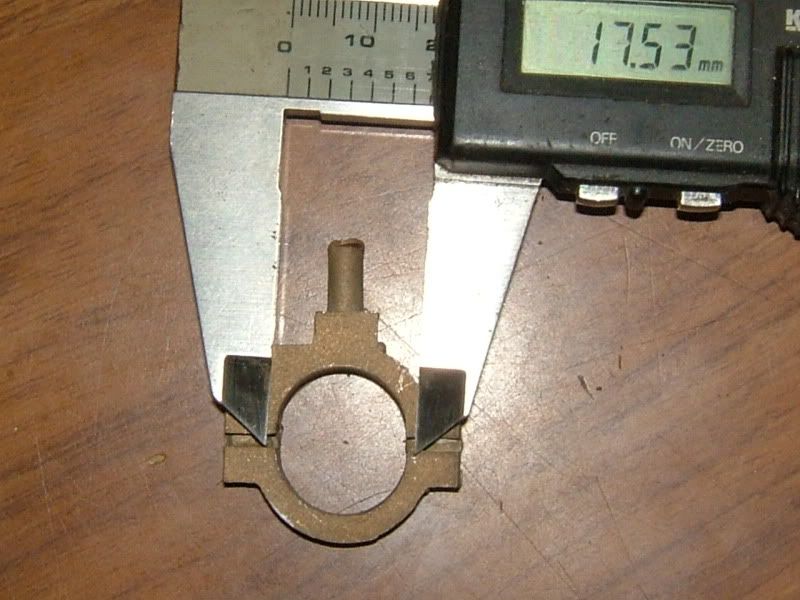
The end result should look something like this


Seen here with the previously made eccentric. Not the only way to do 'em, probably not the best way to do 'em, but it's the way I'm comfortable with. Still need a little cosmetic work, but for the purposes of this exercise ....


Hope it's been of help to someone.
 
Helped this someone.
No need yet...but very glad to learn for future.
Thanks tel.
 
Tel,
Terrific post. Very informative. I've tucked it away for future reference.
Dennis
 
Tel, Thank you very much. I will need this for one of my planned future projects :)

Regards, Arnold
 
Nicely done mate. And thanks for your efforts in sharing with us. A fine example of one of the methods used to make such pieces. This method can apply to many other sorts of parts that require concentricity and the need to be separated.

BC1
Jim
 
Very nice work, Tel.

When I was first starting out, I "invented" filing buttons. I was proud as punch of my discovery until I started reading ME regularly and realized that model engineers have been using them since the late Jurassic.

Newbies should pay close attention to the technique and practice it at the first opportunity they encounter. For most newbies the file is the most underrated and underused tool in the shop. The reality is that it's one of the most useful and developing some skill with it is essential to the craft.

Note too that buttons need not necessarily be round. I've used flat "buttons" to achieve straight and angled contours in locations where conventional milling would have been difficult or impossible.
 
Back
Top