camm-1
Well-Known Member
- Joined
- Feb 15, 2012
- Messages
- 109
- Reaction score
- 58
Hi
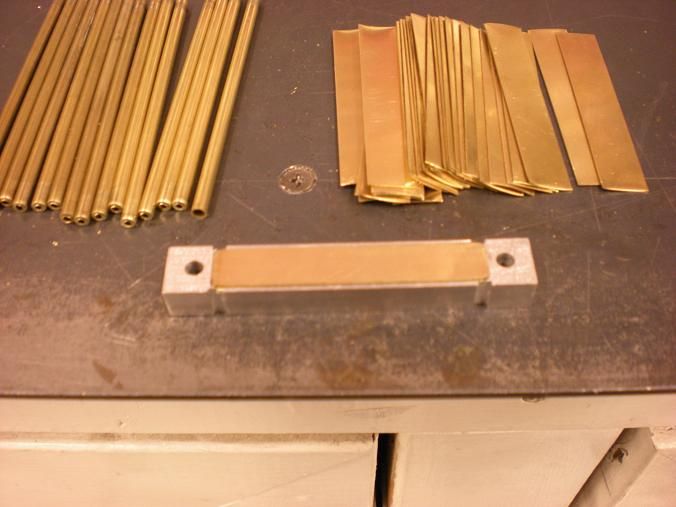
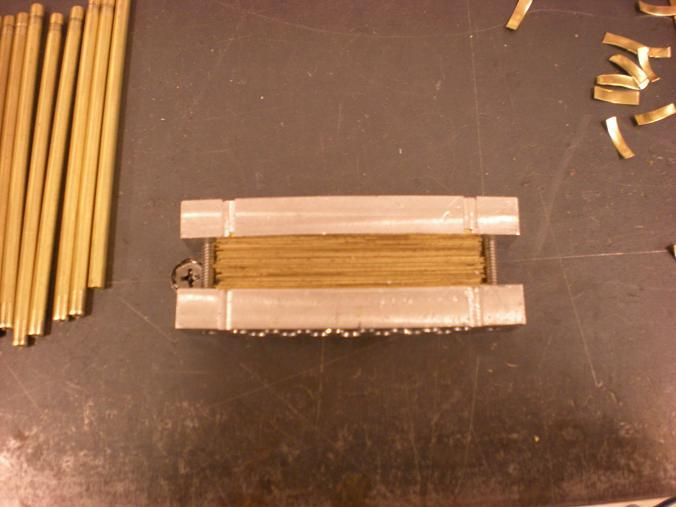
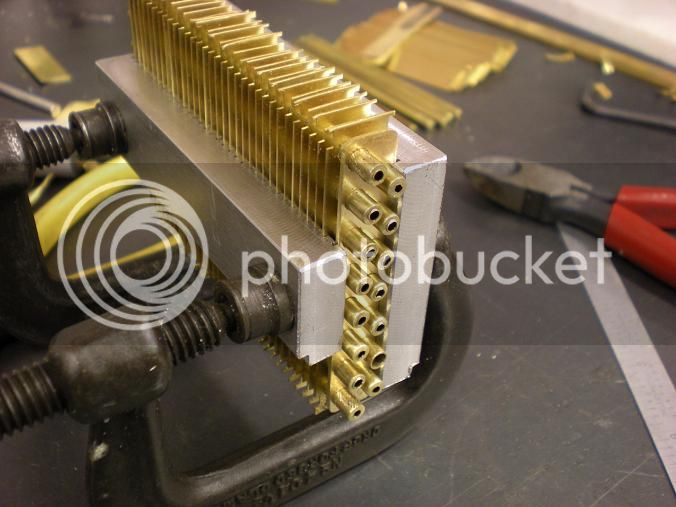
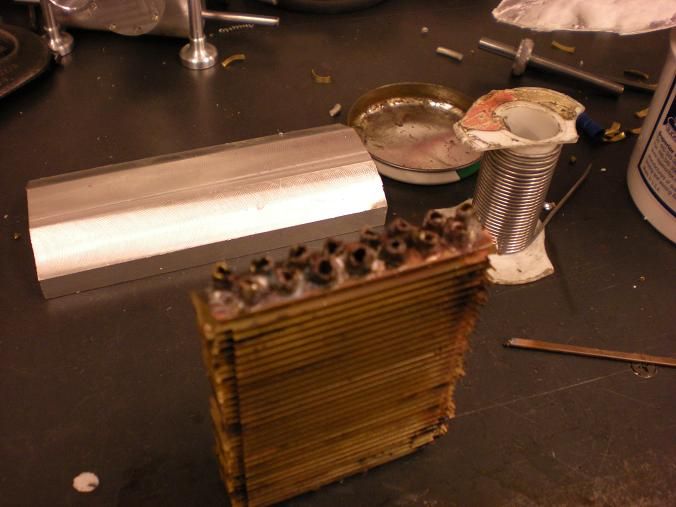
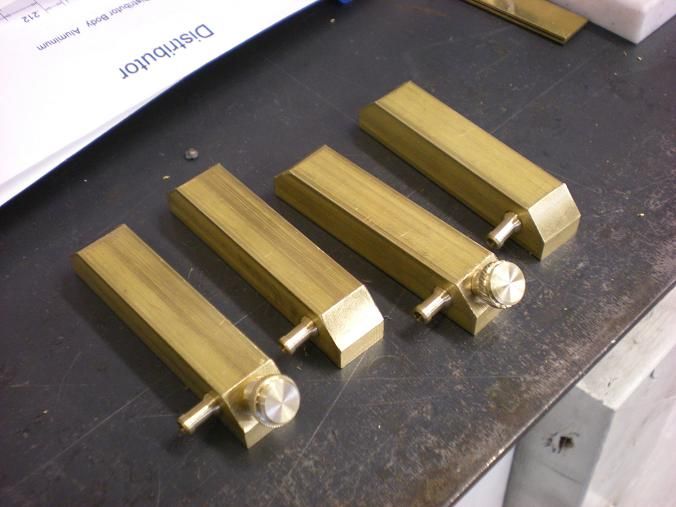
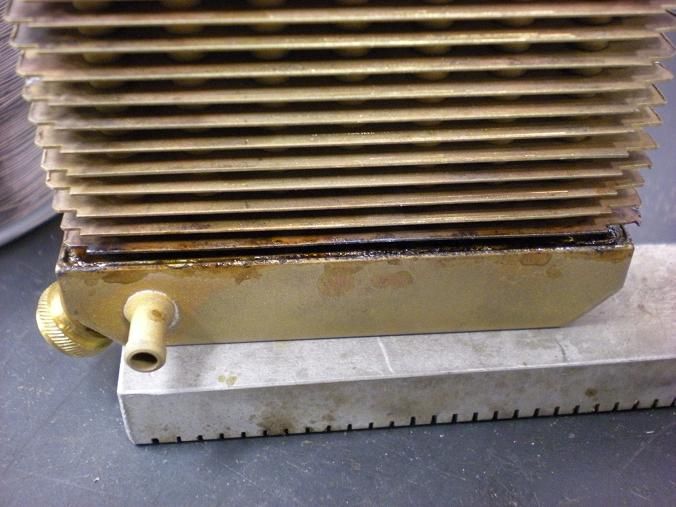
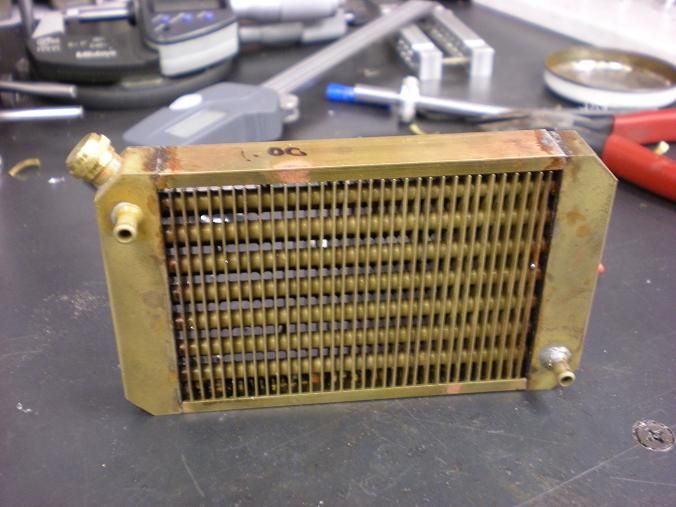
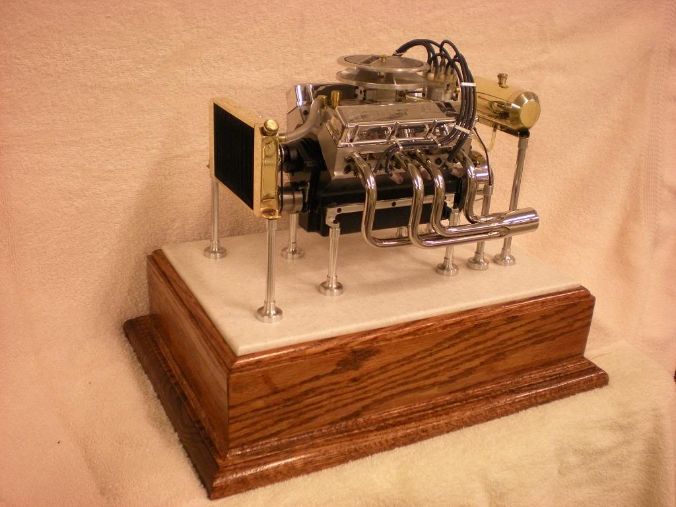
I would like to know how do you guys who can make so good looking
radiators do???
Like this for example (mr gbritnell´s ford)")
http://www.youtube.com/watch?feature=player_embedded&v=lfTGrYdp_BI
Happy New Year!!
Ove
I would like to know how do you guys who can make so good looking
radiators do???
Like this for example (mr gbritnell´s ford)
http://www.youtube.com/watch?feature=player_embedded&v=lfTGrYdp_BI
Happy New Year!!
Ove