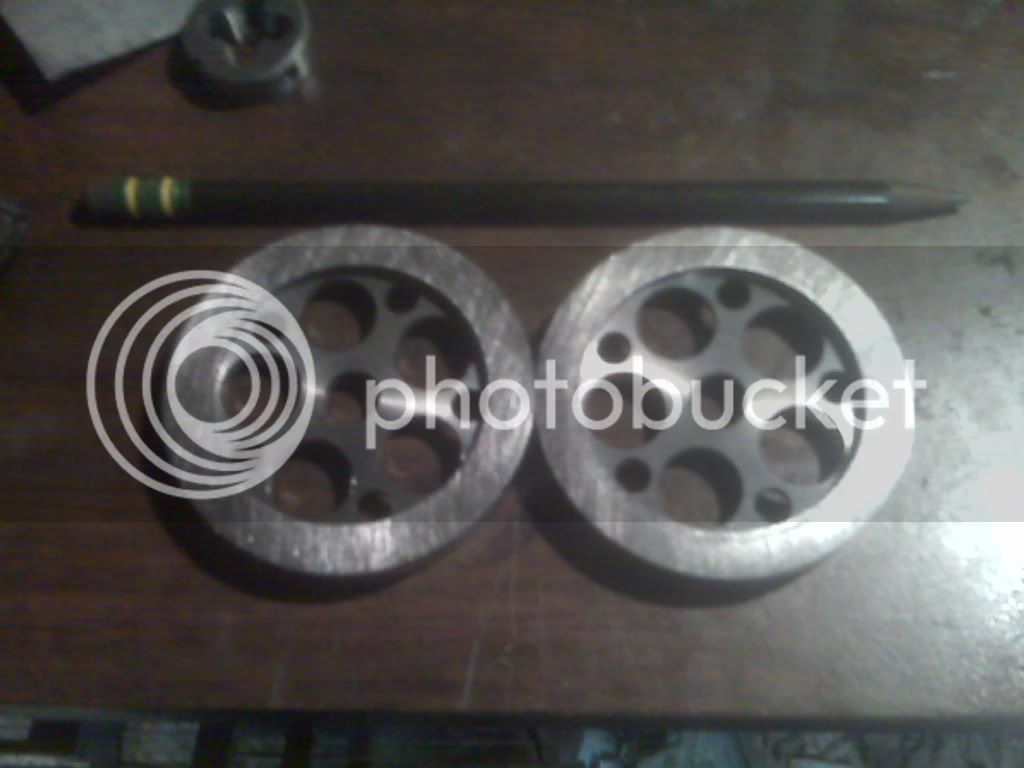
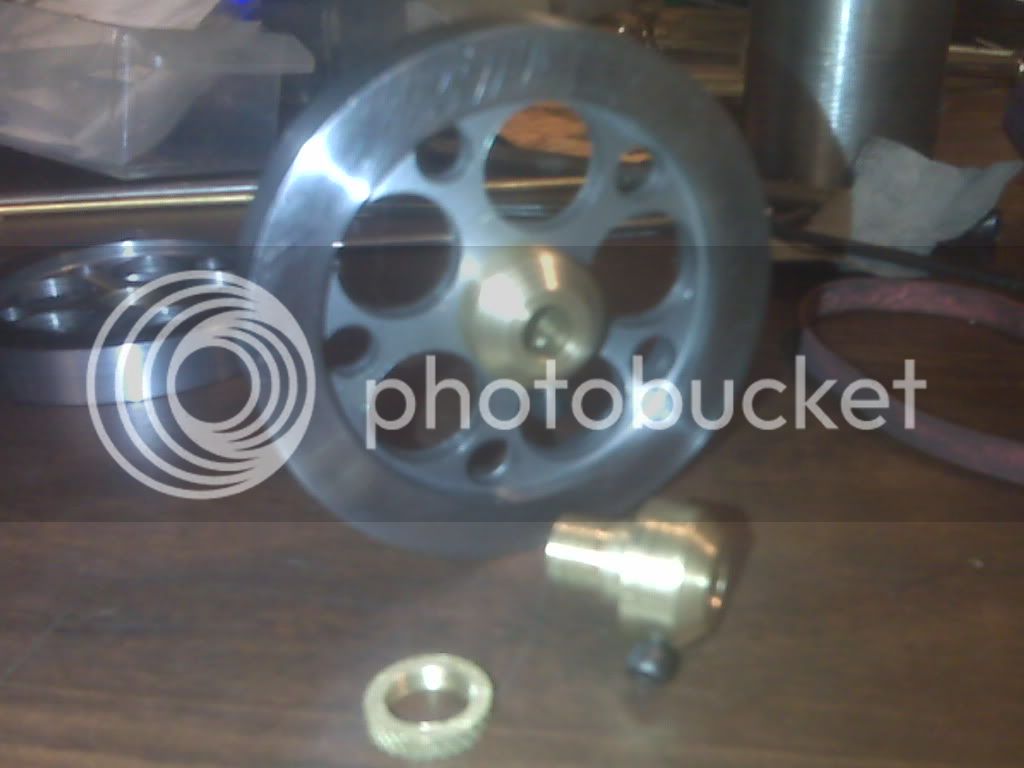
Hey, another poppin flame licker with belt driven fan

Home Model Engine Machinist Forum

Help Support Home Model Engine Machinist Forum:

This site may earn a commission from merchant affiliate links, including eBay, Amazon, and others.
What do you guys think of spiral flute taps? or Spiral point taps. Are they worth the extra dough? or should I just get a good quality standard tap?
There are so many choices. I plan on using Enco, because of the free shipping. They also have grey iron, is this the same as cast iron?

thanks,

kel
 
kcmillin said:
What do you guys think of spiral flute taps? or Spiral point taps. Are they worth the extra dough? or should I just get a good quality standard tap?
There are so many choices. I plan on using Enco, because of the free shipping. They also have grey iron, is this the same as cast iron?

thanks,

kel

I like the spiral flute tapes in a 6-32 or bigger. My experience with 4-40 spiral flute taps is they break way too easily. 4-40 and smaller, I use standard flutes.


Chuck
 
I use the spiral point taps everywhere I can reasonably get away with it, down to #0 size. I don't have much experience with the spiral flute ones.
 
The 2-56 taps I showed here are spiral point taps.
I don't own any spiral flute taps personally, but I have used them at work.

The chip curls out like it would from a drill bit.
When the tap is reversed there is no chip remaining to hang up on the tap.
They are far beyond my personal hobby budget, but if I win the PowerBall
lottery on Saturday, which by the way is up to $140 Million now, I'll buy a full
set of them!

Side Note:
If anyone here lives in a state where the PowerBall lottery exists, the guy who
points out the importance of buying a ticket is entitled to a minimum
of 10% of any winnings. Any gratuities beyond 10% will be humbly accepted.


Enough of the legal stuff! :D

Rick
 
Incidentally I snapped the no. 50 tapping drill last night when drilling for the 8ba screws. The problem is it breaks through to the first groove but the drill only goes 1/2 into the groove on mine as I held back 1/32" with the groove depth. Luckily it didn't get stuck but it was a bit scary drilling the holes. Not really looking forward to tapping them. Will just remember to stop as soon as slightest bit of resistance is felt.

Nick
 
Well I got a little work done today. (bought a 2-56 tap from the local hobby shop)

I Decided to start with the "standard" or the frame of the engine.

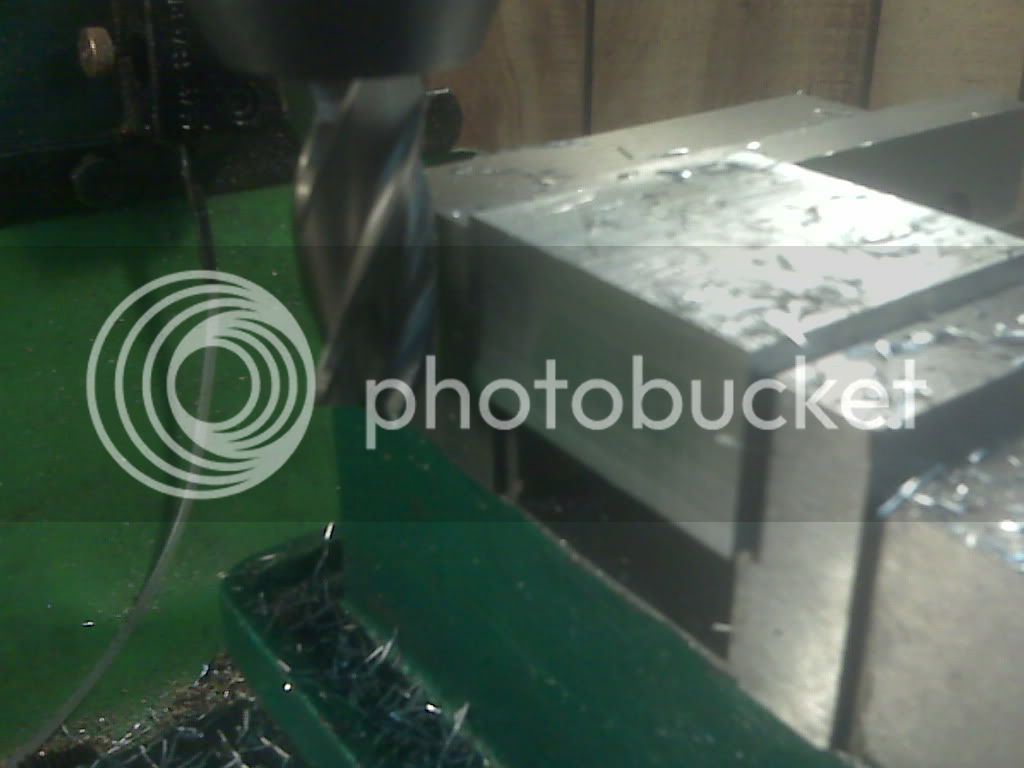
I started by milling it down to 1 7/8 square.
flame4.jpg


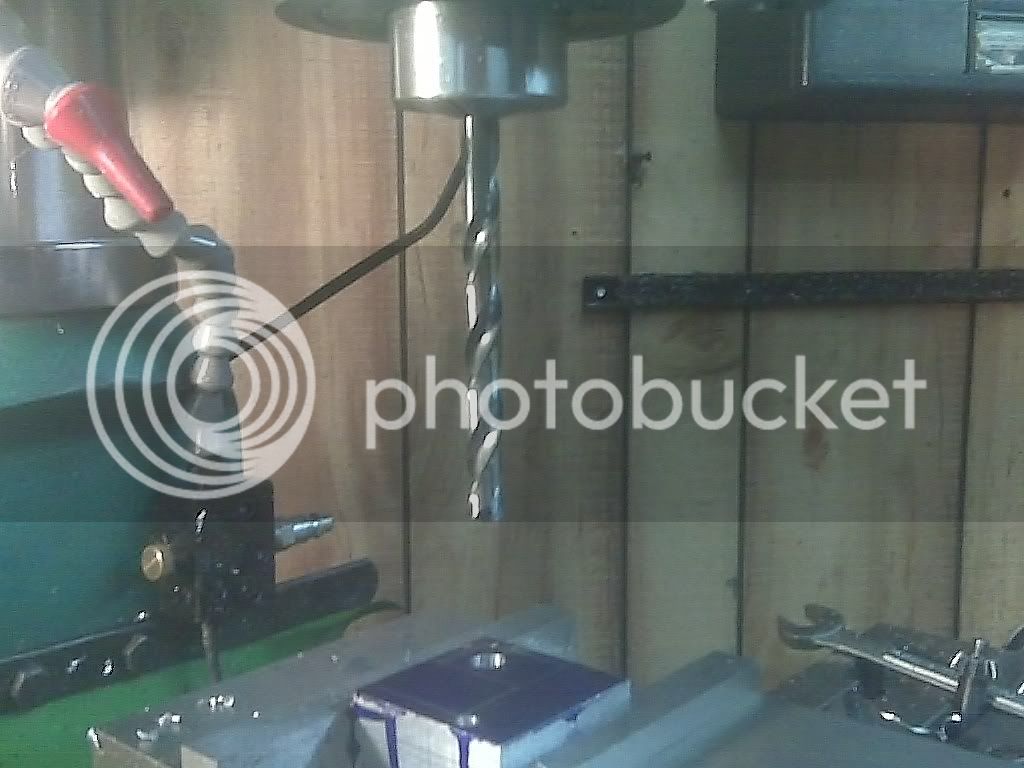
Then I driled the holes. I am holding the drill in a collett. I have a question about it.
Can you put a 31/64 bit in a 1/2 inch collett? just wondering, I have done this, but is it bad? I always drill to one size smaller with an appropriate size collet first.
flame2.jpg


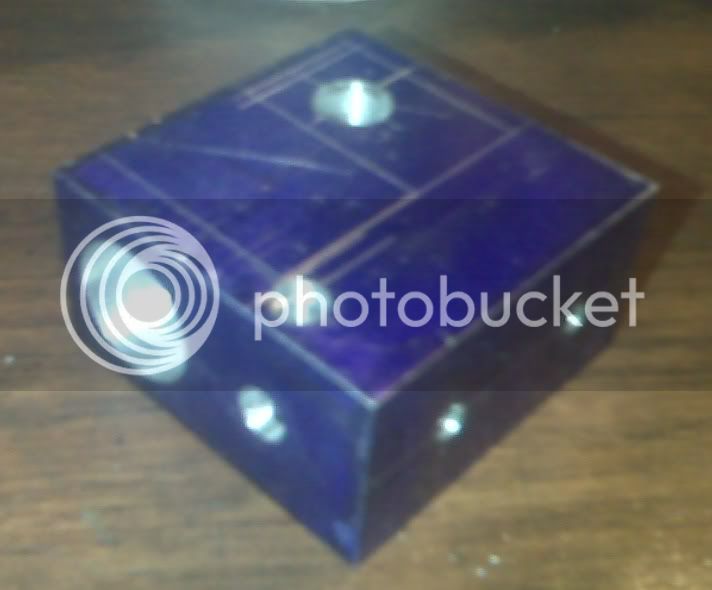
I decided to go with only two screws for the base. (to simplify things) I also used an 8-32 screw, instead of 2-56. Here it is al ready for millin'.
flame1.jpg


This is all the progress for today. More to come for the weekend.
flame5.jpg


I got the cylinder and head completed today. Lapped the bore and polished all the mating surfaces. I got through 6 holes before I broke the tap. (laps in concentration) So it was off to the hobby shop to get his last tap. I better be careful with this one. I only got one more hole to tap, maybee two if I decide to go with the piston design given with the plans. I could go bigger with this no problem. Next are the tricky little bits. valve gear and whatnot.

Ill get pics up in a few days

kel


kcmillin said:
I plan on using Enco, because of the free shipping. They also have grey iron, is this the same as cast iron?
kel

Kel, the phrases "gray iron", "cast iron" and "gray cast iron" are usually interchangeable when you're talking about machinable cast iron. In a word, the answer to your question is yes.

I looked up cast iron rounds on Enco, just to see what you were looking at, and it says "similar to ASTM A48", which is a common grade of machinable gray cast iron.

In general, gray cast iron is the good machining kind that we like. There are a number of types of CI, but when prints just say to use cast iron and they don't mention a specific classification, you should be able to use any kind that you can machine.

Dean
 
Nice work Kel,

You're right there is no point drilling / tapping 4 holes when it really only needs 2. I don't really see the need for the thin base either, the 'standard could be mounted straight on the wood couldn't it?

Nick
 
Nick,
I think we could get away without using the aluminum base. I am still up in the air on what I am going to do.

kel
 
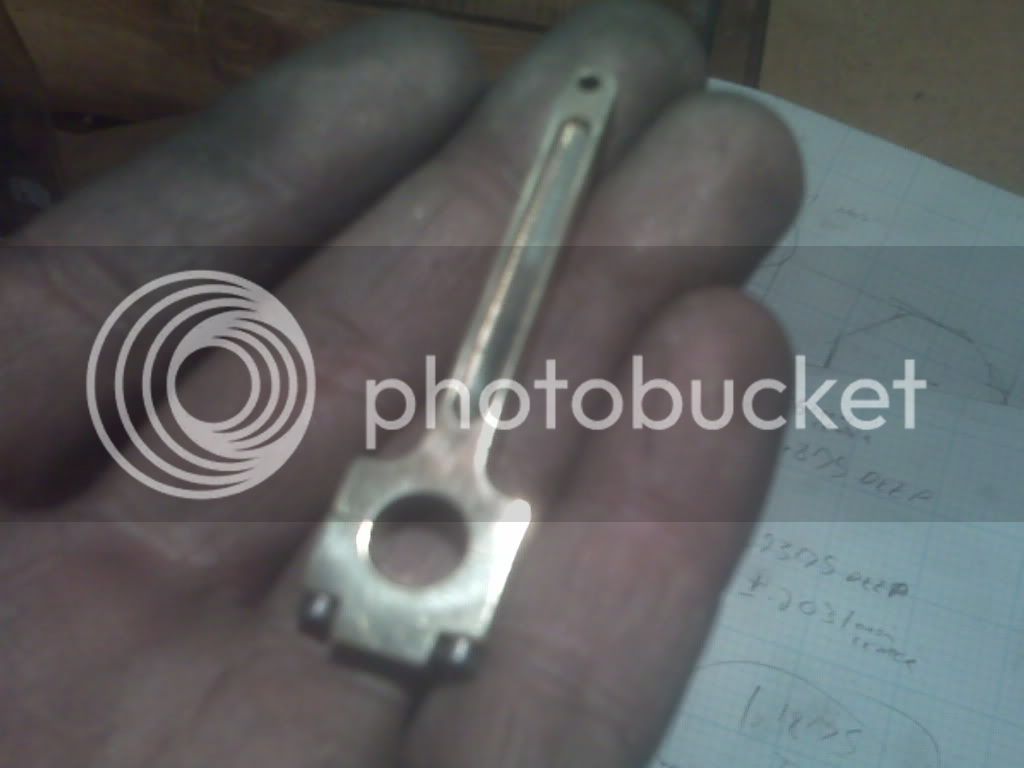
I got the crank and con rod finished yesterday. I decided to go with a full floating crank, so there was a little modification to the plans. (OK I completley redisigned the con rod) The one in the plans is great, but a little complicated. I also made the crank throws out of brass, for looks.

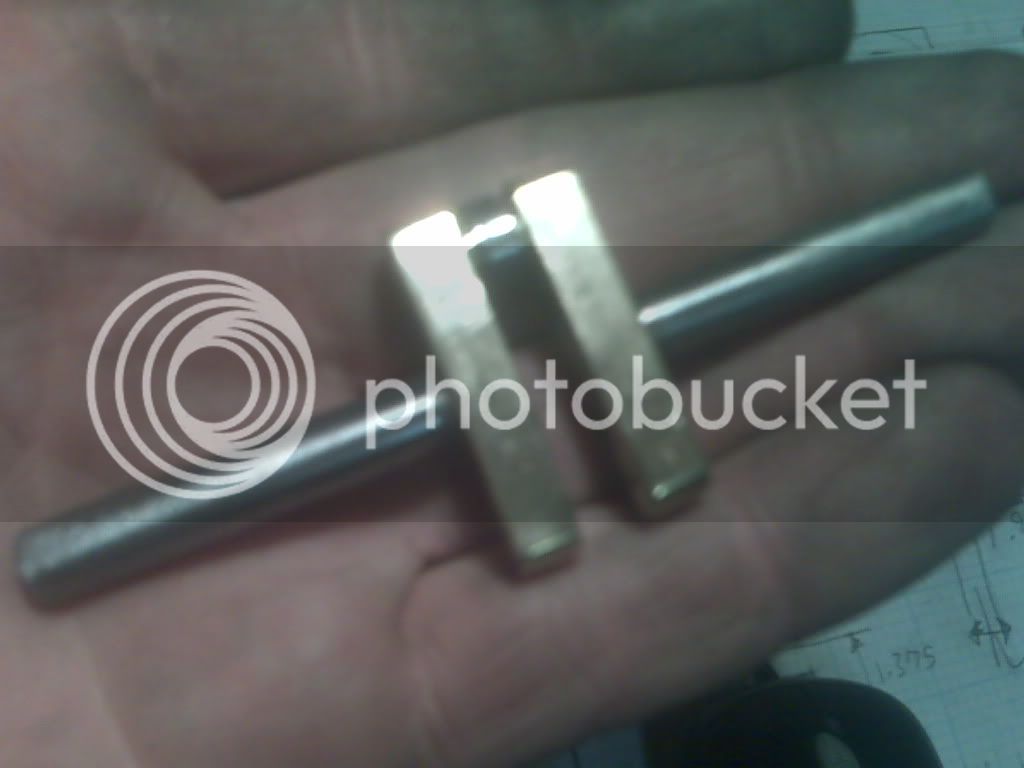
Here are all the components for the crank. I decided to put a bearing on the crank journal, and I made .030 spacers to keep the bearing centered. (thats whats in the caliper)
flame12.jpg


all pressed together, I also put some pins through it to help keep it square.
you can see the locktite all over it.
flame11.jpg


al cut and ready for install.
flame10.jpg

 
After drilling and tapping the holes for the con rod, It was time to put the crank and wrist pin holes in it.

With the cap off I found the edge of what will be the center of the crank bearing hole, this is the only way I can think of do get the hole perfectly centered, the eyeball aint good enough foir this. Also it makes an easy read of the dials to get the wrist pin hole drilled.
flame9.jpg


drilling the 5/16 bearing hole.
flame8.jpg


The finished con rod.
flame7.jpg


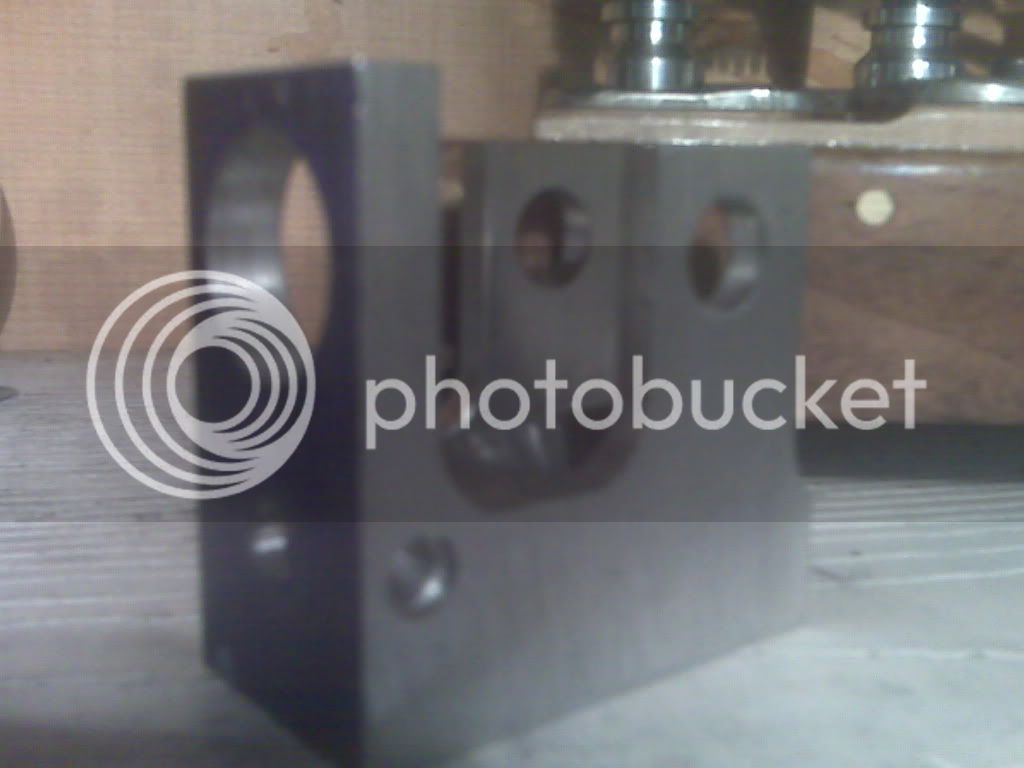
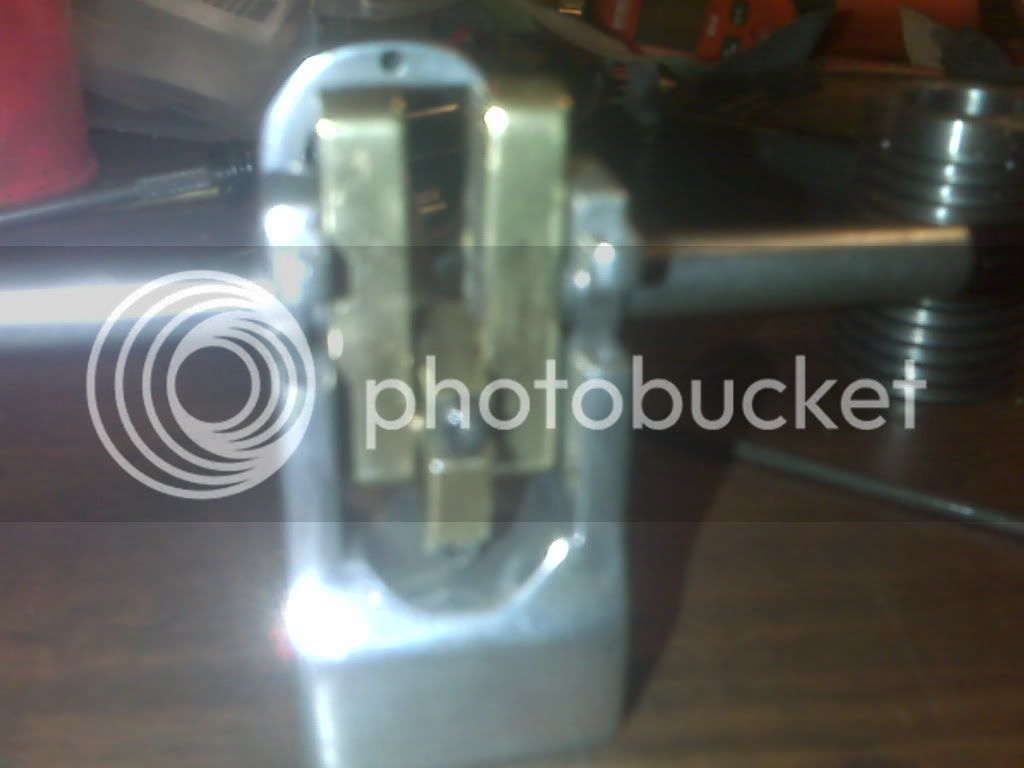
I had to mill out the standard to accomodate the larger con rod.
flame6.jpg


This design adds more mass to the recipricating parts, I may have to counterbalance it somehow. Not sure how I am accuratly going to do this?
Any advice?

kel
 
Nice work on the crank and love your con rod. At the moment I'm just planning to make to print as I don't have another 2 bearings the right size. I don't think you'll need to counter balance but it could be done by drilling some holes on the inside of the flywheel if you had to.

Nick
 
I got the rest of the little bits done today. valve gear and all that.

I goit it all assembled and what do ya know IT RUNS!!!!!!!!!!!!!!!!!!!!!!

I wish i had a better camera, so I could show you more detailed pictures.

but here it is WITH VIDEO!!!

flame19.jpg

flame17.jpg

flame16.jpg

flame15.jpg

flame13.jpg


Thanks again for the tips everone. I am really glad I want with the tiny tap.

kel
 
Yeah, I'll say it runs! Good stuff, Kel.

I wish you had a better camera too, 'cause this one's not doing your work justice.
What the heck. Buying metal stock is more important than buying cameras!

Thanks for the vid.

Dean
 
Kel,

That's great - Congratulations :bow:

Bops along very nicely. :bow:

Best Regards
Bob
 
Well done, can't watch the vid yet but will tonight. Your flywheels look much better than the original design and better than mine will. :bow:

Nick
 
Looks and sounds great Kel! Congratulations! :bow:

Rick
 
Stellar job!

Did I read that right...start to finish in 8 days?
 
Winklmj,
actually it was 5 days from the start of the first peice. but whos counting. lol. I did have some help from some bad weather. I can spend as much time in the shop as I want. so there was definetly some full days there. It was about 30 hours all together.

kel
 

Latest posts

Back
Top