mklotz
Well-Known Member
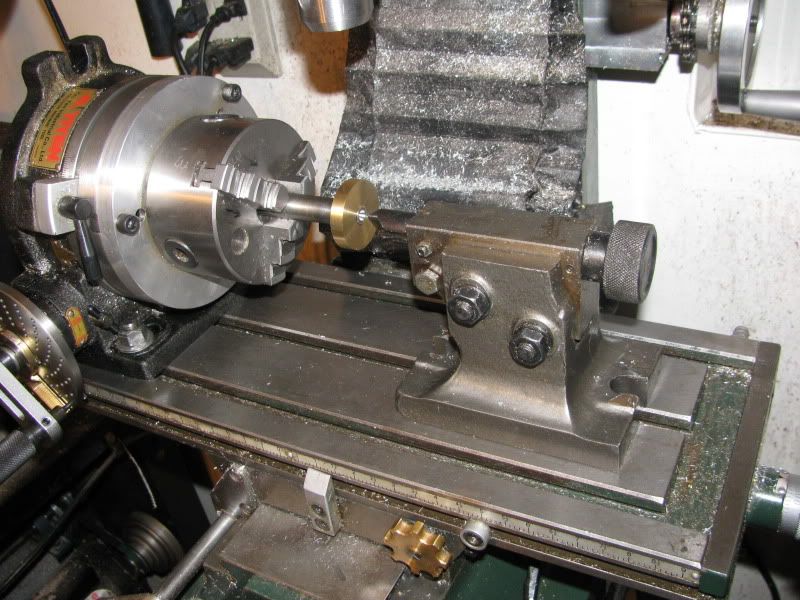
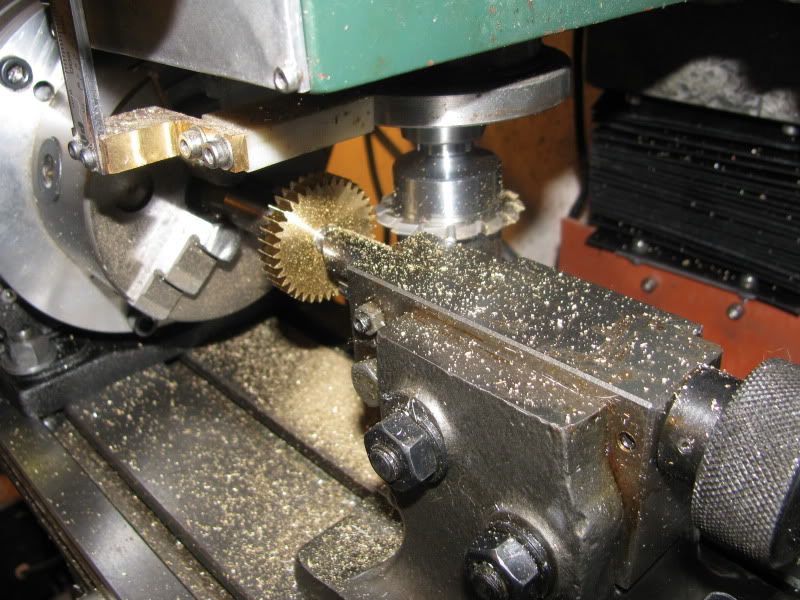
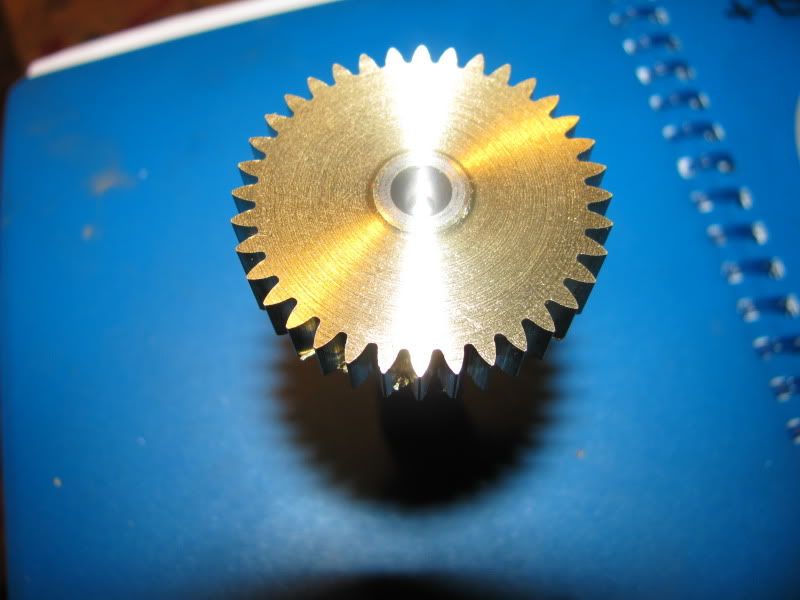
Brian Rupnow said:Marv---i'm running a 14.5 degree pressure angle. You know that if you keep on doing this I'm going to have to fly to California for some hands on Dos lessons, right??? ;D ;D ;D
You don't need DOS lessons to use my programs. You just need to understand how to run a DOS program under DosBox, which does all the DOS work for you. Get one of your granddaughters to help you out.
")
The ideal solution, of course, would be to convert all my programs to run on 64 bit Windoze. I make no money off my programs so that isn't going to happen if I have to do it. Writing them the first time was fun. Porting is my idea of hell.
Over the years I've had numerous folks ask my permission to port my programs to other systems. Given that my stuff is in the public domain and the code is available in the downloads, I've always told them to go right ahead. Sadly, I have *never* heard of anyone following through on these promises. They must detest porting as much as I do.
Porting isn't going to happen so DosBox is the best alternative. At least it's free.