


Hello all;
Worked on rigging up the Atlas to take Taig chucks today, and thought a few folks might like to see.
It's mostly straight forward lathe work, but is a bit more than just turning.
What I'm working on is a spindle adapter to let me use Taig chucks on the Atlas. It will have a 1"-8 TPI
internal spindle thread on one end, to fit the Atlas spindle, and a 3/4"-16 external thread on the other,
to fit Taig chucks, or others of that size. Should be very handy for transferring work between the two
lathes, while leaving the work piece undisturbed in the chuck.
I made one of these gadgets for my Craftsman 109 lathe a while back, and it worked out well. I no
longer use the Craftsman, but would like to retain the same convenient chuck swapping set up for the
Atlas.
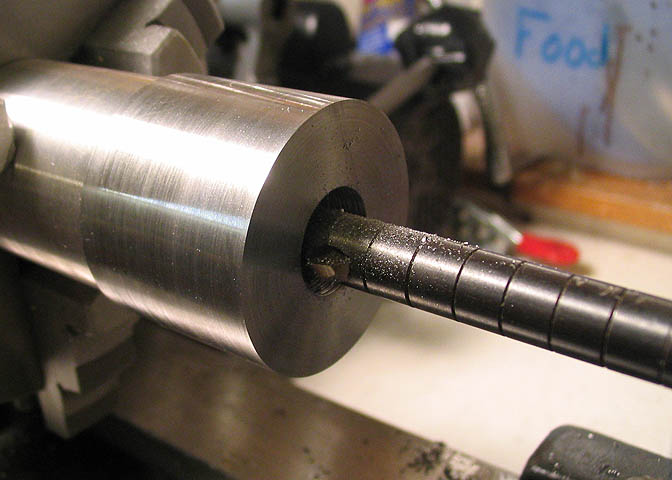
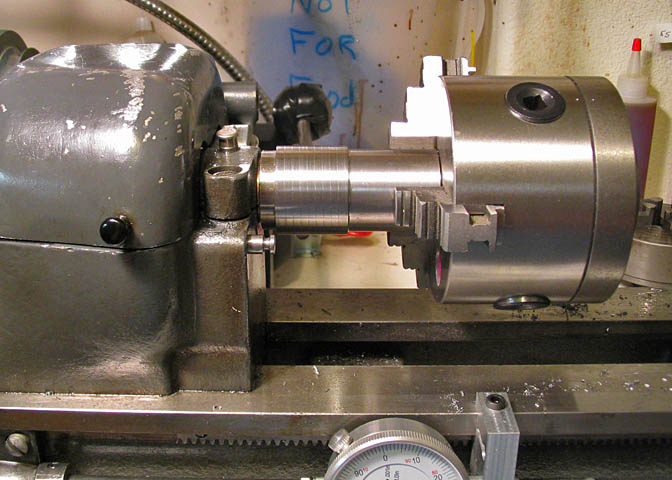
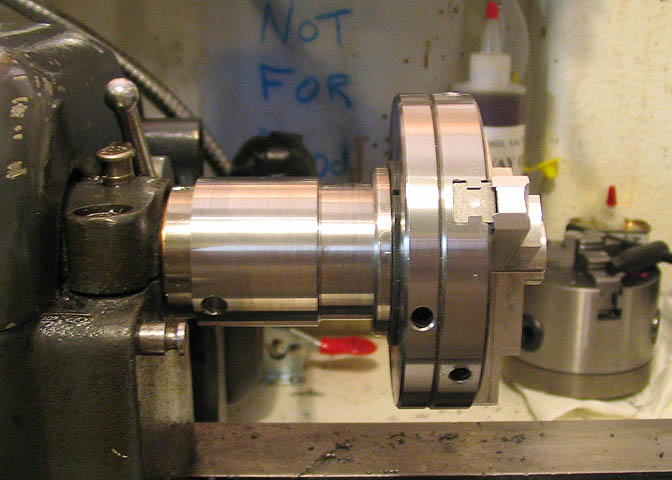
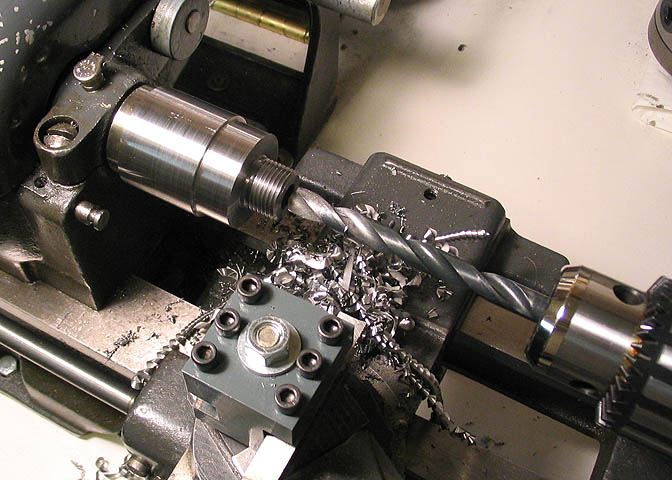
Starting out with a piece of suitable sized stock from the indespensable "left overs" tub, it's chucked up
and drilled to a suitable depth for the Atlas threads, plus a little extra for threading tool run off. Then
bored as deep as I can with this type of boring tool. This tool won't bore to a flat bottom, but it's stiff
enough to cut fairly fast.
The piece is in two diameters here, but that isn't for any purpose. It's just the shape of things as it
came out of the tub.
I'm not sure what this stuff is, but it's a pretty good guess to say it's some type of leaded CRS.
It machines pretty nice.
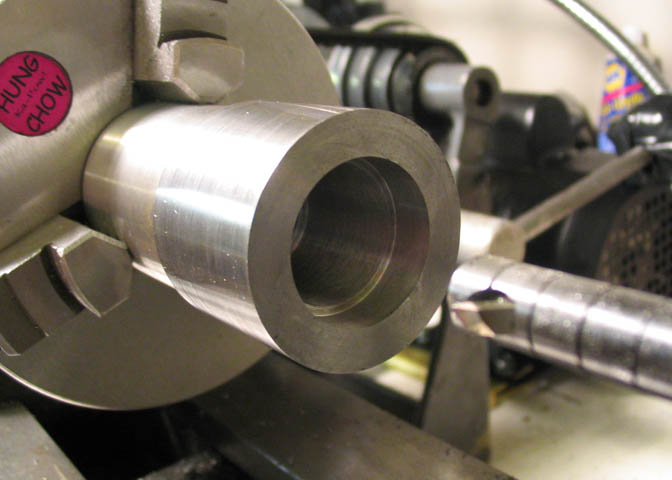
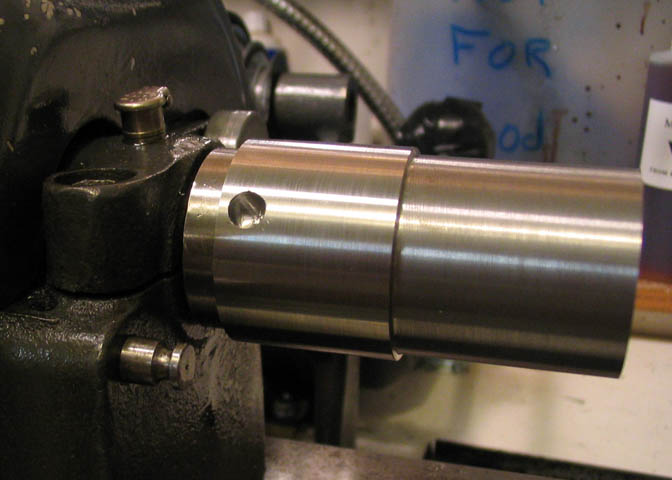
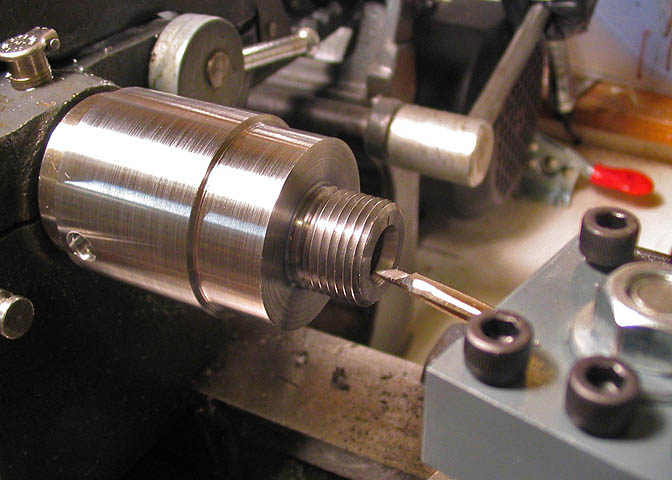
Here's the piece bored for thread diameter, plus the needed free bore for the unthreaded part of the
Atlas spindle. The smaller diameter is where the threads will be cut, but it needs some relief down at
the bottom of the hole for the threading tool to run off after cutting the threads.
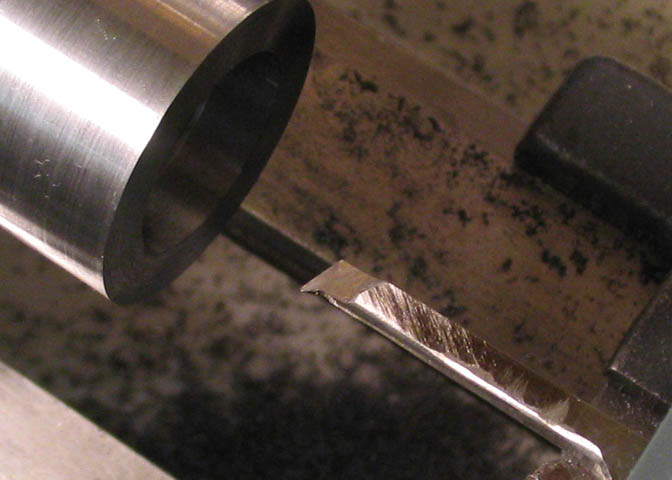
To do that last bit of run off down near the bottom of the hole, I used this tool that has a small hook
kind of thing ground on its end. The run off area is made the same diameter as the spindle free bore at
the start of the hole, and .300 long, so the end of the threading tool doesn't bump up against the
bottom. This tool was barely long enough to reach, but it did the trick.
Now the bore is ready for threading, and the pick-off gears on the lathe have been changed for 8 TPI.
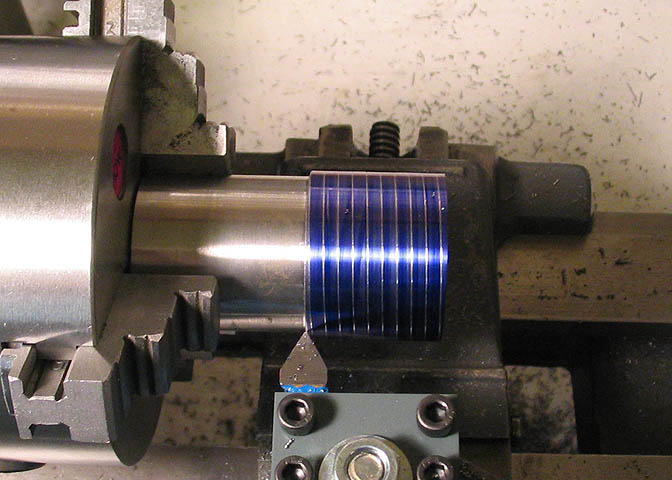
Since I can't really see very well inside the bore to run a test scratch, I just ran it on the outside of the
piece. It's only about .0005" deep, and will be turned off after the internal threading is finished.
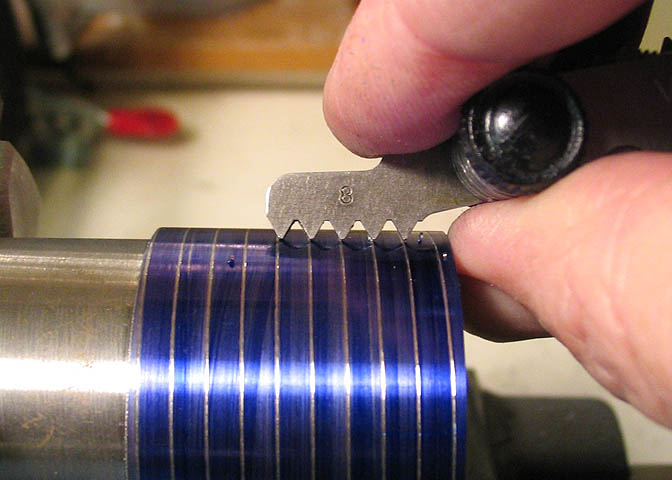
The scratch shows I have the change gears set up properly. Time to set up the threading tool to cut
the threads in the bore.
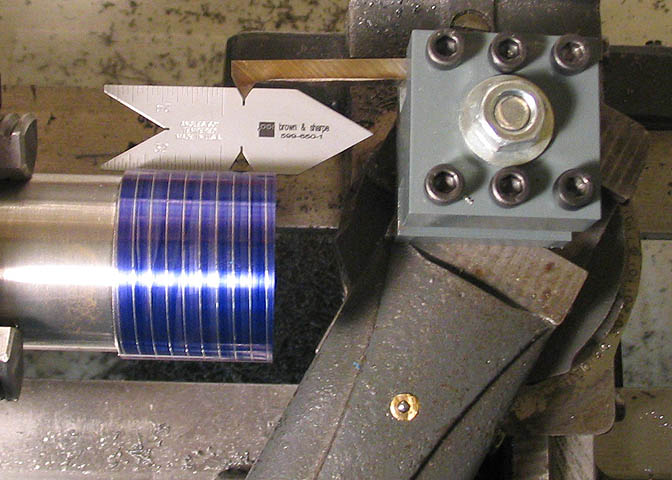
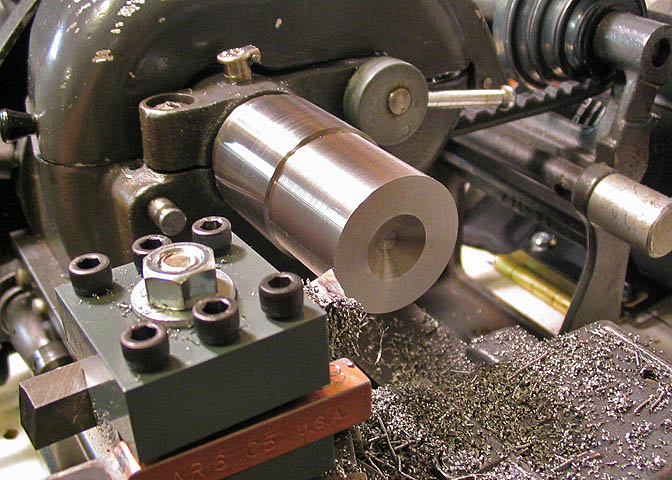
A 60 deg threading tool is ground up from 3/8" HSS, and set to cut square. The compound is set to 29
deg, same as for cutting external threads, except the 29 deg is set on the other side of zero on the
scale. It works the same way as outside threads, except the feeds on the dials of the compound and
cross slides are done in reverse. In other words, the compound is cranked toward the operator to feed
the tool, and when backing out to take another cut, the cross slide is cranked away from you, to clear
the threads that have been cut when returning to your starting point.
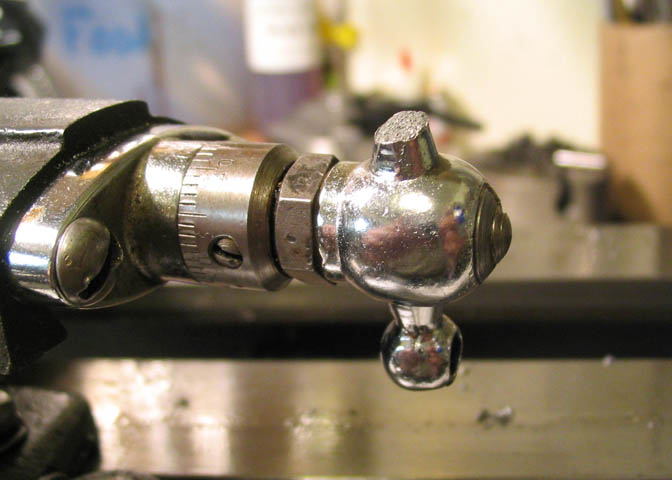
With the lathe off, the tool tip was set at the starting point for the threads, (inside the bore), then
cranked in toward the headstock where the threads are meant to end. The DI holder on the lathe is set
so the needle starts to move just as the thread ends. This is done so I will know when to disengage
the halfnut after taking a cut.
Everything was going along great, thread about half way done, no chatter, and BAM... Lathe locked up
tight and belt started to squeal. I knew what had happened.
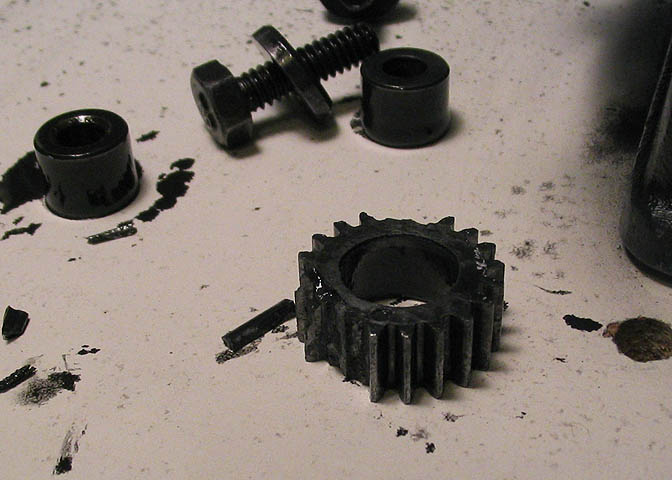
The small tumbler gear had given up. I knew this gear was going bad, but hadn't got around to cutting
a new one yet. The gear was missing a bit of one tooth when I got the lathe. It was on the "to do"
list, but it looks like it will get done sooner rather than later.
It's the smallest gear in the train, and that bad tooth couldn't quite take 8 TPI. The way the other three
teeth came off, it looks like it may have been in worse shape than I thought.
Luckily, the broken teeth had jammed in a larger gear and stopped the works before they could do
more damage.
(I know these parts look really dirty, but they're not. They're made of Zamak, and turn any oil black.)
I had another gear of this tooth count on the stowed away Craftsman 109, so pinched it to get this job done.
All the gears in the train were cleaned and checked for stray bits before continuing.
That was the easy part. I had now lost the cut on the lead screw.
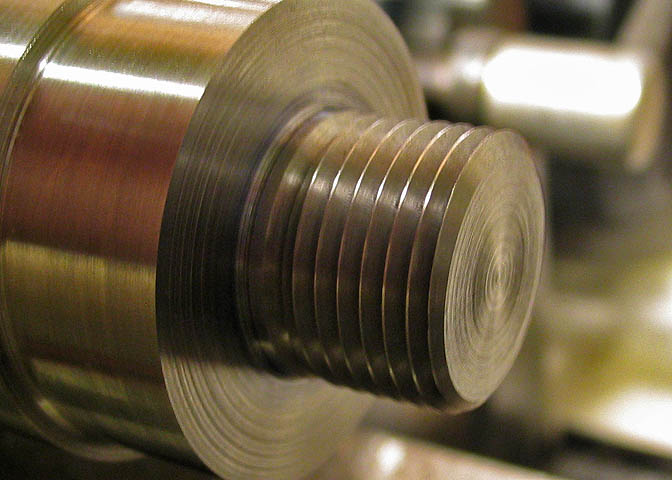
After what seemed like quite a while messing around, rocking the chuck back and forth and trying
different starts on the half nut, I found the cut, and finished up the threads. They came out fairly well.
Picking up a lost cut on threads isn't usually that difficult, if the threads are external. You can look at
them straight on and judge pretty well when you've got it by trying a few different places on the
leadscrew/halfnut. When they're inside threads, you can only see them from an angle, and it takes a
while, for me, at least.
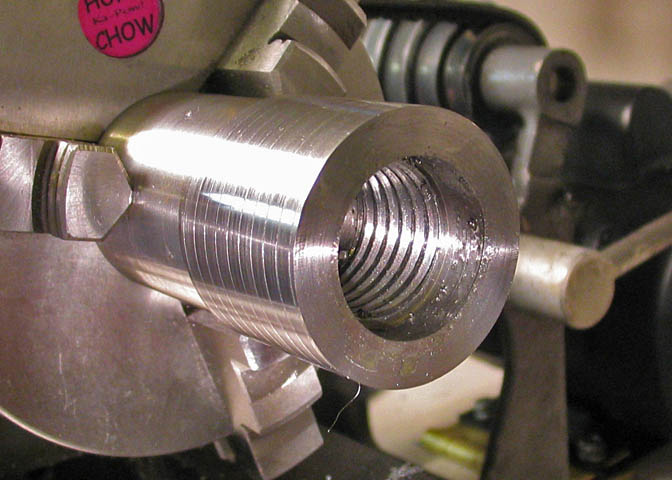
After a few more cuts, and a few tries having a go on the spindle by removing chuck and all, this part of
the thingy is done.
That's it for today. Next time, maybe Monday, the outside of the piece will be finished off, and the
external threads can be cut for the Taig chucks.
Thanks for looking in.
Dean
Worked on rigging up the Atlas to take Taig chucks today, and thought a few folks might like to see.
It's mostly straight forward lathe work, but is a bit more than just turning.
What I'm working on is a spindle adapter to let me use Taig chucks on the Atlas. It will have a 1"-8 TPI
internal spindle thread on one end, to fit the Atlas spindle, and a 3/4"-16 external thread on the other,
to fit Taig chucks, or others of that size. Should be very handy for transferring work between the two
lathes, while leaving the work piece undisturbed in the chuck.
I made one of these gadgets for my Craftsman 109 lathe a while back, and it worked out well. I no
longer use the Craftsman, but would like to retain the same convenient chuck swapping set up for the
Atlas.
Starting out with a piece of suitable sized stock from the indespensable "left overs" tub, it's chucked up
and drilled to a suitable depth for the Atlas threads, plus a little extra for threading tool run off. Then
bored as deep as I can with this type of boring tool. This tool won't bore to a flat bottom, but it's stiff
enough to cut fairly fast.
The piece is in two diameters here, but that isn't for any purpose. It's just the shape of things as it
came out of the tub.
I'm not sure what this stuff is, but it's a pretty good guess to say it's some type of leaded CRS.
It machines pretty nice.
Here's the piece bored for thread diameter, plus the needed free bore for the unthreaded part of the
Atlas spindle. The smaller diameter is where the threads will be cut, but it needs some relief down at
the bottom of the hole for the threading tool to run off after cutting the threads.
To do that last bit of run off down near the bottom of the hole, I used this tool that has a small hook
kind of thing ground on its end. The run off area is made the same diameter as the spindle free bore at
the start of the hole, and .300 long, so the end of the threading tool doesn't bump up against the
bottom. This tool was barely long enough to reach, but it did the trick.
Now the bore is ready for threading, and the pick-off gears on the lathe have been changed for 8 TPI.
Since I can't really see very well inside the bore to run a test scratch, I just ran it on the outside of the
piece. It's only about .0005" deep, and will be turned off after the internal threading is finished.
The scratch shows I have the change gears set up properly. Time to set up the threading tool to cut
the threads in the bore.
A 60 deg threading tool is ground up from 3/8" HSS, and set to cut square. The compound is set to 29
deg, same as for cutting external threads, except the 29 deg is set on the other side of zero on the
scale. It works the same way as outside threads, except the feeds on the dials of the compound and
cross slides are done in reverse. In other words, the compound is cranked toward the operator to feed
the tool, and when backing out to take another cut, the cross slide is cranked away from you, to clear
the threads that have been cut when returning to your starting point.
With the lathe off, the tool tip was set at the starting point for the threads, (inside the bore), then
cranked in toward the headstock where the threads are meant to end. The DI holder on the lathe is set
so the needle starts to move just as the thread ends. This is done so I will know when to disengage
the halfnut after taking a cut.
Everything was going along great, thread about half way done, no chatter, and BAM... Lathe locked up
tight and belt started to squeal. I knew what had happened.
The small tumbler gear had given up. I knew this gear was going bad, but hadn't got around to cutting
a new one yet. The gear was missing a bit of one tooth when I got the lathe. It was on the "to do"
list, but it looks like it will get done sooner rather than later.
It's the smallest gear in the train, and that bad tooth couldn't quite take 8 TPI. The way the other three
teeth came off, it looks like it may have been in worse shape than I thought.
Luckily, the broken teeth had jammed in a larger gear and stopped the works before they could do
more damage.
(I know these parts look really dirty, but they're not. They're made of Zamak, and turn any oil black.)
I had another gear of this tooth count on the stowed away Craftsman 109, so pinched it to get this job done.
All the gears in the train were cleaned and checked for stray bits before continuing.
That was the easy part. I had now lost the cut on the lead screw.
After what seemed like quite a while messing around, rocking the chuck back and forth and trying
different starts on the half nut, I found the cut, and finished up the threads. They came out fairly well.
Picking up a lost cut on threads isn't usually that difficult, if the threads are external. You can look at
them straight on and judge pretty well when you've got it by trying a few different places on the
leadscrew/halfnut. When they're inside threads, you can only see them from an angle, and it takes a
while, for me, at least.
After a few more cuts, and a few tries having a go on the spindle by removing chuck and all, this part of
the thingy is done.
That's it for today. Next time, maybe Monday, the outside of the piece will be finished off, and the
external threads can be cut for the Taig chucks.
Thanks for looking in.
Dean


")