Não consegui encontrar meu artigo sobre como fazer um D-bit, então inventei um do meu arquivo de fotos.
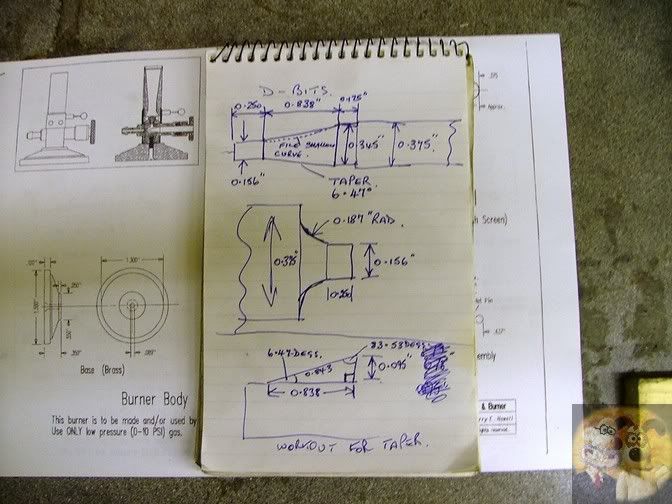
Primeiro eu trabalhei a partir do desenho o que era necessário para obter as formas corretas em cada extremidade do venturi. Parte no canto superior esquerdo ao lado do bloco de notas.
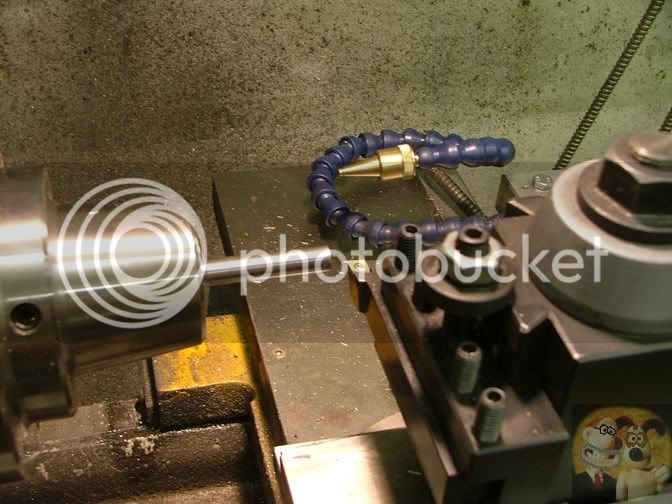
Um pedaço de aço prateado de diâmetro correto montado no mandril.
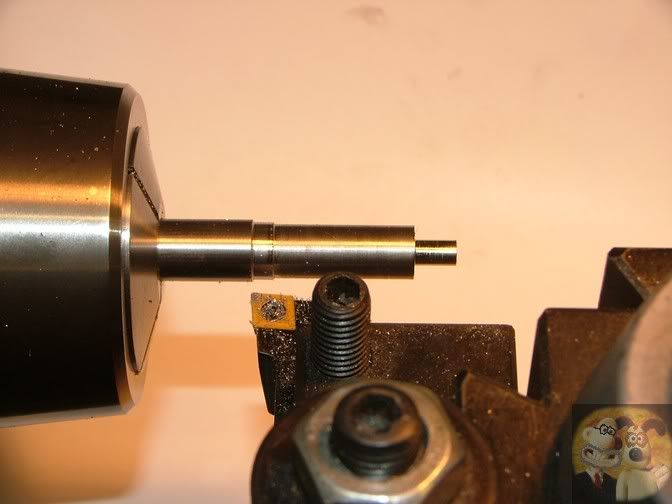
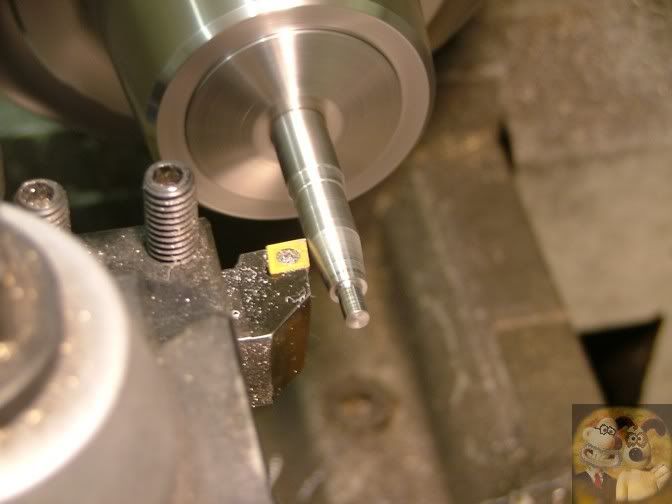
O perfil dianteiro e traseiro virou para cima em cada extremidade de onde o cone estará.
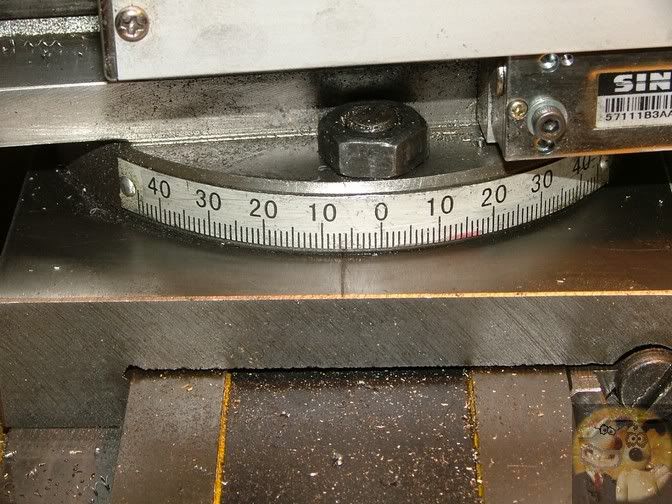
Topslide ajustado para o ângulo correto.
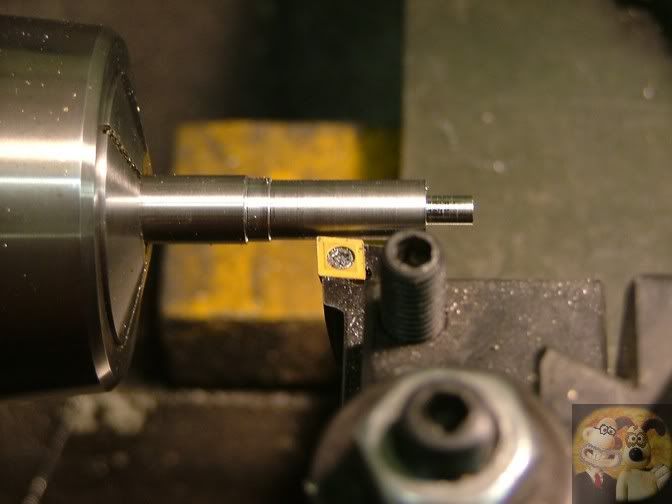
Começando a cortar o ângulo entre os dois diâmetros das extremidades.
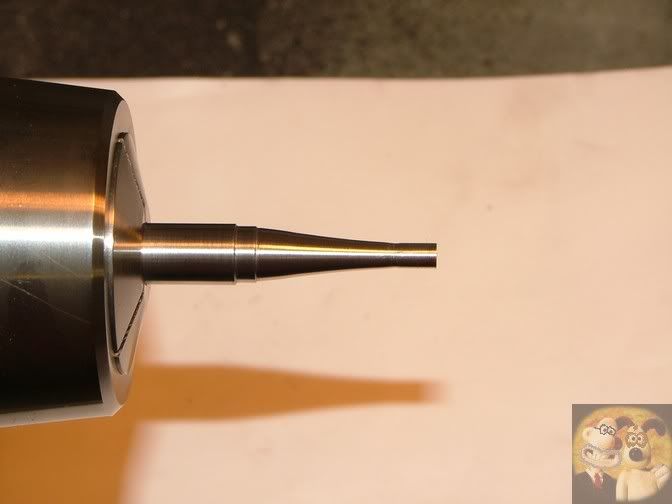
Finished angle after filing on a slight curve and polishing with emery and wire wool.
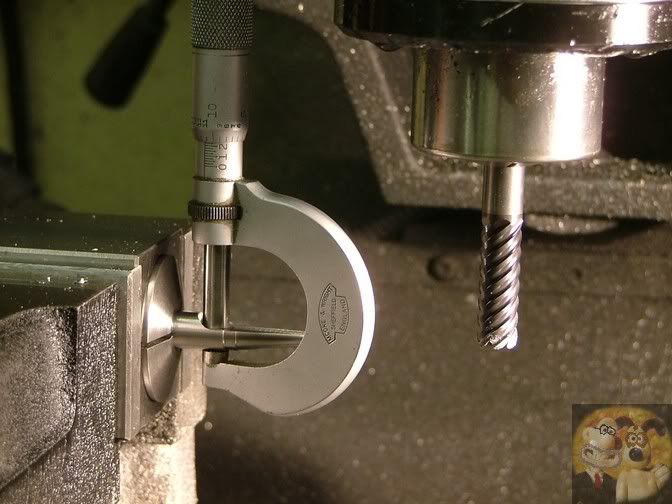
Now transfered onto the mill to start the cutting down to halfway + 1 or 2 thou. Notice that I am cutting into the original size of silver steel, this is where I am going to take my measurements from.
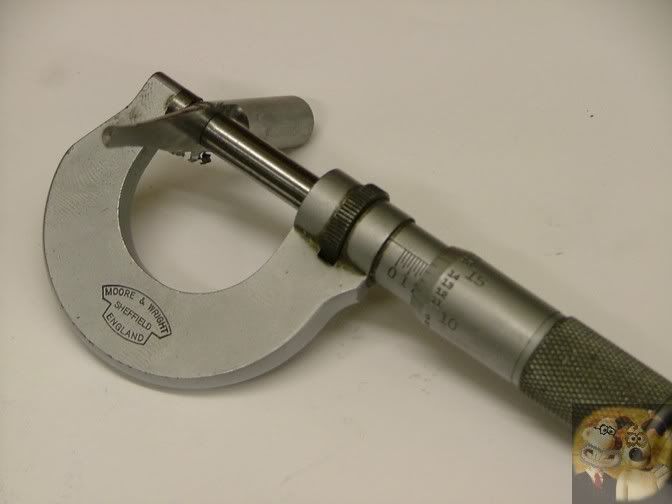
Measuring up, half the original diameter plus a bit.
Notice that I haven't removed the burrs, if you do that, you are liable to round over the cutting edges and the D-bit won't cut. Disregard the mic readings as these were just set up to show where to measure it.
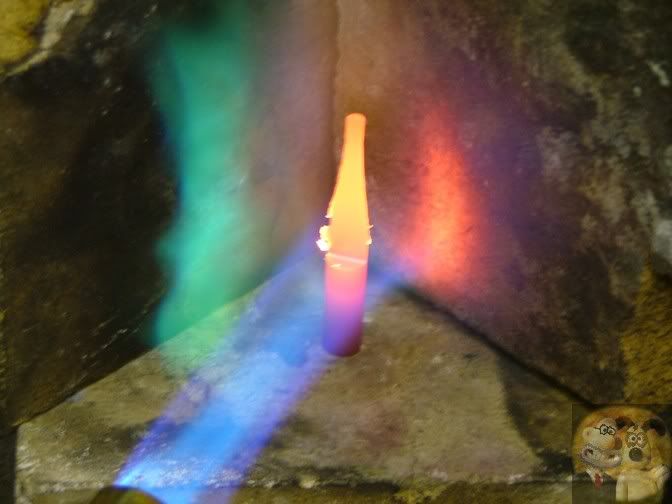
Heat up the bit and hold it there for at least a couple of minutes, then quench. It should end up rock hard.
Now onto an oil stone or W&D paper and gently flat down the cut face. You should be able to remove very little material and still retain a thou or two oversize. This should enable you to resharpen a few times if it goes a little dull without going below the half measurement.
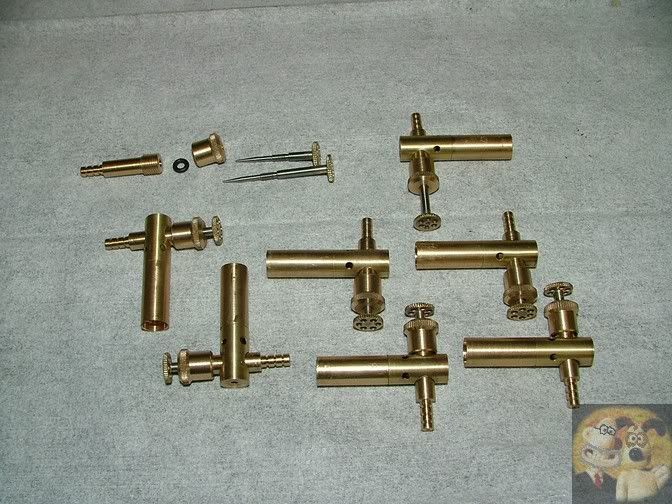
The two cutters made to allow me to make the venturi.
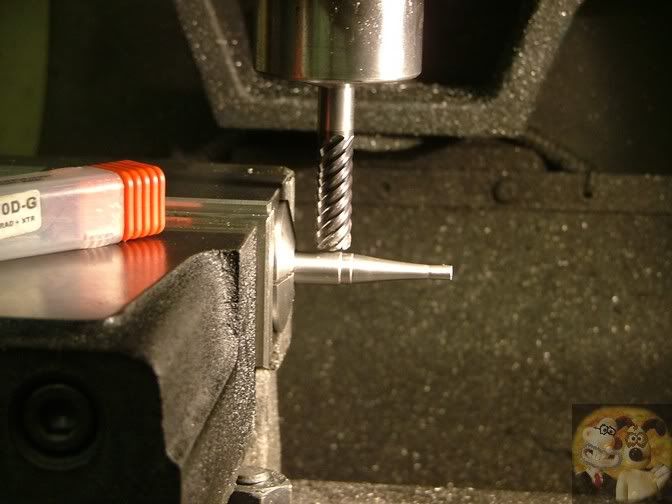
Cutter in action. Because it can't get it's own swarf away, you peck at the job, cleaning off the swarf as you go deeper. See how nicely it shaves the material out if you have made the D-bit correctly. If it doesn't cut this well, there is something wrong.
Unlike this one, which I completed then found that my supplier had slipped a bit of the wrong stuff into my silver steel order. It cut on the lathe like the right material, but it wouldn't harden,
D-bits são um método para obter furos de precisão sem recorrer a alargadores de tamanho especial ou especialmente retificados. Às vezes, eles podem ser a única maneira de sair de uma situação complicada.
Esqueci de mencionar, esses dois bits seguiram um furo previamente perfurado, então não precisaram cortar na ponta da frente. Se isso for necessário, a borda frontal precisa ter uma inclinação de corte na ponta de cerca de 5 graus.
Eu espero que isso ajude
João
[/CITAR]