Bottle frame steam engine

Home Model Engine Machinist Forum

Help Support Home Model Engine Machinist Forum:

This site may earn a commission from merchant affiliate links, including eBay, Amazon, and others.

Dan Rowe

Well-Known Member
Joined
Feb 12, 2010
Messages
594
Reaction score
18
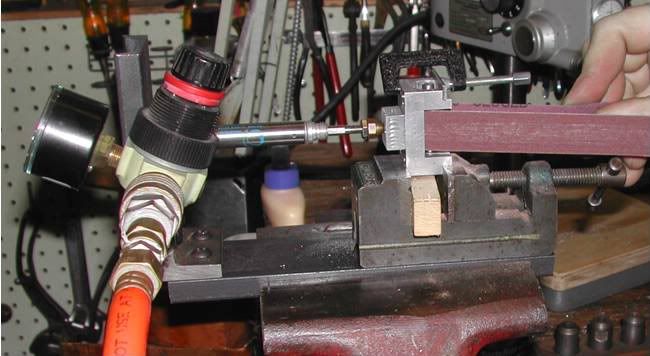
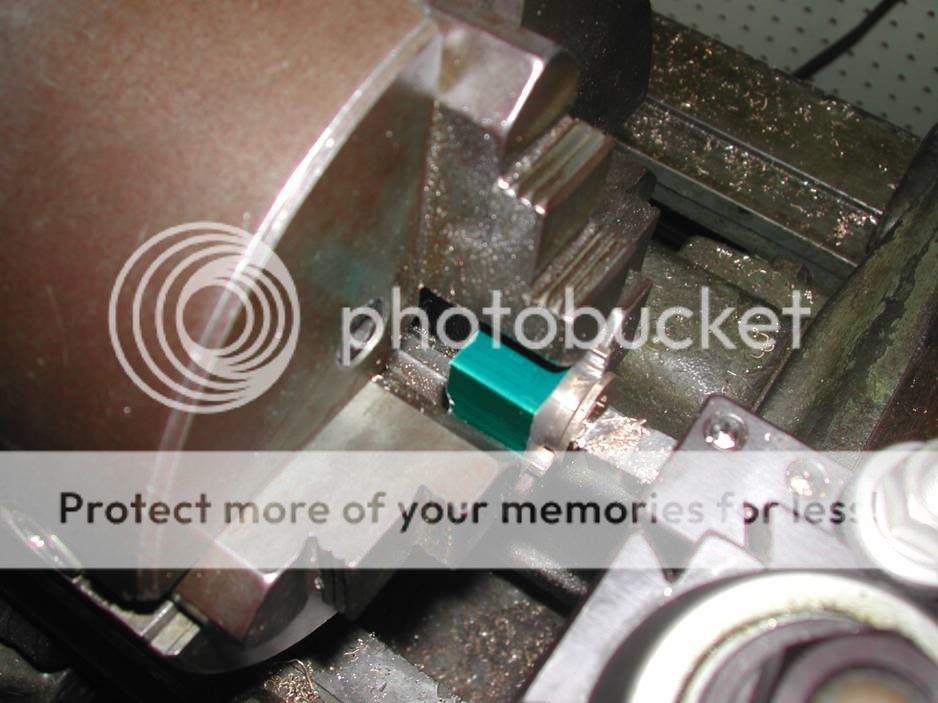
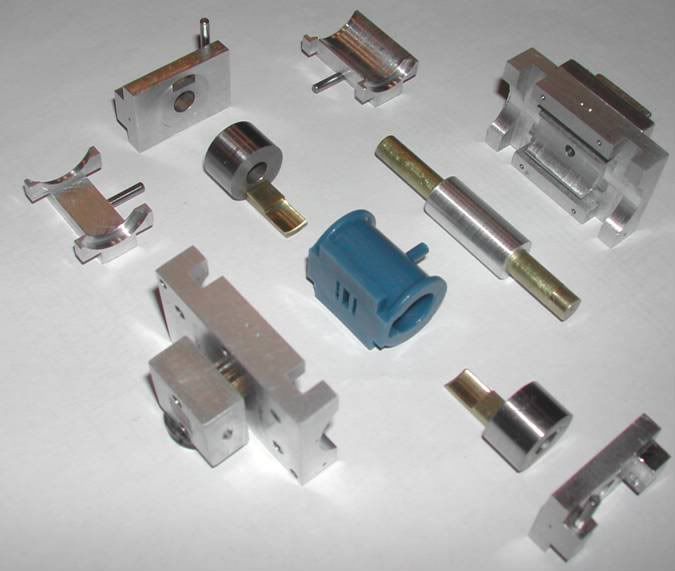
Progress has been slow on this build but I have a couple of of cylinders done.

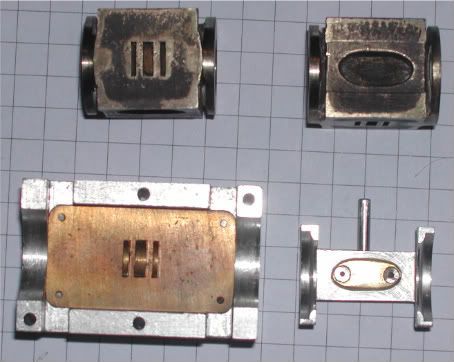
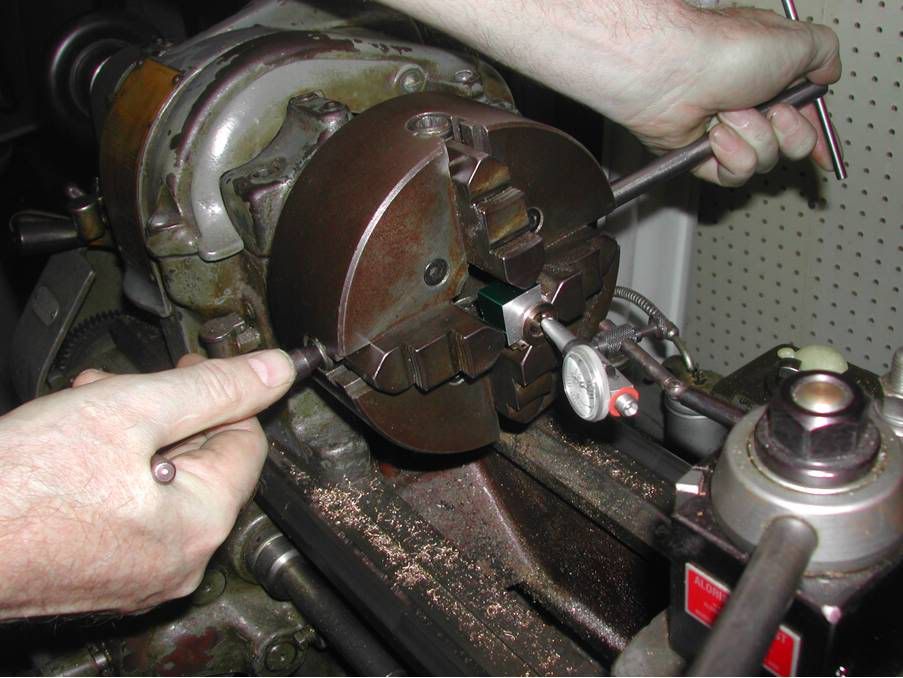
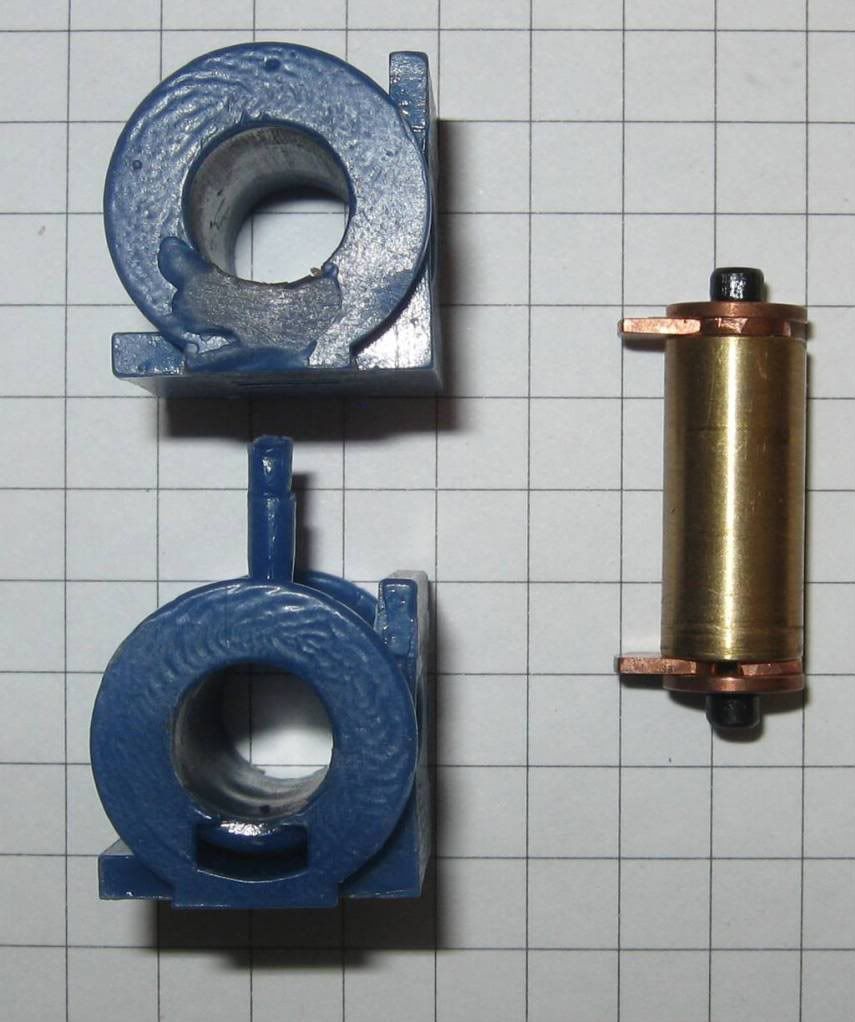
This is the metal wax injection mold with full steam passages. The injection point is rubber that I vulcanised in a bolt on part.
Mold1-1-1.jpg


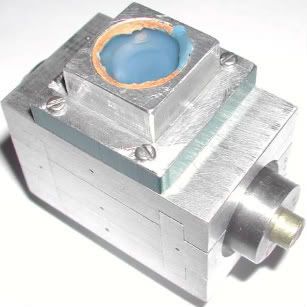
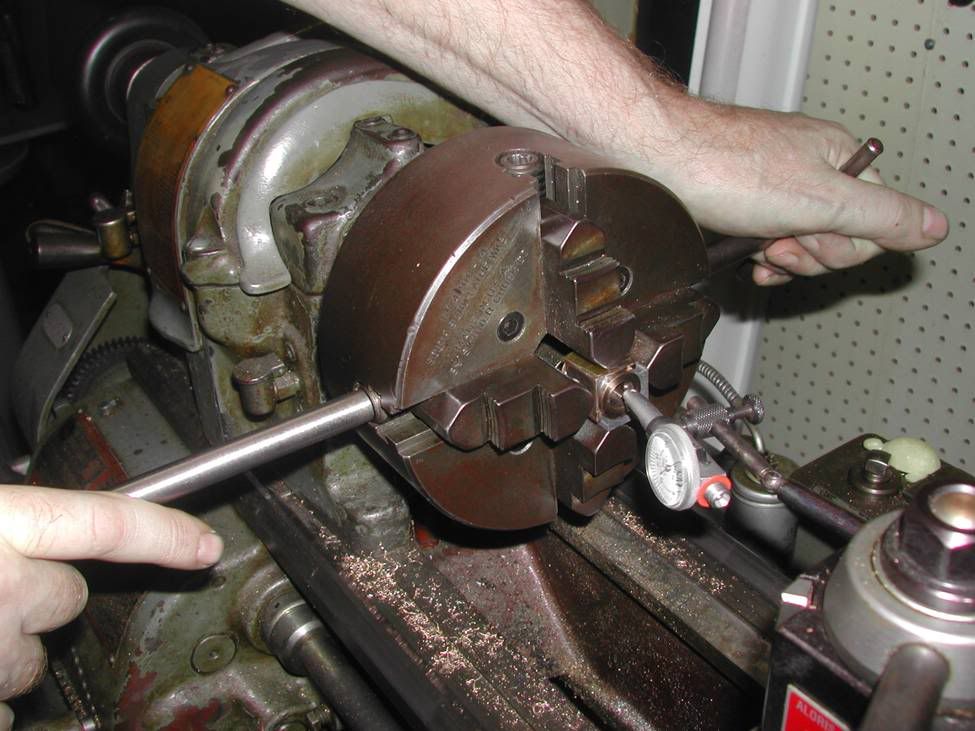
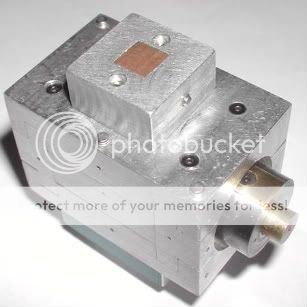
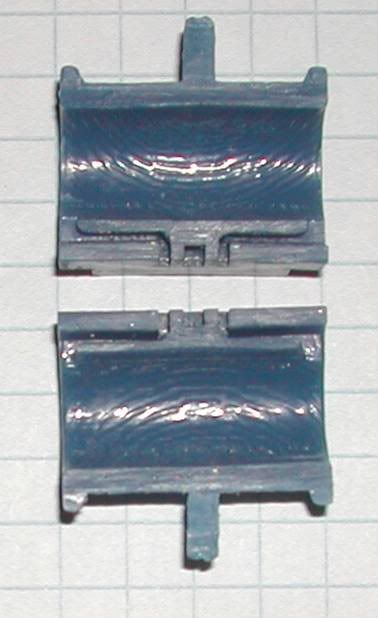
This is the other side.
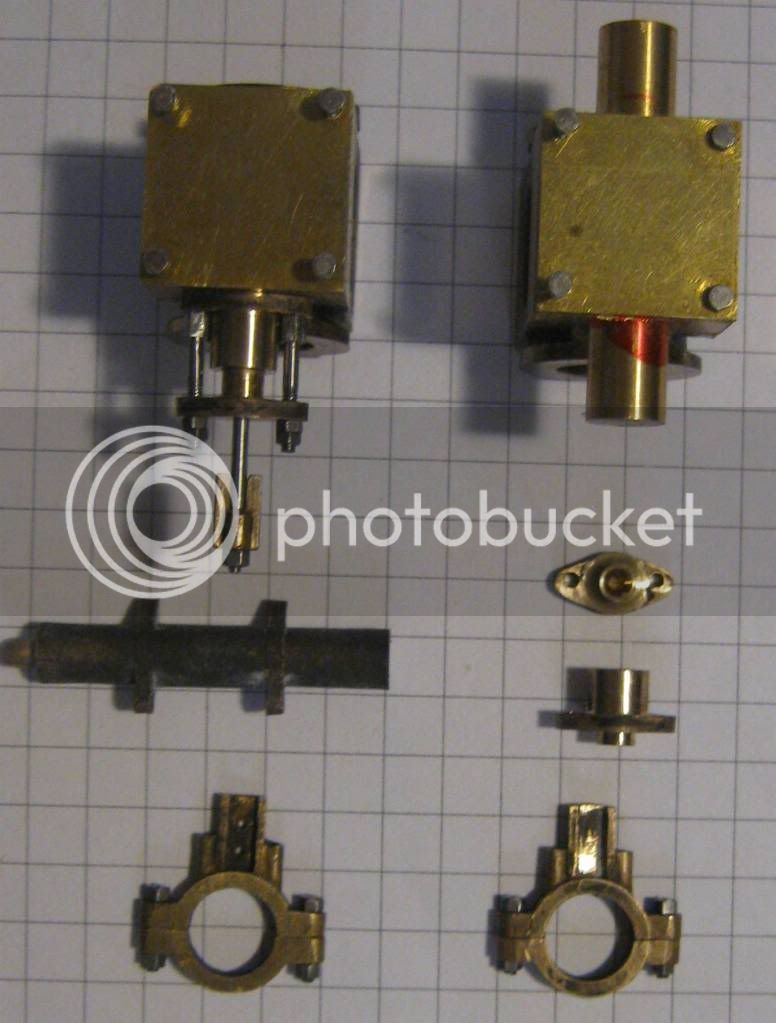
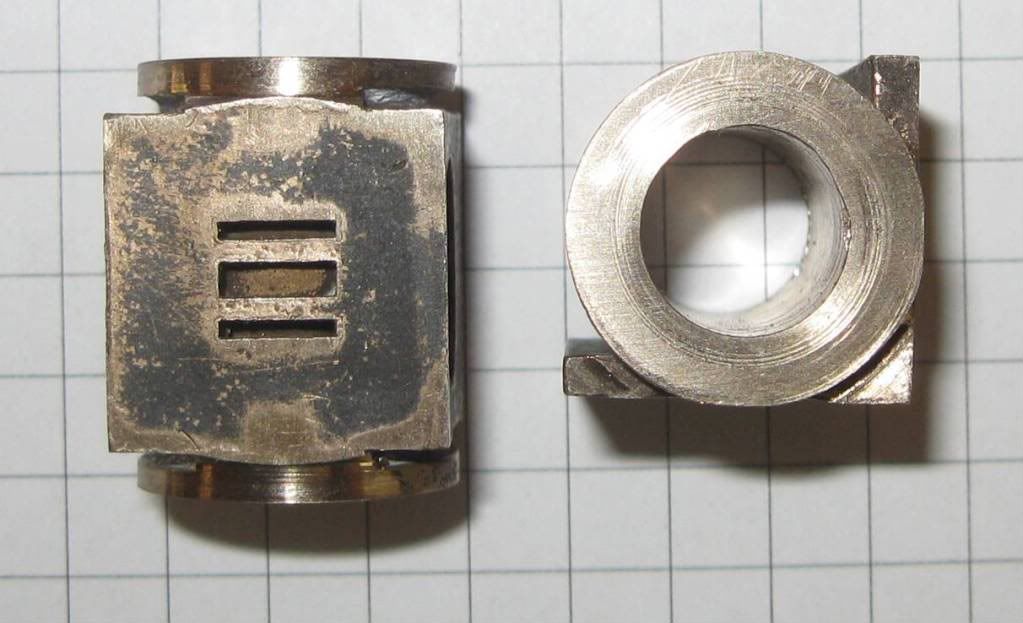
Mold2-1-1.jpg


The exploded view.

MoldExploded-2.jpg


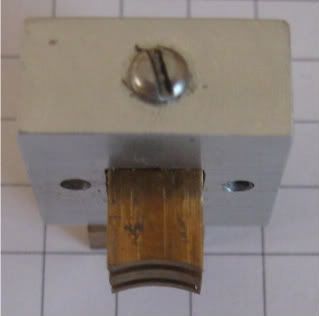
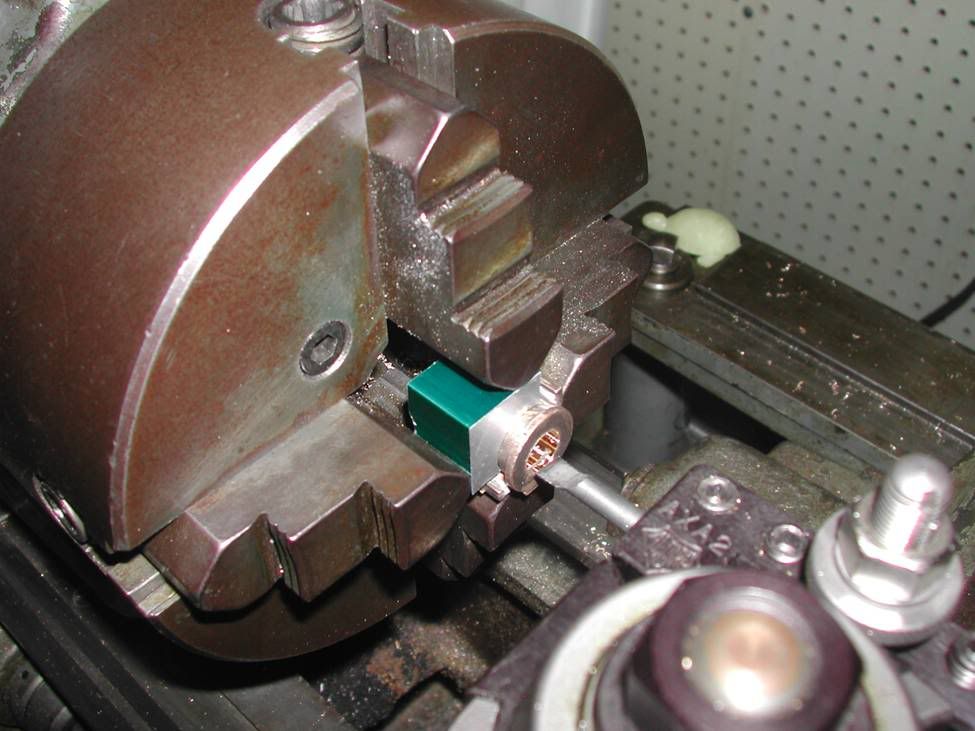
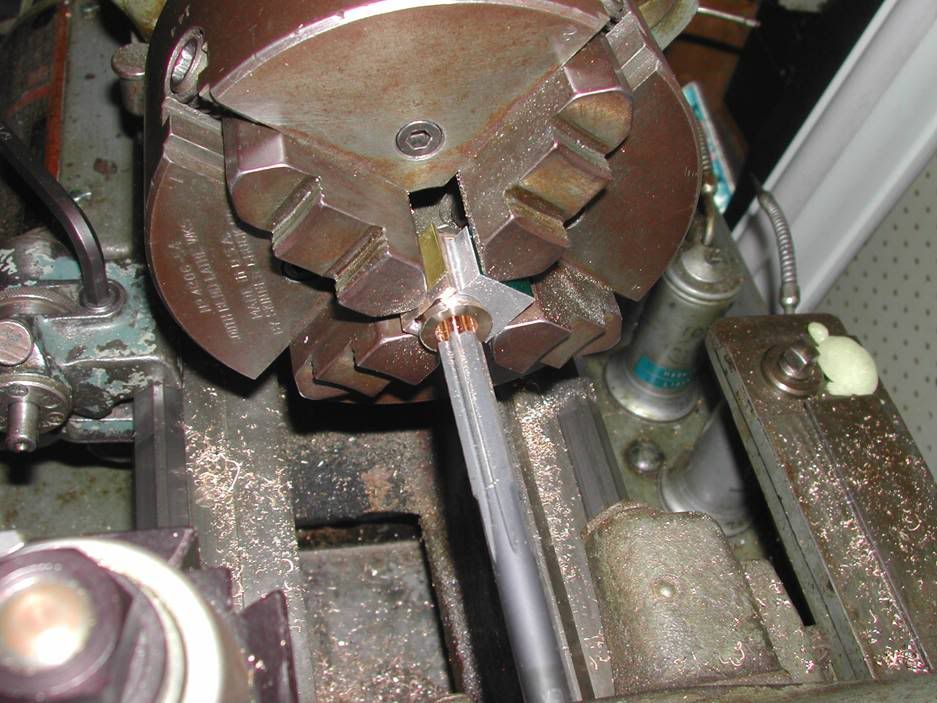
The port repair tool.

repair-2.jpg


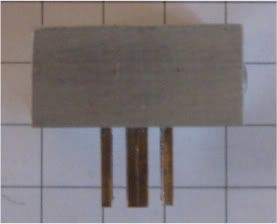
Test wax to show steam passages.

CylXsection-1.jpg


Bronze cylinder.

bronze-2.jpg


Dan
 
Wow, Dan! Very interesting. Might be a dumb question, but is there some characteristic of this part that makes the port repair tool necessary? The tool looks like something you planned for in advance.
Dennis
 
Hi Dan,

Damn fine work!....I look forward to the rest of it too!

Dave
 
Thanks guys for the coments.

Dennis, yes the port repair tool was part of the plan. As this is a small cylinder the grid is 1/4" the way I made the curved port cores it did not leave much room for the gasket to seal the covers.

This is actually a 7/8ths scale Shay cylinder which is why there an extra mounting face. I plan to make a bottle frame engine first for a test.

Here is a photo of the port face, and the mounting face. I was having problems with the mounting face dishing in so I added the samll plate to make that section thinner which is exactly what the Lima Works did and where I got the idea.

DSCN4744-1-1.jpg


The port cores are made from stacked sheet metal. The ports are 0.040" with the exhaust a double thickness and the bridges are 0.050"

IMG_2220-1-1.jpg

IMG_2229-1-1.jpg


The port core block has counter bored screws that act as stops so when the block is pulled out of the wax it only travels far enough to clear the wax model.

Dan
 
Most of the machine work for the mold was normal with two interesting parts.

This is the fixture I used to file the holes in the mold end plates for the curved cores. The end plate fits in the slot on the base block and the center pin keeps everthing true.

DSCN4747-1-1.jpg


To machine the ends of the port cores to have a curved end I made a hand powered belt sander with pneumatic feed.

Airfeedbeltsander-2.jpg


Dan
 
Hello Dan,

a picture of a none finished bottel engine. A Friend of me is running a engine museum with original engines. About 80% of the engines in a running condition. In case You like information let me know.

_5176645.JPG


_5176621.JPG
 
Manfred, Thanks for the photo. This engine is a freelance design from a few photos of the type and the one you posted is what I am shooting for.

Pat, mostly I use vulcanized rubber molds just like the jewelry trade. I never had any luck with a cylinder with a core for the bore only. The thicker section was caving in with both the wax injection and the metal casting. I finally went to a fully cored cylinder very similar to the original design and the shrinkage problems were solved because there were no longer any thick sections to cause problems.

The port repair tool fixes the end so a full cover gasket is used. There might be another way to core the steam passages but this is the simplest method I could come up with.

4 Jaw chuck (A)

4jawA.jpg


4 Jaw chuck (B)

4jawB.jpg


Bore cylinder.

boring.jpg


Ream Cylinder.

reambore.jpg


Face end.

facing.jpg


Trim cylinder rim with micrometer stop.

DSCN4714.jpg


Trim and face other end.

truesecondrim.jpg


More parts.

cylindervalverodgland.jpg


That is the project to date.

Dan


Back
Top