Bazmak-Making the acute tool sharpening system

Home Model Engine Machinist Forum

Help Support Home Model Engine Machinist Forum:

This site may earn a commission from merchant affiliate links, including eBay, Amazon, and others.
I am probably wandering but actually there seems to be no difference between a drill and an end mill. All that varies is the angle of the pointy end. In an end mill it is probably minus 1degree whilst in a drill it can be 118 degree positive.

However, he says 'waving his wooden leg aloft' the angles remain at say 5 degrees and 15-20 degrees and - and the lips are -as Baron says' on' or as I have it 'just below centre line'

A lathe tool normally cuts with the cutting part - as I've said.

There isn't a fat lot between a end mill, slot drill or a twist drill - or a boring bar.

I proved this a long time ago by replacing a conventional boring bar bit with a slot drill and using a boring bar bit as a lathe tool.

Yes?????

Norm
 
Hi Norman,

I agree ! Essentially there is little difference. End mills and slot drills, as far as the tip is concerned are as you say -1 or 2 degrees with 10 to 15 degrees back rake, and depending upon whether they are centre cutting or not, one edge is offset. The flutes however are a different issue because the tool has to be not only rotated along its axis but has to be kept accurately positioned along the rotational axis of a cylindrical grinding wheel in order to sharpen them.

The rake behind the flute cutting edge is not a flat surface but is slighly hollow, in addition sharpening the flutes reduces the diameter a little, so you can no longer rely on the cutter width.
 
Hi Norman,


The rake behind the flute cutting edge is not a flat surface but is slighly hollow, in addition sharpening the flutes reduces the diameter a little, so you can no longer rely on the cutter width.

As with a conventional tap or reamer?

Having 'pronounced', I wonder whether this Acute thing will do reamers and such. It's hard enough without an air spindle on such things as Quorns, Stents and Clarksons.

Yes?

Norm
 
In answer to your question Norman I have found reamers very easy to do
The only part to grind is the chamfered end,its very easy to do
and makes a big difference.As for grinding the flutes on end mills
then for most people its a no no without the dedicated
high quality grinder.Reamers again can be done if the od is
reduced to an accurate known dia.But the flutes don't do any cutting only polishing/honing ,its the front chamfered corner that does all the cutting
I have recently bought some cheap and nasty reamers from china
but they do work well and are ground with a long lead in which looks
odd but does work at centralizing the reamer.No good for blind holes
But when I remember the many tens of thousands of different tap,drills,reamers,plug gauges etc that my company stocked then its not possible for us home engineers to have 5% of that
 
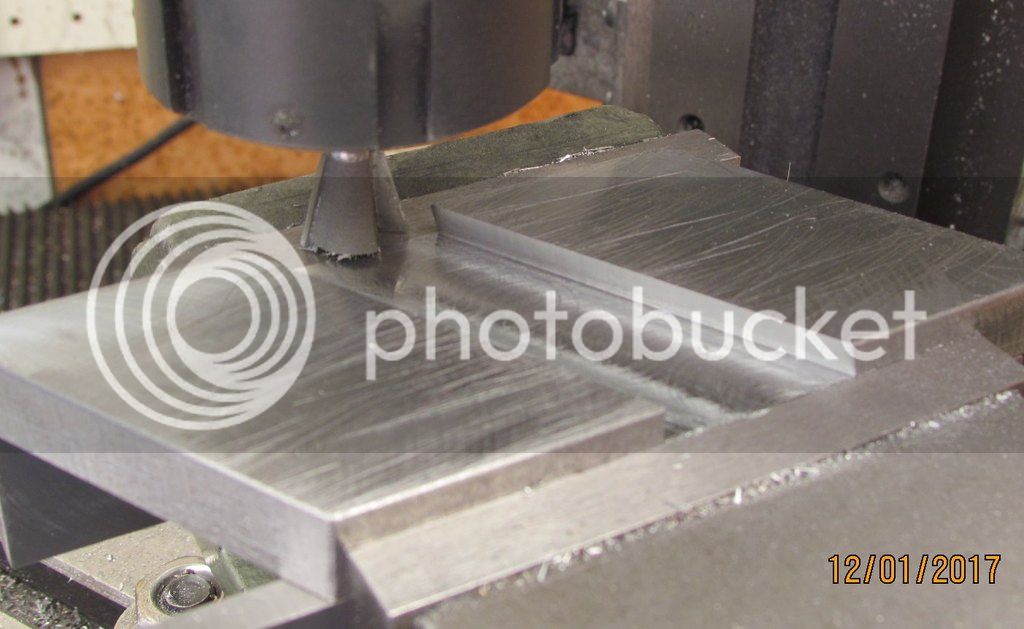
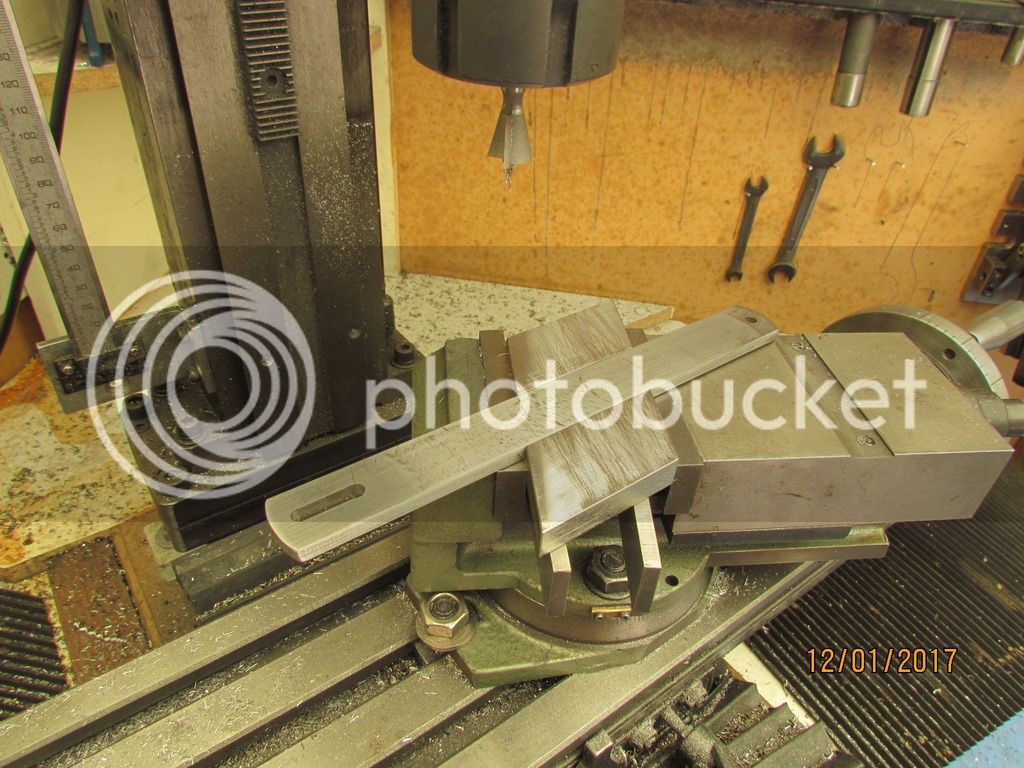
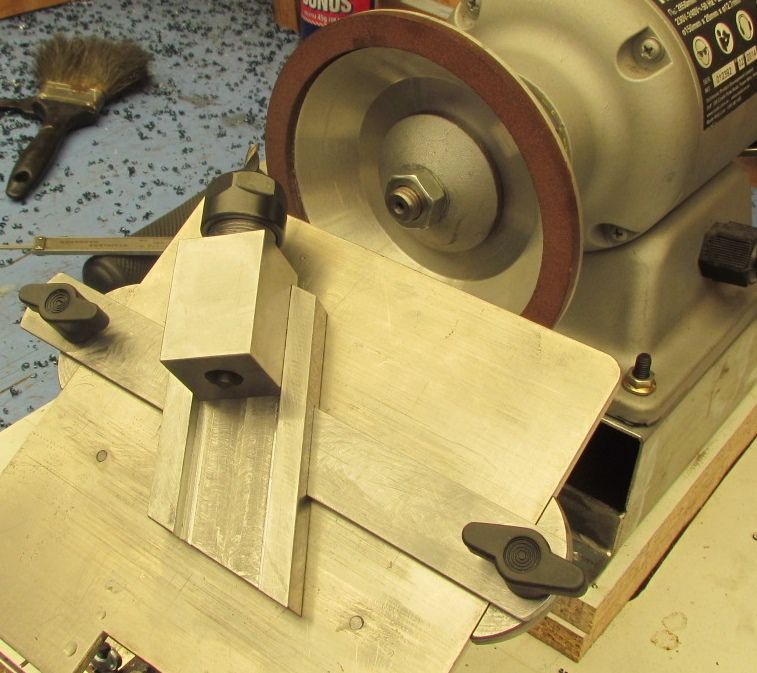
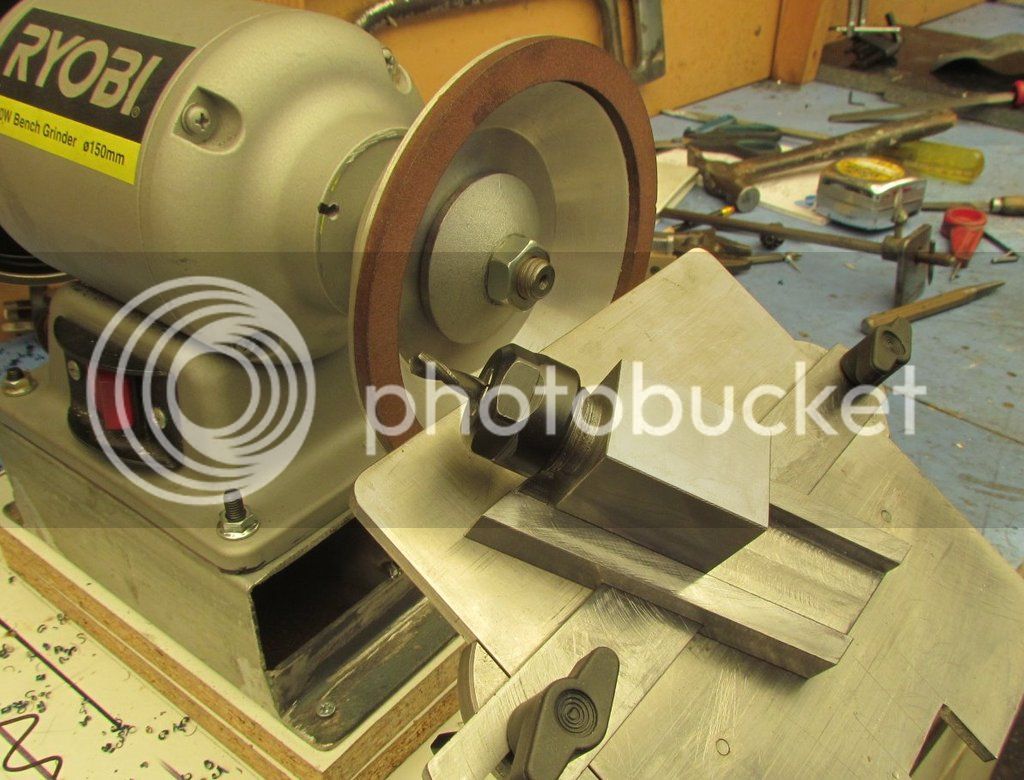
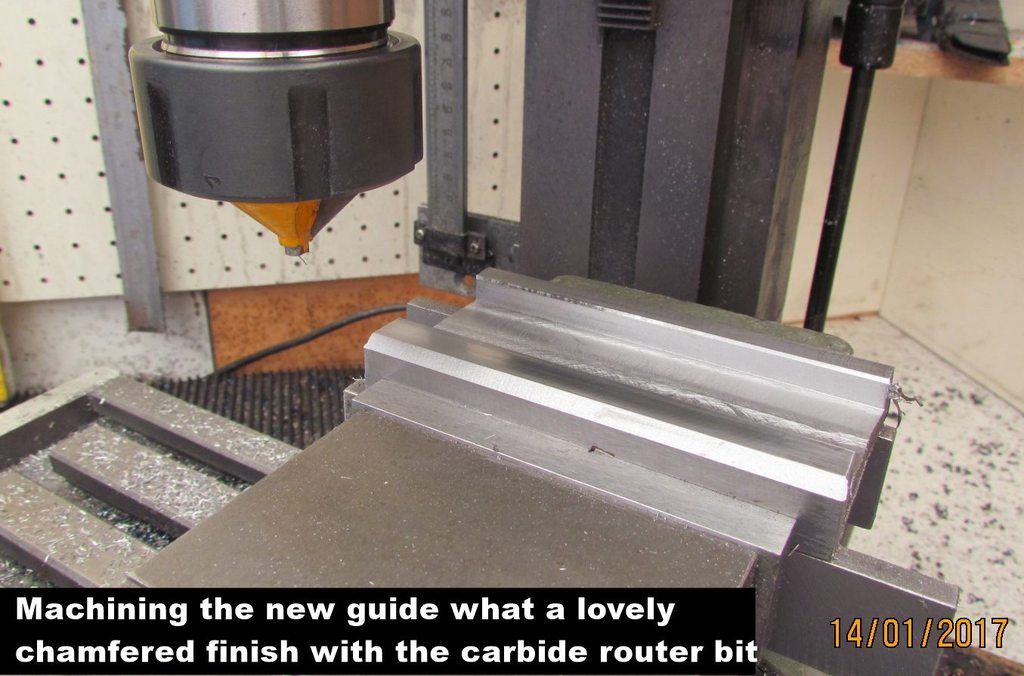
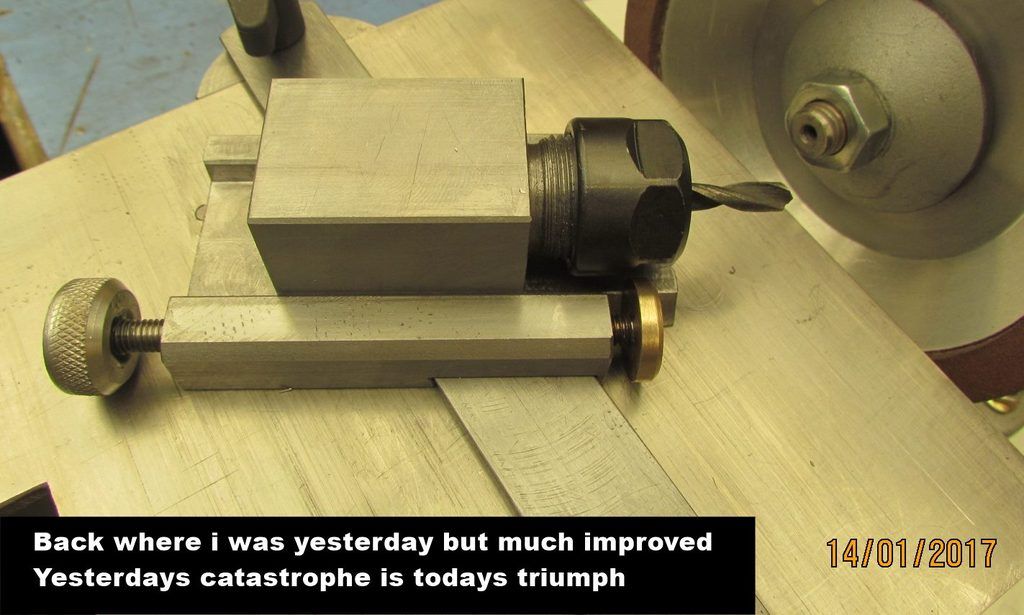
A little progress.Started making a dedicated fixture for twist drills
I like the dovetail slide rail so working from that I made a dovetail
slide block dedicated at 118o.I machine the er16 collet block down from 40mm sq to 30mm sq and milled a slot to accept it.Now to tidy a few loose ends
and work out an adjustable stop etc.It has become more stable now the tool height has been reduced
 
Thx for the pictures , the wheels seem to be good quality .
I'll have a look on ebay .
For an average of 15$ there's little risk involved .

I have a clarkson t&c grinder , a very rare MKIII , and I'm hoping to build a fixture to sharpen carbide tipped saws . So I'm gonna need a cup wheel , and a "flat washer" shaped one .
Don't know the exact shape in english . Dish maybe ?

Pat
 
https://youtu.be/5U9UBxjLpMo
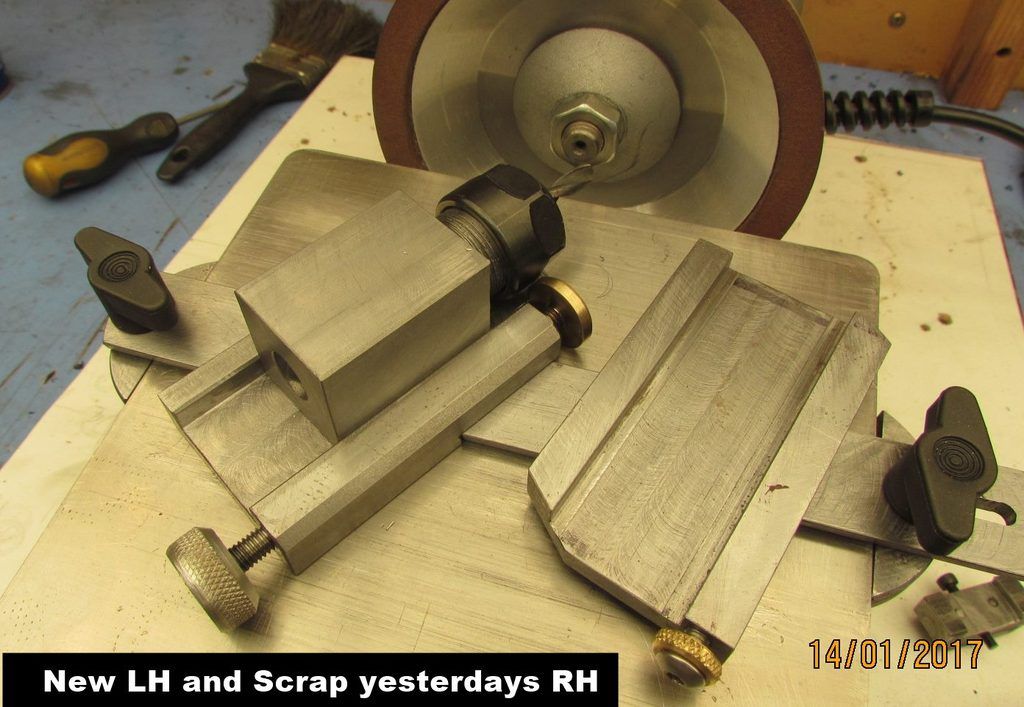
The collet and block works well,HOWEVER after all the years when items can be LH or RH how
many times have we made them the wrong way. 50/50 I agree but its like the jam side of your
toast falling face down.I thought about lh and rh before starting the holder,decided it didn't apply
And carried on.Wrong.Thought I could solve it by changing the wheels around on the grinder and
turning the grinder around.OK till I started to sharpen a drill and realised the table would have to be
tilted up and you cant see the cutting edge.So when the hot weather has eased off and I get my
head into gear I will make another with a few changes to improve the existing.The brass stop is fitted at the front
but I would prefer it at the rear etc etc
 
Hi Baz,

Just tilt the table down. You are going to clamp the tool holder and arrange for it to be moved in very small increments. So does it matter if you cant see the cutting edge.

http://www.homemodelenginemachinist.com/attachment.php?attachmentid=86494&stc=1&d=1484222254

As you can see from the picture, this is how I did mine. of course being able to lift the toolholder off the table helps if you really need to look at the drill tip.

01.jpg
 
I've been prattling on 'ad nauseum' or since Pontius was a pilot about a black felt tipped marker and a dental mirror.

From time to time, I also prattle on about microscopes. There should be a queue at Specsavers but probably people can't find the way to a branch.
 
Hi Baron,i assume from your photo that the whole table slides side to side
on the grooved nylon wheels.I have also ordered an er 16 collet chuck
on a 16mm dia spindle which could slide in a housing rather than a collet block
and take me in the same direction as you.With regards to my problem I
have tried grinding with the table tilted up and I am not happy with it
I will make a new slide and beef it up slightly so I can fit a feed screw
alongside with the stop at the front and the knurled feedscrew to the rear
I am only playing about and that's half the fun for me.But looking at your photo
another avenue will be a sq block reamed 16dia and my new clollet chuck fitted
the fine adjustment can then be fitted to the 16 dia spindle.I would have
to fit a keyway to spindle to give a sliding fit and stop it revolving
 
Baz

You may be interested in something called the Kennet. No longer available as part finished castings from Ivan Law but a very detailed description is in Lathes.co.uk.

It may is quite a straightforward construction and slides on cast iron- the castings. It may suggest alternatives.

I have one, incidentally.

Norm
 
Thanks Norm.We oldies have to keep a finger on the pulse.Ours that is
I checked thru the info you sent me but cant find anything.It will take me 2 lifetimes to go thru it all.Then looked at the link you sent me.Brilliant
Great info on the Kennet with lovely photos.Maybe get some ideas
The site looks great so I have made a shortcut to explore on rainy days
Today is one by the way.2 days of 40oc and today 40mm of rain
Great it means I can get in the shed
 
If you recall the books by Arnold Throp of Dore Engineering, you know the Dore Westbury mill too, he had a Quorn and also a Kennet.
Yonks back, I nattered with him at a show as he had both on a stand.

He found the old Kennet a great deal quicker for routine work.

Clears throat, I also have Quorn and clears throat another bit, I also have a Stent. The Stent wasn't made by me, it was fabricated from mild steel sections.

Anyway, I'm delighted to read of your progress. Keep it up, please

Norm

Weather???? It is 0C and the earlier gale has taken out my fencing -around the rest home for old wearies.

Again, there are spring tides and Newcastle Quayside has barricades to try to exclude the River Tyne.

I've been spreading Tiger Balm on my arthritic hands. Oh, and lots of alcohol if the ointment doesn't work.
Hiccups
N
 
Hi Baron, I assume from your photo that the whole table slides side to side on the grooved nylon wheels.

Yes it does. The wheels are actually turned a couple of mm off centre, so that they can be adusted for clearance. However if I was doing it again I would make slipper blocks from brass or bronze, because the nylon is quite coarse and grips the table plate more than I care for.

I have also ordered an er 16 collet chuck on a 16mm dia spindle which could slide in a housing rather than a collet block and take me in the same direction as you.

Be aware that you might have to open up the bore of the collet body in order to get a 10 mm drill down its full length. The collet body on mine was very hard and I had to modify a masonary drill in order to open it up.

With regards to my problem I have tried grinding with the table tilted up and I am not happy with it I will make a new slide and beef it up slightly so I can fit a feed screw alongside with the stop at the front and the knurled feedscrew to the rear.

I thought that from your video you had an adjustable stop at the front. So tilting the table down shouldn't be a problem for setting how much to take off the drill tip. f you want to examine the drill lips, just slide the tool block back off. You would have to turn the tool block 180 degrees to do the other lip.

I am only playing about and that's half the fun for me. But looking at your photo another avenue will be a sq block reamed 16dia and my new clollet chuck fitted the fine adjustment can then be fitted to the 16 dia spindle.I would have to fit a keyway to spindle to give a sliding fit and stop it revolving.

I pressed a 2mm dia steel pin into the back of my tool block and fitted a collar with a semicircular slot milled into it. A thumbscrew locks it in place on the collet body.

http://www.homemodelenginemachinist.com/attachment.php?attachmentid=86514&stc=1&d=1484309401

http://www.homemodelenginemachinist.com/attachment.php?attachmentid=86515&stc=1&d=1484309401

As you can see it is just a steel dowel pin.

http://www.homemodelenginemachinist.com/attachment.php?attachmentid=86516&stc=1&d=1484309551

The slot was milled using a 2.5 mm carbide router bit, intended for routing PCB slots.

20-02-2016-005.jpg


20-02-2016-006.jpg


20-02-2016-012.jpg
 
Hi Barry,

The first picture shows the collar that controls how far the collet rotates. The pin in the tool block protrudes about 3/8th on an inch (10 mm) The slot in the collar is about 11 mm deep. As long as the collar can go flush with the rear of the tool block, it isn't at all critical. The thumbscrew simply locks the collar onto the collet body.

Though you won't notice it but the pin should be 180 degrees further round. I hadn't noticed that when rotating the collet, the thumbscrew goes under the toolholder rather than over. Minor detail since when the thumbscrew is tightened it doesn't foul the mounting plate.

http://www.homemodelenginemachinist.com/attachment.php?attachmentid=86523&stc=1&d=1484389993http:

http://www.homemodelenginemachinist.com/attachment.php?attachmentid=86524&stc=1&d=1484389993http:

http://www.homemodelenginemachinist.com/attachment.php?attachmentid=86525&stc=1&d=1484389993

This last picture shows the assembly along with the adjusting screw, which is M3 X 0.5 complete with a spring to apply tension so it doesn't move with any vibration.

The thumbscrew in the toolholder body simply locks the collet body from moving whilst grinding the drill. The whole lot sits on two 3 mm dowels pressed into the base and locate in the baseplate. There are three holes in the baseplate allowing 118 and 125 degree sharpening angles, the front hole being used as the pivot point.

FWIW the piece of brass bar that the toolblock is sat on, is only superglued to it, very much an experiment to see if it would be secure. Up to now it hasn't come loose.

22-02-2016-003.jpg


22-02-2016-002.jpg


07-04-2016-007.jpg
 
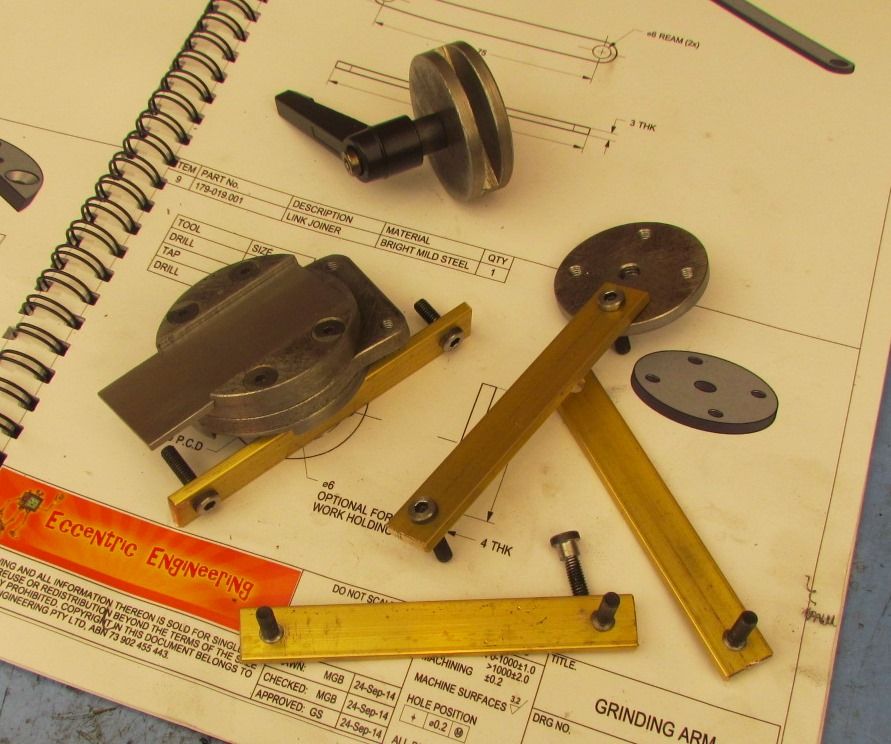
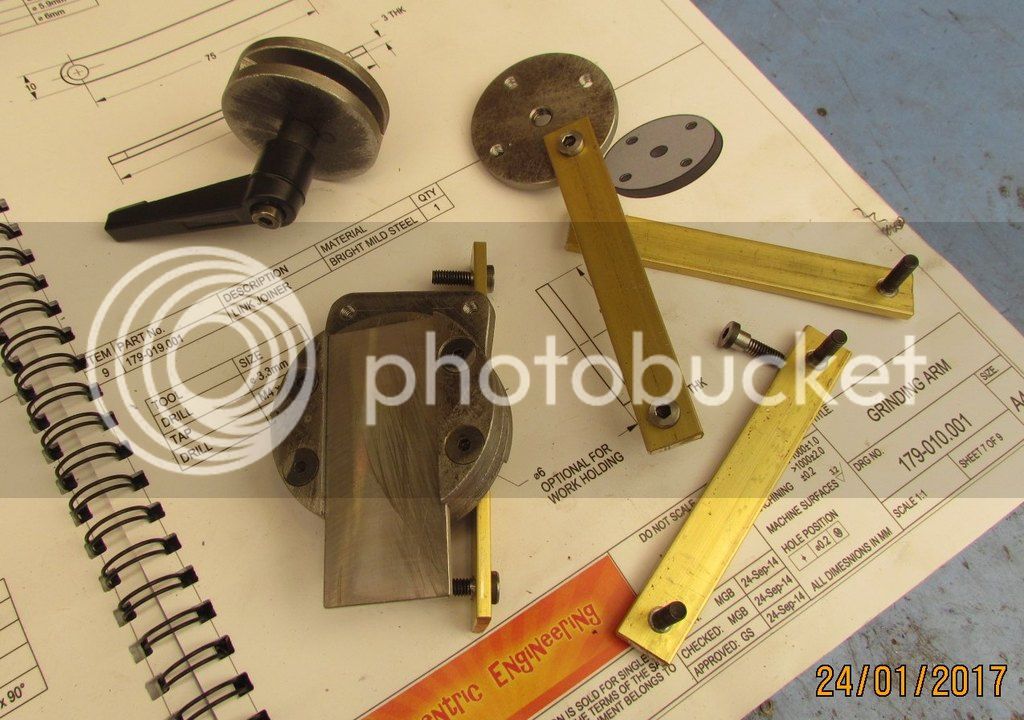
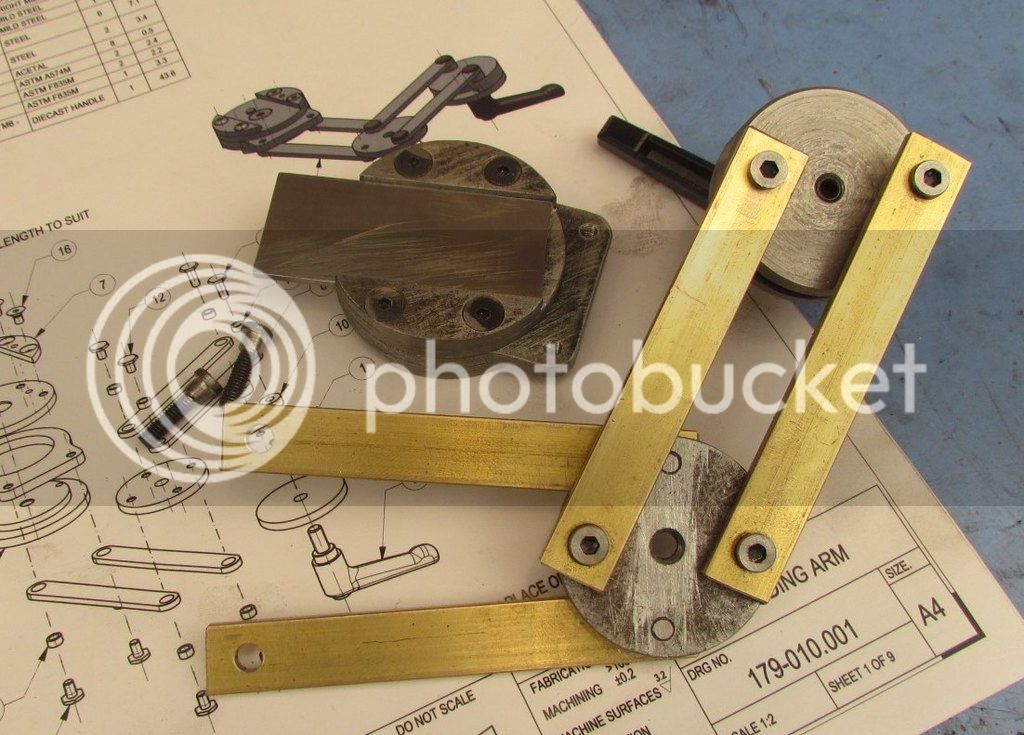
Started to make the pantograph arm.Basic engineering so wont go into detail
The only thing I did differently was,
The 4 flat links were MS with ms hex hd sets made to go thru nylon bushes
I made the links from brass,fitted a nut to some M4 hx sock cap screws
and then machined them into precision shouldered bolts.The cap hd is now 2mm thick and the arms pivot on the shoulder brass on steel no nylon bushes
For Normans info I only have a hacksaw so all the 40/50 dia discs were cut fro plate and turned down in the lathe.Next to make a couple of fileing buttons
and finish the arms to size
 
For Normans info I only have a hacksaw so all the 40/50 dia discs were cut fro plate and turned down in the lathe.Next to make a couple of fileing buttons
and finish the arms to size

'You are a better man than I am, Gunga Din' :confused::confused::confused::confused::confused:

Seriously, I'm trying to recover from a spot of Montezuma's Revenge but have almost finished installing my little lathe in the warm.

What intrigues me is your reference to 'Buttons' and neither of us are writing about the Cinderella pantomime, are we?

Carry on Baz!

Regards from

a rather improved old man
 

Latest posts

Back
Top