arnoldb
Well-Known Member
- Joined
- Apr 8, 2009
- Messages
- 1,792
- Reaction score
- 12
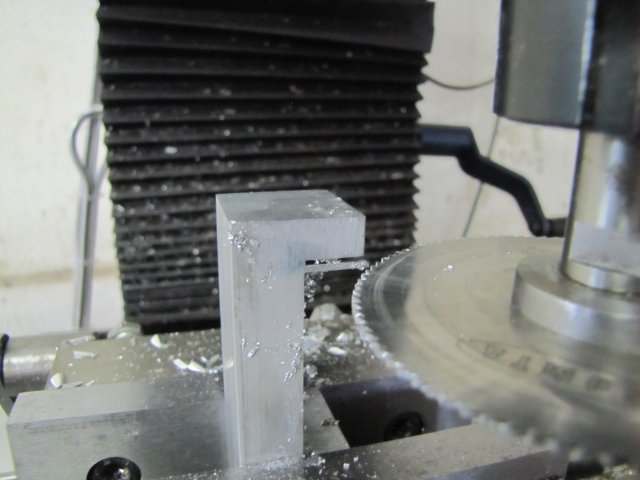
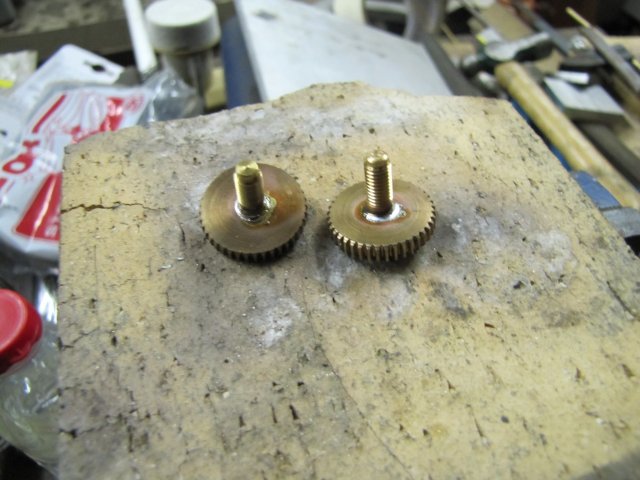
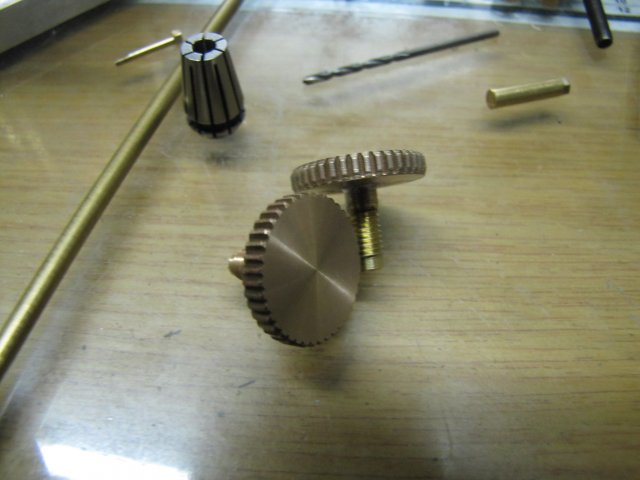
The Kimble engine took me a bit longer to finish than I thought, but it was a lot of fun to build.
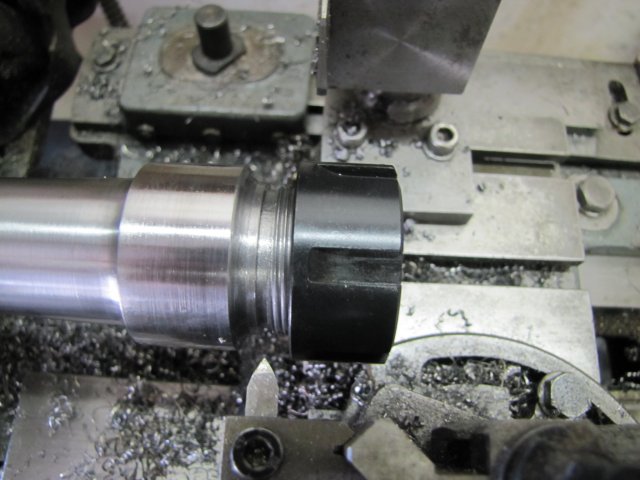
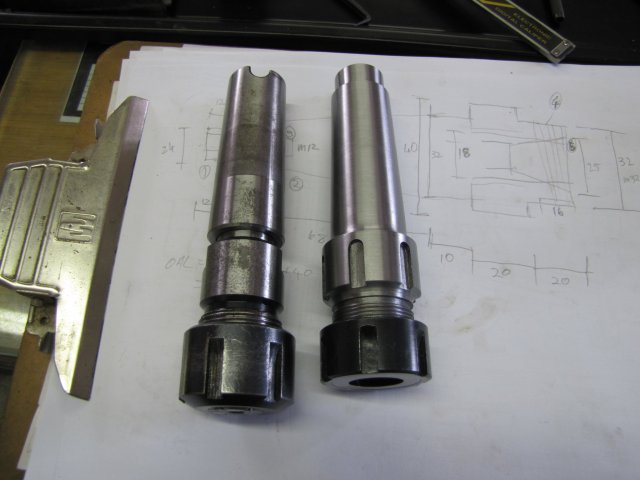
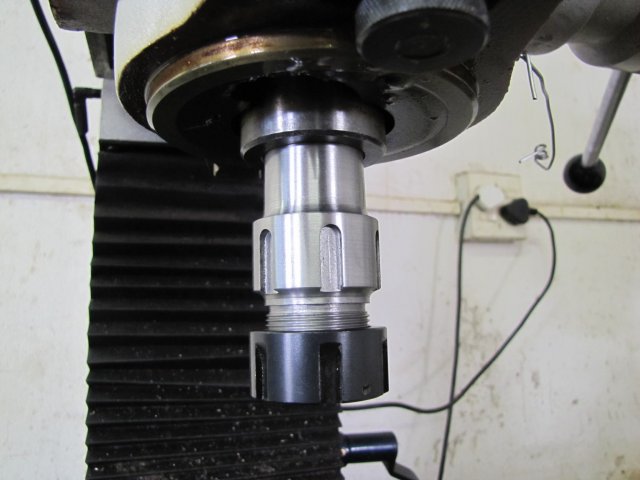
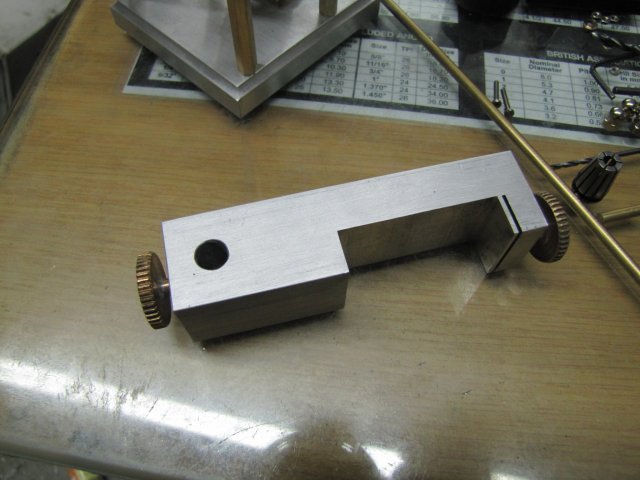
Now on to some tooling. I'd mentioned earlier in this thread that I'd ordered some additional ER25 collets and a bearing based closer nut to make a new collet chuck for the mill quite a while ago. A couple of months ago I picked up two offcut pieces of 40mm EN8 steel from a local supplier for a very good price - the good price was mostly because they neglected to order some hex brass I'd ordered from them and wanted to pacify me ;D
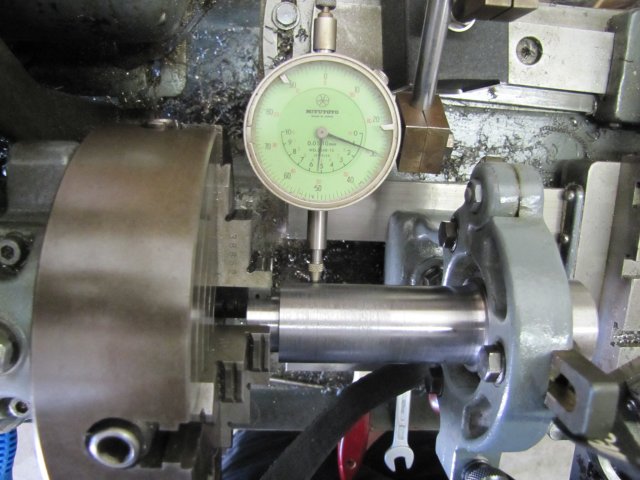
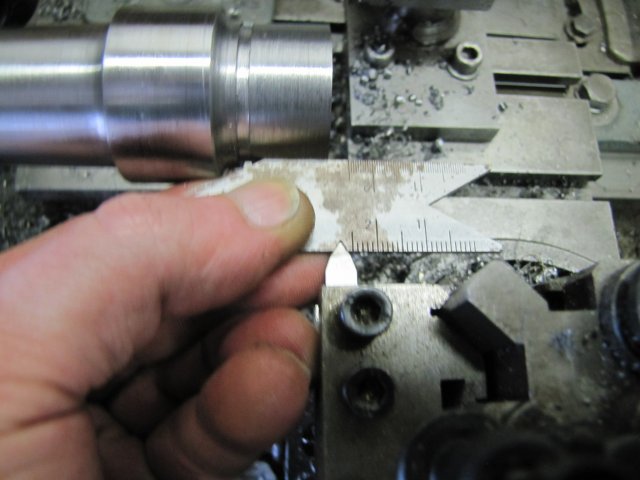
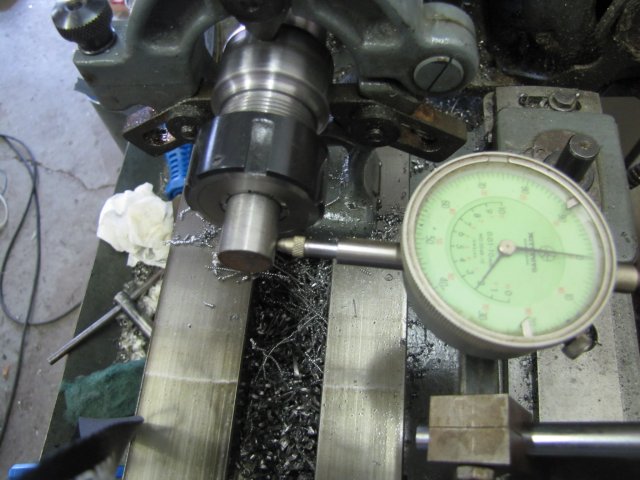
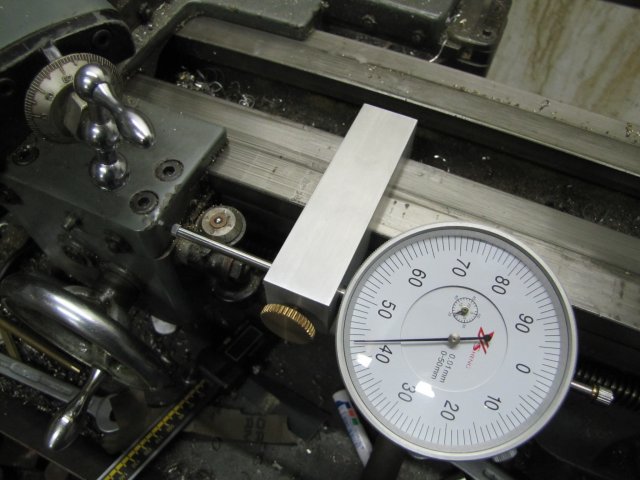
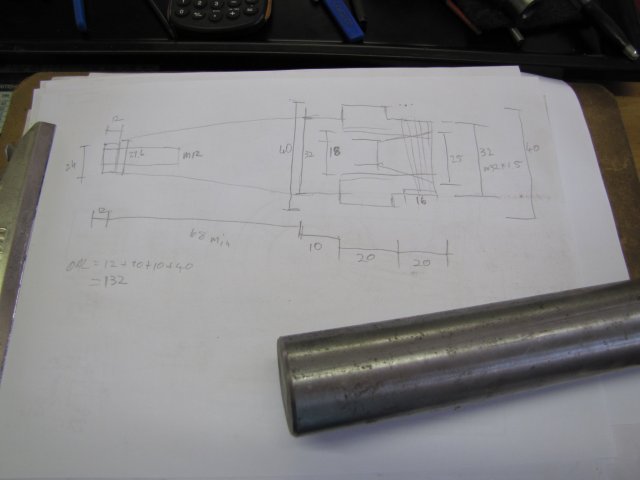
So this afternoon I did a quick C-o-C of what I wanted; I took some measurements off my boring head MT4 shank, as I want this new chuck to share a draw-bar with it:
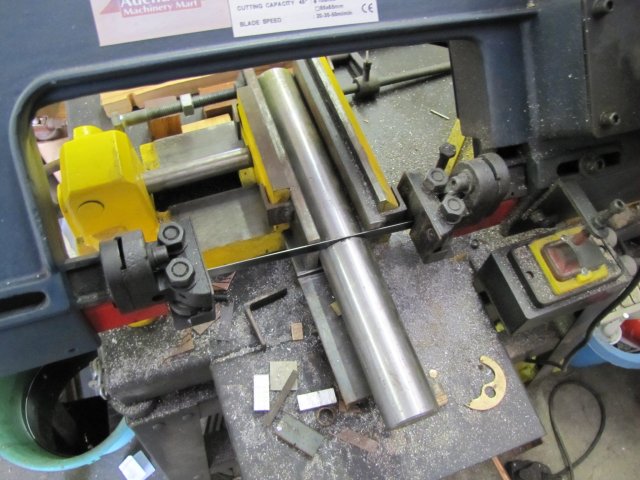
Off to the bandsaw to get a bit of appropriate length sawn off:
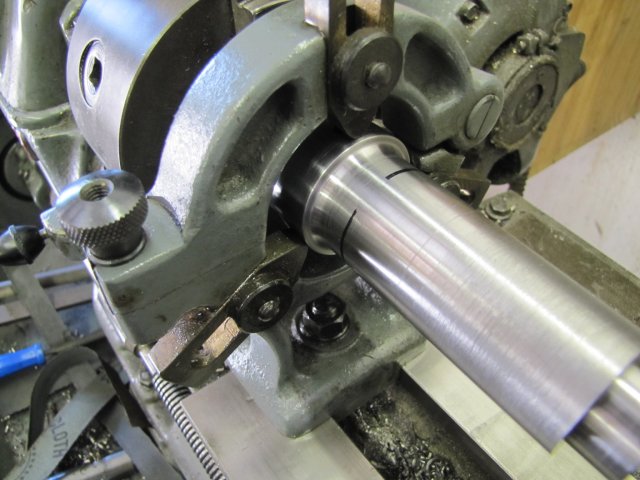
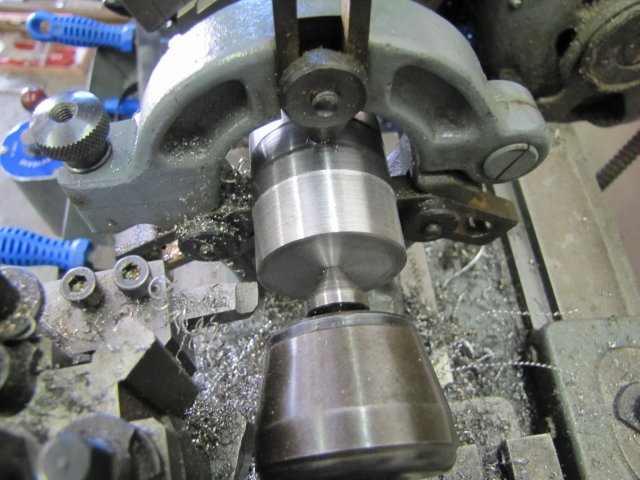
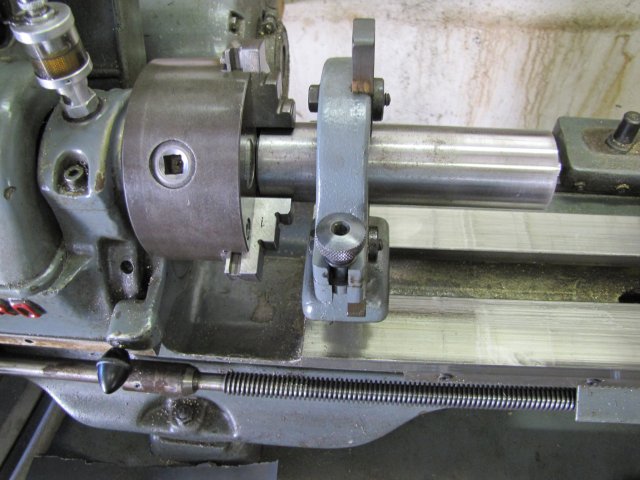
On to the lathe and chucked up. I used some emery to clean up the tailstock end of the workpiece - there were some dings and high spots on it that needed smoothing off. Then I mounted the fixed steady close to the chuck, and set it's fingers to just touch the workpiece:
Then I moved the steady over to the end onto the bit I cleaned up, and added a good dollop of oil:
Now, I may be completely wrong about the way I'm thinking here, but, by setting the steady to size close to the chuck with the steady fingers touching the workpiece, and then moving it to the end that I cleaned up with emery, that end is very slightly smaller, and adding some thickish oil there, it produces a nice running fit.
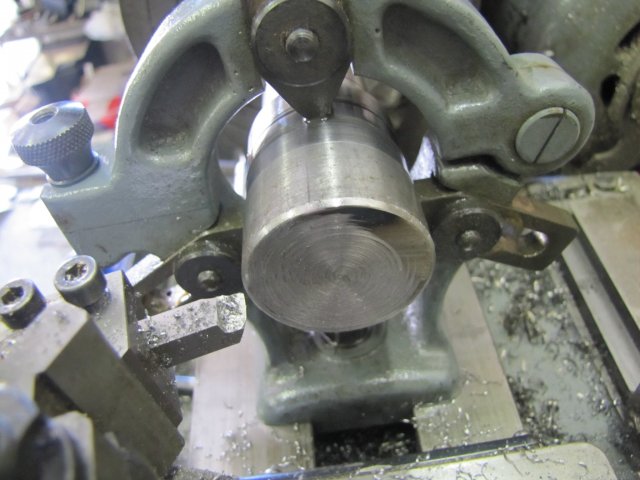
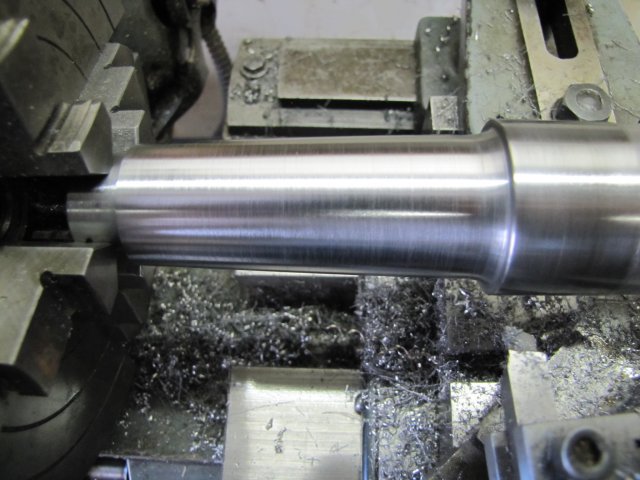
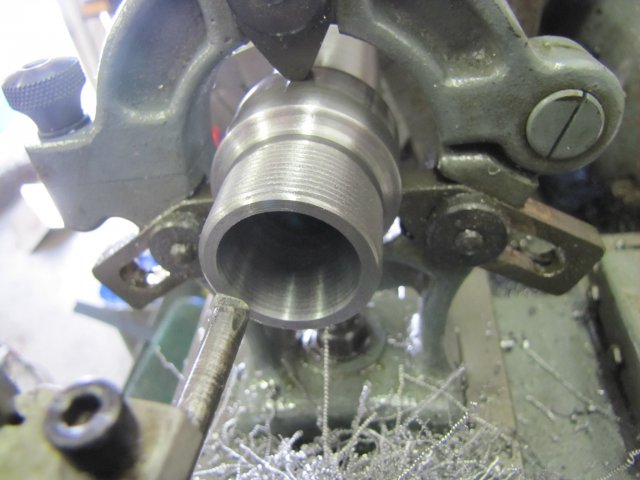
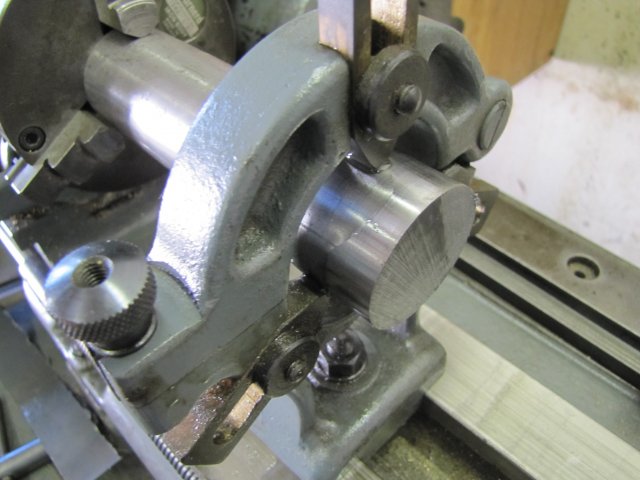
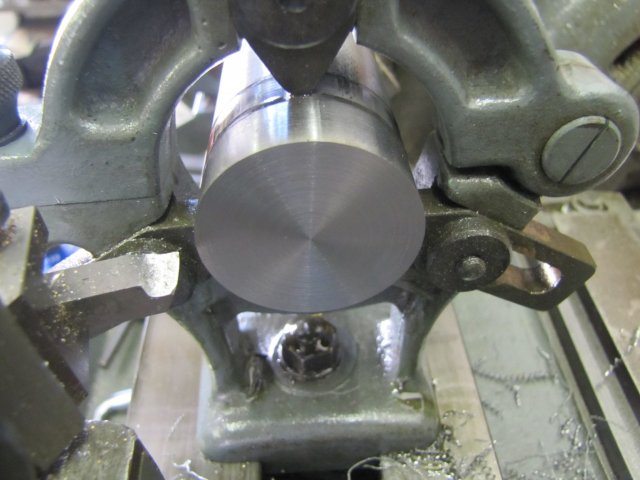
Next I faced off the end:
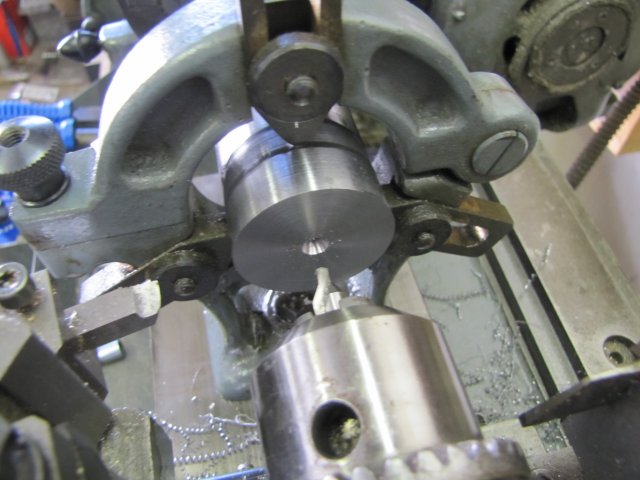
And center drilled for tailstock support:
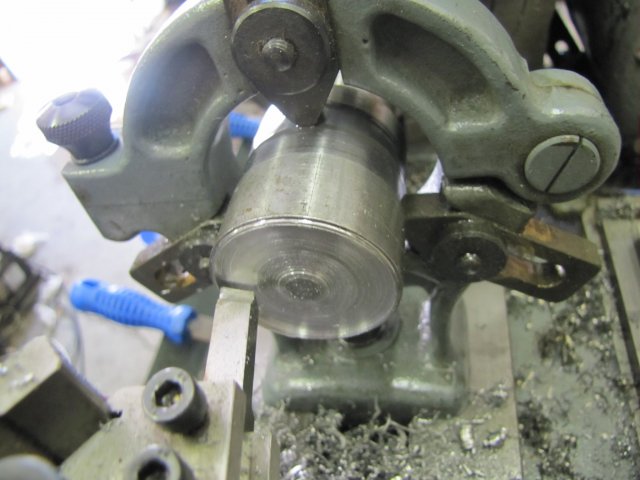
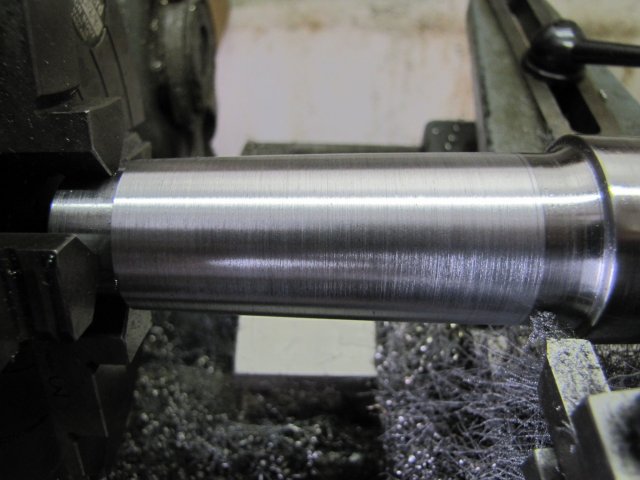
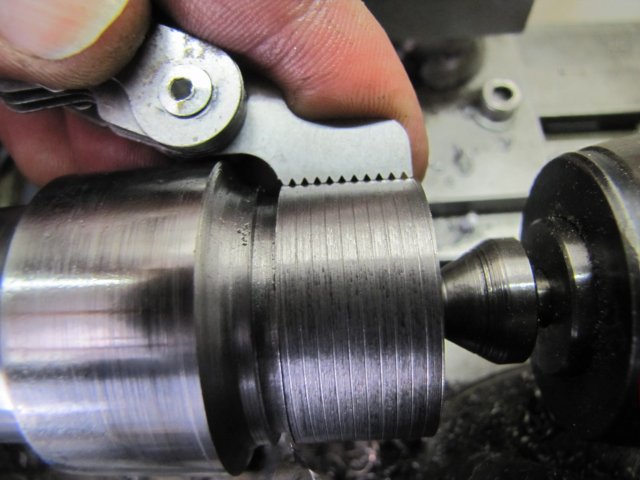
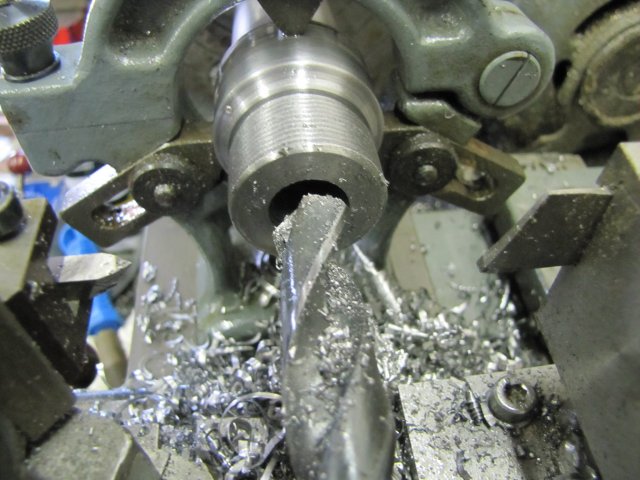
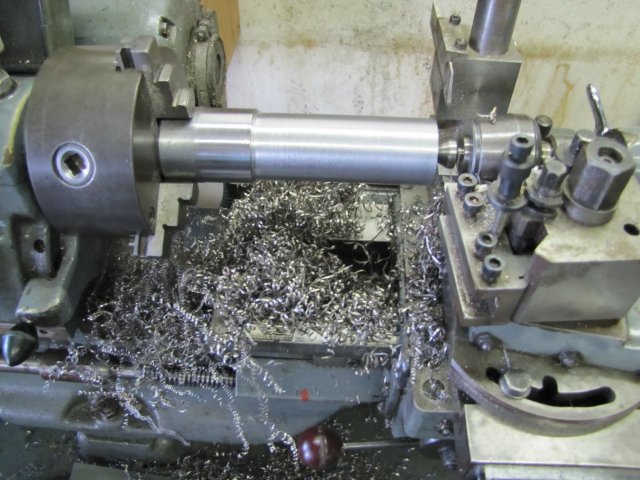
Then I made some chips") - after the delicate work on the Kimble, it was nice to just hog at things a bit:
- after the delicate work on the Kimble, it was nice to just hog at things a bit:
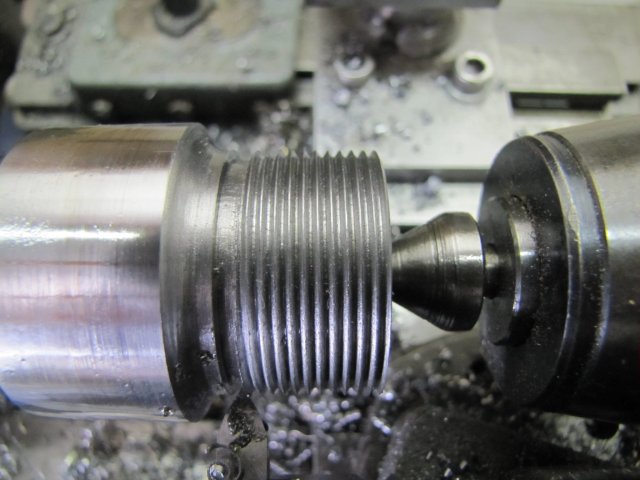
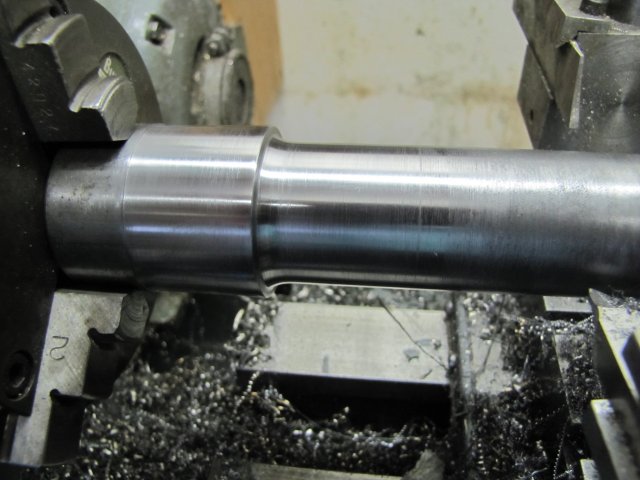
I'm still struggling to get a good finish on lower-grade steel; I can turn aluminium and brass to a near-mirror surface, and the same for silver steel, but this stuff still needed some work with a file and emery where it was needed:
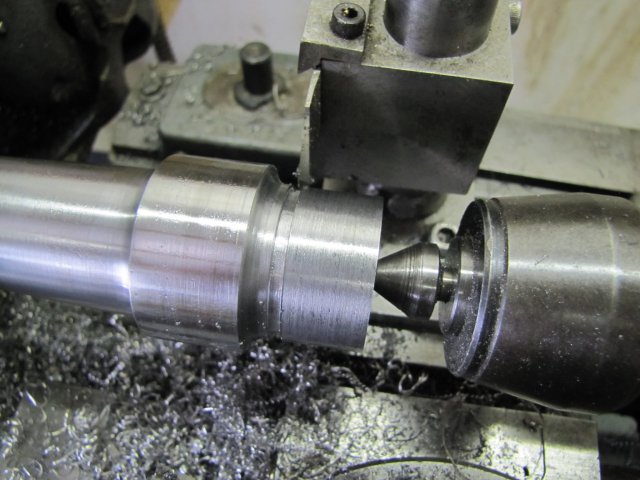
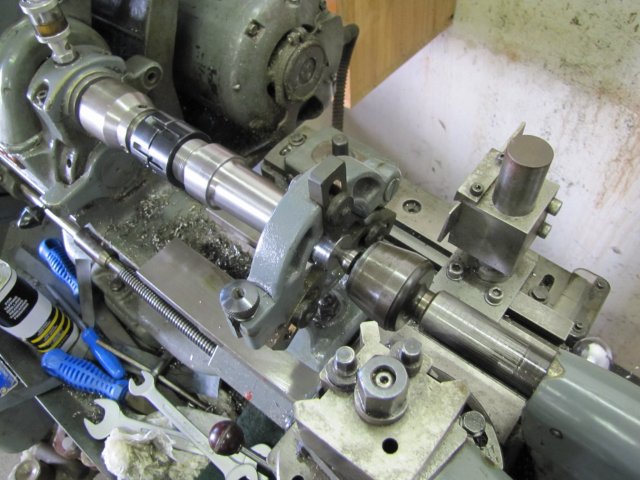
Some taper turning is required for MT4, and I set up for that. The last time I turned an MT4 taper I took great pains to set the taper turning attachment to a good degree of accuracy and it's still at the same setting, so this will be a doddle:
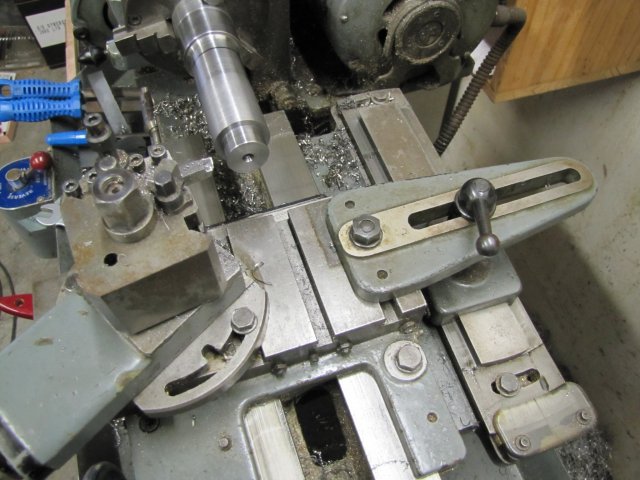
:hDe:oh: - No doddle today; it's the wrong way around Rof} - the last setting on the TTA was from the headstock out oh:
I left things there for today; there was a right big thunderstorm pouring down and there was a bit of a lull, so I dashed for the house from the shop. Hopefully more to follow next weekend
Kind regards, Arnold
Now on to some tooling. I'd mentioned earlier in this thread that I'd ordered some additional ER25 collets and a bearing based closer nut to make a new collet chuck for the mill quite a while ago. A couple of months ago I picked up two offcut pieces of 40mm EN8 steel from a local supplier for a very good price - the good price was mostly because they neglected to order some hex brass I'd ordered from them and wanted to pacify me ;D
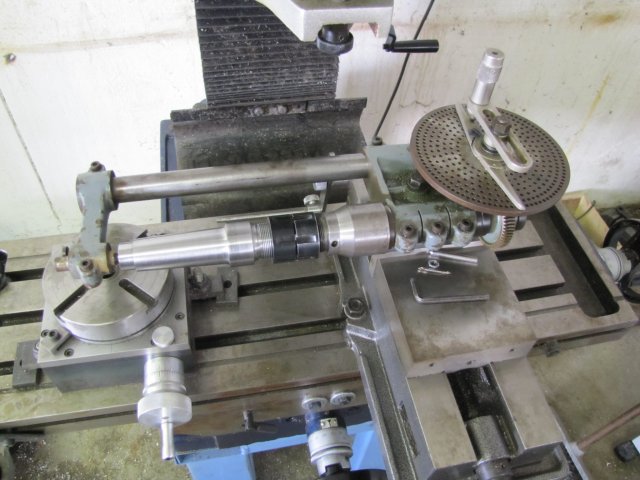
So this afternoon I did a quick C-o-C of what I wanted; I took some measurements off my boring head MT4 shank, as I want this new chuck to share a draw-bar with it:
Off to the bandsaw to get a bit of appropriate length sawn off:
On to the lathe and chucked up. I used some emery to clean up the tailstock end of the workpiece - there were some dings and high spots on it that needed smoothing off. Then I mounted the fixed steady close to the chuck, and set it's fingers to just touch the workpiece:
Then I moved the steady over to the end onto the bit I cleaned up, and added a good dollop of oil:
Now, I may be completely wrong about the way I'm thinking here, but, by setting the steady to size close to the chuck with the steady fingers touching the workpiece, and then moving it to the end that I cleaned up with emery, that end is very slightly smaller, and adding some thickish oil there, it produces a nice running fit.
Next I faced off the end:
And center drilled for tailstock support:
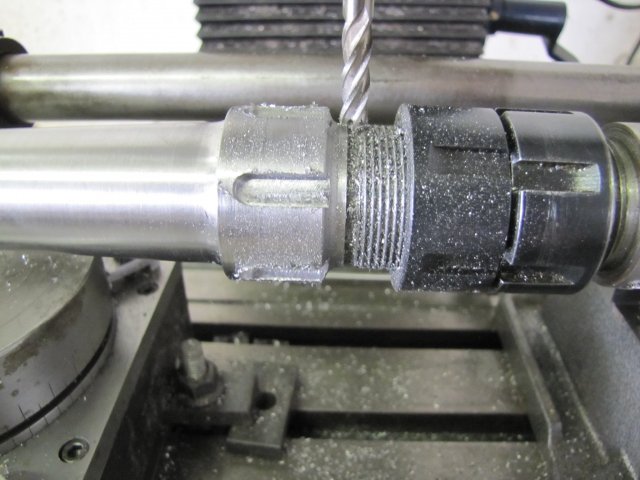
Then I made some chips
- after the delicate work on the Kimble, it was nice to just hog at things a bit:
I'm still struggling to get a good finish on lower-grade steel; I can turn aluminium and brass to a near-mirror surface, and the same for silver steel, but this stuff still needed some work with a file and emery where it was needed:
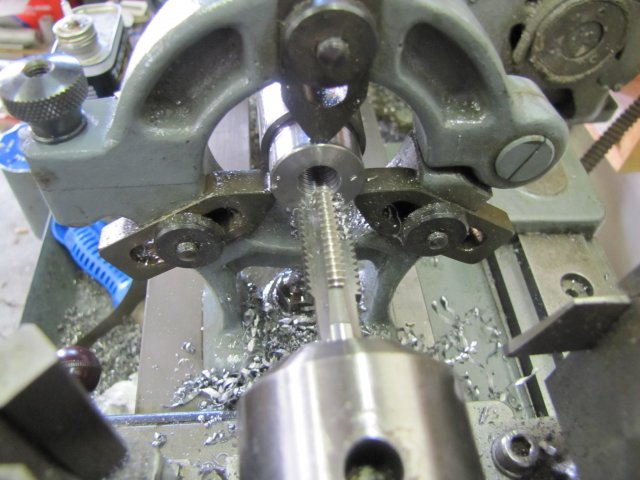
Some taper turning is required for MT4, and I set up for that. The last time I turned an MT4 taper I took great pains to set the taper turning attachment to a good degree of accuracy and it's still at the same setting, so this will be a doddle:
:hDe:
oh: - No doddle today; it's the wrong way around Rof} - the last setting on the TTA was from the headstock out oh:I left things there for today; there was a right big thunderstorm pouring down and there was a bit of a lull, so I dashed for the house from the shop. Hopefully more to follow next weekend
Kind regards, Arnold